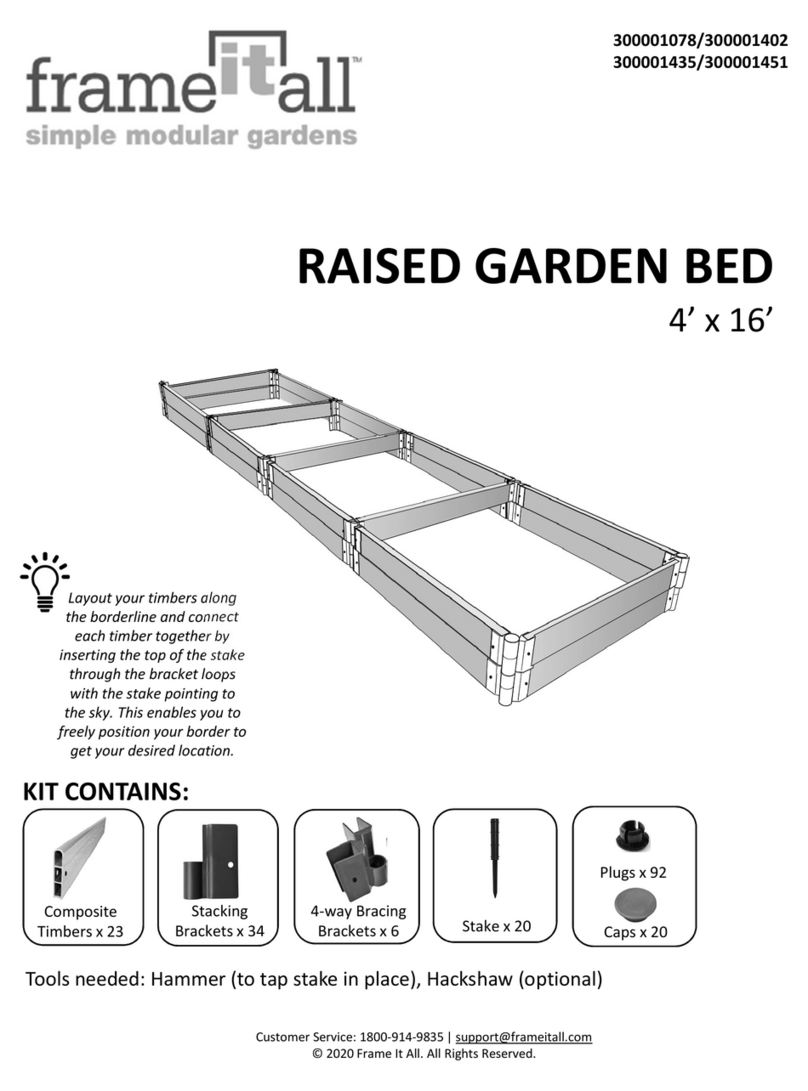
FRAME IT ALL 800001181 User manual
Other FRAME IT ALL Lawn And Garden Equipment manuals
FRAME IT ALL
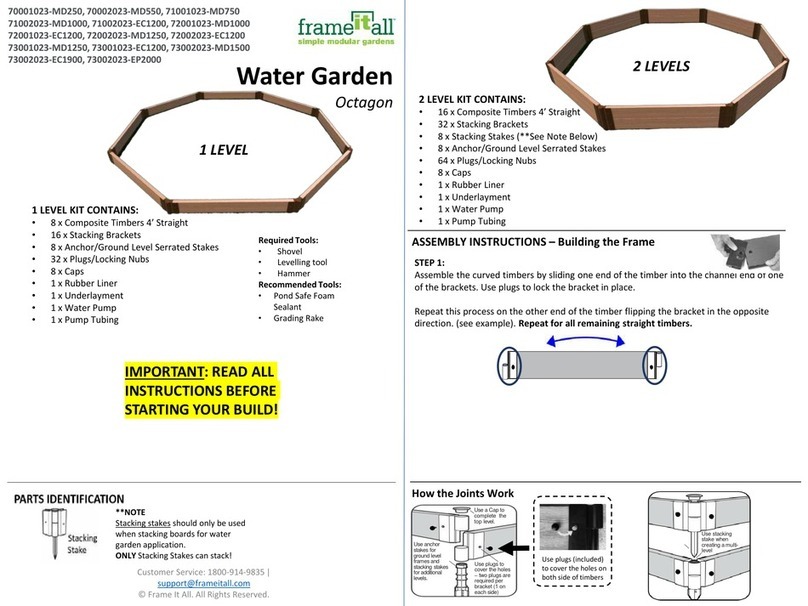
FRAME IT ALL 70001023-MD250 User manual

FRAME IT ALL
FRAME IT ALL 70001025-MD250 User manual
FRAME IT ALL
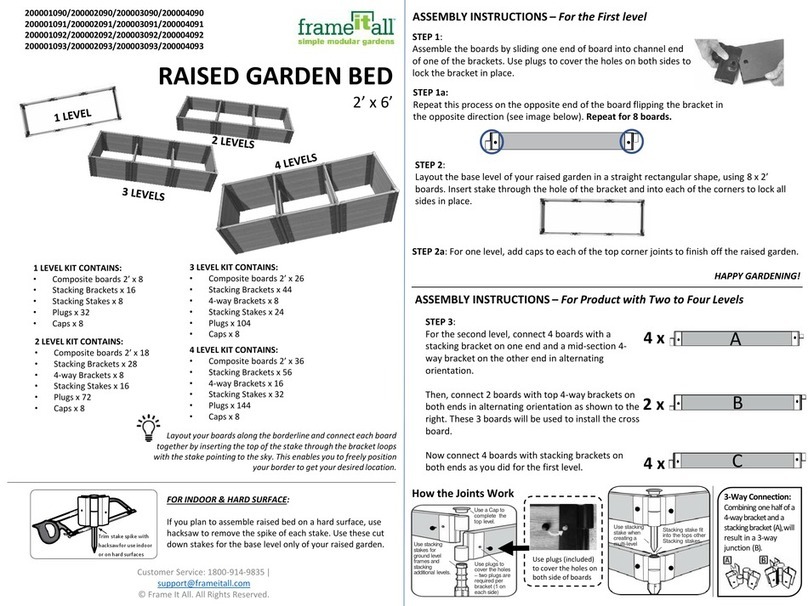
FRAME IT ALL 200001090 User manual

FRAME IT ALL
FRAME IT ALL 300001168 User manual

FRAME IT ALL
FRAME IT ALL 200001100 User manual

FRAME IT ALL
FRAME IT ALL 300001063 User manual

FRAME IT ALL
FRAME IT ALL Alamo User manual
FRAME IT ALL
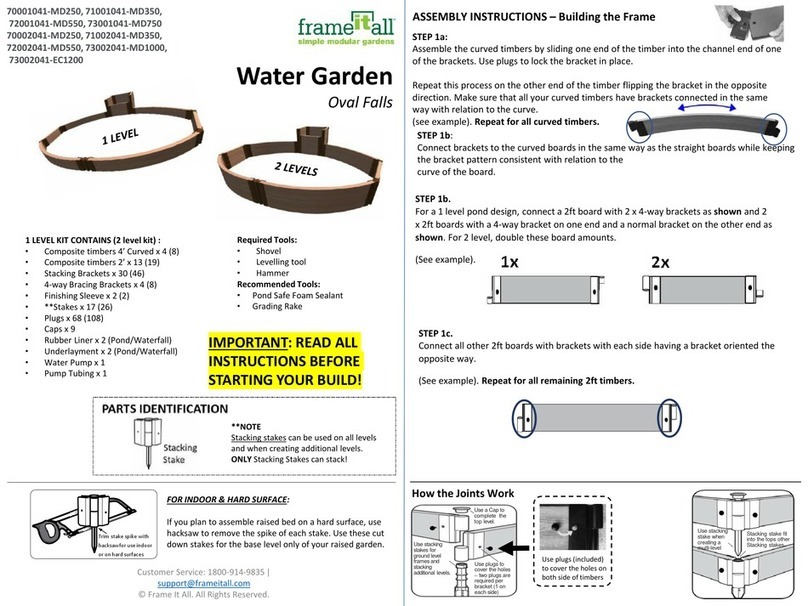
FRAME IT ALL 70001041-MD250 User manual

FRAME IT ALL
FRAME IT ALL 300001228 User manual

FRAME IT ALL
FRAME IT ALL Fort Bragg 8' x 8' User manual

FRAME IT ALL
FRAME IT ALL Topolski 8' x 8' User manual

FRAME IT ALL
FRAME IT ALL Fort Bragg User manual
FRAME IT ALL
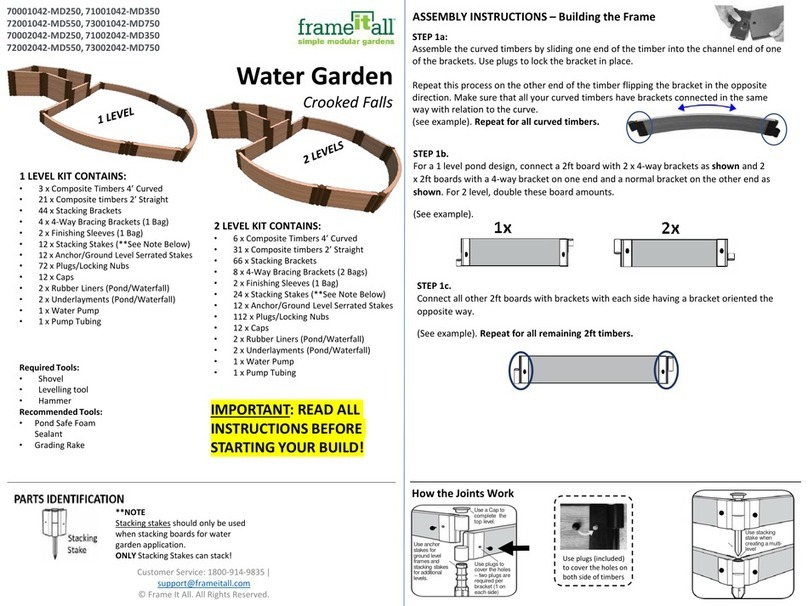
FRAME IT ALL Crooked Falls User manual

FRAME IT ALL
FRAME IT ALL Cumberland User manual

FRAME IT ALL
FRAME IT ALL 800002179 User manual

FRAME IT ALL
FRAME IT ALL 300001058 User manual
FRAME IT ALL
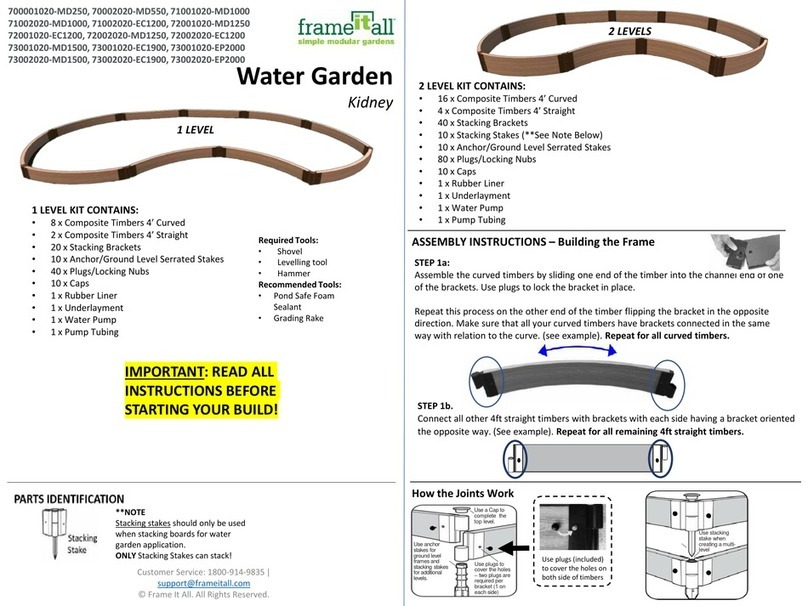
FRAME IT ALL 800001076 User manual
FRAME IT ALL
FRAME IT ALL 700001020-MD250 User manual

FRAME IT ALL
FRAME IT ALL 300000400 User manual

FRAME IT ALL
FRAME IT ALL Stack & Extend User manual
Popular Lawn And Garden Equipment manuals by other brands

Vertex
Vertex 1/3 HP Maintenance instructions

GHE
GHE AeroFlo 80 manual

Millcreek
Millcreek 406 Operator's manual

Land Pride
Land Pride Post Hole Diggers HD25 Operator's manual

Yazoo/Kees
Yazoo/Kees Z9 Commercial Collection System Z9A Operator's & parts manual

Premier designs
Premier designs WindGarden 26829 Assembly instructions

AQUA FLOW
AQUA FLOW PNRAD instructions

Tru-Turf
Tru-Turf RB48-11A Golf Green Roller Original instruction manual

BIOGROD
BIOGROD 730710 user manual

Land Pride
Land Pride RCF2784 Operator's manual

Makita
Makita UM110D instruction manual

BOERBOEL
BOERBOEL Standard Floating Bar Gravity Latch installation instructions
