10 11
WHERE CAN CLASS 3 VEHICLES BE USED?
ey can be used:
On footpaths, pavements, bridleways and pedestrian
areas at a maximum speed of 4 mph.
On most roads at a maximum speed of 8 mph.
They cannot be used on motorways, cycle lanes or in
bus lanes (when in operation). Nor is it advisable to use
them on unrestricted dual carriageways (i.e. those with
a speed limit of over 50 mph). If they are 4-wheeled
vehicles, then they must use an amber ashing light for
conspicuity when used on dual carriageways.
WHAT ARE THE LEGAL REQUIREMENTS?
A Class 3 vehicle is not legally defined as a motor
vehicle and, therefore, the user is not required to have a
driving license or to take a test. e vehicles themselves
are not subject to Vehicle Excise Duty (‘road tax’) or
mandatory insurance requirements.
However, the law does say that:
a Class 3 vehicle can only be used by a disabled person
aged 14 or over, or by an able-bodied person who is
demonstrating a vehicle before sale, training a disabled
user or taking the vehicle to or from a place for
maintenance or repair.
The vehicle must have certain construction features,
including:
- a maximum unloaded weight of 170 kg (380 lbs);
- a maximum width of 0.85 meters (2’9”);
- a device to limit its speed to 6.4 kmph (4 mph);
- a maximum speed of up to 12.8 kmph (8 mph);
- an ecient braking system;
- front and rear lights and reectors, and direction
indicators which are able to operate as a hazard
warning signal;
- an audible warning instrument (horn);
- a rear view mirror;
- an amber ashing light if a 4-wheeled vehicle is used
on an unrestricted dual carriageway. i.e. a dual carriageway
road having a maximum speed in excess of 50 mph.
If these conditions are not met, you are liable to
prosecution by the police.
Should I have insurance?
Although it is not a legal requirement, an insurance
policy is strongly advised. Suitable schemes are not too
expensive and are available to cover your personal safety,
other people’s safety and the value of the vehicle.
WHAT SHOULD I DO TO PREPARE MYSELF
FOR THE ROAD?
If you are using a powered vehicle for the first time,
or if it is a while since you have driven on the road,
you are strongly advised to get some training. For
details of courses, contact your local Disabled Living
Centre, Mobility Centre or your local authority’s Road
Safety Unit, or contact the Department of Transport’s
Mobility Unit. Useful addresses are listed at the end of
this booklet.
Carefully read the owners instruction manual for your
Freerider Scooter before driving. Please make certain it
is in full working order.
In addition to this booklet, you should also look at
a current edition of the Highway Code and become
familiar with the various traffic signs and signals you
may come across when you are driving.
Although there is no legal eyesight requirement, you
should be able to read a car’s registration number from
a distance of 12.3 meters (40 ft).
It is essential that you monitor your ability to do this
regularly throughout your time as a Class 3 vehicle user.
It is advisable to wear uorescent clothing during the
day and something reflective at night. This will help
others to see you in daylight or poor visibility. The
leaet ‘Be Safe. Be Seen’, which is available free from
the Department of Transport, gives advice on clothing.
But above all don’t wear dark clothes at night.
Your Freerider Scooter has a lap belt tted to it, always
use it - even for short journeys.
As a general rule, plan your journeys carefully. This
way, you could reach your destination without having
to negotiate major roundabouts, rush-hour traffic,
or busy roads. However, if the situation on the road
does become too daunting, you can always switch to
pavement mode (4 mph) and move to the footway until
you feel condent enough to rejoin the trac.
WHAT ‘RULES OF THE ROAD’ SHOULD I
FOLLOW?
Class 3 vehicles should not be used if you are under
the influence of alcohol, drugs, or medication that
may aect your driving ability. If you are in any doubt,
consult your doctor.
ON FOOTWAYS
Show consideration for pedestrians, particularly elderly
people or those who are blind, partially sighted, deaf or
hard of hearing. Although Class 3 vehicles can legally
travel at 4 mph on footways or in pedestrian areas, it is
not always safe to travel at this speed if pedestrians are
not able to move out of the way quickly enough, e.g. in
a crowded shopping precinct.
You can take advantage of pelican and zebra crossings
when in 4 mph mode in order to cross from one
footway to another.
When moving o the footway on to the road (to use
the vehicle in the high speed mode), take special care.
Before moving o, always look round and make sure it
is safe to join the trac and watch out, in particular, for
cyclists.
ON THE ROAD
When on the road, drive with due care and attention,
always traveling in the direction of the trac, obeying
trac signs and signals and give way to pedestrians who
are crossing at junctions or pedestrian crossings. Keep a
special look out for children crossing roads because they
may lack the skills and experience to negotiate traffic
safely.
Remember that, in comparison with the majority of
other vehicles on the road, a Class 3 vehicle is not
powerful or conspicuous. As a Class 3 vehicle driver, you
are often in a similarly vulnerable position to cyclists -
especially at roundabouts and junctions.
Direction indicators must always be used to indicate
maneuvers on the road.
Always use the front and rear lights in the dark or when
visibility is poor due to adverse weather conditions.
e vehicle’s horn should not be used when the vehicle
is stationary (unless there is danger due to another
moving vehicle) or between 11.30 at night and 07.00
in the morning. When the vehicle is moving, the horn
should be used to warn other road users that you are
there - it should not be used as a rebuke.
Watch out for obstructions in the road ahead, such as
drains, pot-holes and parked cars. When passing parked
cars, watch out for doors being opened in your path or
the vehicle moving o without indicating.
HOW TO DEAL WITH ROAD JUNCTIONS
AND ROUNDABOUTS?
Take extra care at junctions. When going straight ahead
at road junctions, check to make sure there are no
vehicles about to cross your path.
When turning left, watch out for other vehicles
overtaking, prior to turning left across your path.
ere are several options for dealing with right turns,
especially turning from a major road. If moving into
the middle of the road is difficult or dangerous, you
can stop on the left hand side of the road and wait
for a safe gap in the trac. You can also negotiate the
turn as a pedestrian, i.e. switching to pavement mode
and traveling between footways. If the junction is too
hazardous, it may be worth considering an alternative
route.
Similarly, when negotiating major roundabouts, e.g.
roundabouts with two or more lanes, it may be safer to
stay in the left hand lane, even when you are turning
right or taking the last exit and treat each exit you cross
as a junction. Alternatively, it may be safer to use the
footway or find a route which avoids the roundabout
altogether.
PARKING
All the normal parking restrictions should be observed.
Your vehicle should not be left on the footways
unattended if it causes an obstruction to other
pedestrians -especially those in wheelchairs or those
with prams or pushchairs. Remember too, to look out
for blind or partially sighted people when parking.
Parking concessions provided under the Blue (Orange)
Badge Scheme will apply to all Class 3 vehicles
displaying a current badge. If you think you are entitled
to a badge, you can apply to your Local Authority
Social Services Department or to the Chief Executive
of your local Regional or Island Council if you live in
Scotland.
HOW CAN I KEEP MY VEHICLE
ROADWORTHY?
It is essential that you keep your vehicle in good
working order in accordance with Freerider’s
recommendations. Freerider suppliers should be able
to answer any questions you might have about the
maintenance of your Class 3 vehicle.
In general, keep your batteries fully charged and your
tyres at the correct pressure.
Lighting equipment should be kept clean and in good
working order. Windows, windscreens and mirrors
should also be clean and clear of obstructions for good
all-round vision.
It is important that your vehicle undergoes a thorough
safety check at least once a year.
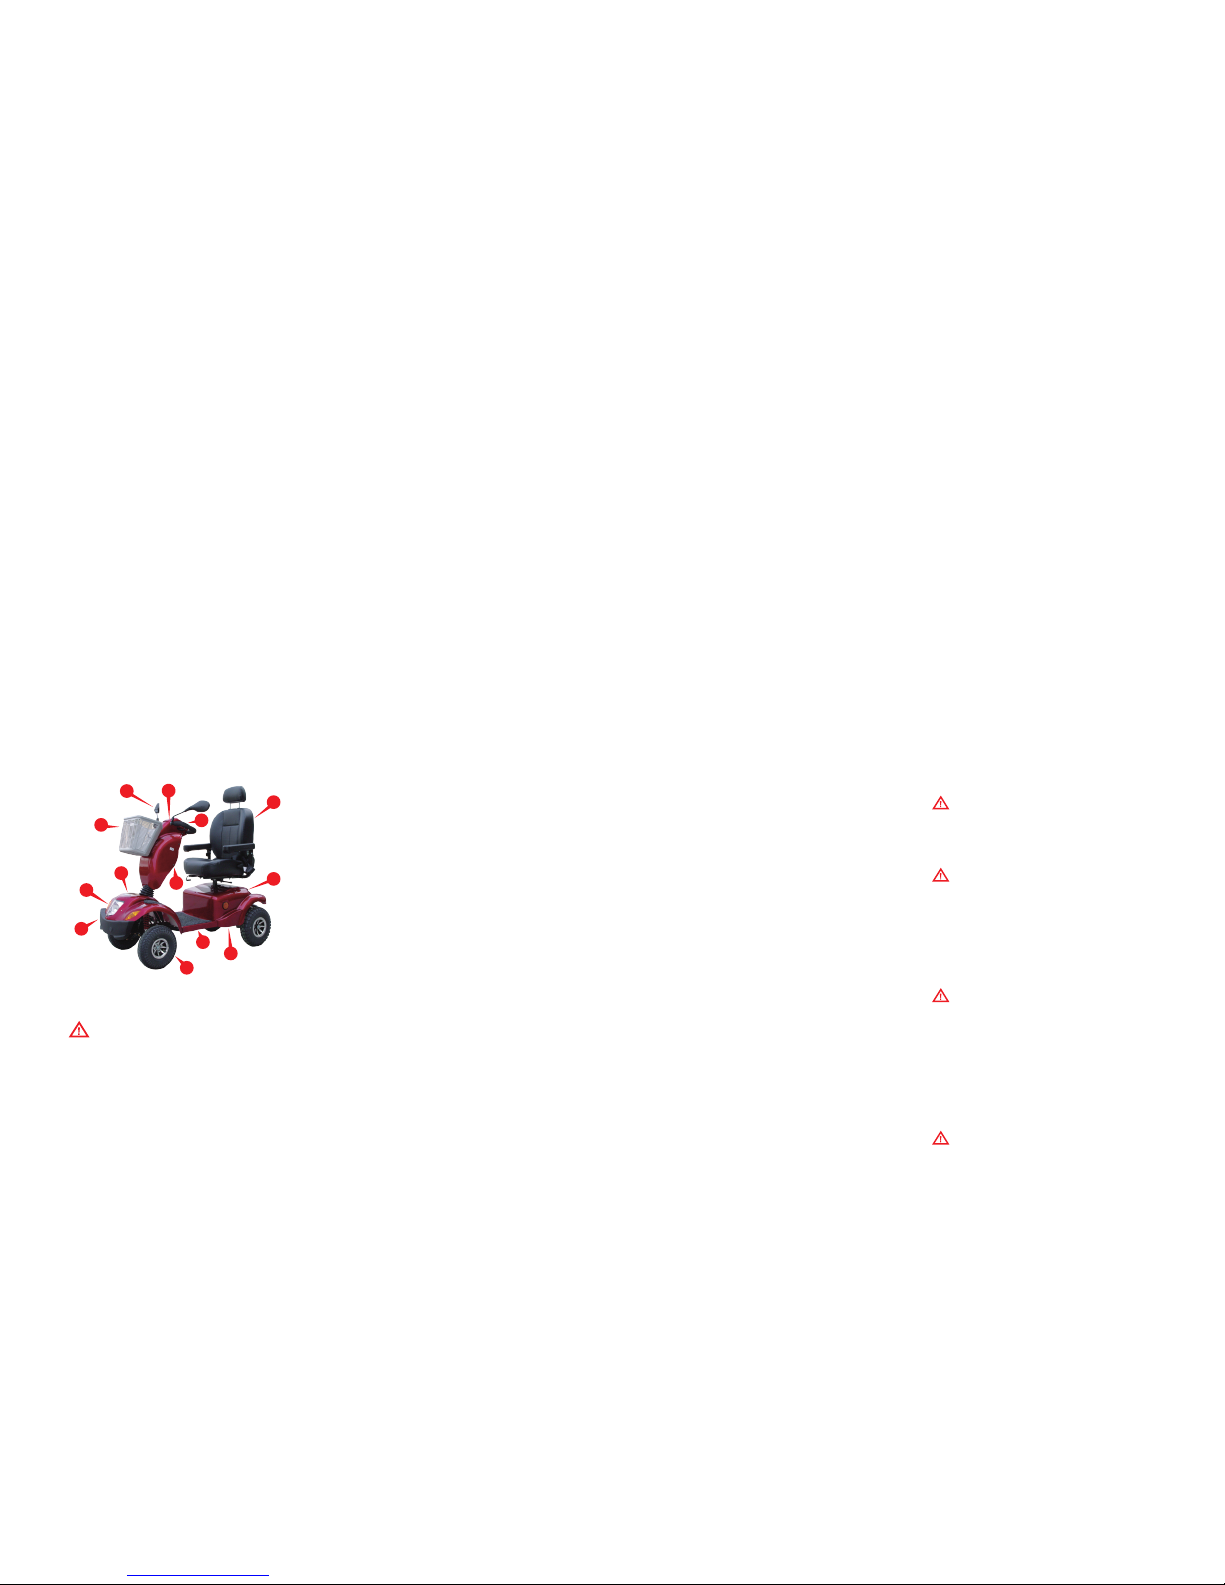
GETTING TO KNOW YOUR FR 510-GDX
PRODUCTION DESCRIPTION
Your FR 510-GDX supplied has tted as standard the
following features:
● Rear-wheel drive via sealed drive axle
● 75 A/H sealed non-maintenance lead-acid batteries
(100Ah option)
● Captain-style seat with folding backrest, adjustable
width arm-rests and safety belt
● Seat rotates and is fully adjustable forwards and
backwards and for height.
● Simple controls situated on the steering handlebars
regulate speed and braking
● ree independent braking systems
● Steering is controlled by a handle-bar attached to a
linkage system which turn the two front wheels
● ‘State-of-the-art’ micro-controller electronics ensures
a smooth, comfortable and safe drive on all surfaces
and gradients.
● 4 / 8 m.p.h. speed switch selection.
● Automatically charging system.
● Front and rear suspension via sprung hydraulic shock
absorbers.
● Front and rear lights. Direction indicator warning
lights.