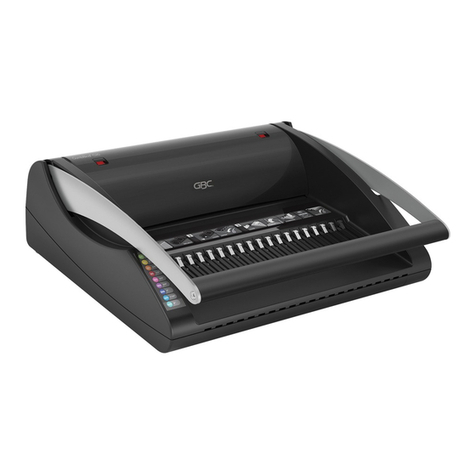
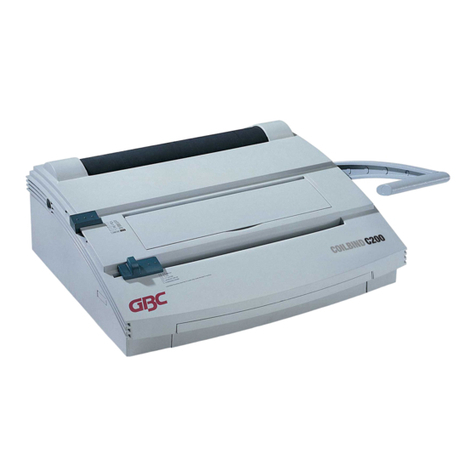
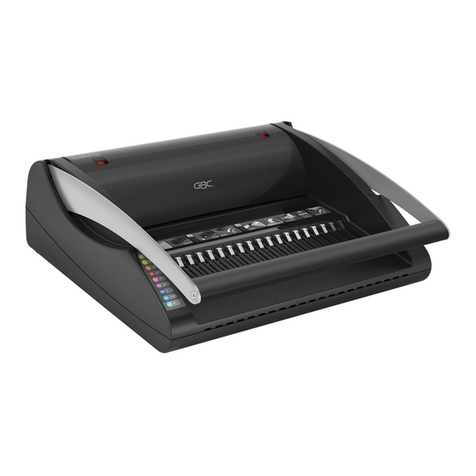
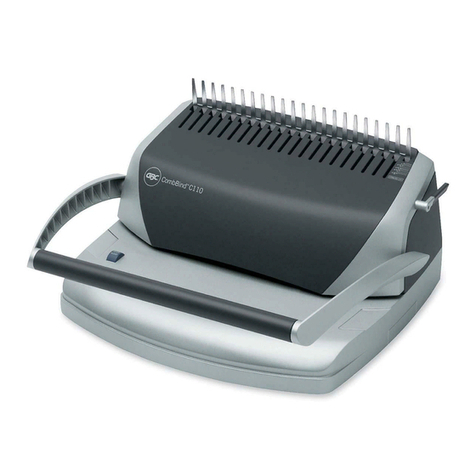
GBC Surebind System Three Pro User manual

SureBind®
System Three™ Pro
www.gbceurope.com
www.gbceurope.com
G
Instruction Manual
تﺎﻤﻴﻠﻌﺘﻟا ﻞﻴﻟد
o
AR

SureBind®
System Three™ Pro
English 4
10

4
4 5
1 2 3
RECEIVING STRIP
SMALL HOLE
6
A
C
D
E
FGH
I
B
START/STOP
STANDBY READY
BIND
DEBIND AUTO
PUNCH
PUNCH
21mm 21mm
1 1
P
N
J
LK
J
N
O
M

4
27.3kg
564 x 457 x 343mm
220-240 VAC / 50-60Hz
25 sheets 80g/m
2
paper (3.2mm)
12 punches per minute
Up to 76mm thick x 378mm wide
<25mm: 8 seconds
>25mm: 18 seconds
Subject to technical changes without prior notice.
m
m
m
• The equipment must only be operated from the type of power
source indicated in these operating instructions and the serial
label located on the rear panel of the unit.
• The socket outlet should be located near the equipment and
should be easily accessible.
• The three-pronged grounding plug is a safety feature and
outlet installed.
for an extended period of time.
• Do not operate the unit with a damaged power supply cord
or plug, after it malfunctions, or after it has been damaged in
any manner.
• Do not let the power supply cord contact hot surfaces or
sharp objects.
• Use the equipment only for its intended purpose of punching
and binding documents.
pressure bar.
• Do not place the equipment on an unstable, cart, stand or
table.The binding system may fall, causing serious bodily
the equipment, pull out the debris tray and discard pins and
YOUR SAFETY AS WELL AS THE SAFETY OF OTHERS IS
MANUAL AND ON THE PRODUCT ARE IMPORTANT
SAFETY MESSAGES. READ THESE MESSAGES
CAREFULLY.
INDICATES A POTENTIAL PERSONAL SAFETY HAZARD
THAT COULD HURT YOU OR OTHERS AS WELL AS CAUSE
PRODUCT DAMAGE OR PROPERTY DAMAGE.
OF THE PRODUCT.
Electrical shock hazard.
Do not open. No user
serviceable parts inside.
Refer servicing to qualified
service personnel.
WARNING
m
c
This safety message means that you could be seriously hurt or
killed if you open the product and expose yourself to hazardous
Hot surface.
CAUTION
m
This safety message means that some areas directly below are
hot and could burn you. Do not touch the hot areas.

5
G
Service
Unplug the unit from the electrical outlet and contact an
conditions:
- When the power supply cord or plug is damaged or frayed
- If liquid has been spilled into the equipment
- If the binding system has been exposed to rain or water
being dropped or rough handling
- If the unit does not operate normally when following these
Operating Instructions
Operating Instructions.
• Wipe exterior only with a damp cloth. Do not use any
The Debris Tray is located on the front side near the bottom
of the machine. It collects excess paper and pin segments.
The Tray should be emptied frequently. Insert the Tray
completely to ensure proper operation. Failure to reinsert
the Tray could cause damage to the machine.
holes.
An adjustable Guide positions the paper for punching.
330mm or 356mm) bind edge lengths. The Guide also
has a ‘trigger’ switch that begins the automatic punching
operation when this is selected.
placed for binding after it has been punched.
An adjustable Guide properly aligns the paper for binding.
The Locating Pin can be found near the lower left hand
printed.
easy insertion of the pinned strip (binding strip with pins).
thickness to help select the proper length of the pinned strip
contains the trigger which starts the bind cycle.
with holes).
by pressing the appropriate button.
Pressing the ‘Debind’ button puts the binding system in
the debind mode which allows you to disassemble the
document easily.
Selecting the ‘Auto Punch’ button allows you to punch in the
automatic mode by sliding the paper against the automatic
trigger switch. It also allows you to punch by pressing the
foot pedal. If you choose not to punch in the ‘Auto Punch’
mode switch back to the ‘Manual Punch’ mode by pressing
the ‘Auto Punch’ button.
If the ‘Punch’ button is lit you are in the ‘Manual Punch’
paper fully in the punch throat and against the Punch Edge
is pressed.
When the equipment is turned on it takes approximately
45 seconds to warm up before it can bind or debind. The
‘Standby’ light will remain lit until the machine has warmed
up and then the ‘Ready’ light will go on.
Debind Counter will display the number of documents that
count down the number of seconds the binding system
takes to debind.
The ‘Start/Stop’ button must be lit for both punching paper
and binding documents. At the end of each day remember
1
2
appropriate height for the comfortable operation.
3 Plug the power cord into the receptacle on the rear right side
of the unit and into a proper power source.
4
obstruction to protect the power receptacle and power cord.
m

6
1 To debind a document which has been bound press the
‘Debind’ button to set the binding system in the debind
mode.
2
bind the document. The left side of the document should rest
Locating Pin.The Locating Pin is on the left hand side of the
to slide the document to the right while resting against the
3
Counter’ will display and count down the number of seconds
the machine takes to debind.The bar will rise one it is
complete.
4
away from the document. If you do not perform this step
the strip faster this time.
Another method for debinding is the Debinder Tool, which is
packaged free with all systems. Additional Debinder Tools and
1
should be at your right with the formed studs heads up.
2 Holding the document in place with the left hand and using
the Debinder with the right hand, insert the blade between
3 With the Debinder snug against the right side of the
document and continuing to pull toward you, swing the
handle of the Debinder to the right, away from the document.
4
the next stud, swing to shear, pull to the next stud and so on.
For rapid debinding, the Debinder can be pulled toward the
sheared. Extreme caution should be used when using this
method.
5
6 Replace the Debinder blade when it becomes dull.
Debinding a document which has already been bound can
Feature on the equipment or the Debind Tool.
Punching
1 Selecting the ‘Auto Punch’ button allows you to punch in
the automatic mode by sliding the paper against the Punch
allows you to punch by pressing the footpedal. If you choose
not to punch in the ‘Auto Punch’ mode switch back to the
‘Manual Punch’ mode by pressing the ‘Auto Punch’ button.
Then place the paper fully in the punch throat and press the
‘punch’ button.
2
2bond paper
should be punched at one time (fewer sheets if the paper
3 Remember to lay each punched segment of your documents
document on another surface can cause binding problems
Locating Pin).
1 Adjust the Punch Edge Guide by loosening the thumb screw
on top of the Guide and sliding Guide along the scale to the
correct paper size. Retighten the screw to lock the Guide
into position.
2
strip in the Strip Recess area. Lay a sheet of correctly aligned
punched paper on the strip, matching up the holes and the
strip so that the strip is not showing at the top or bottom of the
paper. Adjust the Guide if necessary by loosening the thumb
screw on top of the Guide and sliding the Guide to the edge of
the paper. Retighten the screw to lock the Guide into position.
6
5
2
Binding
If you are just turning on the machine you will need to wait for
the machine to warm up. Do not attempt to bind until the yellow
1
textured side down in the Strip Recess located in the front
The Locating Pin is on
the left hand side of the Strip Recess area in front of the
2
3 Now determine the correct size of the pin strip. Use the scale
or 75mm). The pins should extend all the way through the
document but not more than 1” (25mm) beyond. Insert the
4
5
toward you and lowering it on the top of the document.
The binding cycle will begin and the bar will raise once it is
the document rather than ‘drop’ it.
43
1
7
G
Operation of this machine is guaranteed for 2 years from date of purchase, subject to normal use.Within the guarantee period,
.
the machine to ACCO. If you return the machine, ACCO will, at its discretion, in accordance with law, either (i) repair the machine
machine being replaced.
Register this product online at
At the end of its useful life, your product is considered to be
WEEE. As such, it is important to note that:
WEEE is not to be disposed of as unsorted municipal waste. It
is to be collected separately such that it can be disassembled
so its components and materials can be recycled, re-used,
electricity).
the collection of WEEE, free of charge to you.
Please return your WEEE to the collection facility nearest your
sold you the product should accept your WEEE.
If you are no longer in contact with your retailer, please contact
ACCO for assistance with this matter.
Recycling of WEEE is geared toward protecting the
better supply of commodities in the European Union. This will
and reducing the disposal of waste.You can contribute to the
success of these goals by returning your WEEE to a collection
facility.
Your product is marked with the WEEE symbol (wheelie bin
with an X through it). This symbol is to inform you that the
WEEE is not to be disposed of as unsorted municipal waste.

8
properly on the Locating Pin.
Debind to take the document apart. Rebind the
document being careful to place the small hole in
comes apart easily.
Partially cut pins.
misaligned.
may need to be readjusted to ensure that the
The best way to check the machine, is to bind
is necessary.
unable to locate the cause of the problem.
The wrong strip is being used—pins
are too short for the document
thickness.
Choose a strip with longer pins. Strips are
, 2and 3(25mm,
51mm and 75mm).
out of adjustment.
No power Incorrect electrical connection. Check the rear power plug and the wall socket to
be sure that all connections are tight.
Debris Tray is not closed tightly. The equipment will not operate if the Debris Tray
is not fully seated. Push the tray back until the
unable to locate the cause of the problem.
thick.
Incorrect bind speed. (>25mm) rather than
<1(<25mm).
Debris Tray will not pull out. Debris Tray is too full. Push tray in and out until it pulls out freely. Empty
the Debris Tray more often.
Strips will not pull apart after using
the debind cycle.
Document improperly aligned on
Locating Pin.
Locating Pin in the left hand side of the Strip
Guide.
enough.
immediately after the strip is heated during the
debind process.
Incorrect pulling motion when using
debind cycle.
strip, away from the document.
Debinder Tool.
Incorrect use of the Debinder Tool. Make sure you use a twisting motion when
Dull Debinder Tool blade. Change the razor blade in your Debinder Tool.

G

10
SureBind System Three Pro
27,3
343 × 457 × 564
60-50240-220
3,28025
12
37876
825<
1825>
m
m
m
.
.
.
.
.
.
.
.
.
.
.
.
.
.
.
.
ACCO
.
.
.
.
.
.
m
c
.
m
.
.

11
o
AR
.
:
-
-
-
-
.
-
.
.
.
.
.
.
.
51
.
1
2
3
4
m
A
B
C
1413118
330257216210)
356
D
E
F
PIN
G
H
I
J
25mm125mm1
K
Debind
L
Auto Punch
’‘Manual PunchAuto Punch
Auto Punch
M
’‘Manual PunchPunch
N
45
Standby
Ready
O
P
Start/Stop
Start/
Stop

12
.
.
.
.
.
.
1
2
2 1
(
)
’‘
Auto
Punch
.
)
’‘
Auto
Punch
.
(
)
’‘
Manual
Punch
(
.(
)
’‘
Auto
Punch
.
25
)
80
25
.(
4
.
.
3
.
)
.(
1
2
3
.
(
)
’‘
Standby
.
(
)
’‘
Ready
(
)
.
.
.
.
)
(
)
(
)
(
.
.
.(
75
51
25)
3
2
1
-
.(
1)
25
.
(25mm>)
1
>
:
(25mm<)
1
<
(
25)
1
.(
25)
1
.
.
.
1
2
3
4
4 3
:
.

13
o
AR
.
(
)
’‘
Debind
.
.
.
.
.
.
.
/
)
’‘
Counter
.
(
.
.
.
.
.
1
2
3
4
5
.
.
.
.
.
.
.
.
.
.
.
.
.
.
1
2
3
4
5
6
6
ACCO
Europe
.
.
.
.
ACCO
Europe
.
.
.
.
ACCO
ACCO
.ACCO
.
(2)
(1)

14
5125321
75
Tray Ajar
25mm>) 1
.(25mm<) 1 1
25

15
o
AR

ACCO Brands Europe
Oxford House
Oxford Road
Aylesbury HP21 8SZ
United Kingdom
www.accobrands.com
Ref: SureBindS3/0794
Issue: 1 (01/15)
Service
ACCO Service Division
Hereward Rise, Halesowen,
West Midlands, B62 8AN
0800 279 5102
service[email protected]
www.rexeleurope.com/service
ACCO Brands Benelux B.V.
Holtum Noordweg 11,
6121 RE Born, Holland
08000 234 931
service[email protected]
www.rexeleurope.com/service
ACCO Brands Nordic AB
80 251495
www.rexeleurope.com/service
ACCO Austria
0800 677671
www.rexeleurope.com/service
AU
ACCO France
08 05 63 02 55
www.rexeleurope.com/service
FR
ACCO Brands Nordic AB
0800 915871
www.rexeleurope.com/service
FI
ACCO Brands Nordic AB
800-7407
www.rexeleurope.com/service
IS
ACCO Brands Nordic AB
8000-4993
www.rexeleurope.com/service
LV
ACCO Brands Benelux B.V.
0800 48352
www.rexeleurope.com/service
BE
ACCO Brands Benelux B.V.
800 27649
www.rexeleurope.com/service
LU
ACCO Iberia SLP
800 8 55955
www.rexeleurope.com/service
PT
ACCO Brands Nordic AB
800 10953
www.rexeleurope.com/service
NO
Poland
00-800-1215218
www.rexeleurope.com/service
PL
ACCO Brands Nordic AB
0200899942
www.rexeleurope.com/service
SE
ACCO Hungária Kft
06-800-20886
www.rexeleurope.com/service
HU
Czech Republic
00-800-44858150
www.rexeleurope.com/service
CZ
Rexel Office Products (PTY) Ltd
011 837 7723
www.rexelsa.co.za
ZA
GBC Asia Pte Ltd
6776 0195
www.accobrandsasia.com
IN
ACCO Brands Japan K.K.
03 5351 1801
www.rexeleurope.com/service
JP
ACCO Australia
1300 366 376
www.rexeleurope.com/service
AU
Представительство компании
«АККО Дойчланд ГМБХ и КО. КГ»
8-10-8002-5585011
www.rexeleurope.com/service
RU
ACCO Iberia SLP
800 300655
www.rexeleurope.com/service
ES
ACCO Service Division
0800 939 254
www.rexeleurope.com/service
IE
ACCO Service Division
08002795103
www.rexeleurope.com/service
NI
ACCO Brands Italia S.r.l
800029359
www.rexeleurope.com/service
IT
ACCO Schweiz
0800 001790
www.rexeleurope.com/service
CH
ACCO Brands Benelux B.V.
08007238504
www.rexeleurope.com/service
DE
Table of contents
Languages:
Other GBC Binding Machine manuals

GBC
GBC WIREPRO 1000 User manual

GBC
GBC WireBind E-Karo 40Pro User manual

GBC
GBC C200 User manual

GBC
GBC CombBind C800pro User manual

GBC
GBC CombBind DB28Pro User manual

GBC
GBC EzClick User manual

GBC
GBC ibico clickman User manual

GBC
GBC 110EB User manual

GBC
GBC CombBind C340 User manual

GBC
GBC GBC WireBind W15 User manual

GBC
GBC CombBind C200E User manual

GBC
GBC CombBind C800pro User manual

GBC
GBC ClickBind C150 User manual

GBC
GBC CombBind C210E User manual

GBC
GBC Velobind System Three Pro User manual

GBC
GBC B1 User manual

GBC
GBC DOCUBIND P200 User manual

GBC
GBC DocuBind P400 User manual

GBC
GBC Proclick Pronto P3000 Manual

GBC
GBC Pronto C110E User manual