User’s guide MBE-300 User’s guide MBE-300
1. After binding process the jaw automatically moves back and leaves the space to take
documents from the machine in easy way. Keep the START button till the signal of the
end of the process –the jaw stops.
2. Take out bound documents.
After binding process the jaw does not go back to the starting position. It shorter the time to
move the jaw to the document. If you want to bind wider channel you have to move forward
the jaw to the right position.
At every moment you can stop the binding process by releasing START buttons. Another
buttons pressing continues the process. If while binding process the jaws are moved back –
the process starts again (from the moment of locking the channel).
Document width measurement:
1. Place the document with covers to the document width measurement slot (as
it is shown on a figure).
2. At the same time press and keep it pressed START button.
3. Document width measurement always starts from the borderline position to
guarantee precise result –at first the jaw is placed forward.
4. The jaw goes to the document and when left hook touches the document is shown on
the display the information on what size of channel should be used.
5. The jaw moves back.
At every moment you can stop the process by pressing START button.
5
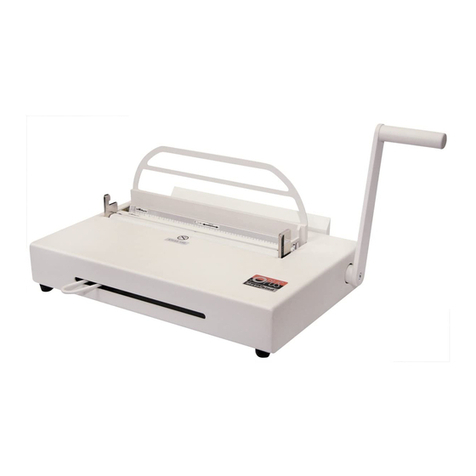
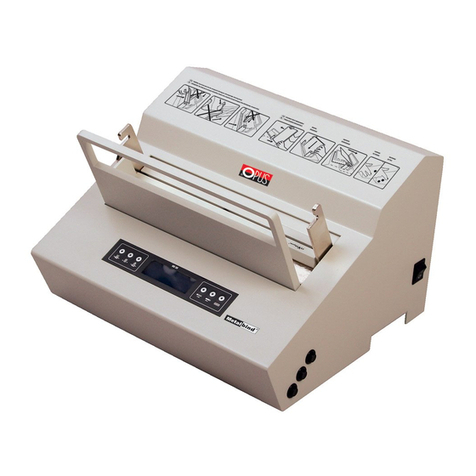
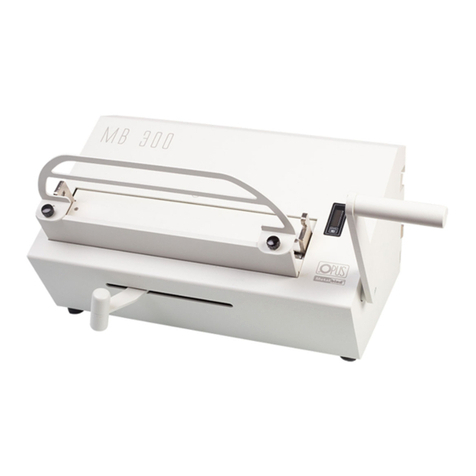
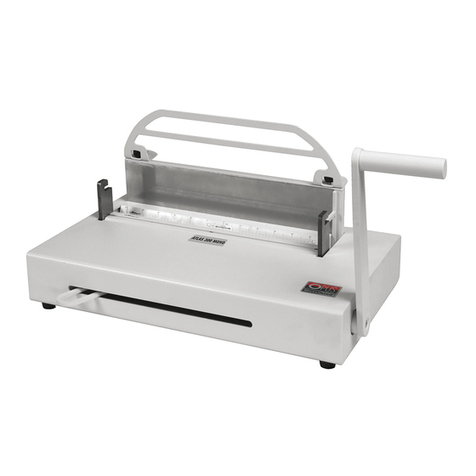
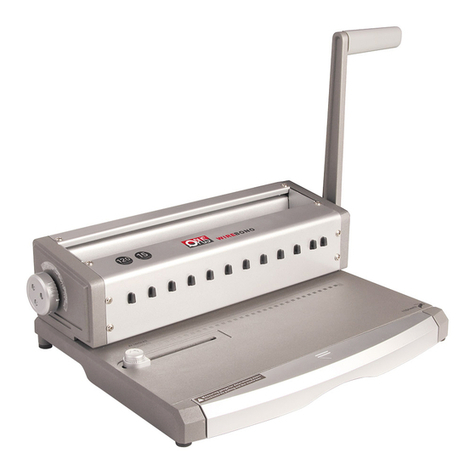
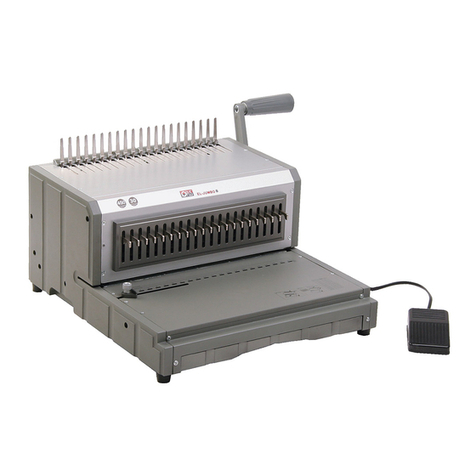
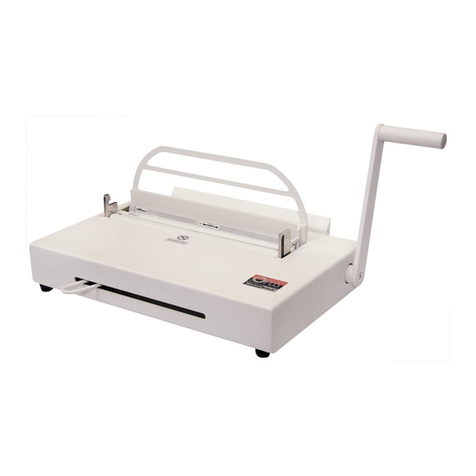
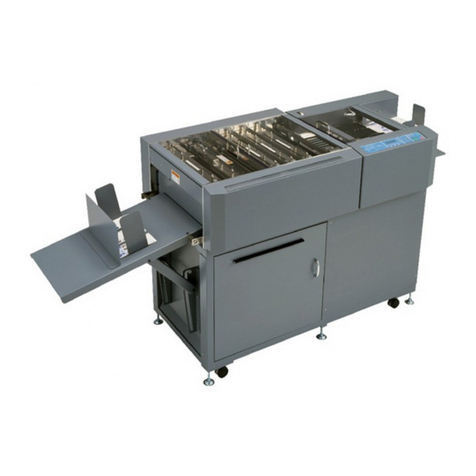
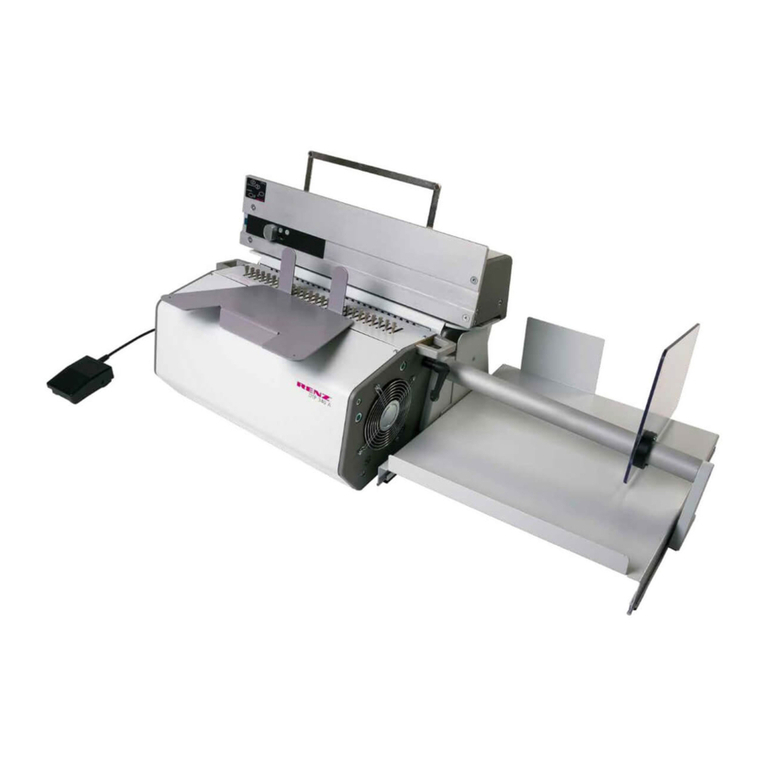
MBE-300 is based on popular binding machine. It is equiped with one binding jaw powered
by two screws linked together by special cogged belt with motor. Mechanism assures the
parallelism of the moving jaws what guarantee regular channel tightness. Motor operation
is controlled by microprocessor control with LCD display. While binding the channel is
pressed to the permanent debinding plate. The channel while debinding by debinding
wedge (placed in debinding hooks) is pressed to the same permanent plate. Left hook
measures the width of the document.
Preparation to work:
1. Connect the plug to the electric socket.
2. Turn the machine on by the button placed on the right side of the cover (display turns
on and shows the information about machine version and the total number of binder
documents).
3. Machine always starts its work with binding mode.
4. Press proper button to choose other mode.
Binding in MB mode:
5. On the display it is shown daily number of bound documents or the pressure level. This
information can be changed by pressing proper counter or pressure button.
6. In accordance with the information on a display place the channel to the slot (straight
side of the channel should be placed on the moving side of the jaw, the curved side
should be placed on a debinding plate side).
7. Press and keep both START buttons (the time between pressing those buttons can
not be longer than 0,2 seconds).
8. The jaw moves to the channel and stops –the channel is locked to place the
document inside in easier way. Place the document into the channel.
9. Press and keep both START buttons once again. The machines starts to bind
documents together.
There are available four different binding pressure moods. The most universal is the level
number 3 that can be used to the wide range of documents. This mood is set after every
start of the machine. If there is a necessity to change the binding pressure press proper
button on a control panel. (because of using shorter channel than 300mm, channel in soft
veneer or binding together very taught materials)
4
