manuals.online logo
Brands
  1. Home
  2. •
  3. Brands
  4. •
  5. GE
  6. •
  7. Circuit Breaker
  8. •
  9. GE GSTG024D User manual

GE GSTG024D User manual

Introduction
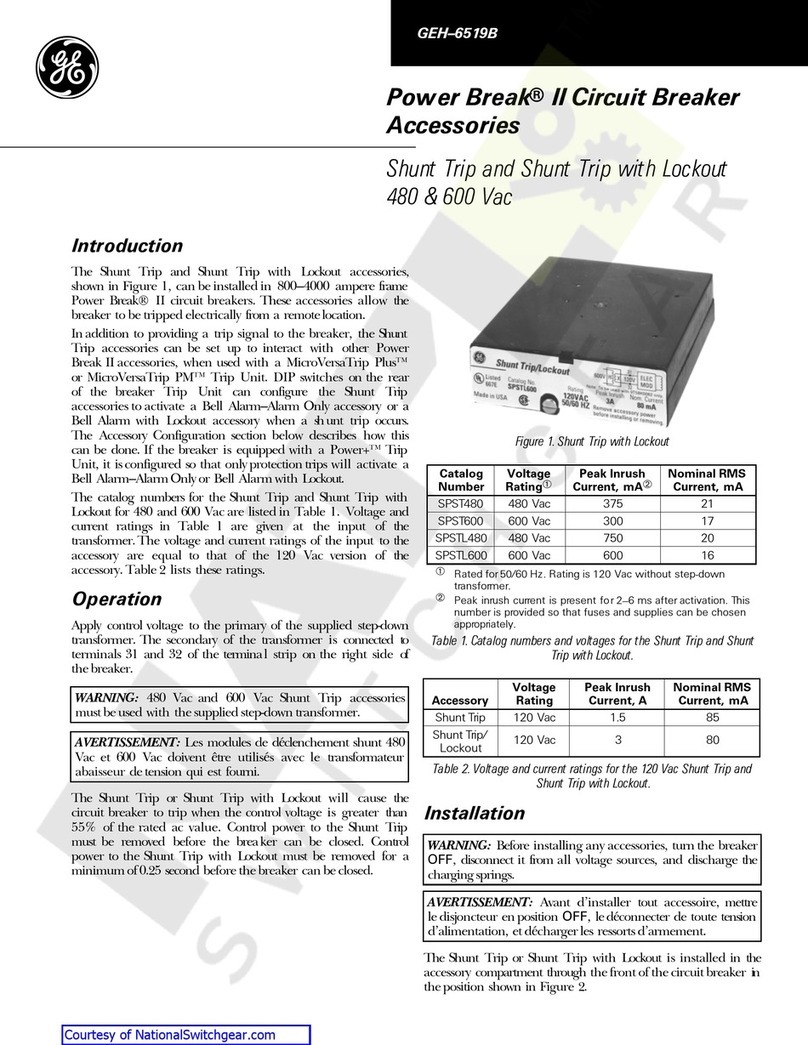
Shunt Trip (Extended Range):
A device designed to switch the Power Circuit
Breaker OFF remotely. When energized a Shunt
Release instantaneously activates the circuit
breaker mechanism ensuring a rapid
disconnection of the main contacts.
Two Shunt trips can be mounted in each Power
Circuit Breaker. The devices are available as
factory mounted components or as field
mountable devices. It is an easy-to-fit, clip-on unit,
with simple plug-in connectors to the Secondary
Disconnect Block.
Table 1. Catalog Numbers and Ratings
Catalog
No.
DC
Voltage
AC
Voltage
Rating*
GSTG024D
24V
Continuous
GSST024D
24V
Momentary
GSTG048
48V
48V
Continuous
GSTG072
70-72V
Continuous
GSTG120
110-125V
120-125V
Continuous
GSST120
110-130V
110-130V
Momentary
GSTG208A
208V
Continuous
GSTG240
220V
240V
Continuous
GSST240
220-240V
220-240V
Momentary
GSTG250D
250V
Continuous
* Momentary Rated shunt trip requires wiring one or more NO
(Normally Open) breaker aux contact(s) in series with the accessory to
avoid coil damage.
Use the following procedure to install the Shunt
Trip accessory into the circuit breaker.
1. Verify that the rating on the Shunt Trip
Mechanism identification plate matches the
voltage rating required for the application, as listed
in Table 1.
2. Turn the breaker off and discharge the closing
springs by depressing the OFF and ON buttons in
the sequence OFF-ON-OFF. Verify that the breaker
OFF-ON indicator shows OFF on a green
background and that the charge indicator shows
DISCHARGE on a white background. If installing in
a draw-out type breaker remove breaker from
adaptor (cassette) before continuing.
3. Loosen the 6 screws on front cover (fascia) using
a posidrive screw driver as shown in Fig 1.B
Rotate the charging handle down and slide the
front cover over the handle to remove the front
cover as shown in Fig. 1.C .
1
Figure 1. (A) Front Cover (B) Screw Removal (C) Handle
Rotation
4. This accessory is mounted on the mechanism
top plate at 1st or 4th location as shown in
Figure 2.
Figure 2.
5. Tilt the coil forward and engage the front
hooks into the mechanism top support plate as
shown in Fig. 3. Tilt the device backwards until
the
rear hooks engage in the slots on the
mechanism top support plate as shown in Fig. 4.
Figure 3. Shunt Trip Inserting
Figure 4. Shunt Trip Assembly
6. After installing the shunt release on the
mechanism top plate, connect the input wire
assembly plug to the A5/A6 (if installed in the first
location) or A12/A13 (if installed in the fourth
location) locations marked on the secondary
disconnect as shown in Fig. 5.
2
Figure 5. Wiring.
7. Ensure that the plug in connection is firm and
that the plug is inserted into the correct
terminals.
8. To reinstall the breaker cover rotate the
charging handle down and slide the front cover
over the handle to assemble the front cover to
the housing as shown in Figure 6.
9. Ensure the fascia is aligned properly with the
trip unit and the pad lock features of the breaker.
Figure 6.
10. Fasten the 6 mounting screws of the fascia
with the housing using a Pozidrive screwdriver.
Apply torque of 6Nm (4.42 ft-lbs).
11. When installing a GSST* shunt trip device you
must wire one or more Normally Open (NO)
breaker auxiliary contact(s) in series with the
shunt trip accessory coil. In some cases multiple
contacts in series are required to ensure reliable
performance.
Application Voltage
Required Aux. Contacts
All AC Ratings, 24VDC
One
120VDC
Two
240VDC
Three
GSTG* devices do not require an auxiliary
contact.
3
Reference:
GSTG type Continuously Rated Shunt Trip Connection Scheme
4
Reference:
GSST type Shunt Trip Connection Scheme with mandatory Breaker Aux contact wiring and optional coil
continuity detection circuit. The number of auxiliary contacts wired in series varies by voltage rating.
Application Voltage
Required Aux. Contacts
All AC Ratings, 24VDC
One
120VDC
Two
240VDC
Three
GE
41 Woodford Ave, Plainville, CT 06062
www.geindustrial.com
© 2019 General Electric Company
DEH-41411 R2 (05/19)
5
These instructions do not purport to cover all details or variations in equipment nor, to provide contingency to be met in connection
with installation, operation, or maintenance. Should further information be desired, or should particular problems arise which are not
covered sufficiently for the purchaser’s purposes, the matter should be referred to GE.

This manual suits for next models

9

Other GE Circuit Breaker manuals

GE ML-14-0 User manual

GE

GE ML-14-0 User manual

GE M-PACT User manual

GE

GE M-PACT User manual

GE SD200SA User manual

GE

GE SD200SA User manual

GE GEK-7345 User manual

GE

GE GEK-7345 User manual

GE Power Break II User manual

GE

GE Power Break II User manual

GE Power-Break TSUV1 User manual

GE

GE Power-Break TSUV1 User manual

GE AKR Series Configuration guide

GE

GE AKR Series Configuration guide

GE Power Break II User manual

GE

GE Power Break II User manual

GE AK-2-15 User manual

GE

GE AK-2-15 User manual

GE EntelliGuard GBKRKR User manual

GE

GE EntelliGuard GBKRKR User manual

GE Shunt Trip User manual

GE

GE Shunt Trip User manual

GE EntelliGuard GT-H User manual

GE

GE EntelliGuard GT-H User manual

GE PVDB-28kV User manual

GE

GE PVDB-28kV User manual

GE SPST480 User manual

GE

GE SPST480 User manual

GE S2500 User manual

GE

GE S2500 User manual

GE FD 63 User manual

GE

GE FD 63 User manual

GE Power Break II SPUV012DC User manual

GE

GE Power Break II SPUV012DC User manual

GE Pro-Stock SF250 User manual

GE

GE Pro-Stock SF250 User manual

GE Spectra Series AMC3FGB User manual

GE

GE Spectra Series AMC3FGB User manual

GE WavePro 3200 A User manual

GE

GE WavePro 3200 A User manual
GE AM-13.8-500-5A User manual

GE

GE AM-13.8-500-5A User manual

GE Power Break II User manual

GE

GE Power Break II User manual

GE Power Break II User manual

GE

GE Power Break II User manual

GE Power Break II User manual

GE

GE Power Break II User manual

Popular Circuit Breaker manuals by other brands

Siemens SINAMICS S120 operating instructions

Siemens

Siemens SINAMICS S120 operating instructions

Siemens CDT3A Series operating instructions

Siemens

Siemens CDT3A Series operating instructions

Eaton Power Defense IZMX16 Instruction leaflet

Eaton

Eaton Power Defense IZMX16 Instruction leaflet

Siemens 3VS16 operating instructions

Siemens

Siemens 3VS16 operating instructions

Alstom GL317X instruction manual

Alstom

Alstom GL317X instruction manual

ABB HD4/R Installation and service instructions

ABB

ABB HD4/R Installation and service instructions

Eaton ZP-IHK installation instructions

Eaton

Eaton ZP-IHK installation instructions

CHINT NRE8 Series User instruction

CHINT

CHINT NRE8 Series User instruction

ABB Tmax T7 Installation directions

ABB

ABB Tmax T7 Installation directions

ABB SACE Emax E2.2 Installation, operation and maintenance instructions for the installer and the user

ABB

ABB SACE Emax E2.2 Installation, operation and maintenance instructions for the installer and the user

Votronic RCBO 16-30 Mini Installation and operating manual

Votronic

Votronic RCBO 16-30 Mini Installation and operating manual

nader NDM3E Series product manual

nader

nader NDM3E Series product manual

Eaton CI-PKZ01 Series Instruction leaflet

Eaton

Eaton CI-PKZ01 Series Instruction leaflet

Siemens WL Series Selection and Application Guidelines

Siemens

Siemens WL Series Selection and Application Guidelines

WEG DWB800 installation instructions

WEG

WEG DWB800 installation instructions

Allis-Chalmers LA-600 Instruction book

Allis-Chalmers

Allis-Chalmers LA-600 Instruction book

Siemens 814913A Instructions for installation

Siemens

Siemens 814913A Instructions for installation

ABB Vmax manual

ABB

ABB Vmax manual

manuals.online logo
manuals.online logoBrands
  • About & Mission
  • Contact us
  • Privacy Policy
  • Terms and Conditions

Copyright 2025 Manuals.Online. All Rights Reserved.