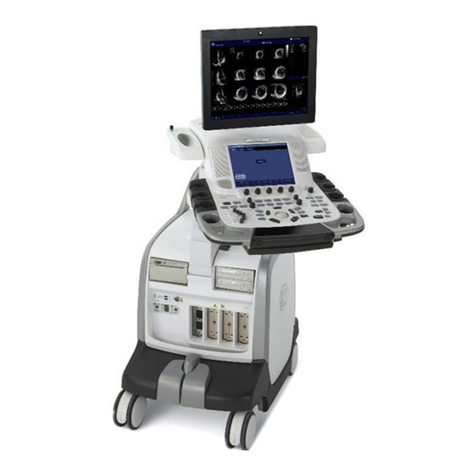
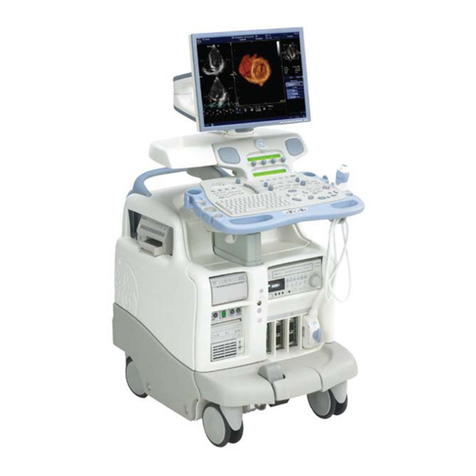
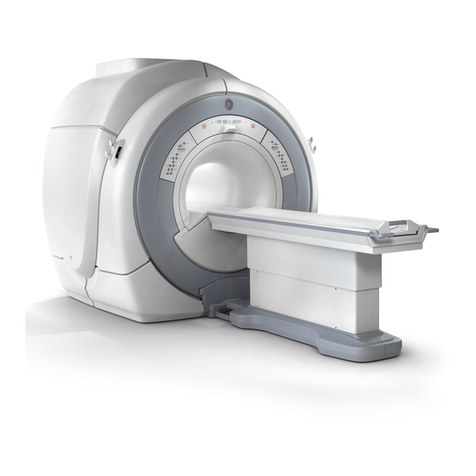
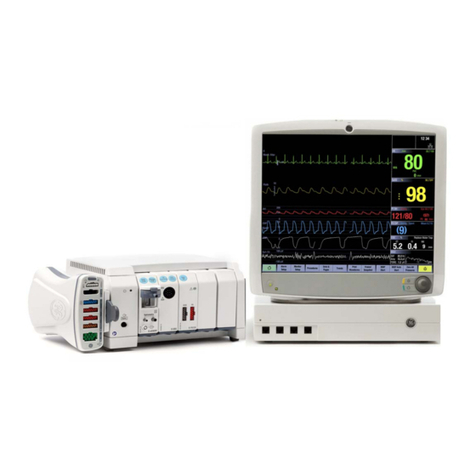
GE Voluson E8 User manual

GE Healthcare
Voluson
Quick Guide

Table of Contents
1. Voluson E8/E6 Quick Card 4
2. Guide to Connectivity 7
3. Guide to programming a CRL formula 10
4. Loading presets 14
5. Inserting New Measurements 17
6. Guide to Programming Charts 19
7. Guide to Customizing Annotation 20
8. Reviewing images on the Hard Drive 22
9. Easy Guide to Cine loops. 24
10. Easy Guide to M-Mode and Anatomical M-Mode 25
11. Guide on Spectral Doppler 28
12. Guide to Archiving 31
13. Changing Printer settings UP –D897 33
14. Cleaning the Print Queue 36
Page 2 of 37

Page 3 of 37
1. Voluson E8/E6 Quick Card

2. Voluson E8/E6 Quick Card
Entering Patient data
Select the ‘Patient’ key – button top left on console
Enter Patient ID, name, DOB (A patient ID must be entered to store images)
Exit the patient page by selecting ‘Start Exam’ on left of TV screen using tracker ball and set
key
To edit patient information during the scan, press ‘patient’ key
Edit the patient information
Select ‘continue scan’ - top right on touch panel OR left on TV screen with tracker ball and
set key to return to scanning
Selecting a Probe/Application/Preset
Press the Probe/Preset key – button to the right of ‘patient’ on console
Select on touch panel the probe, application and setting
Measurements
Press caliper to perform 2D distance – button left of ‘calc’
Place the caliper in the appropriate position and press ‘set’ – buttons either side of tracker
ball
Move the tracker ball, a second caliper will appear
Press ‘Calc’ key to assign a measurement to the report
Select a ‘calc’ measurement from touch panel
Doppler
Select Colour (C), then Pulse Wave (PW)
Position your curser, and adjust sample volume (gate) with the tracker ball and change
button (just above tracker ball)
Press ‘ Update’ (left tracker ball key) to activate dual imaging of 2D/PW
Move tracker ball to activate 2D image for repositioning, thereafter the PW will update
Freeze image
Select ‘Application’ and ‘Auto trace’ from tough panel
To deselect parts of the auto trace calculated, move the tracker ball left
Vertical green line will appear, position accordingly
Then press ‘change’ and move the tracker ball to the right to deselect left hand part of trace
Page 4 of 37
Press ‘set’
Amniotic Fluid Index (AFI)
Select quad screen, if applicable
Use the ‘update’ (right tracker ball key) to move to the next screen, press freeze on final
image
Select ‘Calc’ key, select AFI
The first of four caliper will appear
Set the caliper, and the next caliper will follow-on
Multiple Pregnancies
Set number of fetus on ‘patient’ data page
Select ‘calc’ to perform measurements
Toggle between fetuses to assign measurements – button below touch panel.
Annotation
Select ‘ABC’ – button below touch panel
Select annotation from the touch panel
Use the tracker ball to move the annotation around image
Press set, then select another annotation from touch screen
Colour Flow
Press the ‘C’ button
The colour box appears over the B-mode image
Use the Tracker ball to move the colour box
Press ‘change’ key (above tracker ball) to toggle between ‘position’ and ‘size’ of box
Pulse Wave Doppler
Press the ‘PW’ button
Adjust curser position and sample volume with the ‘change’ key and tracker ball
Press ‘Update’ (left tracker ball key) to view frozen 2D image and live spectral trace OR
Press ‘Simultaneous’ (right tracker ball key) to activate triplex imaging
Press ‘freeze’ and select measurement ‘application ‘ and ‘auto trace’ on the touch panel
Page 5 of 37

Split Screen
Select ‘dual’ or ‘quad’ split screen
Toggle between screens using the ‘update’ key (right tracker ball key) to obtain desired
image, freezing the last image
Print Keys – above the ‘freeze’ button
(These buttons are configured to customer needs)
Select ‘P1’ to store images to the hard drive (sonoview) and thermal printer
Select ‘P3’ to print images to thermal printer only
Report
Select ‘report’ button (below touch panel left of ‘abc’)
Review measurements assigned to ‘calc’
To toggle through pages of the report, use key at bottom of touch panel
End Exam
Select ‘End Exam’ – button top left on console, next to ‘patient’
‘Patient’ data page presents on TV screen ready for new patient information
Page 6 of 37

3. Guide to Connectivity
Touch Utility hard key
Select system setup on touch screen
Select Connectivity from the menu on left hand
Page 7 of 37

Select device setup and then dicom config
Add the new store mode on this page
On this screen complete the needed IP info
You would need to select STORE from the dropdown menu
AE title, alias, IP address and Port no
Save & exit to the above page again, test connection by highlighting the new store node and
click on test connection
Ping and verify should say OK to indicate that the link is established
Save and Exit this page
Configuration of Store Key (P-buttons)
Select Button Configuration
Page 8 of 37

I would suggest using P3 and P4
On this page select send: from drop down arrow select the desired destination
Go to the detailed setup and select how the system is to store the information, i.e. 2D single
frame or cine and same for 3/4D
I would suggest you set P3 up for single frame/ screenshot and P4 for your cine and 3/4D
volumes
Save and exit to store all changes!
I suggest you use P2 now for Thermal Print
Page 9 of 37

4. Guide to programming a CRL formula
Select Utility
Select Measure Set up
Select measure & calc tab (see image below)
Select application Ob and calc (see image below)
Select User 1
Highlight the measure column (4th column) with the cursor. (see image below). Ensure there
is a space for a chart (max 10). You will need to delete a measurement if not
Select Add
Page 10 of 37

Select New
Select Ob biometry and OK
Select measure name using drop down menu, type in authors name - must be unique! I
would suggest label this FSC
Select measurement tool -distance,
Select appropriate unit i.e. mm using drop down menu
Select Fetal age.
Select Equation.
Page 11 of 37

Enter the equation 23.73 + 8.1996*sqrt (CRL).
Select the required output and input and deviation values.
Output-Unit- d
Min 42.0649
Max 97.0695
Input Unit mm
Min 5mm
Max 80mm
Select OK (as per table below)
Page 12 of 37

Page 13 of 37

5. Loading presets
Press Utility button
Select System Set-up on touch panel
Select ‘Back-up’ with arrow, trackball and set key on left hand side.
This will open screen with back-up tabs
Select LOAD in the user settings only category
The system will now ask where to load from - Select DVD/CD drive / USB (make sure the disc
is in the drive before selecting this option)
Select load
Click on the file to select and click OK
Page 14 of 37

The next screen will display a split screen.
Click on the + next to user program on the left screen, this will now open up the content tree
Click on the + next to the RAB4-8-D/AB2-7 probe (whichever probe your are wanting to
upload the new presets)
Click on the + next to Obstetrics
Select the preset to upload or just highlight Obstetrics to upload all
Now press on the forward arrow in the middle of the split screen – this way the system will
only load the selected files to the right hand screen
Repeat this step for every probe or preset that needs reloading
Annotations can be loaded in this way as well
Click on load
The system will reboot after the backup
Page 15 of 37

Second step
Follow this step only if you are reloading all presets for a probe(s)
Go back into Utilities>system setup>Administration on the Lt menu
Service tab: password – she
Select Application settings – Mid right of the screen
Reselect the same file from CD/DVD or USB and select load – you will not be prompted to
select the different probes/presets
Back-up load is now complete
Page 16 of 37

6. Inserting New Measurements
Select Utility hard key
Select Measure set-up from touch panel
Select User 1 – factory settings can not be changed (arrow 1)
1
3
2
5
7
Select Calc – arrow 2
Select Application
4
Page 17 of 37

Click on the measure that needs editing (arrow 4)
Click on edit, this is to the right of the measure table on the screen (arrow 5 first image)
6
The screen, above, will appear to edit the measurement
Click in the unit field, (arrow 6)
This will allow choice of cm, mm or inches
Select OK after changes are made and go on to the next measurement-follow the same
steps for each measure to be changed
Select save (arrow 7) before exit, this will ensure all changes have been stored.
Using the Calc package for measure, select measure application on touch panel (arrow 8), select
user 1 to make sure the correct calc package is used
8
Page 18 of 37

7. Guide to Programming Charts
Select Utility
Select Measure set up
Select User 1/2/3 (not factory)
Select add
Ensure there is a space for chart (you may need to delete some first)
Select New
Select Ob Biometry
Select OK
Select measure name using drop down menu
Select Authors name
Select measurement tool i.e distance/area ellipse/2D area trace/ 2D points
Select appropriate unit i.e mm or cms
Select Fetal age or growth.- you will need to enter growth chart if you wish to have graphs
on the Ob report.
Select table (you can input a formula here if needed)
Select New
Select template
Select SD or growth percentile
Select edit table values
Fill in accordingly- you will need to highlight box and set to enter data.
Select + to add further rows
Select OK
Page 19 of 37

8. Guide to Customizing Annotation
Select Utility key
Select System Setup on the touch screen
Select text auto
Select General tab on left hand menu
Select User settings tab – second tab along the top of the Screen.
Page 20 of 37
Other manuals for Voluson E8
1
This manual suits for next models
1
Table of contents
Other GE Medical Equipment manuals
Popular Medical Equipment manuals by other brands

Max-Ability
Max-Ability PRESSALIT VersaMini user manual

ConMed
ConMed ABC 133023 quick start guide

Actron
Actron OBD II AutoScanner CP9175 instructions

Sunrise Medical
Sunrise Medical Jay Easy series User instruction manual

Zimmer
Zimmer ZLipo Med Instructions for use

Getinge
Getinge Maquet PowerLED II Maintenance manual