1
Volt
Power Supply Features
®LED Systems
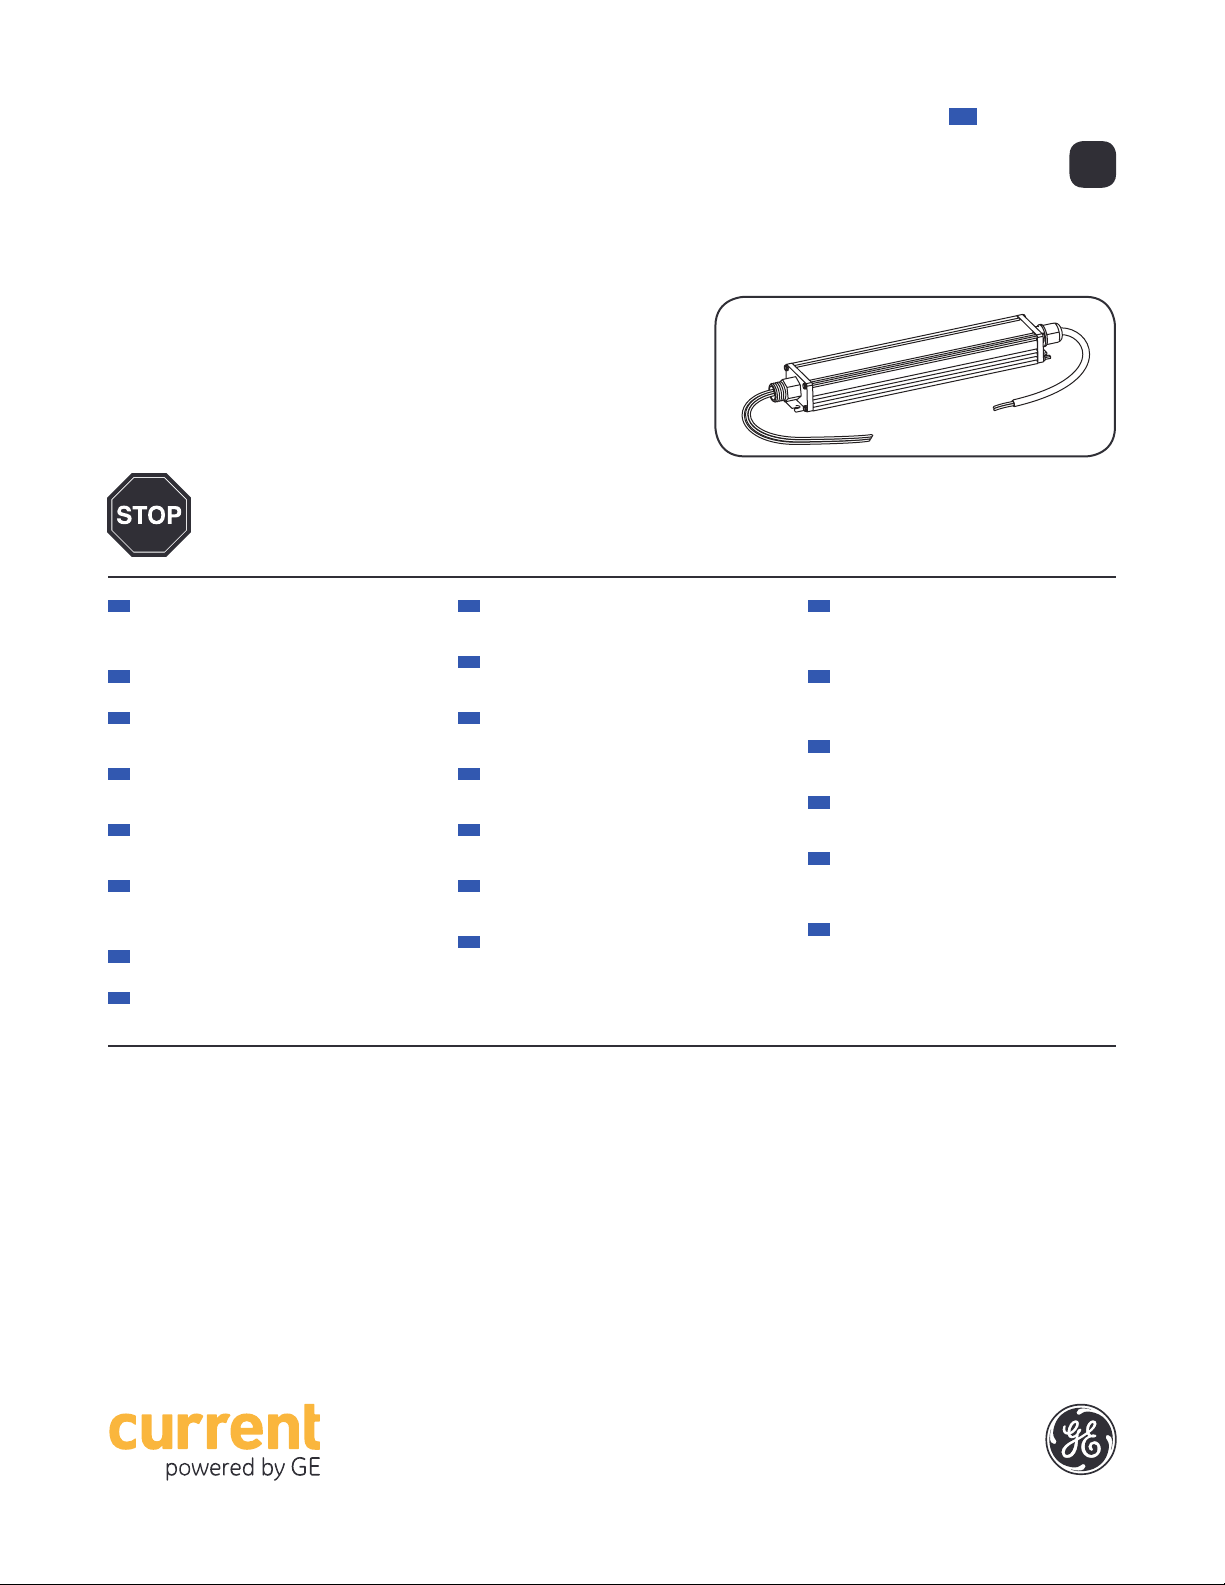
Power Supply
GEPS12W-60
• Supports all 12 VDC Tetra Products
• UL: Class 2
• IEC: SELV
• 100-240 VAC Input
12
Tetra
( VAC input / VDC output / W)100-240 12 60
EN Instruction Guide
BEFORE YOU BEGIN
Read these instructions completely and carefully.
For the latest North American install guides for your product go to: https://products.currentbyge.com/led-signage-lighting
For the latest European install guides for your product go to: https://products.currentbyge.com/eu
BG Българската версия на инструкциите за инсталаця
и информация за безопасност могат да бъдат
намерени на следния адрес: https://products.
currentbyge.com/eu
CS Návod k montáží a bezpečnostní informace v češtině
najdete zde: https://products.currentbyge.com/eu
DA Den danske version af installationsvejledningen
og sikkerhedsoplysninger kan findes på følgende
placering: https://products.currentbyge.com/eu
DE Die deutsche Version der Installationsanleitung und
Sicherheitsinformationen finden Sie in folgendem
Verzeic: https://products.currentbyge.com/eu
EL Μπορείτε να βρείτε την ελληνική εκδχή των οδηγιών
νγκατάστασης και των πληροφοριών ασφάλειας στην
εξής τοποθεσία: https://products.currentbyge.com/eu
ES La versión española de las instrucciones de instalación
y la información sobre seguridad puede encontrarse
en la siguiente ubicación: https://products.
currentbyge.com/eu
ET Eestikeelse paigaldusjuhendi ja ohutusnñuded leiate
aadressilt: https://products.currentbyge.com/eu
FI Asennusohjeiden ja turvallisuustietojen
suomenkielinen versio löytyy seuraavasta paikasta:
https://products.currentbyge.com/eu
FR La version française des instructions d’installations
et information de sécurité est disponible à l’adresse
suivante: https://products.currentbyge.com/eu
HR Hrvatska verzija priručnika za ugradnju i sigurnosnih
informacija nalazi se na sljedečoj lokaciji: https://
products.currentbyge.com/eu
HU A telepítési útmutató és a biztnosági információk
magyar nyelvű változata az alábbi címen található:
https://products.currentbyge.com/eu
IT La versione italiana del manuale di installazione e
sicurezza può essere reperita nella seguente sezione:
https://products.currentbyge.com/eu
LT Lietuvišką diegimo instrukcijos ir saugos informacijos
versiją galima rasti šioje vietoje: https://products.
currentbyge.com/eu
LV Uzstādīšanas instrukciju un drošības informāciju
latviešu valodā var atrast šeit: https://products.
currentbyge.com/eu
NL De Nederlandse versie van de installatie-instructies
en veiligheidsinformatie kan op de volgende locatie
worden gevonden: https://products.currentbyge.
com/eu
PL Polską wersję instrukcji instalacji oraz informacje
dotyczące bezpieczeństwa można znaleźć w
następującej lokalizacji: https://products.currentbyge.
com/eu
PT A versão em Português das instruções de instalação e
das informações de segurança pode ser encontrada
na seguinte localização: https://products.currentbyge.
com/eu
RO Versiunea în limba română a instrucţiunilor de
instalare şi a informaţiilor de siguranţă pot fi găsite la:
https://products.currentbyge.com/eu
SV Ni hittar den svenska versionen av
installationsanvisningarna och säkerhetsinformationen
på följande plats: https://products.currentbyge.com/eu
SL Previdnostna opozorila in varnostne informacije so na
zadnji strani vodnika za namestitev. Pred začetkom
namestitve izdelka jih skrbno preberite: https://
products.currentbyge.com/eu
SK Slovenskú verziu montažnej príručky a
bezpečnostnŷch instrukcií nájdete na nasledujúcej
lokalite: https://products.currentbyge.com/eu


