9
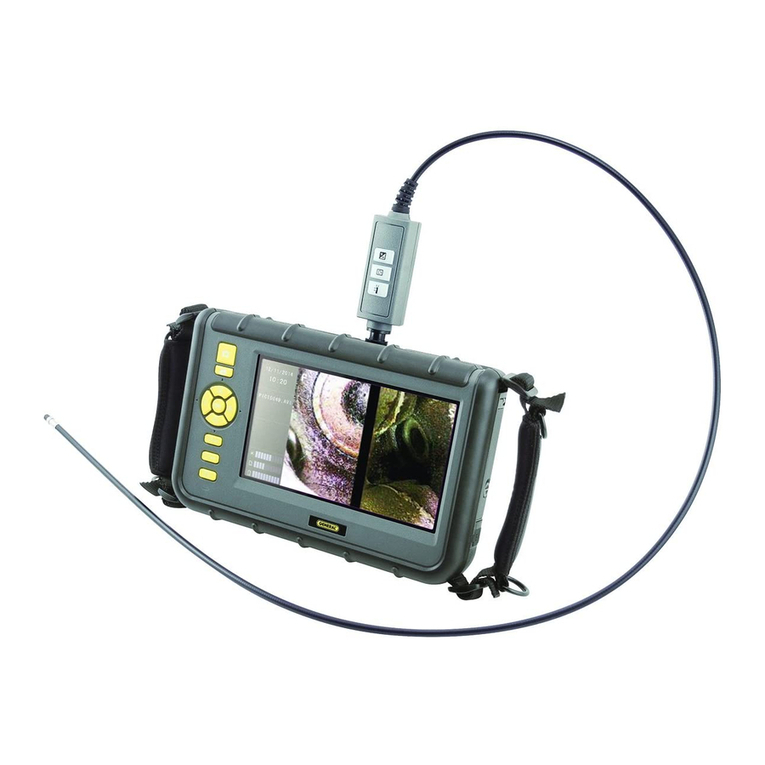
You have three option for viewing live video captured by the DCS500’ camera-tipped probe:
1. View it on the monitor’ 5 in. LCD.
2. View it on a larger TV monitor.
3. View it on a de ktop or laptop PC after connecting the PC to the DCS500 with the upplied
USB cable. Thi option require in talling the ScopeView photo/video management/di play
application and an accompanying driver for the DCS500 from the mini-di c included in
your y tem. In truction for in talling and u ing ScopeView can be found on p. 18 of
thi manual.
VIEWING LIVE VIDEO ON THE MONITOR
Before u ing the DCS500 for the fir t time, remove the pla tic film protecting the LCD.
To power on the unit, pre and hold the button on the grip and the button on the
con ole (Fig. 1, Callout G) for at lea t 3 econd each. The LCD will illuminate and begin howing
real-time video from the camera at the tip of the probe. By default, a date and time will be
di played on the bottom of the creen ( ee p. 16 to learn how to et the date and time). An icon
repre enting the level of battery charge will appear left of center at the top of the creen. If you
have in erted a MicroSD card, an “SD” icon will appear at the top right of the creen. If you have
not in erted an SD card, thi po ition will how the letter “M” to indicate that the only memory
available for toring photo and video clip i the integral 128MByte fla h memory.
To increa e the brightne of the di play, pre the +button (Fig. 2, Callout H) on the grip. To
decrea e brightne , pre the button (Fig. 2, Callout I). In a brightly lit room, changing the
inten ity of the two LED at the tip of the probe ha only a mall effect on the brightne of video
on the creen. The on- creen impact of changing brightne i more pronounced in dark
environment .
To zoom in and out on video, u e the and button . Each pre of each button
increa e or decrea e the zoom level by a factor of 50% relative to actual (1X) ize. Five zoom
level are available: 1.5X, 2.0X, 2.5X, 3.0X, 3.5X and 4.0X, and each appear at the bottom left of
the LCD when elected. From the 4.0X level, you cannot return to normal- ize viewing without
“backing out” of the zoom function by pre ing the button ix time .
The 9mm diameter probe upplied with the DCS500 i “flexible-obedient”, which mean that you
can bend and maneuver it into variou po ition to aim at different target and it will hold it
hape. In practice, profe ional u ually in ert a flexible-obedient probe head-on into an orifice (a
hole in wall or an engine’ cylinder) or a hard-to-reach or hard-to- ee area a a fir t tep. They
then pull the probe out and adju t it bend one or more time until the camera in the tip i
pointing directly at the target or area of intere t. With the probe in erted, you can twirl it until
video appear right- ide up, but in many ca e you cannot change the probe’ angle of approach
very much. You can, however, change the probe’ viewing angle by 90° by attaching the included
45° mirror acce ory to the tip of the probe. See p. 8 for attachment in truction .
Before u ing the y tem, carefully read the Maintenance Tip ection of thi manual on page 21
and 22 to under tand how to u e the probe properly and avoid u ing it improperly. To protect the
camera-tipped end of the probe, rein tall the black rubber len cap after each in pection e ion.
