INTRODUCTION
Thank you for purchasing eneral Tools & Instruments’ ( eneral's) DCS660A or DCS665
Wet/Dry Recording Video Inspection System. Please read this user’s manual carefully and
thoroughly before using the instrument.
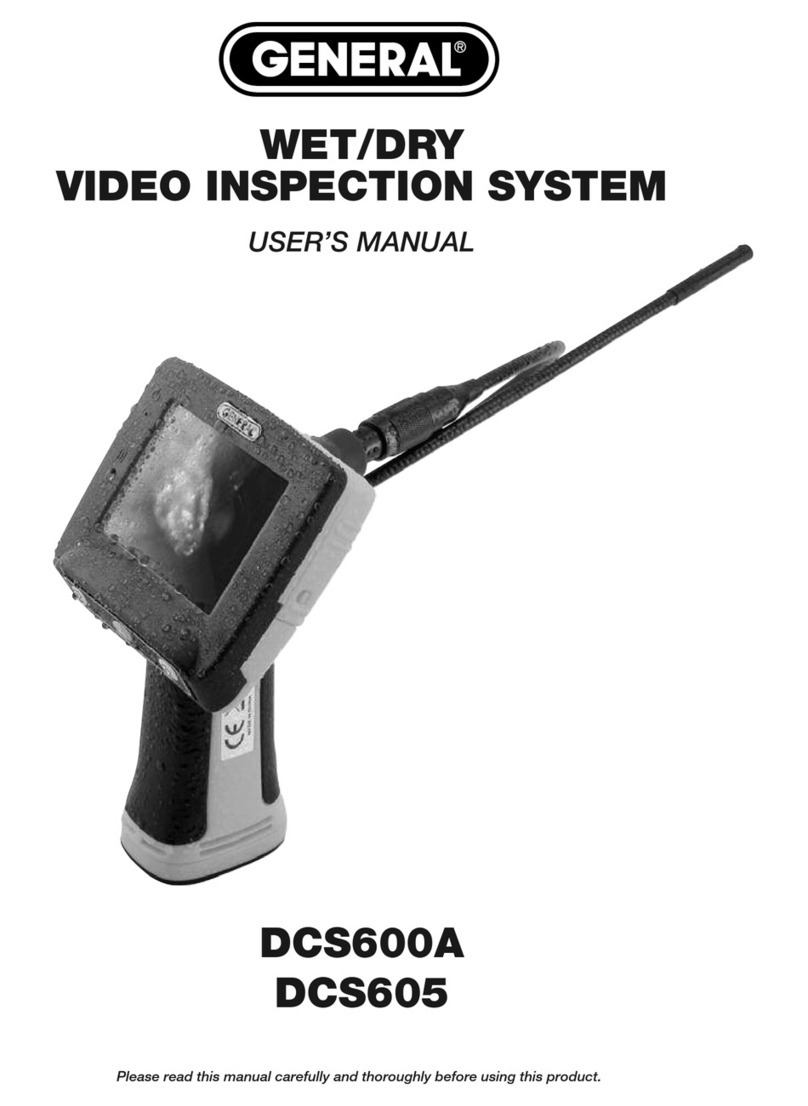
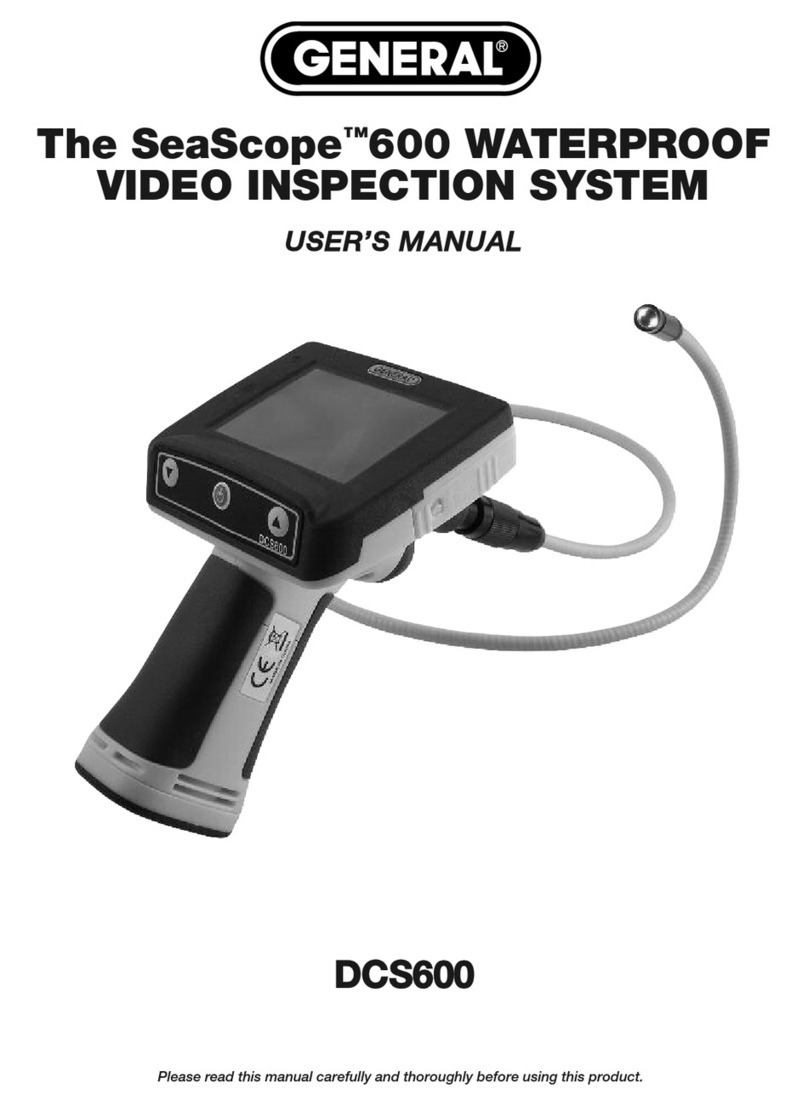
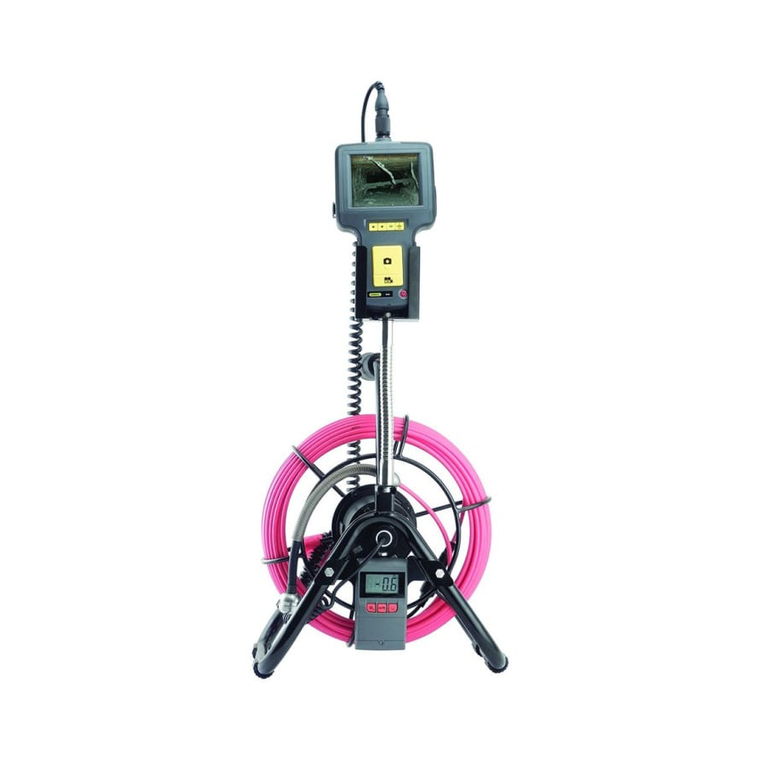
The DCS660A and DCS665 are two of only four video inspection systems on the market with
an IP67 waterproof grip and monitor as well as an IP67 waterproof camera-tipped probe. The
other two systems are eneral's DCS600A and DCS605, non-recording (real-time) versions of
the DCS660A and DCS665.
The only differences between the DCS660A and DCS665 are the diameter and depth of field of
their probes. The DCS660A comes with an 8mm diameter, 1m (3.3 ft.) long, far-focus probe
with a depth of field of 2.4 in. to 10 ft. (60mm to 3m). The DCS665 comes with a 5.5mm
diameter, 1m (3.3 ft.) long, close-focus probe with a depth of field of 1.2 to 2.4 in. (30 to
60mm). The remainder of this manual refers to either system as "the Recording Wet/Dry
Scope" or simply “the scope”.
The Wet/Dry Scope’s water tightness makes the system ideal for plumbing-related tasks like
inspecting water or sewer lines carrying running water. The system also can be used to
inspect parts of boats, ships or bridges just below the surface. Because the entire unit is
impervious to water you can use it freely around water without worrying about accidentally
“dunking” the grip and monitor. No other camera scope with an integral monitor—other than
the DCS600A or DCS605—is completely watertight.
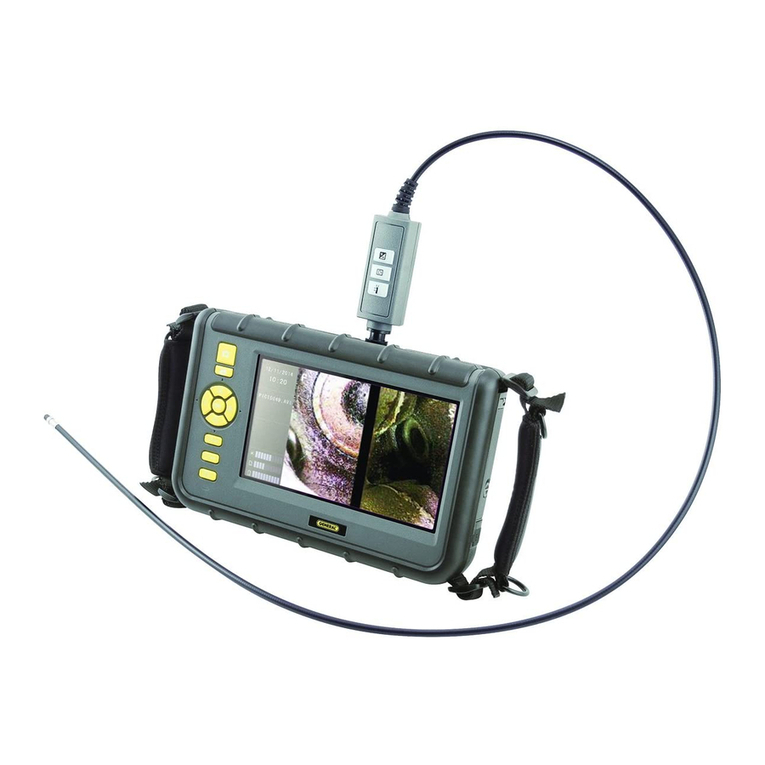
Operated in real-time video mode, the Recording Wet/Dry Scope uses only three control
buttons to execute five functions (powering on/off, 1 to 4X zoom, increasing and decreasing
brightness, and inverting the field of view), making it very easy to learn to use. Video within the
probe’s field of view is displayed on a large, crystal-clear 3.5 in. (89mm) diagonal color LCD.
Alternatively, video can be viewed on an NTSC- or PAL-format television by plugging an
included A/V cable into a jack on the side of the scope’s monitor.
The scope’s recording capabilities make it possible to document—with high-resolution videos
and images—what the probe “sees.” Pressing the front-panel button stores either a
still image or an AVI video (depending on how you configure the button) of the probe's field of
view on a 4 B MicroSD memory card supplied with the system. The same button is used to
view (play back) recorded images and videos on the unit’s LCD. Alternatively, recorded images
and videos can be viewed on a larger screen by ejecting the SD card and plugging it into a
laptop or desktop PC, or by connecting the scope to a PC via the included USB cable.
The scope’s recording functions are controlled by a familiar menu-driven interface. Behind the
front-panel MENU button is a hierarchical control structure that lets you:
• Set the current date and time
• Set the video frame rate to 20, 25 or 30 frames per second (fps)
• Format the MicroSD card
• Choose NTSC or PAL compatibility for video sent to a TV monitor
• Choose English, erman, Spanish, French or Dutch as the language of on-screen menus
and prompts 3
