Introduction: (newest version)
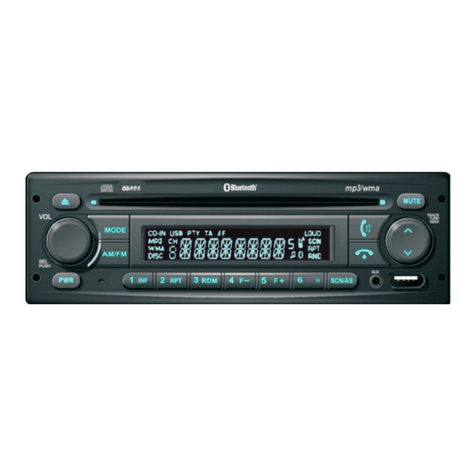
Many GM owners looking to add Bluetooth without changing the original radio will
be pleased to find the A2DIY-GM1. This new release features Bluetooth Hands-
Free and music streaming from any smartphone or Tablet with A2DP and
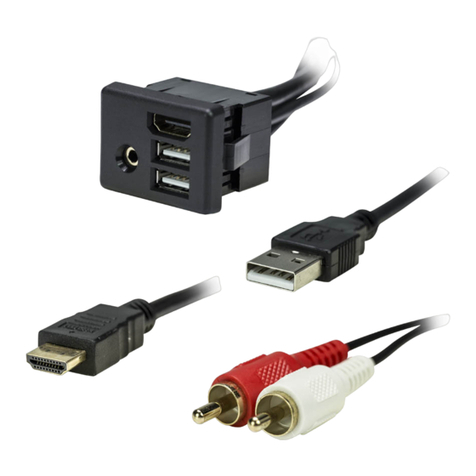
Hands-Free profile. In addition to Bluetooth, a 3.5mm input jack is included to
connect and play portable audio devices (e.g., Mp3 Players, satellite radio kit,
iPods etc.) and optional USB fast charging port which automatically
determines the amount of current required to charge device while on the road
and new media button (replaces wireless remote) from which users may change
tracks, volume, switch between sources, end phone calls and more while keeping
eyes on the road.
Keep the radio and car you love while enjoying Bluetooth features only
available on newer cars. For more details, see Frequently Asked question at
the end of this guide.
Installation:
1. Remove factory radio from dash (Vehicle specific radio removal
procedure is not part of this guide but available upon request)
2. If vehicle is equipped with a CD changer, slave unit or Bose system;
disconnect 9-pin plug from radio (See. Fig. 1).
This port will be empty if
vehicle does not have any of the aforementioned factory options ---
skip to step 2.
Fig. 1
Radio 9-pin port
3. Connect installation harness 9-pin plug (black) (See Fig. 2) to radio 9-
pin port (See Fig. 1)
Fig. 2
installation harness
4. If vehicle has Bose system, connect factory 9-pin plug (removed from
radio in step 2) to installation harness matting 9-in connector (white)
Vehicles with slave CD or Tape player (in lower dash); remain
disconnected and 9-pin connector (white) on installation harness
remains empty.
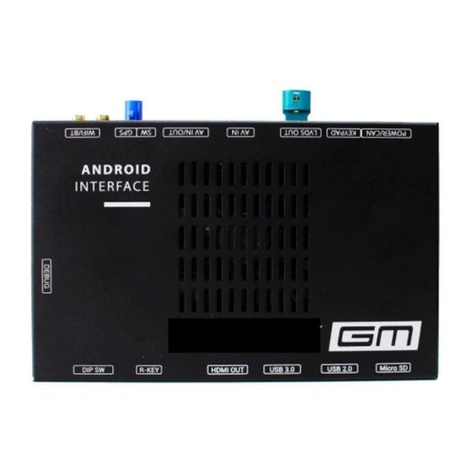
5. Connect installation harness 22-pin Molex plug (See Fig. 2) to module
22-pin connector (See Fig. 3)
Fig. 3
Module
