GMC GM3x-HF Instruction Manual

Courtesy of:DiscountCarStereo.com
Driving without distraction is a necessity for a safer driving experience
GM3x-HF
QuickstartInstallationGuideforGMClassIIVehicleswithXMTunerorRemoteCDChanger
Created July 19, 2016
Revised: October 16, 2019

Introduction:
Safety comes first when you’re on the road, so having an intuitive and easy to
use Bluetooth kit is essential to reducing driver distraction. The GM3x-HF kit is
compatible with virtually all Bluetooth phones, and sounds great whether using
for mobile conversations, streaming music or listening to XM or remote CD
changer. A USB Charging port is included to keep power hungry devices charged
and a stylish control button with built-in mic to launch Voice recognition
application (Siri, Google Now, Blackberry Assistant etc.). Thanks to the GM3x-HF
Kit you can keep the stereo, retain XM or *remote CD changer while enjoying
Bluetooth features only available on newer cars.
Note: XM subscription not required for operation, however subscribers retain
the service. If not subscribed, the module AUX input can be used to connect and
play audio devices such as Mp3 players, satellite radio kit, Remote CD changer
(if present, remains operational. (remote changer is not built-into radio)
See Frequently Asked question at the end of this guide for more details.
Installation:
Radio must be removed from dash (Vehicle specific radio removal
instructions are not part of this guide, but available upon request)
1. Unplug 12-pin plug from radio by pressing gray locking tab (See Fig. 1)
Fig. 1
GM Class-II radio plugs
2. Connect factory 12-pin plug into 12-pin connector on installation
harness (See Fig. 2)
Fig. 2
harness 12-pin connector
3. Connect 12-pin plug from installation harness (See Fig. 3) to 12-ppin
connector on radio vacated in step 1
Fig. 3
harness 12-pin plug

Fig. 4
4. Retaining XM Subscription Or remote CD changer playback:
Connect longer 3.5mm plug from installation harness (See Fig. 4) to
“XM/AUX* jack on module (See Fig. 5)
5. Connect shorter 3.5mm plug from installation harness (See Fig.4) to
3.5mm jack on module pigtail cable (See Fig. 6)
Proceed to step 8.
6. Expired XM without remote CD changer:
If XM subscription has expired or vehicle is not equipped with an
external/remote CD changer, use module input jack to connect and
play non-Bluetooth audio devices such as MP3 Players, Satellite radio
kits, or any device with headphone out. Use included 3.5mm male to
male cable (See Fig. 4a) to connect your audio device to module
“XM/AUX” input jack.
Fig. 4a
3.5mm male to male cable
Fig. 5
Module
7. Connect shorter 3.5mm plug from installation harness (See Fig. 4) to
3.5mm jack on module pigtail cable (See Fig. 6)
Fig. 6
Audio output jack
8. Connect Red wire from module to 12V Accessory supply wire in
vehicle. Do not use 12V constant supply (battery).
Tip: Accessory (ACC) is available on ignition harness (found under steering
column). Remove steering column cover and tap into orange or brown wire
coming off ignition harness or locate suitable 12V ACC supply in fuse panel.
Red wire should have power only when ignition is “ON”.
9. Connect black wire to ground (radio chassis is a good option), cigar
lighter plug etc.

10. Connect control button/mic (See Fig. 7) to module (See Fig. 5)
Fig. 7
Control button/Microphone
11. Consider where to install control/microphone button. Keep in mind
control button must be within reach and facing driver for voice
commands and phone dialog (cable is 6ft. long). We recommend
completing the rest of the install prior to securing the
control/mic button to the dash. Once you decide on a location simply
remove tape backing from control /mic button
Make sure no ventilation duct is pointed towards the mic.
It is best to mount button facing driver
USB Charging Port Options:
Should you decide to use it, we suggest one of 3 connecting options:
A. Flush to dash/panel requires drilling a ¾” hole in the dash
B. Flush with Support bracket (use this option to mount USB terminal
wherever your installation demands without drilling)
C. Free standing (default)
A. Flush to Dash or Panel (drilling required)
1. Drill a ¾” hole in the dash or panel using a step drill bit or equivalent
(See Fig. 9)
Fig. 9
Step drill bit
2. Insert USB male terminal (See Fig. 10) through the ¾” hole created in
step 1 and connect to Modules USB port (See Fig. 11)
Fig. 10
6 ft. USB cable

Fig. 11
Module USB port
3. Install USB head (See Fig. 12) in place and flush with mounting surface
(See Fig. 13)
Fig. 12
USB head
Fig. 13
Flush mounted to dash
4. Tuck and secure any extra wire from moving parts and test operation
(See Enabling the AUX section below)
B. USB with Bracket Mount (No drilling)
1. Locate a flat surface at location of choice within 6 ft. of radio to mount
USB support bracket (See Fig. 14) using the adhesive backing or
screws
Fig. 14
USB mounting bracket
2. Insert USB male terminal through bracket (See Fig. 15) and connect to
Module USB port (See Fig. 11)
Fig. 15
3. Install USB head until it snaps in place and flush (See Fig. 16)
Fig. 16

4. Tuck and secure any extra wire away from moving parts and test
operation (
See Initial Radio Setup
)
C. Un-Mounted (Free Standing) Terminal
Use your own USB charging cable included with your Apple, Samsung device
(Port is for charging only)
3.5MM JACK + USB Charing Cable
This option works best for charging and aux input options and can be mounted to
vehicle using included bracket or by drilling hole. Connect USB and 3.5mm to
module (USB and AUX input) and install terminal to dashboard (drilling required)
or bracket (no drilling).
Secure module and proceed to section next section.
Bluetooth Pairing and Connection
This process is required the first time you use the GM3x-HF. After initial pairing,
the GM3x-HF will automatically reconnect with phone upon entering vehicle.
1. Turn vehicle ignition to “ON”.
2. Red LED inside module will begin to flash
3. Access Smartphone Bluetooth menu settings, and search (scan) for
devices.
4. Select the G2 and click “Connect”
Note: Supports multiple phones but connects to only one phone at a time.
Caller ID and text display are not possible in XM mode.
Operating Bluetooth device is by pressing the control
button and your Voice Recognition application. Use the
factory radio volume button to control playback

Bluetooth Operation
1. Press “BAND” button on radio to enter XM mode or CD/AUX button to
enter external CD Changer mode
2. Use radio volume button to set playback level
Music Commands
To
Proceed this way
Pause a Song
Press and release button
Resume Play
Press and release button
Skip to next song
Press button twice
Skip to Previous Song
Press button 3 times
Activate XM/Aux Playback*
Press button 4 times
Activate Voice Control
Press/hold button for 2 seconds
Switch out of XM Mode
Press and release button
Phone Commands
To
Proceed this way
Answer call
Press and release button
End call
Press and release button
Reject incoming call
Press button twice (call goes to VM)
Cancel outgoing call
Press button twice
Activate Voice Control
Press/hold button for 2 seconds
Notes:
1. If playback is distorted, adjust volume on Bluetooth device.
2. To reset Module press and Hold button for 5 seconds (this will not
un-pair phone or erase stored phones)
3. On incoming calls, ring tone will play on car speakers
4. Bluetooth range is approximately 30 ft. make sure device is within
range
5. Voice command compatible with Apple (Siri), Android (Google Now),
Blackberry (Assistant)
6. * Control button will not control XM/Aux functions. Use radio button
assigned to these functions or aux device built-in control for music
selection.
7. Upon ending call, audio streaming resumes playback, however to
resume XM/AUX control button must be pressed 4 times.
If successful go ahead and Reinstall the Radio
Congratulations, you’ve just updated your vehicle to support new technology
while preserving the original radio and dash components.
Enjoy!

Frequently asked questions
1. My vehicle has XM Tuner but no subscription. Will the GM3x-HF work
without Subscription?
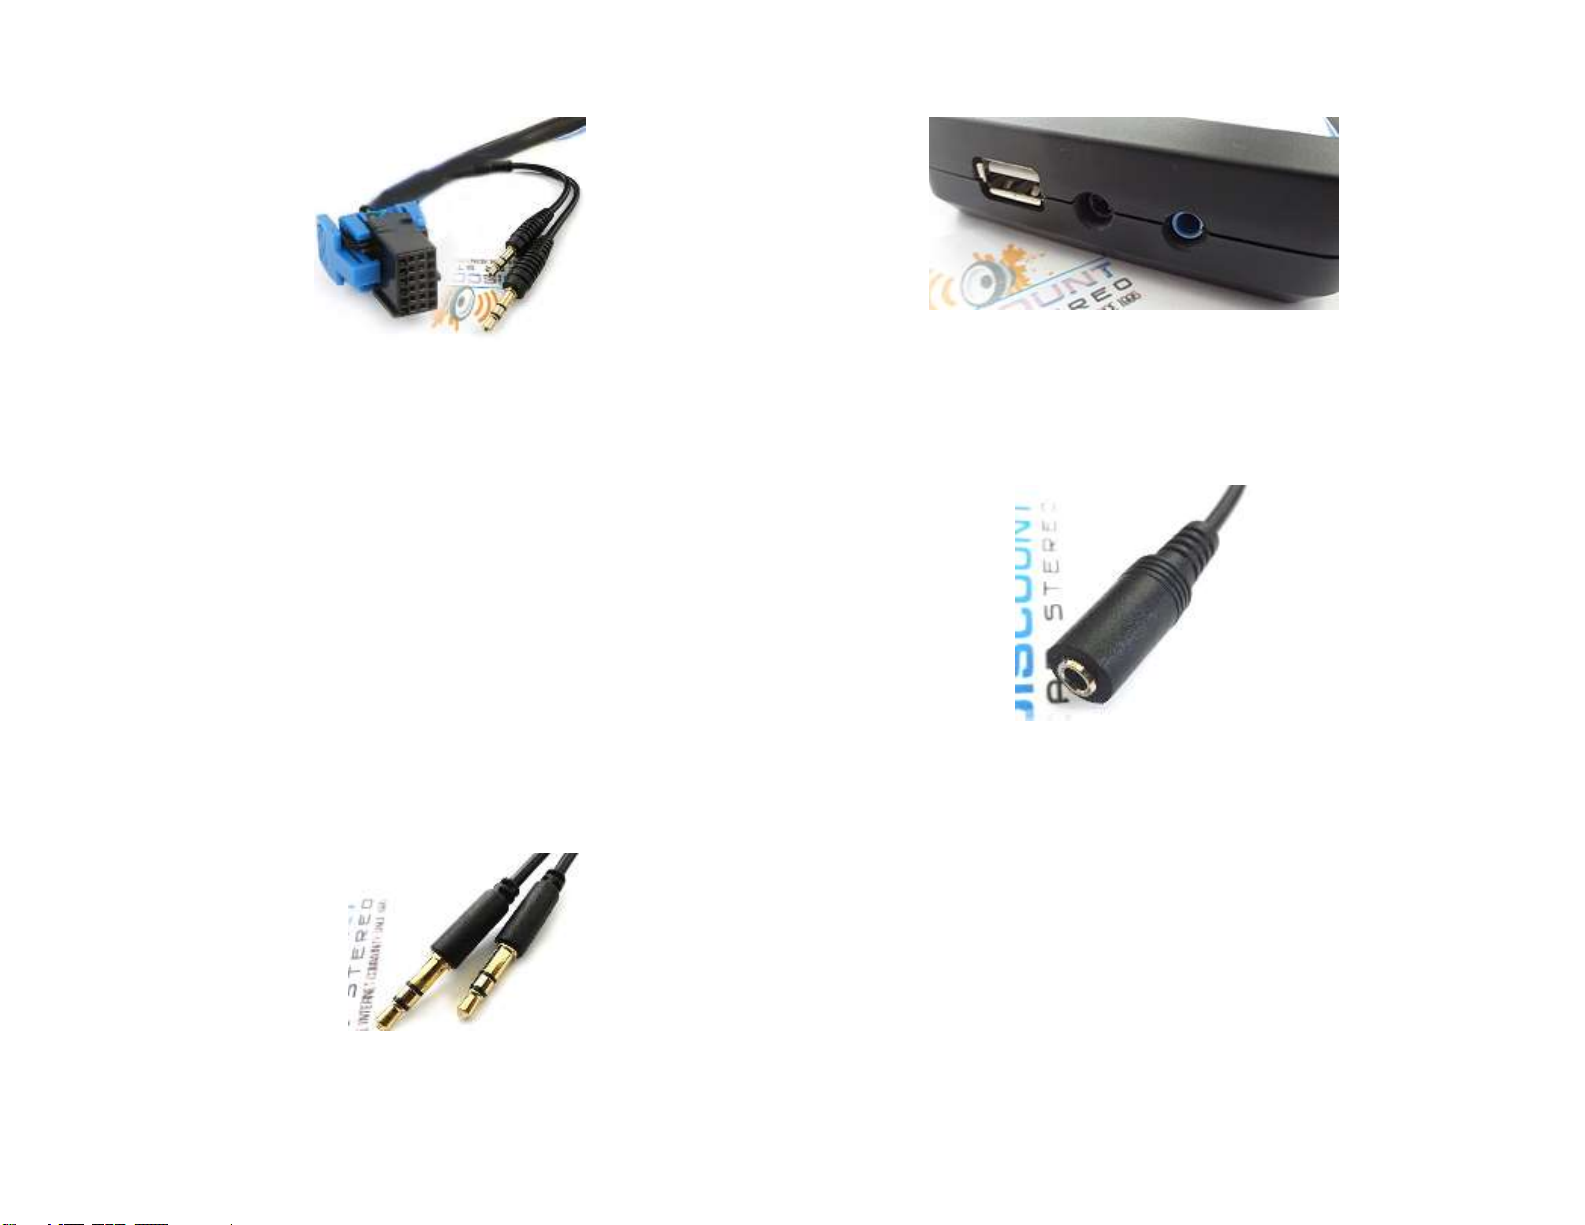
Yes. In addition, the XM/AUX input on module can be used to connect and
play aux devices (Mp3 Players, iPod, DVD, iPad etc.Auxiliary input option is
not available to XM Subscribers.
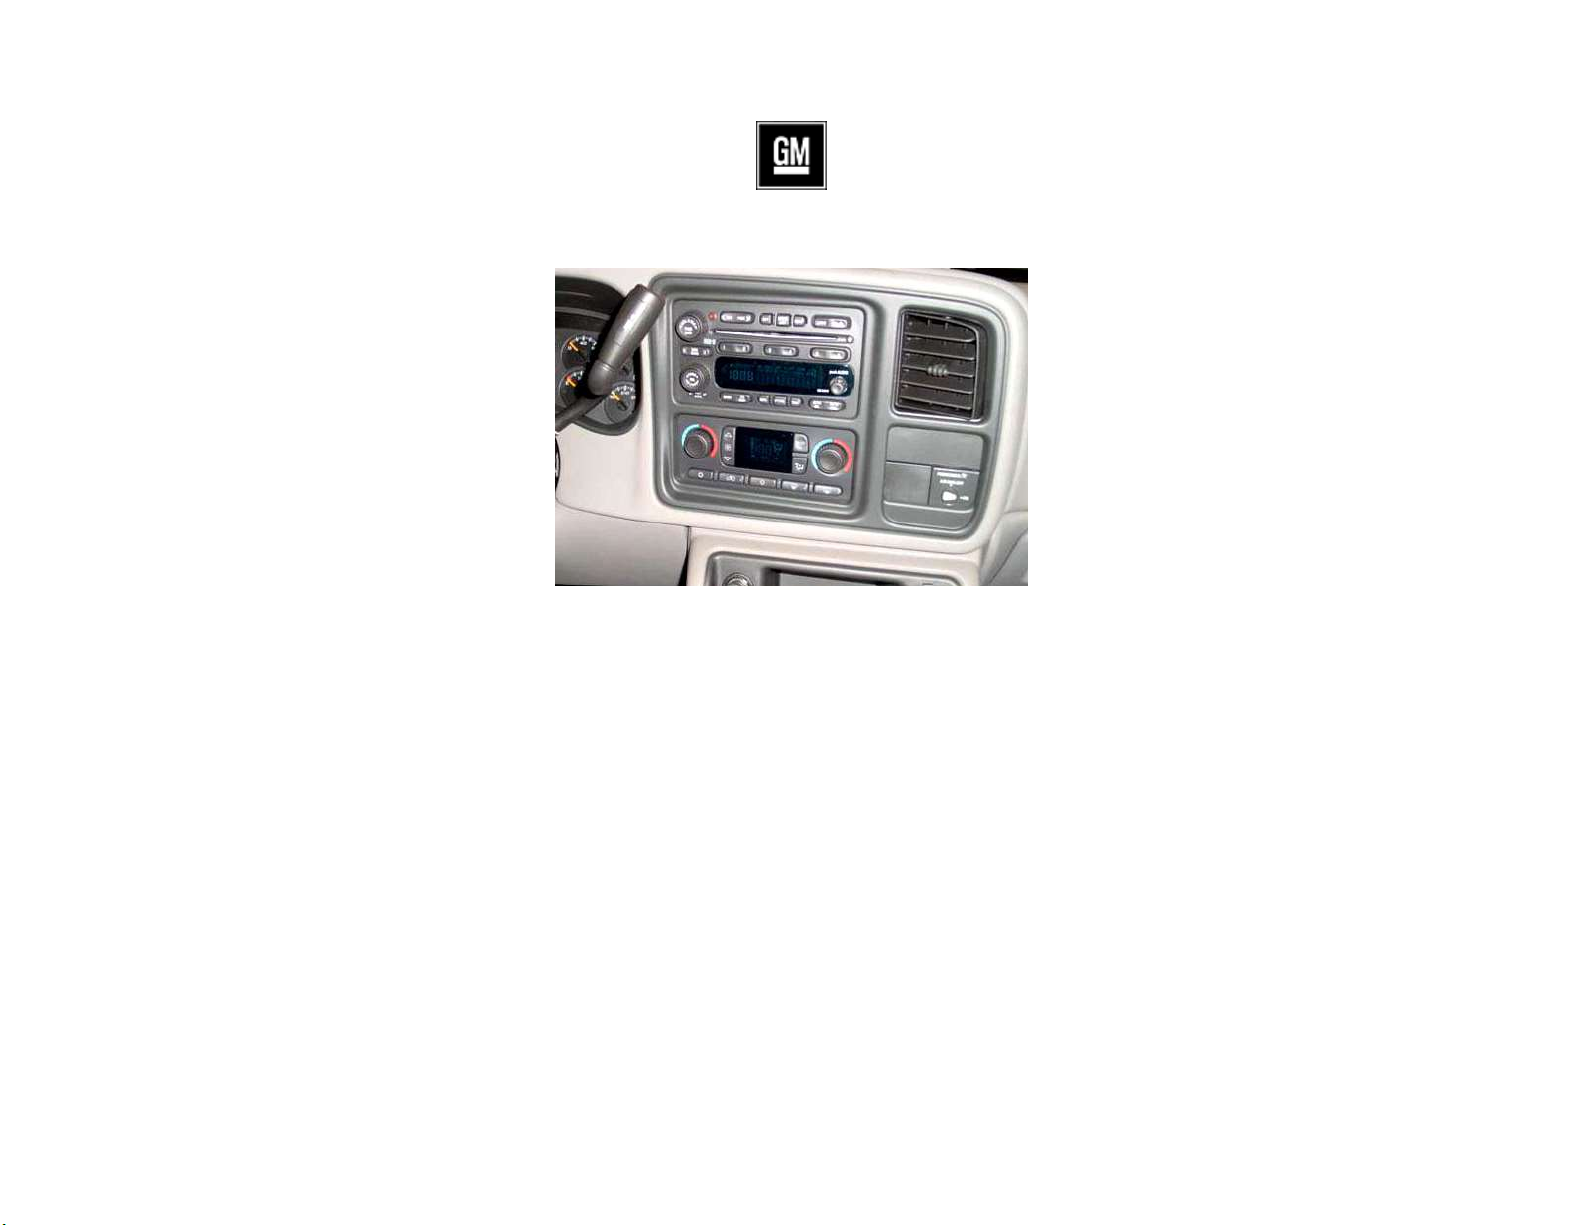
2. I’m not the original owner and don’t know if vehicle has XM Tuner. How
can I find out without ripping it apart?
Turn Radio “ON”. Press “BAND” button repeatedly to cycle through
AM/FM/CD/XM1/XM2. If only AM/FM is displayed, your vehicle does not have
the XM Tuner Module and therefore not compatible.
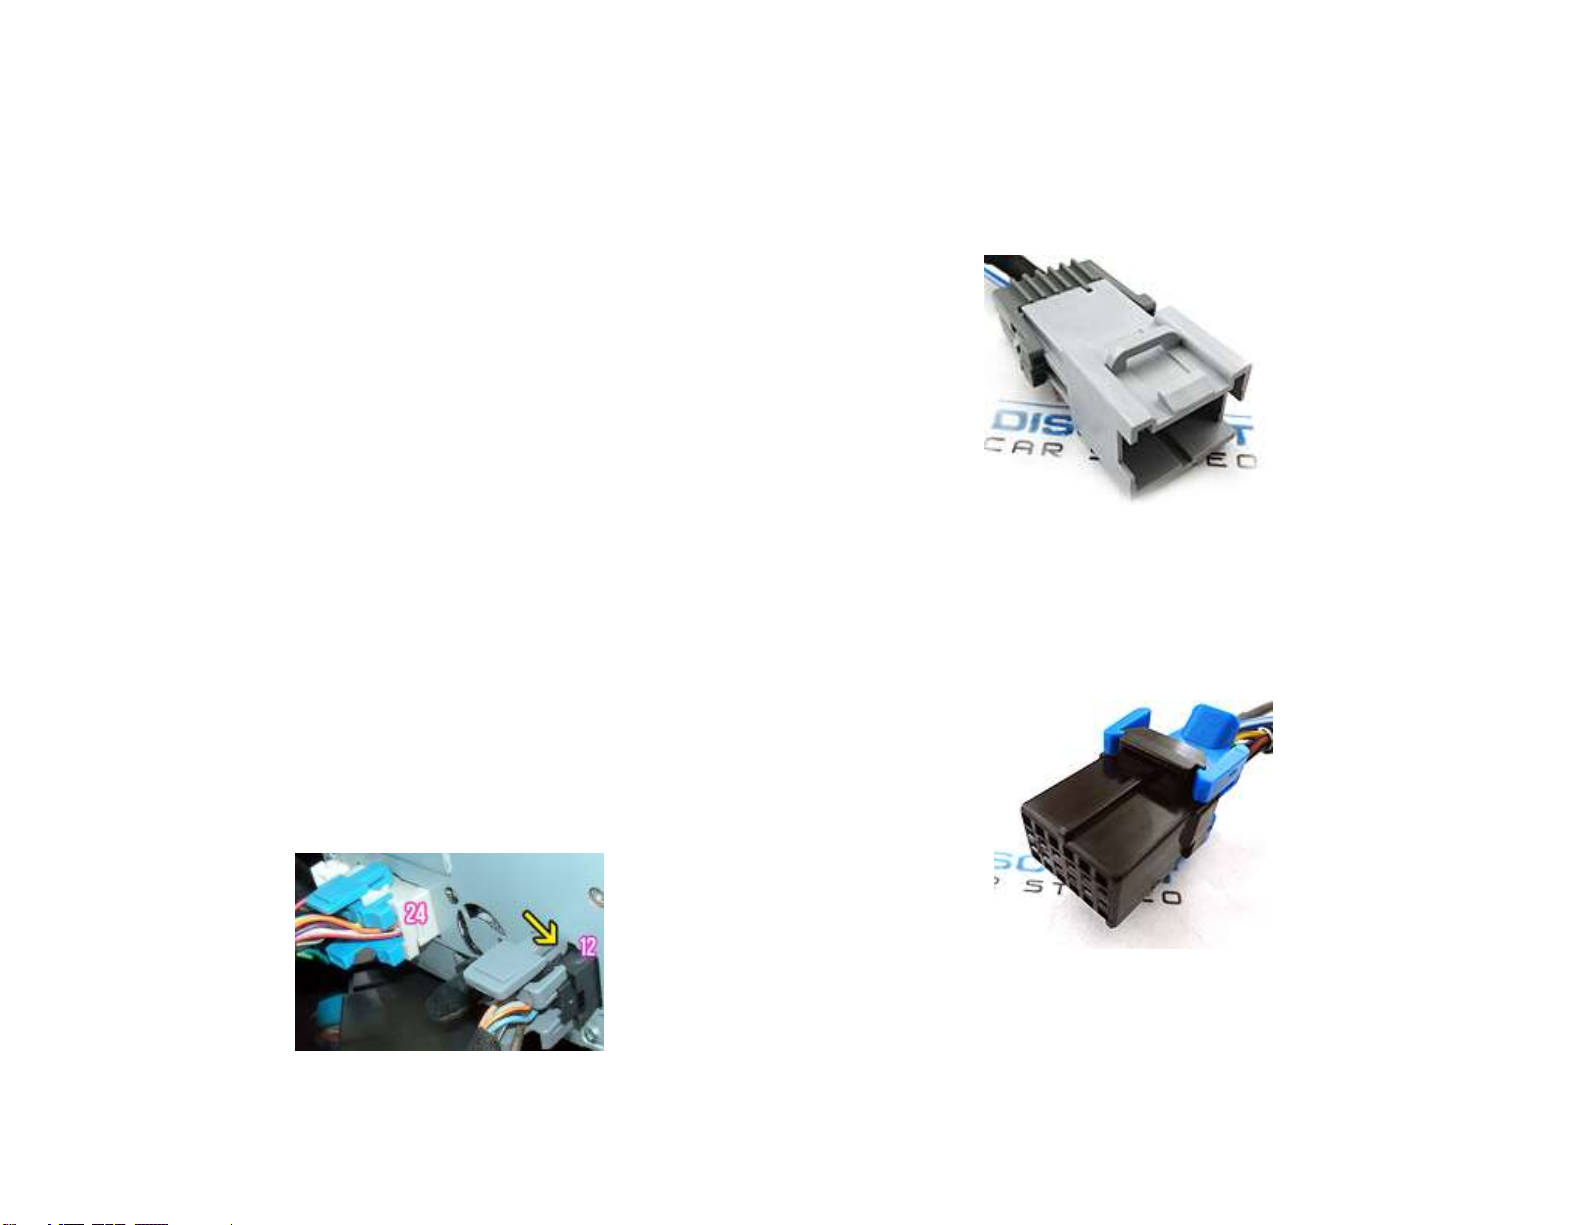
3. Does the GM3x-HF work on all GM radios?
Works on Navigation and non-Navigation GM Class-II radios with XM tuner
module with or without subscription or with remote/external CD
Changer. (Changer built-into radio is not external/remote)
4. Can I control Smartphone music from radio buttons?
NO; you must continue to use Phone built-in controls or the control
button and/or voice commands to operate the device. Volume button on
radio can be used to set playback level.
5. How to I reset the Module?
Press and hold control button for 5 seconds
6. How do I listen to XM or External/remote CD changer?
Press the BAND, XM or CD/AUX button on radio to enter XM or CD Changer
Mode (if not already) then press control button 4 times. These
instructions also apply to Auxiliary option (instead of XM/CD Changer)
7. Where is the best place to install control button/mic?
We found that having the control button/mic mounted higher on the dash
worked best, but users can experiment with different location and decide
which works best for them.
8. Will the stereo mute when I receive or make a phone call?
This system will not mute unless radio is in “XM” or “CD Changer” mode
(Bluetooth mode). If in AM/FM mode, the radio will not mute and you must
switch Bluetooth Mode.
9. My second phone does not pair or find the Bluetooth Module?
In order to pair a second phone make sure no other phones are connected.
Once Bluetooth is turned off, module is free and ready for pairing.
10. Will I be able to use Module USB port to connect and play music from
flash drives?
No. The USB port is for charging only.
11. My radio has a built-in 6-CD Changer. Will this adapter work?
As the name would imply, external or remote CD changer refers to changer
mounted in a remote location in vehicle (e.g. armrest, glove box, trunk,
hatch, under seat etc.) The changer built-into some GM Radios is
internal and do not qualify as External or remote CD changer.
Disclaimer
• This product has no affiliation with GM
• We’re not liable for misuse of this product.
•We recommend professional installation
email [email protected]om
© 1995-Oct-19 Discount Car Stereo, Inc. All rights reserved. Information in this document is
subject to change without notice. Other products and companies referred to herein are
trademarks or registered trademarks of their respective companies or mark holders.
Table of contents
Other GMC Automobile Accessories manuals

GMC
GMC A2D-GM1 User manual

GMC
GMC Elite Series User manual

GMC
GMC AUX-GM2 Instruction Manual

GMC
GMC IL-GM3 Instruction Manual

GMC
GMC ME-9H3332G-01 User manual

GMC
GMC AUX-GM4 Instruction Manual

GMC
GMC ANDROID INTERFACE User manual

GMC
GMC AUX-GM3 GM CLASS II Instruction Manual

GMC
GMC BLU-GM3 User manual

GMC
GMC A2D-GM2 User manual