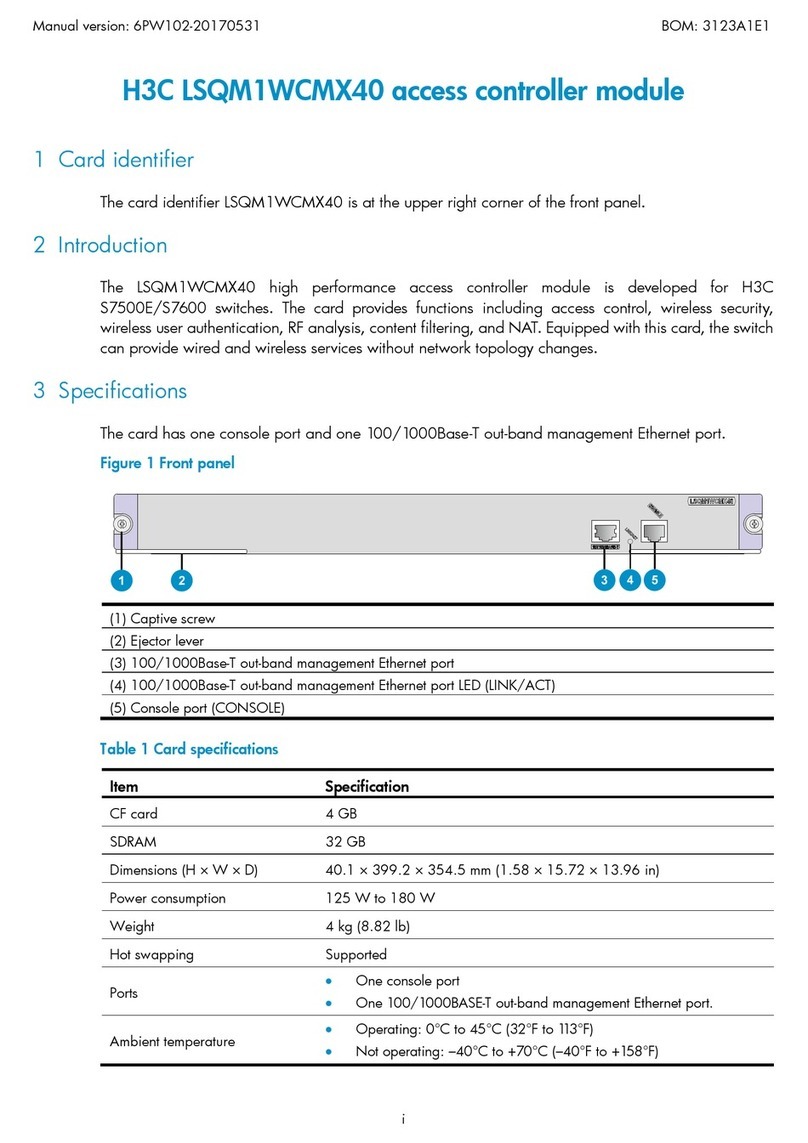
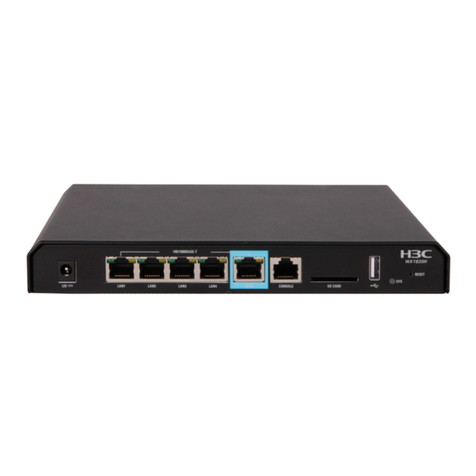
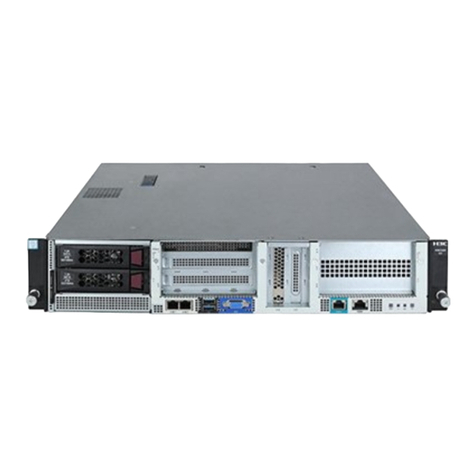
H3C WBC580 User manual

H3C WBC580 G2
Multiservice Access
Controller
HDM Quick Start
New H3C Technologies Co., Ltd.
http://www.h3c.com
Document version: AW100-20210604

Copyright © 2021, New H3C Technologies Co., Ltd. and its licensors
All rights reserved
No part of this manual may be reproduced or transmitted in any form or by any means without prior written
consent of New H3C Technologies Co., Ltd.
Trademarks
Except for the trademarks of New H3C Technologies Co., Ltd., any trademarks that may be mentioned in this
document are the property of their respective owners.
Notice
The information in this document is subject to change without notice. All contents in this document, including
statements, information, and recommendations, are believed to be accurate, but they are presented without
warranty of any kind, express or implied. H3C shall not be liable for technical or editorial errors or omissions
contained herein.
Environmental protection
This product has been designed to comply with the environmental protection requirements. The storage, use,
and disposal of this product must meet the applicable national laws and regulations.

Preface
This guide describes HDM quick start for the WBC580 G2 multiservice access controller.
This preface includes the following topics about the documentation:
•
Audience.
•
Conventions.
•
Documentation feedback.
Audience
This documentation is intended for:
•
Network planners.
•
Field technical support and servicing engineers.
•
Network administrators working with the device.
Conventions
The following information describes the conventions used in the documentation.
Command conventions
Convention
Description
Boldface Bold text represents commands and keywords that you enter literally as shown.
Italic Italic text represents arguments that you replace with actual values.
[ ] Square brackets enclose syntax choices (keywords or arguments) that are optional.
{ x | y | ... }
Braces enclose a set of required syntax choices separated by vertical bars, from which
you select one.
[ x | y | ... ]
Square brackets enclose a set of optional syntax choices separated by vertical bars,
from which you select one or none.
{ x | y | ... } *
Asterisk marked braces enclose a set of required syntax choices separated by vertical
bars, from which you select a minimum of one.
[ x | y | ... ] *
Asterisk marked square brackets enclose optional syntax choices separated by vertical
bars, from which you select one choice, multiple choices, or none.
&<1-n> The argument or keyword and argument combination before the ampersand (&) sign
can be entered 1 to n times.
# A line that starts with a pound (#) sign is comments.
GUI conventions
Convention
Description
Boldface Window names, button names, field names, and menu items are in Boldface. For
example, the New User window opens; click OK.
> Multi-level menus are separated by angle brackets. For example, File > Create >
Folder.

Symbols
Convention
Description
WARNING! An alert that calls attention to important information that if not understood or followed
can result in personal injury.
CAUTION:
An alert that calls attention to important information that if not understood or followed
can result in data loss, data corruption, or damage to hardware or software.
IMPORTANT:
An alert that calls attention to essential information.
NOTE:
An alert that contains additional or supplementary information.
TIP:
An alert that provides helpful information.
Network topology icons
Convention
Description
Represents a generic network device, such as a router, switch, or firewall.
Represents a routing-capable device, such as a router or Layer 3 switch.
Represents a generic switch, such as a Layer 2 or Layer 3 switch, or a router that
supports Layer 2 forwarding and other Layer 2 features.
Represents an access controller, a unified wired-WLAN module, or the access
controller engine on a unified wired-WLAN switch.
Represents an access point.
Represents a wireless terminator unit.
Represents a wireless terminator.
Represents a mesh access point.
Represents omnidirectional signals.
Represents directional signals.
Represents a security product, such as a firewall, UTM, multiservice security
gateway, or load balancing device.
Represents a security module, such as a firewall, load balancing, NetStream, SSL
VPN, IPS, or ACG module.
Examples provided in this document
Examples in this document might use devices that differ from your device in hardware model,
configuration, or software version. It is normal that the port numbers, sample output, screenshots,
and other information in the examples differ from what you have on your device.
T
T
T
T

Documentation feedback
You can e-mail your comments about product documentation to info@h3c.com.
We appreciate your comments.

i
Contents
About HDM····································································································1
HDM features·····················································································································································1
Sign in to HDM ······························································································2
Prepare for an HDM sign-in ·······························································································································2
Set up the HDM client································································································································2
Connect the device to the network·············································································································2
Obtain the HDM sign-in settings ················································································································2
Sign in to HDM···················································································································································3
Change a password···········································································································································4
Use HDM·······································································································6
HDM Web interface············································································································································6
Update HDM firmware········································································································································6
Restrictions and guidelines························································································································6
Update HDM firmware from HDM··············································································································7
FAQs·············································································································9
Fault diagnosis and location ······························································································································9
HDM Web interface access failures···················································································································9

1
The screenshots in this document are subject to change over time.
About HDM
Hardware Device Management (HDM) is a control unit for device management. HDM simplifies
device configuration process, provides device component information, monitors device operation,
and remotely controls the device. HDM can operate independently of the device and operating
system based on intelligent microprocessors, dedicated memory, dedicated and shared network
ports.
HDM features
HDM provides abundant features as described in Table 1.
Table 1 HDM features
Feature Description
Web-based management Provides a user-friendly Web-based management interface for easy
management.
Various management
interfaces Provides abundant management interfaces, such as IPMI, HTTPS, SNMP,
RESTful, and Redfish, to meet various system integration requirements.
IPMI v1.5 and IPMI v2.0
compliance Provides a standard management interface for standard management
system integration.
Remote control Provides remote access to the device through KVM and virtual media,
enabling device monitoring and management anywhere anytime.
Critical OS event screenshot
and video recording Takes a screenshot or records a video upon a critical OS event (for example,
a crash) for future troubleshooting.
Video recording Records operations on the device.
Sideband and VLAN Supports VLANs and the sideband technology that allows for flexible
network management.
LDAP Simplifies user management and enhances management security by
managing users on the LDAP server.
All-round device monitoring,
alarming, and event logging
Monitors device operation, for example, temperature, voltage, and fan
speed, and generates alarms and logs if any event occurs, such as drive
failure or power supply failure.
Smart Hardware Diagnosis
(SHD) Supports SHD for component fault diagnosis, bringing ease to fault location
and faulty component replacement.
Out-of-band RAID
management Supports out-of-band RAID monitoring and configuration to improve RAID
configuration efficiency and management capability.
Primary/backup image
switchover Enables startup by using the backup image if the system crashes, which
enhances system availability.
2
Sign in to HDM
The following information describes the prerequisites for a successful sign-in to HDM, the default
sign-in parameters, the sign-in procedure, and password change.
Prepare for an HDM sign-in
Before you sign in to the HDM Web interface, make sure all preparation requirements are met.
Set up the HDM client
HDM does not require installation of client software. You can use a Web browser to access HDM.
Make sure the browser and resolution setting of the configuration terminal meet the requirements in
Table 2.
Table 2 Browser and resolution requirements
Browsers Resolution
Google Chrome 48.0 (or higher)
Mozilla Firefox 50.0 (or higher)
Internet Explorer 11 (or higher)
Minimum: 1366*768
Recommended: 1600*900 (or higher)
Connect the device to the network
Connect either of the following network ports on the device to the network:
•
HDM shared network port—Transmits HDM management traffic and device data traffic
simultaneously.
•
HDM dedicated network port—Transmits only HDM management traffic.
Obtain the HDM sign-in settings
To sign in to HDM, you must obtain its management IP address and user account information.
On first sign-in, use the default settings in Table 3.
Table 3 Default HDM sign-in settings
Item Default setting
IP address HDM shared network port: DHCP
HDM dedicated network port: 192.168.1.2/24
Username admin
Password (case-sensitive) Password@_
You can obtain the HDM management IP address from the POST screen of the BIOS. As shown in
Figure 1, the POST screen displays the IPv4 addresses of the shared and dedicated network ports at
the upper right corner, and the IPv6 addresses at the lower left corner.

3
Figure 1 Obtaining the HDM management IP address
Sign in to HDM
Restrictions and guidelines
By default, the session timeout is 30 minutes. If no operation is performed within 30 minutes, the
system signs you out.
After five consecutive password check failures, your account will be locked for five minutes.
For security purposes, change the default username and password at the first sign-in, and update
your password periodically.
Procedure
1. Open the browser, and enter the HDM management IP address. This section uses Microsoft
Internet Explorer 11.0 and https://192.168.1.2 as an example.
2. On the security certificate page that opens, click Continue to this website (not
recommended).
3. (Optional.) To change the language, click for English and for Chinese on the HDM
sign-in page.
4. Enter the username and password, and then click Sign in.
If this is the first sign-in, enter the default username (admin) and password (Password@_).
The password is case sensitive.

4
Figure 2 HDM sign-in page
Change a password
As a best practice, change the username and password for security purposes at first sign-in.
To change the password:
1. In the navigation pane, select Configuration > User Accounts.
Figure 3 User Accounts page
2. In the work pane, click Settings.
3. In the dialog box that opens, configure the password policy, and then click OK, as shown in
Figure 4.

5
Figure 4 Configuring the password policy
4. Click Edit in the Actions column for user admin, as shown in Figure 3.
5. In the dialog box that opens, enter a new password, confirm the new password, and then click
OK, as shown in Figure 5.
For more information about password setting requirements, see HDM online help.
Figure 5 Changing the password for a user account

6
Use HDM
HDM Web interface
To access the online help for an interface, click the button at the upper right corner of that
interface.
The HDM Web interface contains three sections as shown in Figure 6.
Figure 6 HDM Web interface layout
Table 4 HDM Web interface description
No. Section Description
1 Navigation pane Contains menus of all features and functionalities. If you select one
menu item, the right panel section displays the work pane for that
item.
2 Work pane Provides an area for operation depending on the menu item you
select in the navigation pane.
3 Administrative area
Contains sign-in account information, device power status, UID LED
status, and language change sign. The icon indicates the
current online user. To sign out from the current user account, click
.
Update HDM firmware
Restrictions and guidelines
Only one user can update firmware at a time. If multiple users attempt to update firmware, only the
one who first started the update can perform this operation. When you successfully start a firmware
update, HDM automatically signs out all the other users that try to start a firmware update.
Do not refresh the HDM webpage during the update.
For the firmware to be updated successfully, do not perform the following tasks from the Web
interface during the update process:

7
•
Change network settings, including dedicated and shared network ports, VLAN, network port
mode, Ethernet adapter, DNS, and network port mode.
•
Configure NTP settings.
•
Configure security settings, including access service, firewall, and SSL.
•
View the device power status or change power capping settings.
•
Perform the following maintenance tasks:
Import or export configuration.
Restore the factory default.
Restart HDM.
Perform primary/backup switchover.
Restart CPLD.
To avoid HDM or operating system errors, do not power on, power off, or power cycle the device
during the update.
The following remote console menus are not available during the update:
•
Keyboard menu in the KVM console.
•
Send Keys and Hot Keys menus in the H5 KVM console.
Update HDM firmware from HDM
HDM supports one primary firmware image and one backup firmware image, and it always runs the
primary image. HDM firmware update updates the backup firmware image.
To minimize the impact on HDM services, HDM uses the following procedure to update HDM
firmware:
1. When you update HDM firmware, HDM replaces the backup firmware image with the uploaded
update image.
2. At the restart after the update, HDM changes the roles of primary and backup HDM images.
Then, HDM restarts with the update image, which is now the primary image.
For more information about primary/backup switchover, see HDM online help.
Prerequisites
•
Sign in to the HDM Web interface. For more information, see "Sign in to HDM."
•
Obtain the up-to-date HDM firmware image from the H3C website, and store the image file on
the local PC. To avoid update failure, make sure the update image file contains a vendor
signature and is not corrupt.
•
To avoid configuration loss caused by inadvertent mistakes, back up the HDM configuration file.
Procedure
1. In the navigation pane, select Maintenance > Update Firmware.

8
Figure 7 Update Firmware page
2. In the work pane, perform the following tasks:
a. Select an image upload method.
−If you select Local, select HDM as the firmware type. Then, browse to the update image
file and select it.
−If you select TFTP, enter the IP address of the interface used for file upload and enter
the image name. Then, select HDM as the firmware type.
b. Select the HDM restart method after the update is complete. You can have HDM
automatically restart when the update is complete or manually restart HDM later.
c. (Optional.) To remove all user-configured settings after you update HDM firmware, select
Enabledfor Restore factory default.
d. Click Next.
CAUTION:
The
Restore factory default option removes
all user configured settings when HDM starts up
with the new
firmware. When you select this option, make sure you understand its impact on the
services. If this option is selected, you must use the default user account settings at the first
sign-in to HDM after its firmware is updated.
3. Verify that the new firmware image version is correct, and then click Next.
The firmware update starts and the system displays the update progress.
4. Follow the system instructions to complete the update.
5. If you selected manual restart, restart HDM manually. For more information, see HDM online
help.
If you selected automatic restart, HDM restarts automatically.
6. To update the backup image, perform a primary/backup switchover, and then repeat the update
process.
7. Re-sign in to HDM. Verify that the HDM firmware image has been updated.

9
FAQs
Fault diagnosis and location
HDM takes a bluescreen of death (BSoD) screenshot and video recording upon a system crash.
When the system fails and restarts, you can view the BSoD screenshot or the video for
troubleshooting.
HDM Web interface access failures
Table 5 describes the possible causes and solutions for HDM Web interface access failures.
Table 5 Causes and solutions for HDM Web interface access failures
HDM Web interface access failure
reason Solution
Network
connection issue
The HDM network port is
disconnected. Connect the network cable for the HDM network port
correctly.
An incorrect HDM
management IP address is
used.
Use the IP address of the HDM management interface
for access.
The local PC and HDM
network port are not on the
same network segment.
Make sure the local PC and HDM network port are on
the same network segment.
Browser cache not
cleared
The firmware of HDM has
been upgraded recently,
but the browser cache is
not cleared.
Clear the browser cache and then re-sign in to HDM.
Incorrect access
information
The username does not
exist. User a username that has been created. At the first
sign-in, use the default username and password.
The password is not
correct. Use the correct password. The password is case
sensitive.
Table of contents
Other H3C IP Access Controllers manuals

H3C
H3C WX Series User manual

H3C
H3C LSWM1WCM10 User manual

H3C
H3C WX5540E User manual

H3C
H3C WBC580 G2 Operating and maintenance manual

H3C
H3C WX5002ACCESSCONTROLLER User manual

H3C
H3C LS8M1WCMA0-OVS User manual

H3C
H3C WX3800H Series User manual

H3C
H3C LSQM1WCMB0 User manual

H3C
H3C WX2540H User manual

H3C
H3C WX5004 User manual

H3C
H3C WX5540H Operating and maintenance manual

H3C
H3C LSQM1WCMX40 User manual

H3C
H3C WX5540H User manual

H3C
H3C vAC1000 User manual

H3C
H3C WX5002 Instruction Manual

H3C
H3C WX Series User manual

H3C
H3C WX Series User manual

H3C
H3C WX1804H User manual

H3C
H3C WX1800H series User manual

H3C
H3C WX3500H series User manual