manuals.online logo
Brands
  1. Home
  2. •
  3. Brands
  4. •
  5. Hay
  6. •
  7. Indoor Furnishing
  8. •
  9. Hay CPH30 EXTENDABLE User manual

Hay CPH30 EXTENDABLE User manual

INSTRUCTION MANUAL
CPH30 EXTENDABLE
By Ronan & Erwan Bouroullec
Part of the Copenhague range designed by
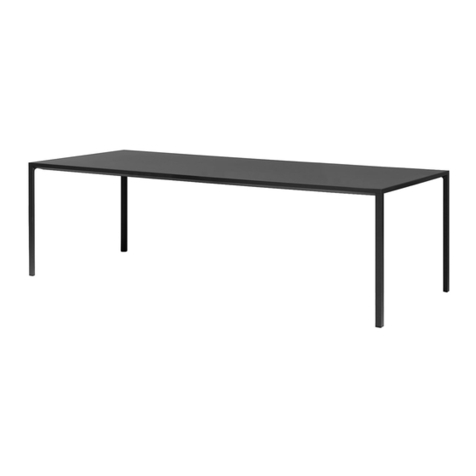
Ronan and Erwan Bouroullec, the CPH30
Extendable shares the same characteristic angled
legs and strong identity that are consistent with
the rest of the collection, yet its contrasting
tabletop and extendable design set it apart.
The table comes supplied with extension leaves,
which can easily be inserted into the table’s
central sliding mechanism, allowing the table to
be extended to the required length.
The table’s flexible length makes it suitable for
offices and public contexts, as well as workspace
or dining solutions in home environments.
CPH30 Extendable is available in a number of
sizes with an oak frame in different finishes, and
the tabletop comes in a variety of wood, laminate
or linoleum options.
INTRODUCTION
CAUTION
With a little care you can prolong the life of your
furniture. Follow the instructions for the materials of
your specific product to make sure that it stays in
the best shape for as long as possible.
The information below is only intended as a
general guideline. For more information on how to
remove specific stains, please enquire where you
bought the furniture.
• Always remove stains quickly before they can do
any permanent damage to the furniture.
• Avoid placing the table in direct sunlight or near
a heat source to reduce changes. As wood is a
natural material, it will change in colour and will
patinate over time.
• When you move your furniture, make sure you lift it
rather than pulling or pushing it to avoid damaging
the floor, legs and mountings.
• Tighten up the screws after one to two months’
use and whenever required.
• Avoid improper use such as putting your feet
on the table or standing on it.
• Use coasters under damp, hot or coloured objects
to avoid permanent stains.
• Avoid partially covering the surface, for example
with tablecloths or place mats, as colour variances
may appear.
• Be careful not to scratch or damage the surface
with sharp objects.
• The extension leaves must be stored at normal
room temperature, and the tabletops should not lie
against each other or any other flat surfaces to give
them adequate “air” during storage.
CARE AND MAINTENANCE
LACQUERED OR STAINED WOOD
• Wipe with a clean cloth wrung in water or in a
solution of water and a neutral detergent. Remove
soap residue immediately using a clean, dry cloth.
• If the surface is scratched or appears matt, use
a care product especially suited to lacquered or
stained wood.
• Avoid using detergents containing silicone, as they
seal the stain in and make subsequent repairs more
difficult.
• Avoid using scouring cream or scouring pads,
as they may scratch the surface.
SOAPED WOOD
• Wipe with a clean cloth wrung in water or in a solu-
tion of water and a neutral detergent or soap flakes.
Remove soap residue immediately using a clean, dry
cloth.
• To remove stains, clean and scrub using a thick
solution of soap flakes that should not stay on the
wood for more than two minutes. Then remove the
remaining soap residue using a damp cloth.
• If the grain of the wood rises after cleaning, gently
sand down the wood using fine-grit sandpaper (No.
220), always going with the grain.
• If the surface is scratched or appears matt, use
a care product especially suited to soaped wood.
LINOLEUM
• Wipe with a clean cloth wrung in water or in a solu-
tion of water and a neutral detergent or soap flakes.
Remove soap residue immediately using a clean, dry
cloth.
• If the surface is scratched or appears matt, use a
care product especially suited to linoleum.
• Stains may be carefully removed using white spirit
(mineral spirit) or a damp nano sponge dipped in
lukewarm water or linoleum care product. Follow up
immediately with a clean, dry cloth. Never use the
nano sponge dry.
• Avoid alkaline detergents such as soft (yellow)
soap, washing soda, lye and scouring powder.
LAMINATE
• Wipe with a clean cloth wrung in water or in a solu-
tion of water and a neutral detergent. Remove soap
residue immediately using a clean, dry cloth.
• Stains may be carefully removed using household
ammonia or with a clean, damp cloth or a nano
sponge wrung in warm water. Never use the nano
sponge dry. Follow up immediately with a clean,
dry cloth.
• Avoid using scouring cream or scouring pads,
as they may scratch the surface.
Table leg (B) x 1 Table leg (C) x 1
Allen key (D) x 1 Screw (E) x 16
Tabletop (A) x 1
PARTS
1.
While assembling, keep the table inside the cardboard box with the foam edge, in
order to protect the tabletop from scratches etc. Make sure that all the parts are
included.
2.
Place the legs on the tabletop as illustrated below.
Table leg (C)
Table leg (B)
Note that the legs are not identical.
3.
Tighten the screws (part E) using the Allen key (part D).
4.
Make sure that the mechanism is locked, before turning the table over (2 people are recommended).
5.
EXTENDING THE TABLE WITH UP TO 2 LEAVES
1.
Unlock the mechanism by pulling the handle.
2.
Extend the table by lifting it at one or both ends and pull it towards you.
4.
Place the table leaves at a slight angle, as illustrated below. Make
sure that the pins are securely inserted into the holes.
3.
Make sure to make enough space for 1 or 2 leaves.
6.
5.
Push both ends of the table to close the centre gap and then lock the mechanism.
Table leaf (50 x 80 cm) - MAXIMUM 3
Table leaf (50 x 90 cm) - MAXIMUM 4 Support leg - Required when using
more than 2 table leaves
Support leg - Required when using
more than 2 table leaves
EXTRA PARTS - TABLE 160 X 80
EXTRA PARTS - TABLE 200 X 90 AND 250 X 90
1.
Unlock the mechanism by pulling the handle.
EXTENDING THE TABLE WITH
MORE THAN 2 LEAVES
2.
Extend the table by lifting it at one or both ends and pull it towards you.
3.
Place the supporting leg into the central steel bracket.
Slightly lift the mechanism if needed.
Adjust the supporting leg glider if needed, to make sure the tabletop is level.
4.
Place the table leaves at a slight angle as illustrated below.
Make sure that the pins are securely inserted into the holes.
5.
Push both ends of the table to close the centre gap and then lock the mechanism.
6.
Adjust the supporting leg angle if needed. Lock the mechanism underneath the tabletop.
7.
Havnen 1 8700 Horsens Denmark
+45 4282 0282 / hay@hay.com
ITEM NO. 706359
27032019

This manual suits for next models

5

Other Hay Indoor Furnishing manuals

Hay BUTLER User manual

Hay

Hay BUTLER User manual

Hay PIER SYSTEM User manual

Hay

Hay PIER SYSTEM User manual

Hay NEW ORDER User manual

Hay

Hay NEW ORDER User manual

Hay NEW ORDER User manual

Hay

Hay NEW ORDER User manual

Hay NEW ORDER User manual

Hay

Hay NEW ORDER User manual

Hay REVOLVER TABLE User manual

Hay

Hay REVOLVER TABLE User manual

Hay KORPUS Series User manual

Hay

Hay KORPUS Series User manual

Hay AAT 10 User manual

Hay

Hay AAT 10 User manual

Hay 5F User manual

Hay

Hay 5F User manual

Hay TWO-COLOUR User manual

Hay

Hay TWO-COLOUR User manual

Hay PANDARINE User manual

Hay

Hay PANDARINE User manual

Hay KOFI User manual

Hay

Hay KOFI User manual

Hay CPH25 User manual

Hay

Hay CPH25 User manual

Hay WOODY - HIGH User manual

Hay

Hay WOODY - HIGH User manual

Hay CPH 10 DESK User manual

Hay

Hay CPH 10 DESK User manual

Hay New Order Trolley A User manual

Hay

Hay New Order Trolley A User manual

Hay CPH30 series User manual

Hay

Hay CPH30 series User manual

Hay COPENHAGEN DEUX CPH 210 User manual

Hay

Hay COPENHAGEN DEUX CPH 210 User manual

Hay L250 CM User manual

Hay

Hay L250 CM User manual

Hay NEU User manual

Hay

Hay NEU User manual

Hay EIFFEL SHELF User manual

Hay

Hay EIFFEL SHELF User manual

Hay CAN SOFA User manual

Hay

Hay CAN SOFA User manual

Hay revolver Leon Ransmeier User manual

Hay

Hay revolver Leon Ransmeier User manual

Hay TRIANGLE LEG TABLE User manual

Hay

Hay TRIANGLE LEG TABLE User manual

Popular Indoor Furnishing manuals by other brands

WIEMANN Lissabon 991798 Assembly instructions

WIEMANN

WIEMANN Lissabon 991798 Assembly instructions

oline ErgoAce user manual

oline

oline ErgoAce user manual

Cosmopolitan COSMOLiving DA8170-02 Assembly instructions

Cosmopolitan

Cosmopolitan COSMOLiving DA8170-02 Assembly instructions

Dorel Home Products Accent DA2011329N Instruction booklet

Dorel Home Products

Dorel Home Products Accent DA2011329N Instruction booklet

Habitat Yves 821595 manual

Habitat

Habitat Yves 821595 manual

convenience concepts 7104090 Assembly instructions

convenience concepts

convenience concepts 7104090 Assembly instructions

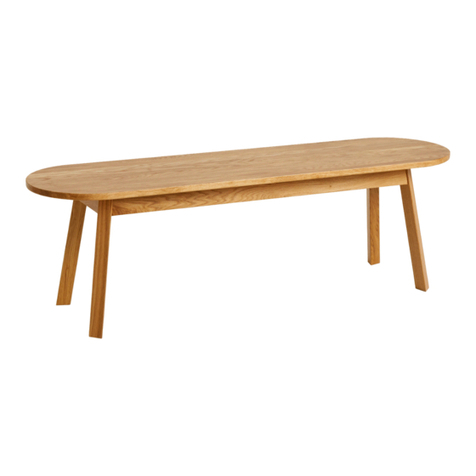
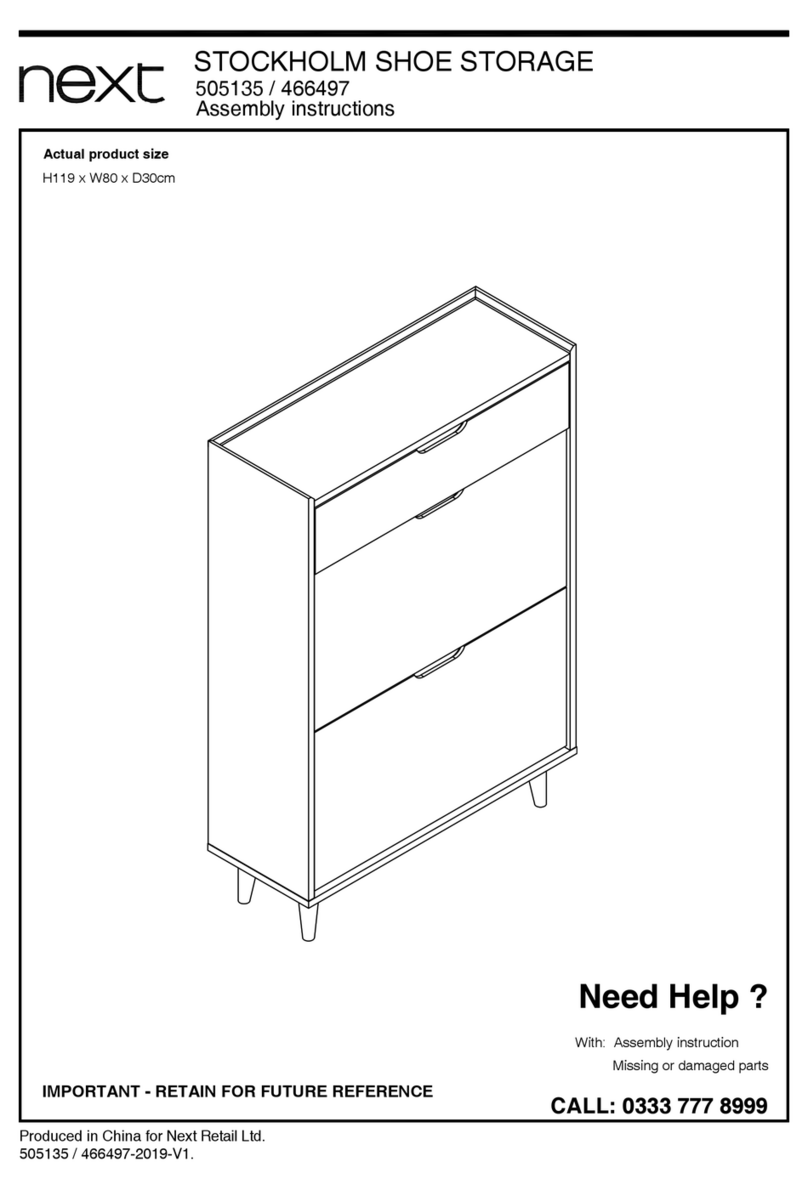
Next STOCKHOLM SHOE STORAGE 505135 Assembly instructions

Next

Next STOCKHOLM SHOE STORAGE 505135 Assembly instructions

NEO MARVEL RAP User guide and assembly instructions

NEO

NEO MARVEL RAP User guide and assembly instructions

Argos Puerto Rico 641/7697 Assembly instructions

Argos

Argos Puerto Rico 641/7697 Assembly instructions

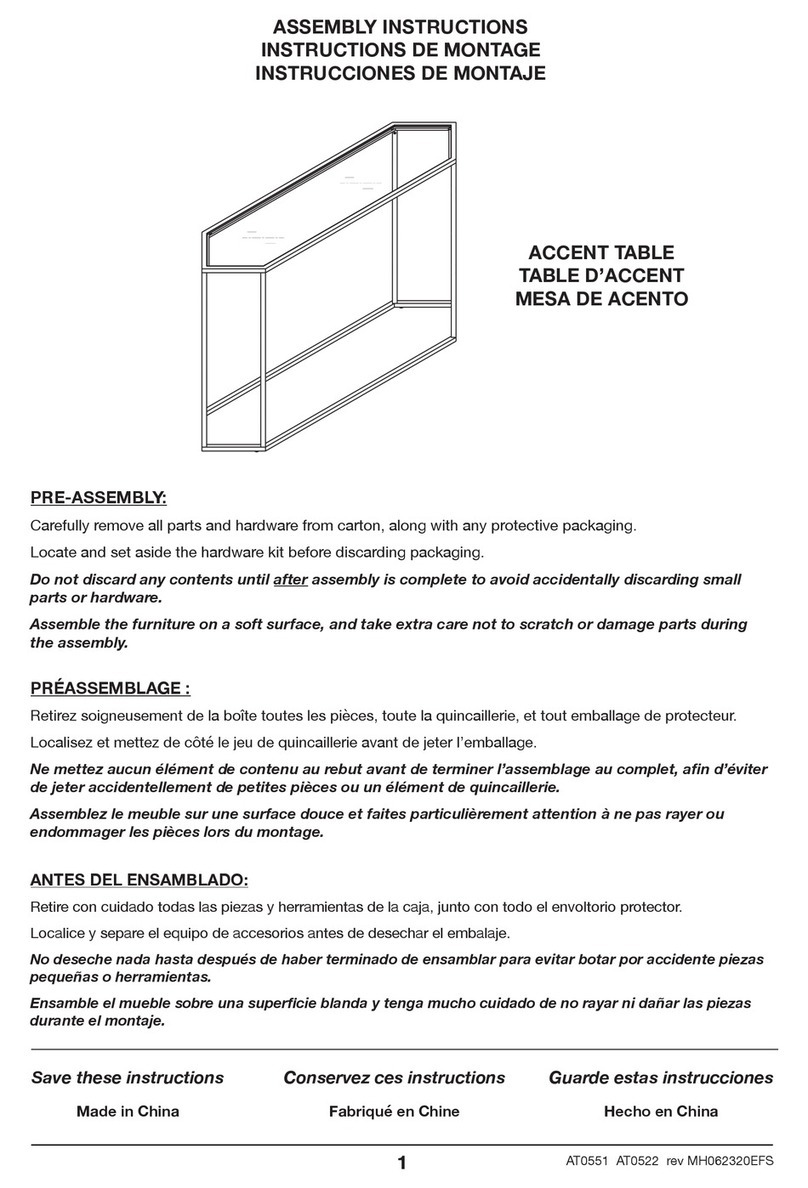
Hailey Home AT0551 manual

Hailey Home

Hailey Home AT0551 manual

Forte CQNV711LB Assembling Instruction

Forte

Forte CQNV711LB Assembling Instruction

Rapidline GTDSHELF Assembly instructions

Rapidline

Rapidline GTDSHELF Assembly instructions

Velux RSL quick start guide

Velux

Velux RSL quick start guide

Tradition Capture SC74 Space Copenhagen 2022 User instructions

Tradition

Tradition Capture SC74 Space Copenhagen 2022 User instructions

convenience concepts LAREDO 413199 Assembly instructions

convenience concepts

convenience concepts LAREDO 413199 Assembly instructions

Coaster 315891KE Assembly instructions

Coaster

Coaster 315891KE Assembly instructions

symphony sleep SXELV quick start guide

symphony sleep

symphony sleep SXELV quick start guide

Atmos E2e operating instructions

Atmos

Atmos E2e operating instructions

manuals.online logo
manuals.online logoBrands
  • About & Mission
  • Contact us
  • Privacy Policy
  • Terms and Conditions

Copyright 2025 Manuals.Online. All Rights Reserved.