HID HDP 5000 User manual

hidglobal.com
HDP®5000, HDP5600, HDP8500, AND
HDPII PLUS ETHERNET
USER GUIDE
L001675, Rev. 1.2
July 2019
HDP®5000, HDP5600, HDP8 500, and HDPii Plus Ethernet User Guid e

Copyright
© 2019 HID Global Corporation/ASSA ABLOY AB. All rights reserved.
This document may not be reproduced, disseminated or republished in any form without the prior written
permission of HID Global Corporation.
Trademarks
HID GLOBAL, HID, the HID Brick logo, the Chain Design, FARGO Workbench, HDP, and FARGO are
trademarks or registered trademarks of HID Global, ASSA ABLOY AB, or its affiliate(s) in the US and other
countries and may not be used without permission. All other trademarks, service marks, and product or
service names are trademarks or registered trademarks of their respective owners.
Revision history
Date Description Revision
July 2019 Updated password information for HDP5000 and HDP8500. 1.2
October 2012 Updated default log in password for HDP5000 and HDP8500. 1.1
September 2012 Initial release. 1.0
Contacts
For additional offices around the world, see www.hidglobal.com/contact/corporate-offices.
Americas and Corporate Asia Pacific
611 Center Ridge Drive
Austin, TX 78753
USA
Phone: +1 866 607 7339
Fax: +1 949 732 2120
19/F 625 King's Road
North Point, Island East
Hong Kong
Phone: +852 3160 9833
Fax: +852 3160 4809
Europe, Middle East and Africa (EMEA) Brazil
Haverhill Business Park, Phoenix Road
Haverhill, Suffolk, CB9 7AE
United Kingdom
Phone: +44 (0) 1440 711 822
Fax: +44 (0) 1440 714 840
Condomínio Business Center
Av. Ermano Marchetti, 1435
Galpão A2 - CEP 05038-001
Lapa - São Paulo / SP Brazil
Phone: +55 11 5514-7100
HID Global Technical Support: www.hidglobal.com/support.
2 July 2019

HDP® 5 0 00,HDP56 00,HDP85 00,an dHDP iiPlus E t h e r n e t Use r Guide
1 Using the Ethernet option 5
1.1 Introduction 5
1.2 Technical Specification - Ethernet Option 5
1.3 Functional Specification – Ethernet Option 6
2 Network services overview 7
2.1 Print server 7
2.2 Web page server 7
2.3 Reviewing the Network Management interface 7
2.4 Telnet server 8
2.5 Network Management interface 8
3 Telnet server 9
3.1 Telnet client for Windows operating systems 9
3.2 Telnet command line interface 9
3.2.1 Initiating a Telnet session 9
3.2.2 Telnet command table 10
4 Ethernet web pages - standard procedures 13
4.1 Web page security 13
4.2 Logging in 13
4.3 Accessing the Home page 14
4.4 Home page 14
4.5 Configuring the network settings 16
4.5.1 Accessing the Network settings page 16
4.5.2 Reviewing the interface 16
4.5.3 Reviewing the Current Settings 17
4.5.4 Switching to automatic IP address mode 18
4.5.5 Changing to static IP address mode 19
4.5.6 Entering the TCP window size 20
4.5.7 Using the clear changes button 20
4.6 Print Path page 21
4.7 Status/Media information page 23
4.7.1 TCP/IP page 24
July 2019 3
Contents

4.7.2 Printer page 25
4.8 System Log page 27
4.8.1 Changing the log name 28
4.8.2 Selecting the log type 29
4.8.3 Selecting the log destination 30
4.8.4 Setting up email event logging 31
4.8.5 Specifying UDP event logging 32
4.8.6 Specifying TCP event logging 33
4.9 Administration pages 34
4.9.1 Using the system information page 34
4.9.2 Changing the root password 35
4.9.3 Reboot pages 36
4.9.4 Rebooting the printer 36
4.9.5 Reset the Default Settings 37
4.9.6 Upgrading the main firmware 38
4.10 Using the Help page 41
4.11 Accessing the Ethernet status LEDs 41
4.11.1 Reviewing the printer LED Table 41
4.12 Restoring the factory settings for Ethernet 41
4.12.1 Resetting the printer settings 41
4.12.2 Changing the printer LCD network settings 41
4.12.3 Accessing the network setup menu 42
4.12.4 Changing the DHCP setting 42
4.12.5 Changing the ANEG setting 42
4.12.6 Saving addresses 43
4.12.7 Resetting passwords 43
4.13 Ethernet printer troubleshooting procedures 43
4.13.1 Accessing the IP address of your printer 43
4.13.2 Verifying the printer connection 43
4.13.3 Verifying the printer IP address 44
4.13.4 Verifying that your PC can access the printer using the ping command 45
4.13.5 Printing a test page 45
A References 47
A.1 Frequently asked questions 47
A.2 Glossary of Terms 51
4 July 2019
L001675, 1.2

Section 1
1 Using the Ethernet option
1.1 Introduction
The Ethernet option includes the Ethernet port and the internal printer server.
nPrinter Management: The printer driver provides bi-directional status information so you can monitor
and manage the printer just as you would any other networked printer.
nCompatibility: The Ethernet option provides compatibility with TCP/IP and 802.3 Ethernet protocols
with an IEEE 802.3 10/100Base-T Ethernet female RJ45 connector.
nApplication: The Ethernet Option applies to the card printer/encoder. With the Ethernet option
properly installed and configured, these printers are able to print in the same manner as a printer
directly connected to the PC using a USB interface.
Important: Any reference to a specific printer name is for demonstration purposes only. Your printer
name varies according to what you are using.
1.2 Technical Specification - Ethernet Option
For safety purposes, Ethernet is not intended for a direct connection outside of the building.
Function Requirement
Network An IEEE 802.3 10/100 Base-T Ethernet network is required.
Printer A printer with the Ethernet option installed is required.
Printer Configuration Since TCP/IP is used for the network communication, the printer must be configured with
an IP address and a subnet mask (before it can be seen on the network).
An additional network setting for the default gateway can also be configured, which
allows communication across the subn ets.
Host Computer A PC running Windows 7 (32- or64-bit), Windows 10 (32- and 64-bit), Windows Server
2008 R2, Windows Server 2012, Windows Server 2012 R2, and Windows Server 2016.
Host Printer Driver The host PC must have the correct printer driver with Ethernet support installed.
Note: This driver must be configured for printing to the IP address of the printer.
July 2019 5

1.3 Functional Specification – Ethernet Option
The Ethernet option includes these features.
Feature Description
Simultaneous Printing Provides the ability to simultaneously print from multiple PCs to the network printer.
Printer Feedback Provides status information from the network printer to the PC.
Web Pages Provides easy printer configuration with any web browser.
Log Messages Provides logging of usage and error events using e-mail, UDP or TCP/IP.
Password Security Provides security with passwords and configurable user permission levels.
Telnet Provides a Telnet command line interpreter for printer configuration.
SNMP Provides an SNMP agent that supports MIB-II.
Upgrades Provides support for firmware upgrades over the network.
Troubleshooting Provides a Ping client for network troubleshooting.
IP Tracer Provides a utility (IP Tracer) used to find the printers with Ethernet connection on a local
network.
6 July 2019
Using the Ethernet option L001675, 1.2

Section 2
2 Network services overview
The Ethernet option provides the services described in this section.
Note: Other additional services include a Ping client, address assignment, and printer discovery functions.
2.1 Print server
The print server provides printing services in the same manner as a printer connected directly to a USB
interface except that the printer is connected through the local area network to the client PC. The print
server must be properly configured to provide this printing capability.
nThe print server is capable of queuing up to eight client PCs while printing. Communications between
each PC and the Ethernet-enabled printer are implemented over a bi-directional TCP/IP interface.
nAll clients are able to send print jobs to the printer and monitor printer jobs and errors with the
standard Windows printing system using the printer driver installed on their local PC.
In this way, you know whether or not a print job has been successful. Also, you know what problems have
been encountered while processing the print job. Printing using Ethernet works in a manner similar to the
USB-connected PC/printer.
2.2 Web page server
An HTTP service serves web pages that provide an interface through which to configure and monitor the
printer.
Note: Users may also monitor all print jobs that have been sent to the printer from any client PC.
2.3 Reviewing the Network Management interface
The Ethernet enabled printer operates as an SNMP agent to allow central administrators to monitor and
configure the network interface and the printer.
Note: A standard host MIB-II is implemented to maximize the utility of the printer on the network.
July 2019 7

2.4 Telnet server
The Ethernet interface has a command line interpreter. You can connect to the printer using a Telnet
session on your PC, issue commands to the printer and receive responses from the printer.
The Telnet commands are primarily used for network administration, and they are not used by most users.
These commands query the state of the printer and configure various settings for the printer. These include
network settings, logging settings, user names, and user passwords.
2.5 Network Management interface
The SNMP interface is an Ethernet interface that is a fully-manageable SNMP agent that supports MIB-II.
The Ethernet interface is MIB-II compliant, allowing SNMP managers to monitor protocol, network, and
routing statistics.
8 July 2019
Network services overview L001675, 1.2

Section 3
3 Telnet server
The Ethernet interface has a command line interpreter. You can connect to the printer using a Telnet
session on your PC, issue commands to the printer and receive responses from the printer.
The Telnet commands are primarily used for network administration, and they are not used by most users.
These commands query the state of the printer and configure various settings for the printer. These include
network settings, logging settings, user names, and user passwords.
3.1 Telnet client for Windows operating systems
If a Telnet client is not installed, download and install an appropriate Telnet client for your Windows
operating system.
3.2 Telnet command line interface
3.2.1 Initiating a Telnet session
This procedure shows how to initiate a Telnet session from a PC to access the Telnet services provided by
the printer. Use the following instructions to issue Telnet commands.
1. Identify the IP address of your printer. (See Section 4.13.1 Accessing the IP address of your printer.)
2. Initiate a Telnet session from a DOS window on your PC. At the DOS prompt, enter
telnet [IP Address]
For example: C:\>telnet 10.1.210.240.
nAll Telnet responses from the printer are displayed in the Telnet session on the PC.
nAll commands entered are sent to the Telnet client in the printer.
nEnter “help” or “?” to get an on-window list of supported Telnet commands.
July 2019 9

3.2.2 Telnet command table
The following table describes available Telnet commands.
Note: You can enter partial full-word commands, the printer responds with additional help. For example,
you can enter “list”, and the printer responds with all subcommands to the list command.
Telnet Command Command Purpose Command Format
? Display help for Telnet commands. ?
help
reset Reset the Ethernet interface for the Printer/Encoder. reset
ping Send a ping command to another IP address as a
test of the Ethernet interface.
ping <IPADDR>
diff Display all differences between current and stored
network settings.
list diff
uptime Display how long since the interface was last reset. list uptime
sysinfo Display information about the printer (i.e., model,
label, contact, location, Firmware version and date,
and serial number).
list sysinfo
ribbon Display information about the installed Ribbon in the
printer.
list ribbon
net Display information about the current network
settings of the Ethernet interface.
list net
stored net Display information about the stored network
settings of the Ethernet interface.
list stored net
default net Display information about the default network
settings of the Ethernet interface.
list default net
User Display information about the defined User names
and their type (root or guest privileges).
list User
lpq Display information about print jobs and their
settings.
list lpq
Printer Display information about the printer (i.e., model
number, Firmware version and serial number).
list printer
Printer sm Display information about the secure mark settings
of the printer.
list printer sm
10 July 2019
Telnet server L001675, 1.2

Telnet Command Command Purpose Command Format
set sysinfo contact Set the contact string. set sysinfo label [<STRING>]
location Set the location string. set sysinfo location [<STRING>]
label Set the label string. set sysinfo label [<STRING>]
from Set all strings from default or current settings. set sysinfo from default|current
syslog name Change the name of a system log path set syslog <LOG_NAME> name
<NEW_NAME>
type Change the type of a system log path. This starts or
stops logging on start of jobs or on faults.
set syslog <LOG_NAME> type
[[-]job] [[-]pfault]
dest Change the destination of a system log path. This
may be set to none, e-mail, udp or tcp.
set syslog <LOG_NAME> dest
none|email|udp|tcp
email Change the e-mail address for e-mail notification for
a system log path. It must specify a valid e-mail
address.
set syslog <LOG_NAME> email
<EMAIL>
udp Specify the IP address of the UPD system logging
program.
set syslog <LOG_NAME> udp
<IPADDRESS>
from Restore system log path settings from the default or
current settings.
set syslog from default|current
set User add Add a new User definition.
The printer allows only two (2) User definitions.
set User add <NAME>
del Delete a User definition. set User del <NAME>
passwd Define a new password for a User. set User passwd <NAME>
[<PASSWORD>]
type Specify a User as root or guest.
Only root Users have administrative rights to change
network interface settings.
set User type <NAME> root|guest
from Restore User setting from default or stored settings. set User from default|stored
July 2019 11
L001675, 1.2 Telnet server

Telnet Command Command Purpose Command Format
store net addr Store a new IP address. store net addr <ADDRESS>
mask Store a new address mask. store net mask <MASK>
gateway Store a new default gateway. store net gateway <ADDRESS>
dns Store a new DNS server address. store net dns <ADDRESS>
domain Store a new DNS domain suffix. store net domain <STRING>
opts Enable or disable automatic address assignment
using DHCP. Static (non-automatic) addresses will
come from the stored or default settings, depending
on the other settings.
To enable automatic address
assignment:
store net opts dhcp
To disable automatic address
assignment:
store net opts -dhcp
from Restore the network settings from either the default
settings or the current settings.
store net from default|current
ifc mode Specify the Ethernet interface mode as:
automatic, full or half duplex; 10 or 100 mHz.
Note: 100 mHz. is not supported by the printer.
store ifc mode
auto|10half|10full|100half|100full
from Set the Ethernet mode settings from the default or
current settings.
store ifc from default|current
save Save all current settings as the stored settings in the
permanent memory.
save
load Take the settings from the stored memory and make
them the current settings.
load
lpstat Display information about the printer status.
This includes the status and device response.
See the printer web page description.
lpstat
cancel Cancel a specific print job from the print queue. cancel 10
quit Stop the current Telnet session. quit
12 July 2019
Telnet server L001675, 1.2

Section 4
4 Ethernet web pages - standard procedures
4.1 Web page security
You can use the web pages from your Ethernet-connected printer to view several attributes about the
printer. You must have administrative rights and enter the correct password to alter settings of the printer.
4.2 Logging in
When you attempt to change any setting, you are prompted for a user name and password.
1. Enter the User name:
nThe default administrative user name is root.
nThe default non-administrative user name is guest.
nNon-administrative users can only view settings.
2. Enter the Password:
nHDP®5000 and HDP8500: The default password is idcard.
nSee Password page procedure for changing passwords.
3. Press Enter or click OK.
4. If the name and password is not accepted, another log in prompt is displayed on the screen.
Note: Repeat this procedure with the correct user name and password.
July 2019 13

4.3 Accessing the Home page
1. Open a window for your network browser application on your local PC.
2. Find the IP address of the printer. See (Section 4.13.1 Accessing the IP address of your printer
3. Enter the IP address of the printer you want to access into the address bar of the browser.
Note: The IP address changes for your printer installation.
4. Press Enter or click GO.
5. View the Home page. The Home page displays general information about the printer.
4.4 Home page
14 July 2019
Ethernet web pages - standard procedures L001675, 1.2

Category Field Purpose
Fixed for Printer Serial Number Displays the unique fixed serial number of the printer.
Hardware Address Displays the unique fixed hardware address (MAC) of the
printer, which is the unique Ethernet device identifier.
Set by User
(May be configured via Telnet or
from the Administration web
page.)
Label Indicates the label that you assign to the printer. This label
is reported to the DHCP server as the Host Name (that may
be used by the DNS server to resolve the IP address of the
printer).
If left blank, the printer uses a unique label based on the
MAC address of the printer.
Location Indicates the location string that you assign to the printer.
Contact Indicates the contact person string you assign to the
printer.
Set by Firmware Printer Firmware
Version
Displays the current firmware version.
Boot Loader
Firmware Version
(Printer only)
Displays the current boot loader firmware version.
July 2019 15
L001675, 1.2 Ethernet web pages - standard procedures

4.5 Configuring the network settings
4.5.1 Accessing the Network settings page
The Network page displays the current network settings and allows you to change the settings.
Click Network from any web page of the printer.
4.5.2 Reviewing the interface
The Interface display indicates the network speed supported by the printer.
16 July 2019
Ethernet web pages - standard procedures L001675, 1.2

4.5.3 Reviewing the Current Settings
The Current Settings page section displays the current active network settings for the printer.
nThese are also labeled as (Dynamic) if they were provided by DHCP or (Static) if they came from the
stored settings.
nThe current settings are (Dynamic) only if Obtain an IP address automatically was selected when the
printer was restarted last.
July 2019 17
L001675, 1.2 Ethernet web pages - standard procedures

4.5.4 Switching to automatic IP address mode
1. Click Network from any web page of the printer.
2. Select Obtain an IP address automatically to enable the DHCP/BOOTP, which automatically assigns
the network settings.
Even with this option selected, you can enter Stored Settings, and the Stored Settings remain in
memory.
Note: This is the default method.
3. Click Submit to save this setting.
4. Log in as a root user if you are prompted.
Note: Changes in settings are only accepted after you have successfully logged in.
5. Reboot the printer to save this change.
18 July 2019
Ethernet web pages - standard procedures L001675, 1.2

4.5.5 Changing to static IP address mode
1. Click Network from any web page of the printer.
2. Select Use the following IP address, which prepares the printer to use network settings (that you have
manually set).
Note: These manual settings are used the next time the printer is rebooted.
3. Enter the required IP Address and Subnet Mask network settings for Ethernet communications from
within the same subnet.
With only these entries, you are unable to print from a subnet other than the subnet on which the
printer is connected.
4. Enter the optional Default Gateway network setting for Ethernet communications across a router from
other subnets.
5. Enter the optional DNS Server Address and DNS Domain Suffix network settings for DNS.
6. Select Submit to save these changes to the stored settings in the memory of the printer.
Note: These settings are not lost if the power is removed from the printer.
7. Log in as a root user if you are prompted.
Note: Changes in settings are only accepted after you have successfully logged in.
8. Reboot the printer to save this change. See Section 4.1 Web page security.
July 2019 19
L001675, 1.2 Ethernet web pages - standard procedures

4.5.6 Entering the TCP window size
1. Click Network from any web page of the printer.
2. Select the TCP Window Size from the list.
nThis entry adjusts how much data can be sent to the printer at any one time.
nIt is recommended that the default value of 2 MSS Packets be used to ensure good compatibility
with all client applications.
3. Click Submit to save this setting.
4. Log in as a root user if you are prompted.
Note: Any change of a setting is only accepted after you have successfully logged in.
5. Reboot the printer to save this change.
4.5.7 Using the clear changes button
Click Clear Changes to delete the information in the text boxes in Stored Settings area.
20 July 2019
Ethernet web pages - standard procedures L001675, 1.2
This manual suits for next models
3
Table of contents
Other HID Printer manuals

HID
HID FARGO C50 User manual
HID
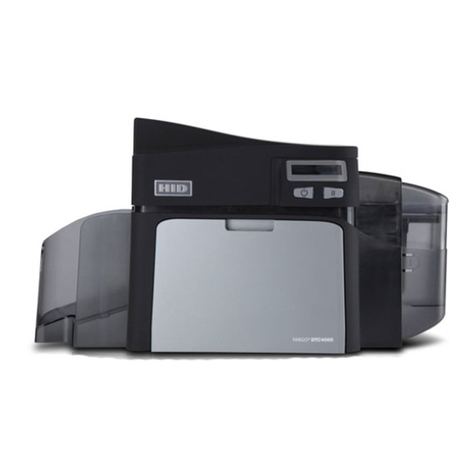
HID DTC4000 User manual
HID
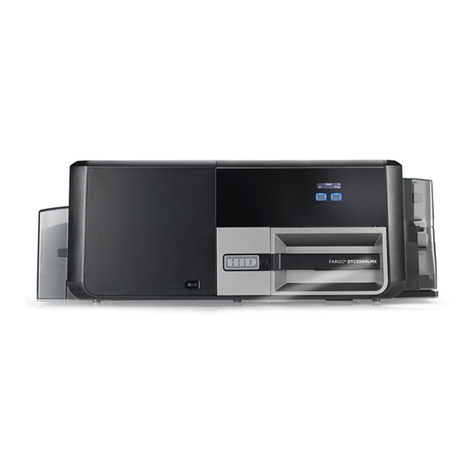
HID FARGO DTC 5500LMX User manual
HID
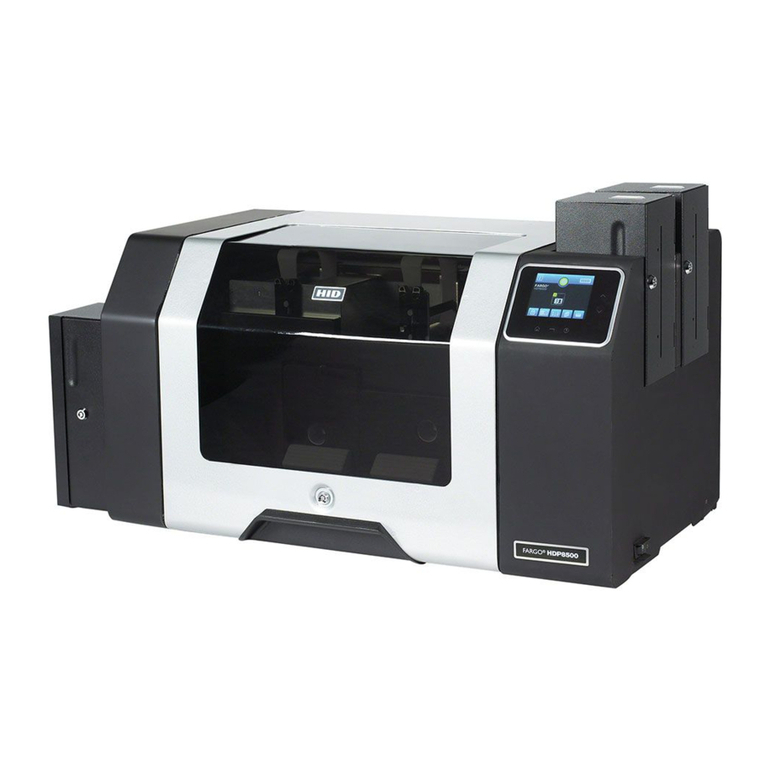
HID Fargo HDP8500 User manual
HID
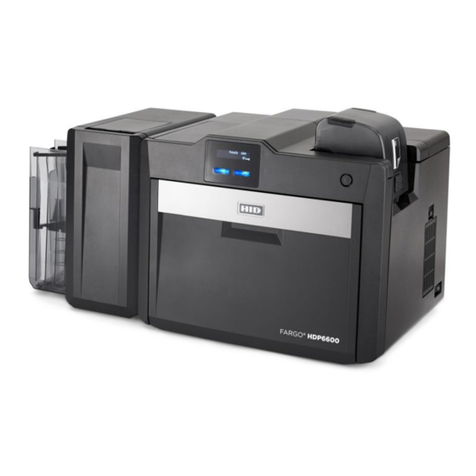
HID FARGO HDP 6600 User manual
HID
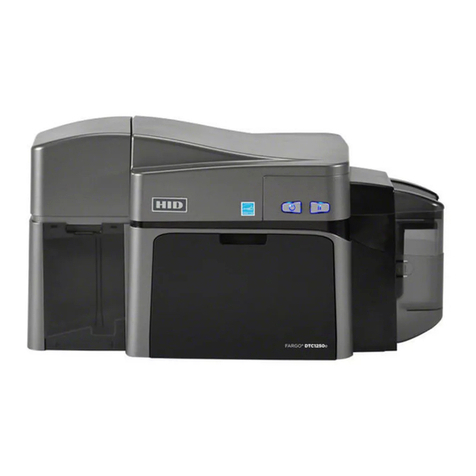
HID FargoDTC 1250e Manual
HID
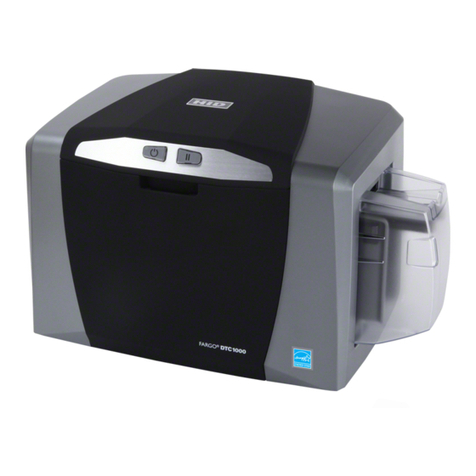
HID FARGO DTC 1000 User manual
HID
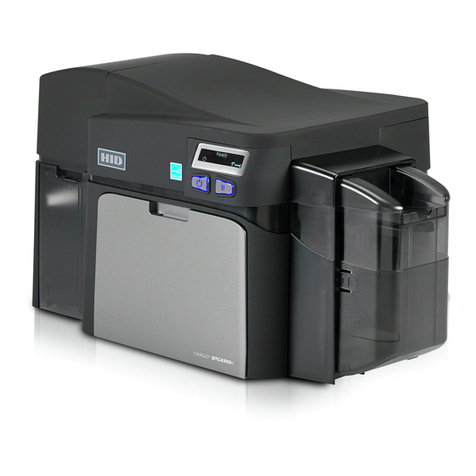
HID Fargo DTC1250 User manual
HID
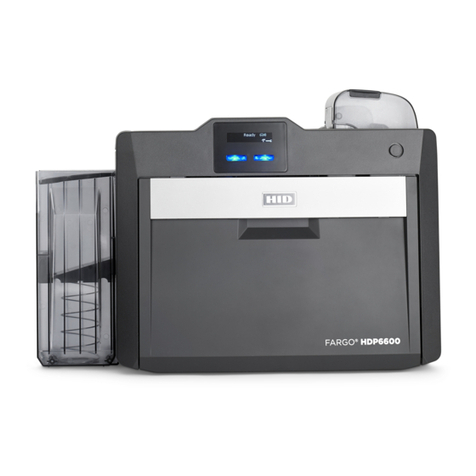
HID FARGO HDP 6600 X002200 User manual
HID
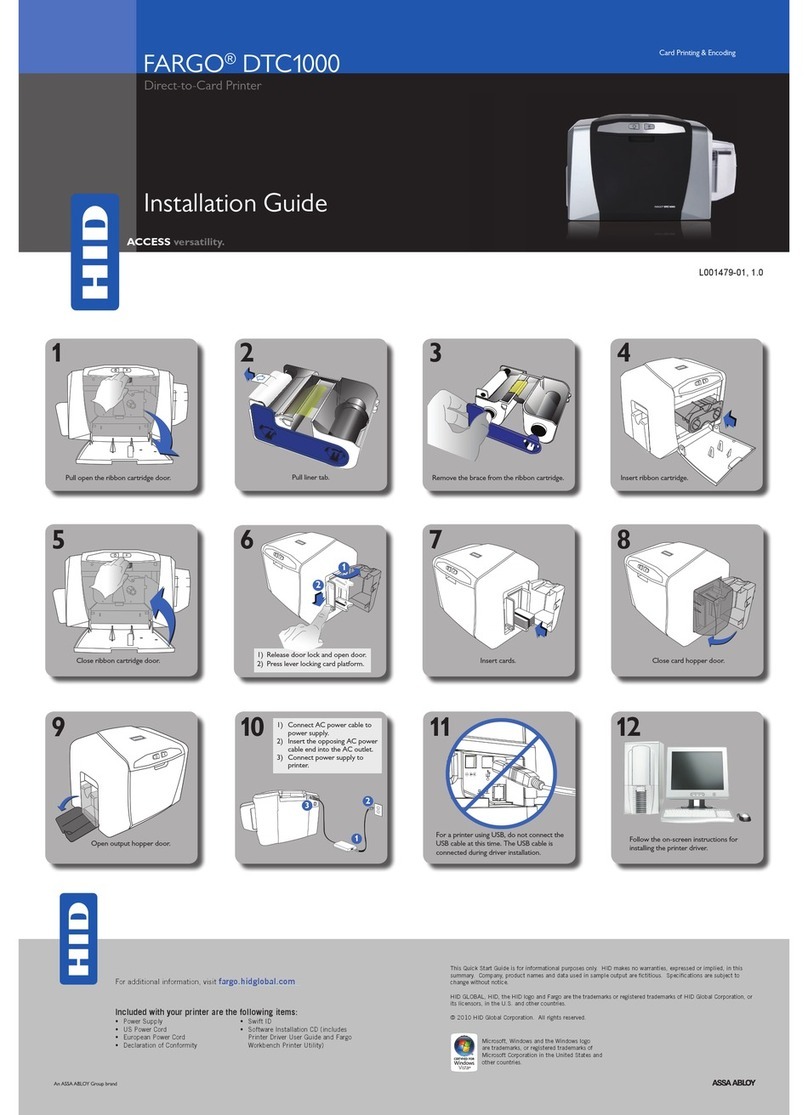
HID FARGO DTC 1000 User manual
HID
HID Fargo DTC5500LMX User manual
HID
HID DTC1000M User manual
HID
HID FARGO HDP5000 User manual

HID
HID FARGO HDP 6600 Guide

HID
HID FARGO DTC ii Plus User manual
HID
HID FARGO DTC II Guide

HID
HID Fargo DTC5500LMX Manual

HID
HID FARGO HDP5000 User manual
HID
HID FARGO INK1000 User manual
HID
HID HDPii User manual

