manuals.online logo
Brands
  1. Home
  2. •
  3. Brands
  4. •
  5. HK Instruments
  6. •
  7. Transmitter
  8. •
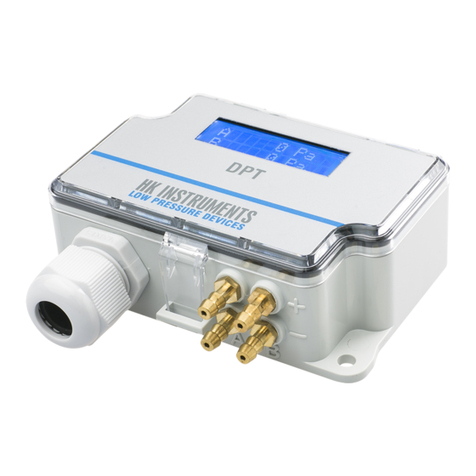
  9. HK Instruments DPT Series User manual

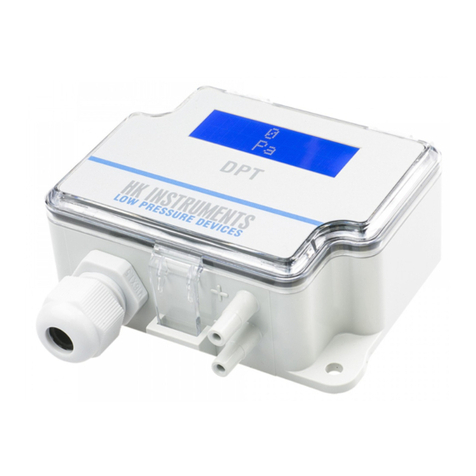
HK Instruments DPT Series User manual

Copyright HK Instruments 2018 www.hkinstruments. Installaon version 6.0 2018
INSTALLATION
INSTRUCTIONS
DIFFERENTIAL PRESSURE TRANSMITTERS
DPT-R8 Series
• READ THESE INSTRUCTIONS CAREFULLY BEFORE
ATTEMPTING TO INSTALL, OPERATE OR SERVICE THIS
DEVICE.
• Failuretoobservesafetyinformaonandcomplywith
instruconscanresultinPERSONALINJURY,DEATHAND/OR
PROPERTY DAMAGE.
• Toavoidelectricalshockordamagetoequipment,disconnect
powerbeforeinstallingorservicinganduseonlywiringwith
insulaonratedforfulldeviceoperangvoltage.
• Toavoidpotenalreand/orexplosiondonotuseinpotenally
ammableorexplosiveatmospheres.
• Retaintheseinstruconsforfuturereference.
• Thisproduct,wheninstalled,willbepartofanengineered
systemwhosespecicaonsandperformancecharacteriscs
arenotdesignedorcontrolledbyHKInstruments.Review
applicaonsandnaonalandlocalcodestoassurethatthe
installaonwillbefunconalandsafe.Useonlyexperiencedand
knowledgeabletechnicianstoinstallthisdevice.
SPECIFICATIONS
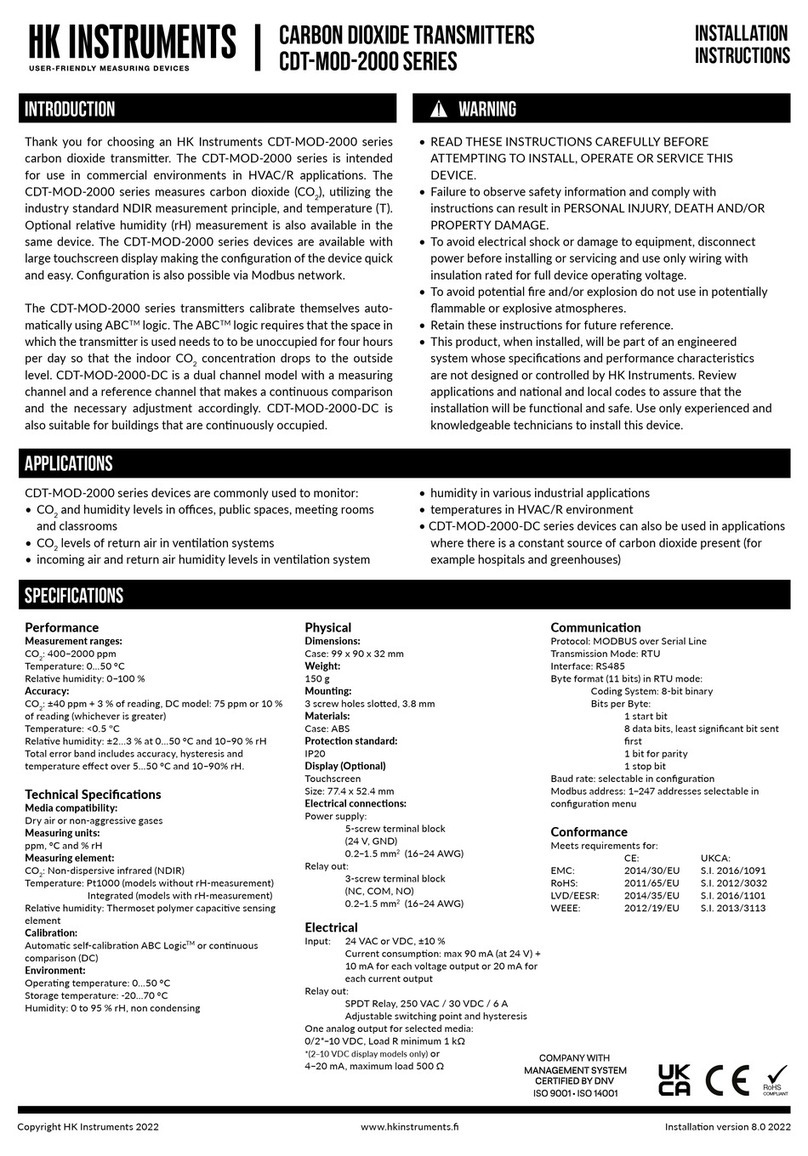
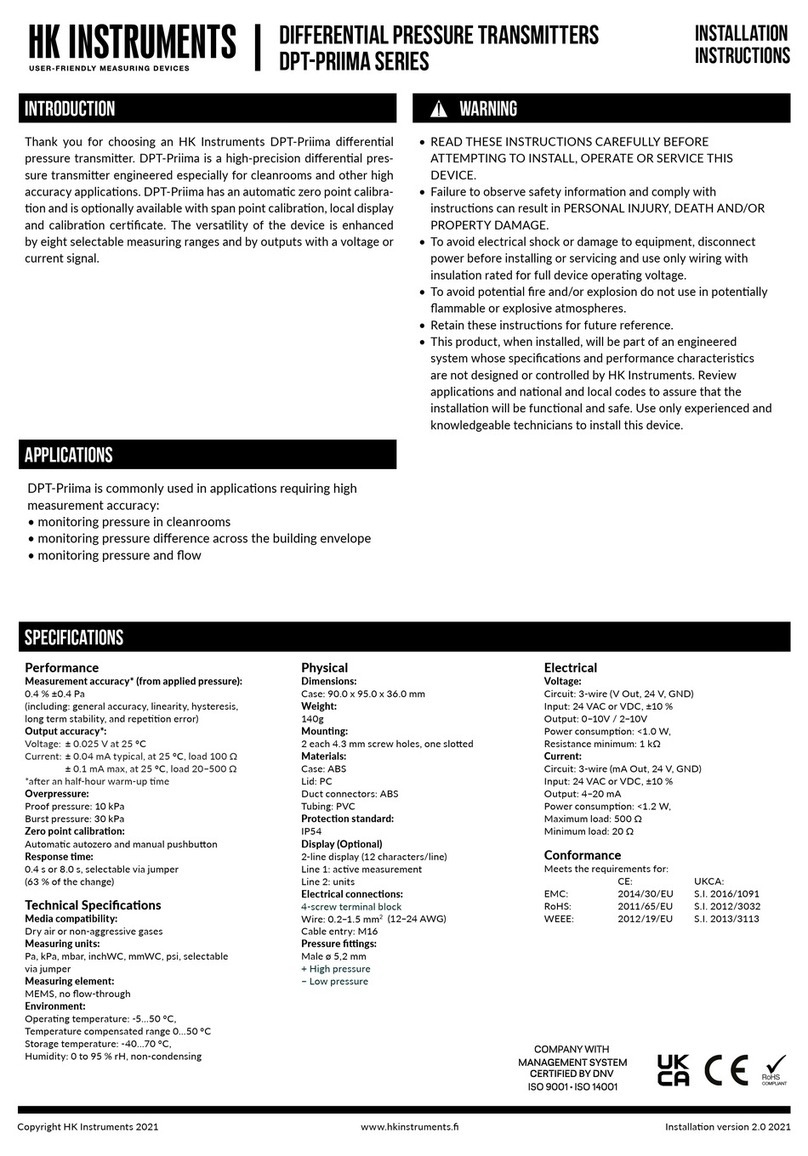
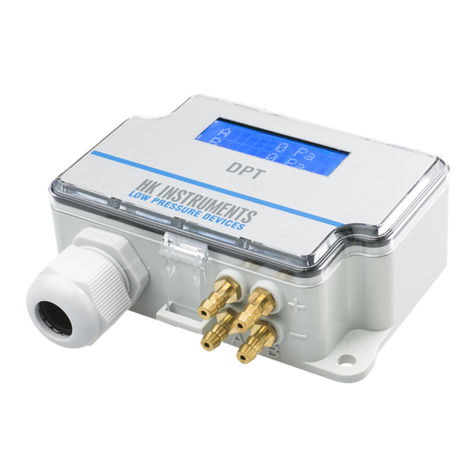
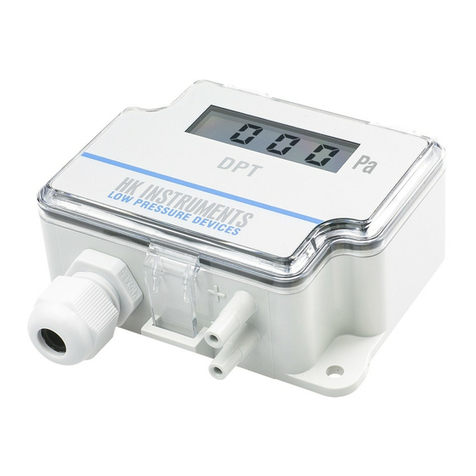
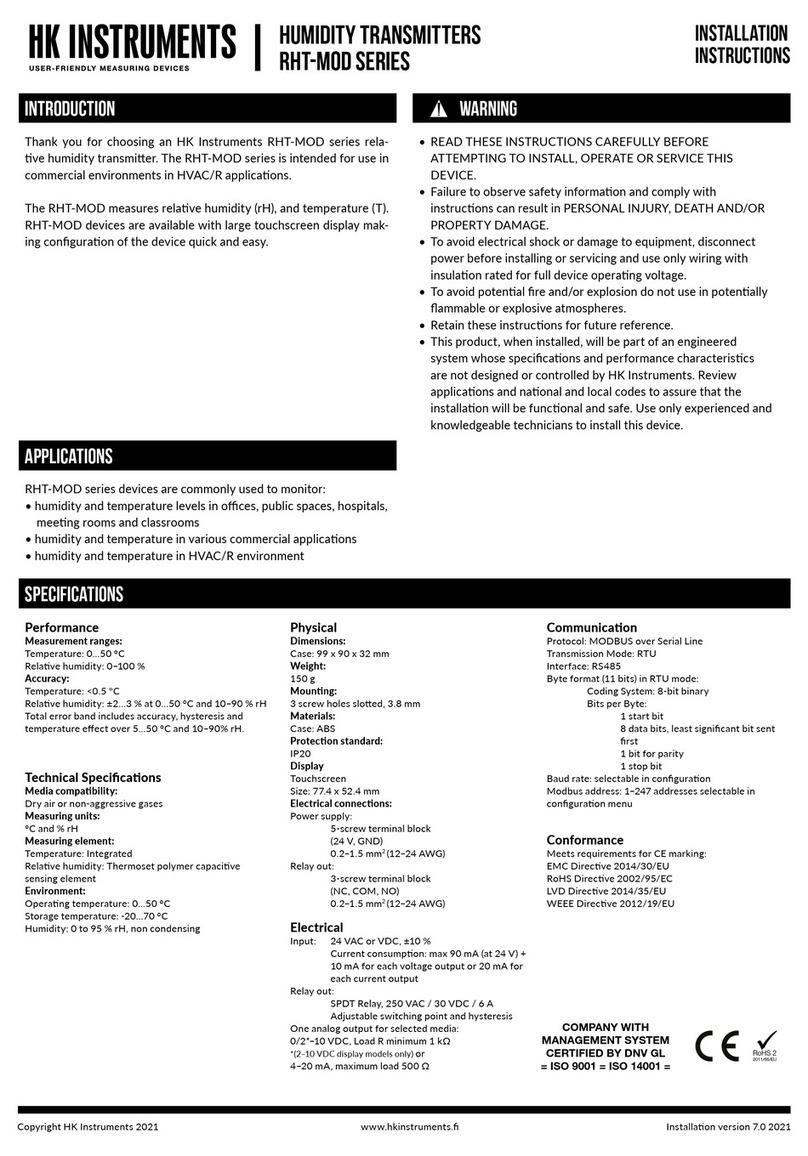
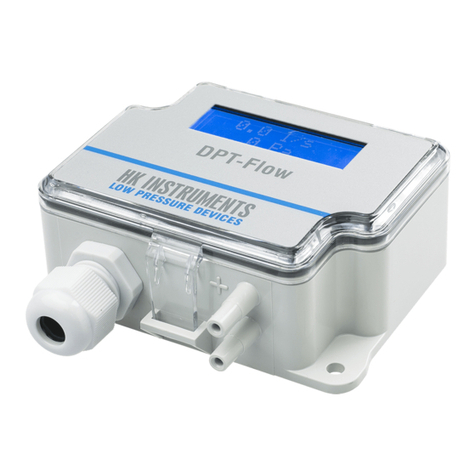
ThankyouforchoosinganHKInstrumentsDPTseriesdierenal
pressuretransmier.TheDPTseriesisintendedforuseincommer-
cial environments. It is designed with six unit selecons (Pa, kPa,
mbar,inchWC,mmWC,psi)andeighteldselectablemeasurement
ranges (unidireconal and bi-direconal) to meet your applicaon
requirements. The DPT-R8 series is comprised of the DPT250-R8
with ranges from 25 Pa to 250 Pa, the DPT2500-R8 with ranges
from 100 Pa to 2500 Pa, and the DPT7000-R8 with ranges from
1000Pato7000Pa.
All DPT-R8 series dierenal pressure transmiers are available
withdisplayandautozerocalibraon.
DPT-R8seriesdevicesarecommonlyusedinHVAC/Rsystemsfor:
•fan,blowerandltermonitoring
•pressureandowmonitoring
•valveanddampercontrol
•pressuremonitoringincleanrooms
SPECIFICATIONS
Performance
Accuracy (from applied pressure):
Models250and2500:
Pressure<125Pa=1%+±2Pa
Pressure>125Pa=1%+±1Pa
Model7000:
Pressure<125Pa=1.5%+±2Pa
Pressure>125Pa=1.5%+±1Pa
(including:generalaccuracy,linearity,hysteresis,long
termstability,andrepeonerror)
Thermal eects:
Temperaturecompensated0...50°C
Overpressure:
Proofpressure:25kPa
Burstpressure:30kPa
Zero point calibraon:
Automacautozeroormanualpushbuon
Response me:
8.0sor0.8s,selectableviajumper
Technical Specicaons
Media compability:
Dryairornon-aggressivegases
Measuring units:
Pa,kPa,mbar,inchWC,mmWC,psi,selectablevia
jumper
Measuring element:
MEMS,noow-through
Environment:
Operangtemperature:-20...50°C,
-40Cmodel:-40...50°C
AZ-model:-20...50°C,
Modelswithautozerocalibraon:-5...50°C
Storagetemperature:-40...70°C,
-40Cmodel:-40...70°C
Humidity:0to95%rH,noncondensing
Physical
Dimensions:
Case:90.0x95.0x36.0mm
Weight:
150g
Mounng:
2each4.3mmscrewholes,onesloed
Materials:
Case:ABS
Lid:PC
Ductconnectors:ABS
Tubing:PVC
Protecon standard:
IP54
Display (Oponal)
2-linedisplay(12characters/line)
Line1:acvemeasurement
Line2:units
Electrical connecons:
4-screwterminalblock
Wire:0.2–1.5mm2(12–24AWG)
Cableentry:M16
Pressure ngs:
Maleø5,0mmand6,3mm
+Highpressure
−Lowpressure
Electrical
Voltage:
Circuit:3-wire(VOut,24V,GND)
Input:24VACorVDC,±10%
Output:0–10V
Powerconsumpon:<1.0W,
-40Cmodel:<4.0Wwhen<0°C
Resistanceminimum:1kΩ
Current:
Circuit:3-wire(mAOut,24V,GND)
Input:24VACorVDC,±10%
Output:4–20mA
Powerconsumpon:<1.2W,
-40Cmodel:<4.2Wwhen<0°C
Maximumload:500Ω
Minimumload:20Ω
Conformance
MeetstherequirementsforCEmarking:
EMCDirecve2014/30/EU
RoHSDirecve2011/65/EU
WEEEDirecve2012/19/EU
INTRODUCTION
APPLICATIONS
WARNING
COMPANY WITH
MANAGEMENT SYSTEM
CERTIFIED BY DNV GL
= ISO 9001 = ISO 14001 =
RoHS 2
2011/65/EU
Copyright HK Instruments 2018 www.hkinstruments. Installaon version 6.0 2018
SCHEMATICS
DIMENSIONAL DRAWINGS
INSTALLATION
STEP 1: MOUNTING THE DEVICE
1)Mountthedeviceinthedesiredlocaon(seestep1).
2)Openthelidandroutethecablethroughthestrainreliefand
connectthewirestotheterminalblock(s)(seestep2).
3)Thedeviceisnowreadyforconguraon.
WARNING!Applypoweronlyaerthedeviceisproperlywired.
Figure 1a - Mounng orientaon
Figure 1b - Applicaon connecons
1)Selectthemounnglocaon(duct,wall,panel).
2)Usethedeviceasatemplateandmarkthescrewholes.
3)Mountwithappropriatescrews.
Pressure sensor
Zero buon Connecon for
oponal display
Terminal block
LED
Jumpers
YES NO NO
Stac pressure Filter/Damper
monitoring
Fan/Blower
monitoring
Not
connected
90.0
77.0
71.5
53.0
4.3
95.0
36.0
STEP 2: WIRING DIAGRAMS
ForCEcompliance,aproperlygroundedshieldingcableisrequired.
1)Unscrewthestrainreliefandroutethecable(s).
2)Connectthewiresasshowningure2aand2b.
3)Tightenthestrainrelief.
Figure 2a - Wiring diagram 0–10 V output
Figure 2b - Wiring diagram 4–20 mA output
V
0–10 V
4–20 mA
24 V
GND
+ Power supply
24 VDC / 24 VAC
A
0–10 V
4–20 mA
24 V
GND
+ Power supply
24 VDC / 24 VAC
Copyright HK Instruments 2018 www.hkinstruments. Installaon version 6.0 2018
STEP 4: SELECTING THE MEASUREMENT UNIT
1)Selectthedesiredmeasurementunit.(seestep4)
2)Selectthedesiredmeasurementrange.(seestep5)
3)Selectthedesiredresponseme.(seestep6)
4)Zerothedevice.(seestep7)
5)Connectthepressuretubes.Connectposivepressureto
portlabeled“+”andnegavepressuretoport“-”.
6)Closethelid.Thedeviceisnowreadytobeused.
STEP 3: CONFIGURATION
No jumper
Circuit open
Jumper storedJumper installed
Circuit closed
(Grey colour indicates that a jumper is installed)
Figure 3 - Jumper installaon
2)InstalljumpersonJ1,J2andJ3asrequired.
a.Usingtherangenumberfrom1cabove,ndthecorresponding
rangenumberinChart2.
b.InstalljumpersonJ1,J2andJ3ondevice,asshownundertherange
numberinChart2.(Greycolourindicatesthatajumperisinstalled.
Referencegure3forjumperinstallaon.)
1)Tochangethemeasurementunitappearingonthedisplay,installa
jumpertobothpinsofJ5(seeFigure3).
2)Pushdownthezerobuonandthemeasurementunitopons(Pa,
kPa,mbar,inchWC,mmWC,psi)willcycleonthedisplay.
3)Toselectaunitopontodisplay,removethejumperfromJ5
whilethemeasurementunitisvisibleonthedisplay.
Range 1 Range 2 Range 3 Range 4 Range 5 Range 6 Range 7 Range 8
Pa
kPa
mbar
inchWC
0–25
0–0.025
0–0.25
0–0.10
0–50
0–0.05
0–0.50
0–0.20
0–100
0–0.1
0–1.00
0–0.40
0–250
0–0.25
0–2.50
0–1.00
-25–25
-0.025–0.025
-0.25–0.25
-0.10–0.10
-50–50
-0.05–0.05
-0.50–0.50
-0.20–0.20
-100–100
-0.1–0.1
-1.0–1.00
-0.40–0.40
-150–150
-0.15–0.15
-1.50–1.50
-0.60–0.60
Model DPT250-R8
Model DPT2500-R8
Range 1 Range 2 Range 3 Range 4 Range 5 Range 6 Range 7 Range 8
Pa
kPa
mbar
inchWC
-100–100
-0.10–0.10
-1.00–1.00
-0.40–0.40
0–100
0–0.10
0–1.00
0–0.40
0–250
0–0.25
0–2.50
0–1.00
0–500
0–0.50
0–5.00
0–2.00
0–1000
0–1.00
0–10.0
0–4.00
0–1500
0–1.50
0–15.0
0–6.00
0–2000
0–2.00
0–20.0
0–8.00
0–2500
0–2.50
0–25.0
0–10.00
Model DPT7000-R8
Pa
kPa
mbar
inchWC
0–1000
0–1.00
0–10.0
0–4.00
0–1500
0–1.50
0–15.0
0–6.00
0–2000
0–2.0
0–20.0
0–8.00
0–2500
0–2.50
0–25.0
0–10.0
0–3000
0–3.00
0–30.0
0–12.00
0–4000
0–4.00
0–40.0
0–16.00
0–5000
0–5.00
0–50.0
0–20.00
0–7000
0–7.00
0–70.0
0–28.00
Range 1 Range 2 Range 3 Range 4 Range 5 Range 6 Range 7 Range 8
mmWC
psi
mmWC
psi
mmWC
psi
0–2.6
0–0.0036
0–5.1
0–0.0073
0–10.2
0–0.0145
0–25.5
0–0.0363
-2.6–2.6
-0.0036–0.0036
-5.1–5.1
-0.0073–0.0073
-10.2–10.2
-0.0145–0.0145
-15.3–15.3
-0.0036–0.0036
-10.2–10.2
-0.0145–0.0145
0–10.2
0–0.0145
0–25.5
0–0.0363
0–51.0
0–0.0725
0–102.0
0–0.1450
0–153.0
0–0.21725
0–204.0
0–0.2900
0–255.0
0–0.3625
0–102.0
0–0.1450
0–153.0
0–0.21725
0–204.0
0–0.2900
0–255.0
0–0.3625
0–306.0
0–0.4350
0–408.0
0–0.5800
0–510.0
0–0.7250
0–714.0
0–1.0150
SELECTING THE MEASUREMENT RANGE CONTINUED
Chart 1
Range 7 Range 8Range 1 Range 2 Range 3 Range 4 Range 5 Range 6
Jumper J1
Jumper J2
Jumper J3
(Grey colour indicates that a jumper is installed. Reference Figure 3 and Schemacs for jumper installaon.)
Chart 2
Theresponsemeaectshowfastthetransmierreactstochangesin
thesystem.Theresponsemeisthemethedevicetakestoreach63
%ofthemeasuredvalue.Tosmoothoutunstablepressureuctuaons
inairowapplicaons,selectalongerresponseme.
Example:
Selectedresponseme:8.0seconds
Result: Output signal achieves a new value in 20 seconds (Response
me*5)
Tochangeresponseme,installorremovejumperonJ4.
(seeFigure3)
1)InstalljumperonJ4for8.0secondresponseme.
2)RemovejumperfromJ4for0.8secondresponseme.
STEP 6: SELECTING THE RESPONSE TIME
STEP 5: SELECTING THE MEASUREMENT RANGE
1)Determinetherangenumber
a.FindthemodelinChart1.
b.Findthemeasurmentunit(selectedinstep4).
c.Findtherequiredmeasurementrangeonthesamelineasthe
measurementunit(babove)anddeterminetherangenumberinthe
header.
Copyright HK Instruments 2018 www.hkinstruments. Installaon version 6.0 2018
Thesellerisobligatedtoprovideawarrantyofveyearsforthedeliv-
eredgoodsregardingmaterialandmanufacturing.Thewarrantyperiod
isconsidered tostart on thedeliverydate ofthe product. If adefect
in raw materials or a produconawisfound, the seller is obligated,
whentheproductissenttothesellerwithoutdelayorbeforeexpira-
onofthewarranty,toamendthemistakeathis/herdiscreoneither
byrepairingthedefecveproductorbydeliveringfreeofchargetothe
buyeranewawlessproductandsendingittothebuyer.Deliverycosts
fortherepairunderwarrantywillbepaidbythebuyerandthereturn
costsbytheseller.Thewarrantydoesnotcomprisedamagescausedby
accident, lightning, ood or other natural phenomenon, normal wear
andtear,improperorcarelesshandling,abnormaluse,overloading,im-
properstorage,incorrectcareorreconstrucon,orchangesandinstal-
laonworknotdonebythesellerorhis/herauthorizedrepresentave.
Theseleconofmaterialsfordevicespronetocorrosionisthebuyer’s
responsibility,unlessotherwiseislegallyagreedupon.Shouldtheman-
ufactureralterthestructureofthedevice,thesellerisnotobligatedto
makecomparablechangestodevicesalreadypurchased.Appealingfor
warranty requires that the buyer has correctly fullledhis/her dues
arisenfromthedeliveryandstatedinthecontract.Thesellerwillgive
anew warrantyforgoods thathavebeenreplacedorrepaired within
thewarranty,howeveronlytotheexpiraonoftheoriginalproduct’s
warrantyme.Thewarrantyincludestherepairofadefecvepartor
device, or if needed, a new part or device, but not installaon or ex-
change costs. Under no circumstance is the seller liable for damages
compensaonforindirectdamage.
Thelidofthedevicehastobeclosedwhentheoperaontemperature
isbelow0°C.Thedisplayneeds15minutestowarmupifthedevice
isstartedintemperaturebelow0°C.
NOTE!Thepowerconsumponriseswhentheoperaontemperature
isbelow0°C.
NOTE! Always zero the device before use.
Tozerothedevicetwooponsareavailable:
1)ManualPushbuonzeropointcalibraon
2)Autozerocalibraon
Doesmytransmierhaveanautozerocalibraon?Seetheproductla-
bel.Ifitshows-AZinthemodelnumber,thenyouhavetheautozero
calibraon.
1)ManualPushbuonzeropointcalibraon
NOTE:Supplyvoltagemustbeconnectedatleastonehourpriortozero
pointadjustment.
a)Disconnectbothpressuretubesfromthepressureportslabeled+
and–.
b)PushdownthezerobuonunltheLEDlight(red)turnsonandthe
displayreads“zeroing”(displayopononly).(seeFigure4)
c)Thezeroingofthedevicewillproceedautomacally.Zeroingis
completewhentheLEDturnso,andthedisplayreads0(display
opononly).
d)ReinstallthepressuretubesensuringthattheHighpressuretube
isconnectedtotheportlabeled+,andtheLowpressuretubeis
connectedtotheportlabeled−.
STEP 7: ZEROING THE DEVICE
WARRANTY POLICY
-40C MODEL: OPERATION IN COLD ENVIRONMENT
RECYCLING/DISPOSAL
The parts le over from installaon should be
recycled according to your local instrucons.
Decommissioned devices should be taken to a
recyclingsitethatspecializesinelectronicwaste.
a) Disconnect both pressure tubes from the pressure ports labeled +
and –.
b) Push down the zero buon (joysck) unl the LED light (red)
turns on and the display reads “zeroing” (display opon only). (see
Figure 6)
c) The zeroing of the device will proceed automacally. Zeroing is
complete when the LED turns off, and the display reads 0 (display
opon only).
d) Reinstall the pressure tubes, ensuring the High pressure tube is
connected to the port labeled +, and the Low pressure tube is
connected to the port labeled −.
Press down buon
LED turns ON
Display reads “Zeroing”
LED
Figure 4
2)Autozerocalibraon
If the device includes the oponal autozero circuit, no acon is re-
quired.
Autozero calibraon (-AZ) is an autozero funcon in the form of an
automaczeroingcircuitbuiltintothePCBboard.Theautozerocali-
braon electronically adjusts the transmier zero at predetermined
me intervals(every10minutes).Thefuncon eliminates all output
signaldriduetothermal,electronicormechanicaleects,aswellas
theneedfortechnicianstoremovehighandlowpressuretubeswhen
performing inial or periodic transmier zero point calibraon. The
autozeroadjustmenttakes4secondsaerwhichthedevicereturnsto
itsnormalmeasuringmode.Duringthe4secondadjustmentperiod,
theoutputanddisplayvalueswillfreezetothelatestmeasuredvalue.
Transmiers equipped with the autozero calibraon are virtually
maintenancefree.

This manual suits for next models

4

Other HK Instruments Transmitter manuals

HK Instruments DPT-Dual-MOD Series User manual

HK Instruments

HK Instruments DPT-Dual-MOD Series User manual

HK Instruments RHT Series User manual

HK Instruments

HK Instruments RHT Series User manual

HK Instruments CDT-MOD-2000 Duct Series User manual

HK Instruments

HK Instruments CDT-MOD-2000 Duct Series User manual

HK Instruments RHT-MOD Duct Series User manual

HK Instruments

HK Instruments RHT-MOD Duct Series User manual

HK Instruments CDT-MOD-2000 Series User manual

HK Instruments

HK Instruments CDT-MOD-2000 Series User manual

HK Instruments DPT-Priima Series User manual

HK Instruments

HK Instruments DPT-Priima Series User manual

HK Instruments DPT-Dual-MOD Series User manual

HK Instruments

HK Instruments DPT-Dual-MOD Series User manual

HK Instruments DPT-MOD Series User manual

HK Instruments

HK Instruments DPT-MOD Series User manual

HK Instruments DPT-2W- 100-R2 User manual

HK Instruments

HK Instruments DPT-2W- 100-R2 User manual

HK Instruments DPT-Flow-1000 Quick start guide

HK Instruments

HK Instruments DPT-Flow-1000 Quick start guide

HK Instruments DPT-Priima Series User manual

HK Instruments

HK Instruments DPT-Priima Series User manual

HK Instruments DPT-2W- 100-R2 User manual

HK Instruments

HK Instruments DPT-2W- 100-R2 User manual

HK Instruments CDT2000 Series User manual

HK Instruments

HK Instruments CDT2000 Series User manual

HK Instruments RHT-MOD Duct Series User manual

HK Instruments

HK Instruments RHT-MOD Duct Series User manual

HK Instruments RHT DUCT Series User manual

HK Instruments

HK Instruments RHT DUCT Series User manual

HK Instruments DPT-Priima Series User manual

HK Instruments

HK Instruments DPT-Priima Series User manual

HK Instruments DPT-MOD Series User manual

HK Instruments

HK Instruments DPT-MOD Series User manual

HK Instruments AVT Series User manual

HK Instruments

HK Instruments AVT Series User manual

HK Instruments DPT-Flow Series User manual

HK Instruments

HK Instruments DPT-Flow Series User manual

HK Instruments DPT-R8 Series User manual

HK Instruments

HK Instruments DPT-R8 Series User manual

HK Instruments RHT-MOD Series User manual

HK Instruments

HK Instruments RHT-MOD Series User manual

HK Instruments DPT-Flow Series User manual

HK Instruments

HK Instruments DPT-Flow Series User manual

HK Instruments CMT Series User manual

HK Instruments

HK Instruments CMT Series User manual

HK Instruments RHT-MOD Duct Series User manual

HK Instruments

HK Instruments RHT-MOD Duct Series User manual

Popular Transmitter manuals by other brands

UniKit UX400 manual

UniKit

UniKit UX400 manual

Emerson Micro Motion 4200 installation manual

Emerson

Emerson Micro Motion 4200 installation manual

BURK Technology GSC3000 quick start guide

BURK Technology

BURK Technology GSC3000 quick start guide

SkyLink TB-318 user manual

SkyLink

SkyLink TB-318 user manual

Ursalink EM500-SWL user guide

Ursalink

Ursalink EM500-SWL user guide

Audio Authority 2801 user manual

Audio Authority

Audio Authority 2801 user manual

DELTA DORE Tywatt EM.IC quick start guide

DELTA DORE

DELTA DORE Tywatt EM.IC quick start guide

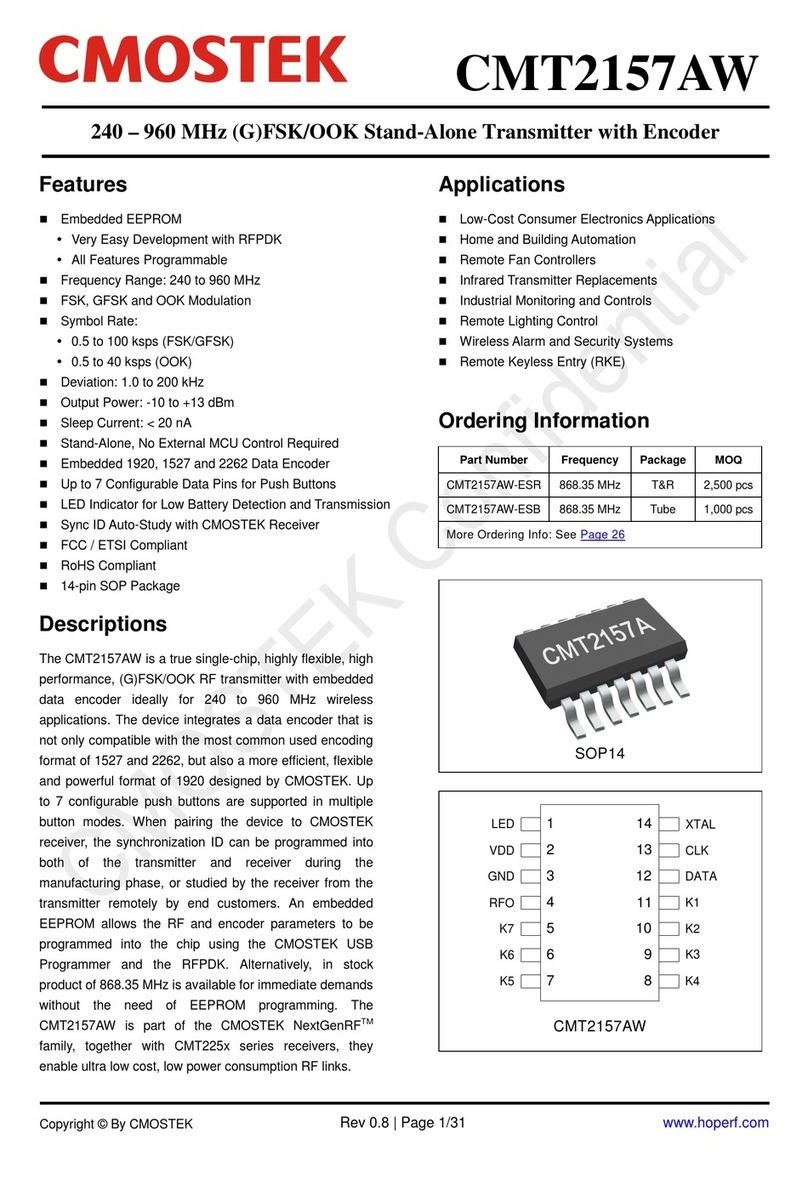
CMOSTEK CMT2157AW manual

CMOSTEK

CMOSTEK CMT2157AW manual

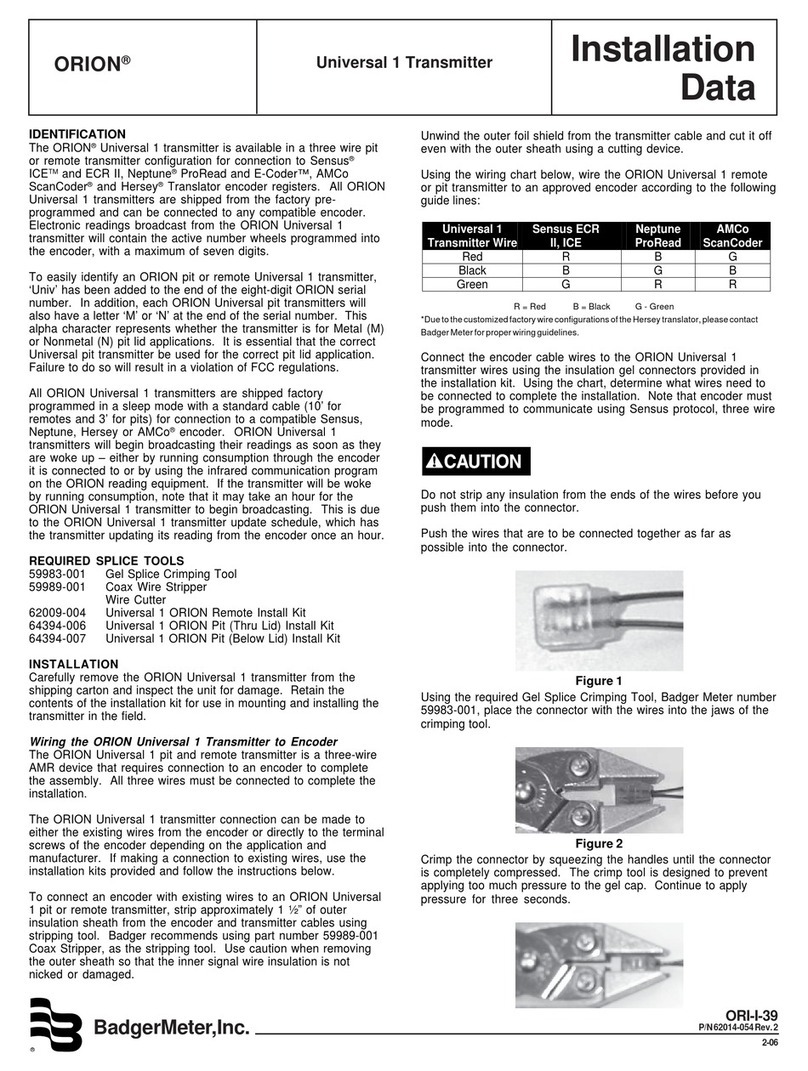
Badger Meter Orion Universal 1 Transmitter Installation data

Badger Meter

Badger Meter Orion Universal 1 Transmitter Installation data

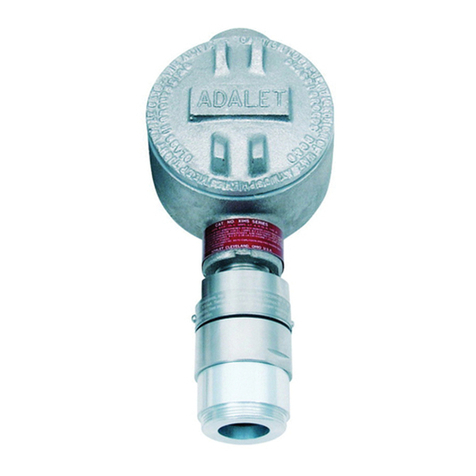
RKI Instruments 65-2331RK Operator's manual

RKI Instruments

RKI Instruments 65-2331RK Operator's manual

Suntex CT-6110-POL Operation manual

Suntex

Suntex CT-6110-POL Operation manual

PCB Piezotronics 682B03 Installation and operating manual

PCB Piezotronics

PCB Piezotronics 682B03 Installation and operating manual

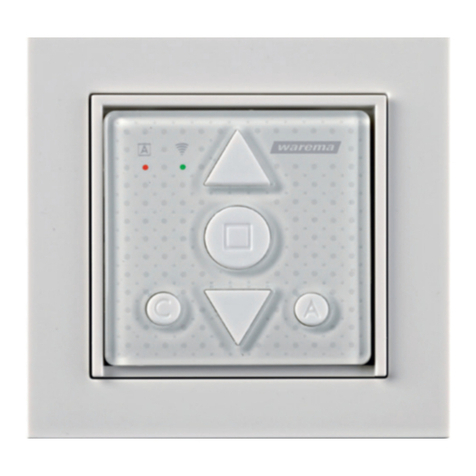
WAREMA WMS Wall-mounted transmitter plus Operating and installation instructions

WAREMA

WAREMA WMS Wall-mounted transmitter plus Operating and installation instructions

IKUSI T70/1 Operation & installation manual

IKUSI

IKUSI T70/1 Operation & installation manual

Vaisala CARBOCAP GMM112 Quick reference guide

Vaisala

Vaisala CARBOCAP GMM112 Quick reference guide

GF Signet 9900 operating instructions

GF

GF Signet 9900 operating instructions

Okayo C 7189C operating instructions

Okayo

Okayo C 7189C operating instructions

SPRIANO SST7 Series operating manual

SPRIANO

SPRIANO SST7 Series operating manual

manuals.online logo
manuals.online logoBrands
  • About & Mission
  • Contact us
  • Privacy Policy
  • Terms and Conditions

Copyright 2025 Manuals.Online. All Rights Reserved.