manuals.online logo
Brands
  1. Home
  2. •
  3. Brands
  4. •
  5. HK Instruments
  6. •
  7. Transmitter
  8. •
  9. HK Instruments RHT-MOD Duct Series User manual

HK Instruments RHT-MOD Duct Series User manual

Copyright HK Instruments 2016 www.hkinstruments. Installation version 3.0 2016
INSTALLATION
INSTRUCTIONS
HUMIDITY TRANSMITTERS
RHT-MOD Duct Series
• READ THESE INSTRUCTIONS CAREFULLY BEFORE
ATTEMPTING TO INSTALL, OPERATE OR SERVICE THIS
DEVICE.
• Failure to observe safety information and comply with
instructions can result in PERSONAL INJURY, DEATH AND/OR
PROPERTY DAMAGE.
• To avoid electrical shock or damage to equipment, disconnect
power before installing or servicing and use only wiring with
insulation rated for full device operating voltage.
• To avoid potential fire and/or explosion do not use in potentially
flammable or explosive atmospheres.
• Retain these instructions for future reference.
• This product, when installed, will be part of an engineered
system whose specifications and performance characteristics
are not designed or controlled by HK Instruments. Review
applications and national and local codes to assure that the
installation will be functional and safe. Use only experienced
and knowledgeable technicians to install this device.
SPECIFICATIONS
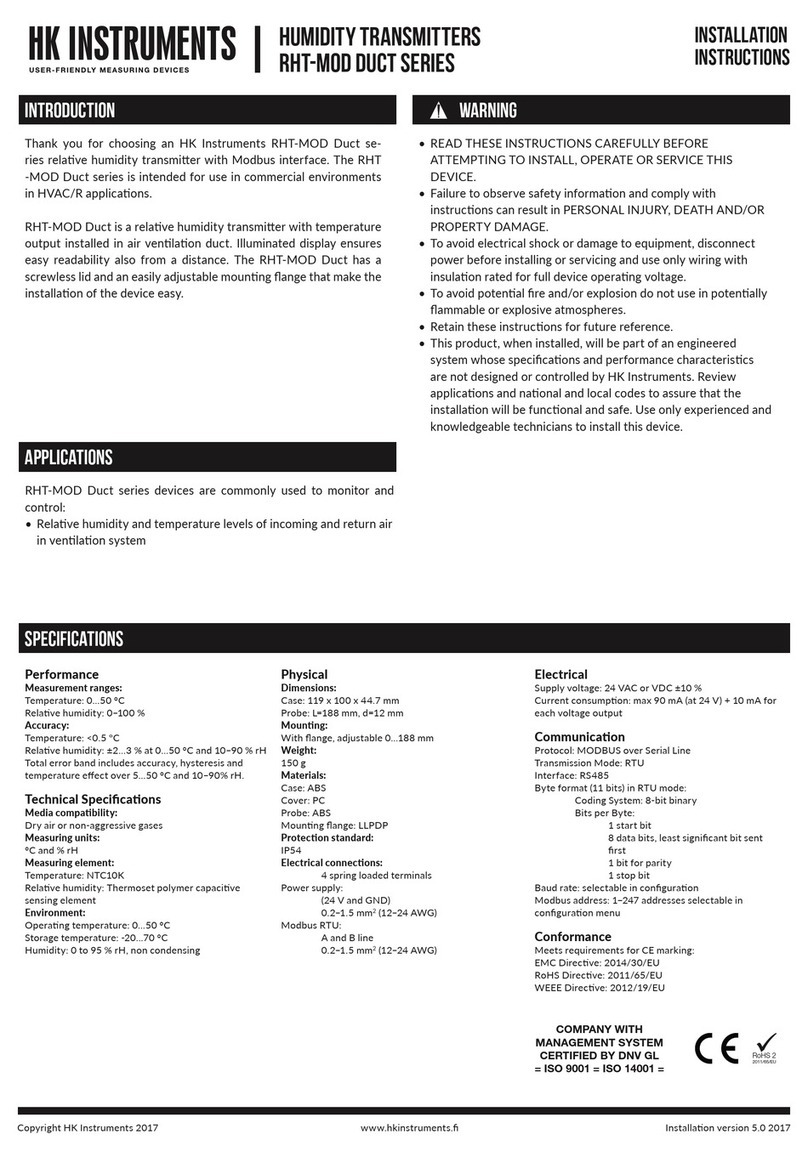
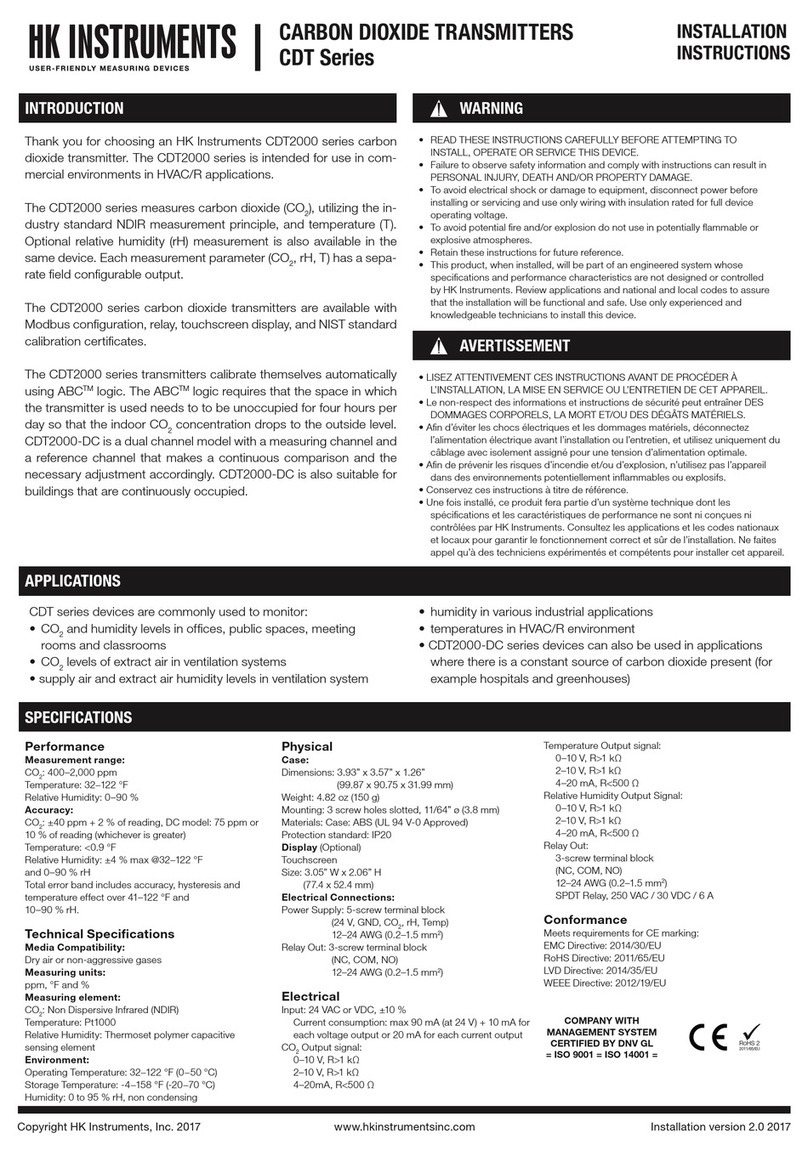
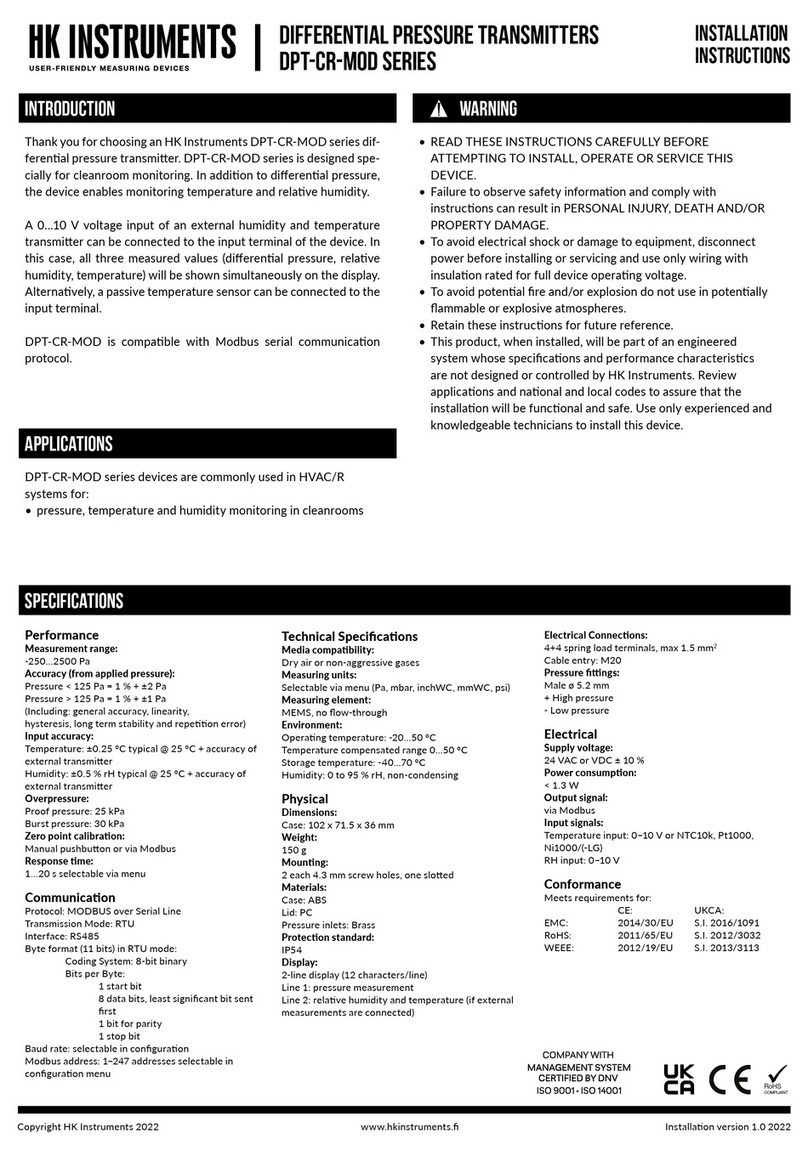
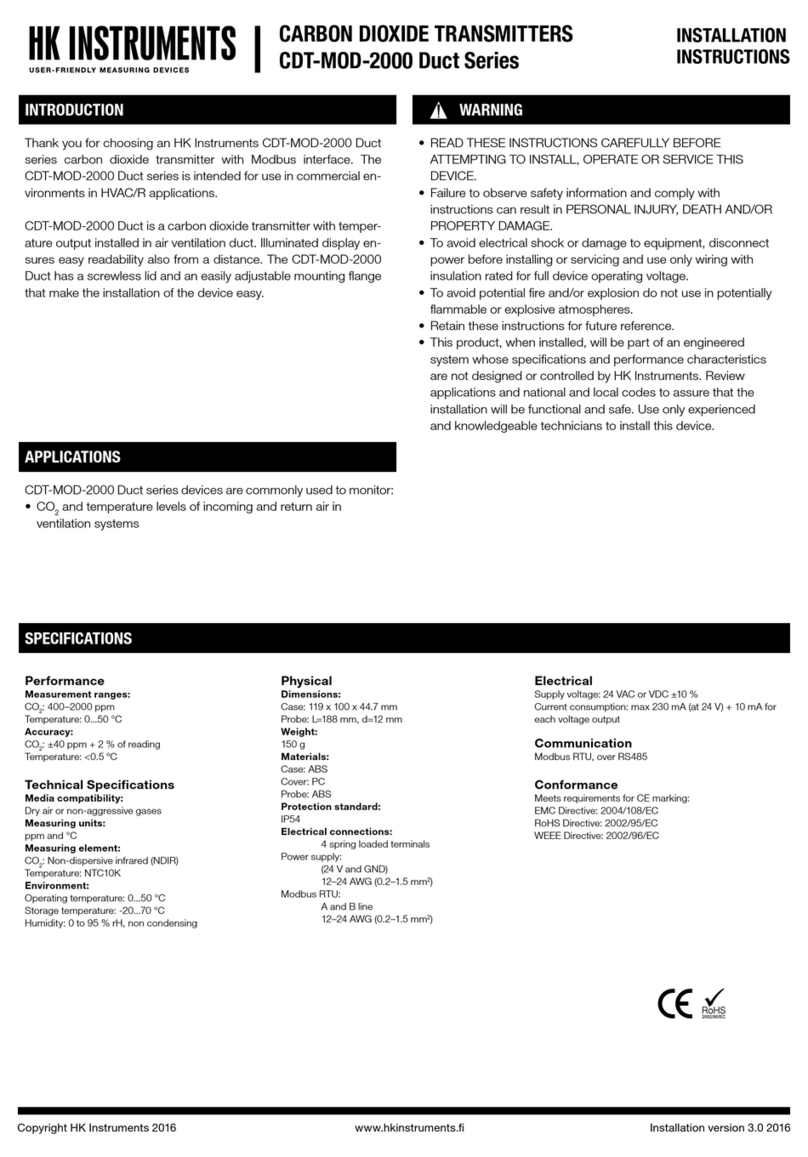
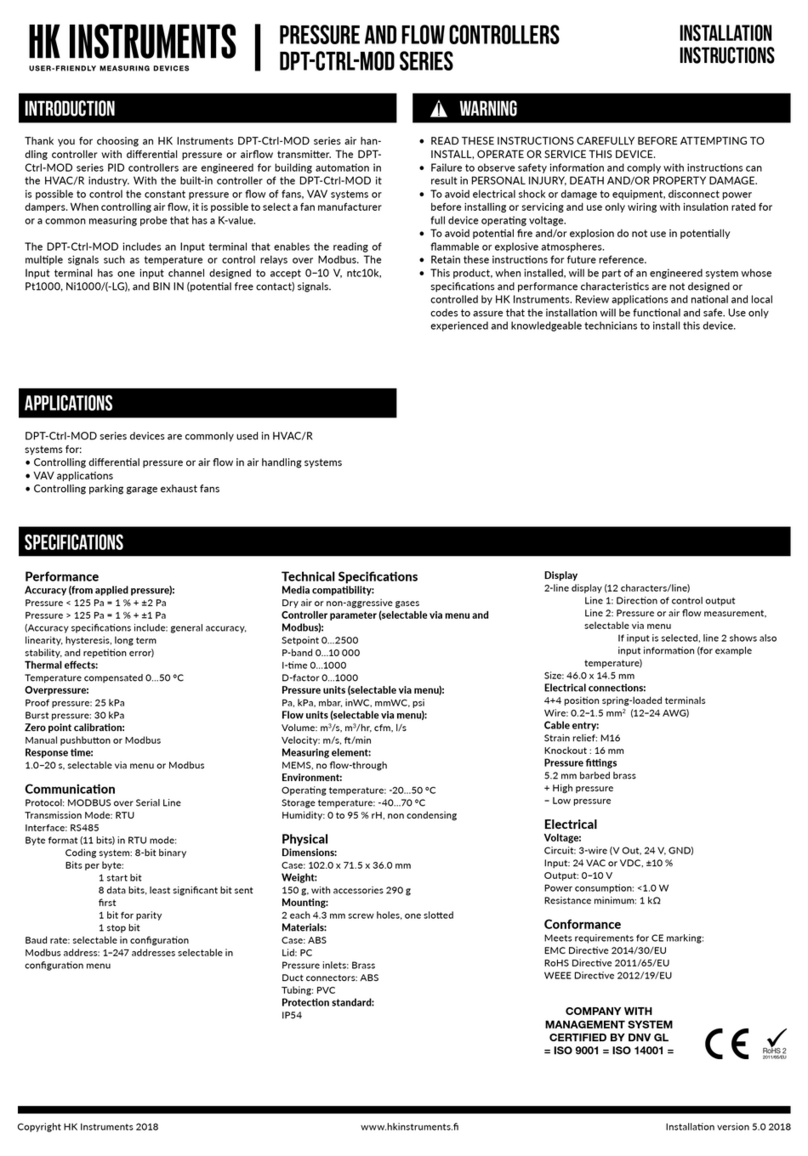
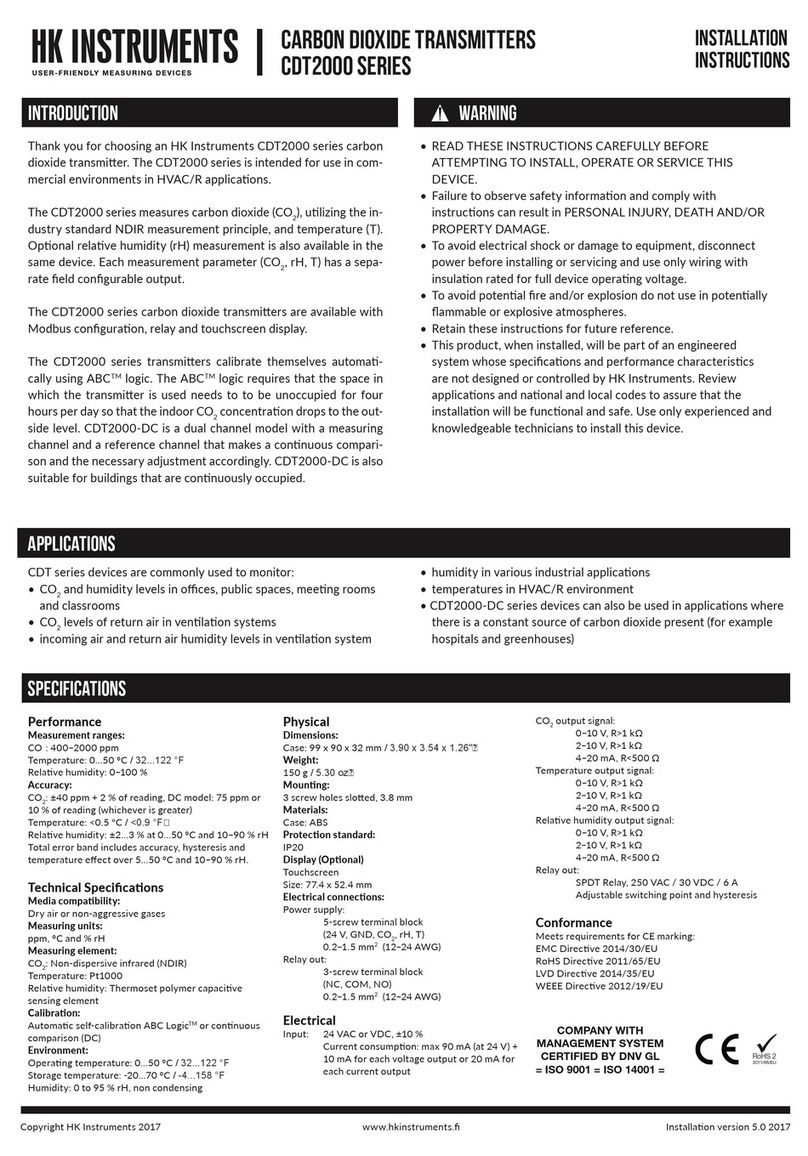
Thank you for choosing an HK Instruments RHT-MOD Duct se-
ries relative humidity transmitter with Modbus interface. The RHT
-MOD Duct series is intended for use in commercial environments
in HVAC/R applications.
RHT-MOD Duct is a relative humidity transmitter with temperature
output installed in air ventilation duct. Illuminated display ensures
easy readability also from a distance. The RHT-MOD Duct has a
screwless lid and an easily adjustable mounting flange that make
the installation of the device easy.
RHT Duct series devices are commonly used to monitor and control:
• Relative humidity and temperature levels of incoming and return
air in ventilation system
SPECIFICATIONS
Performance
Measurement ranges:
Temperature: 0...50 °C
Relative humidity: 0–90 %
Accuracy:
Temperature: <0.5 ºC
Relative humidity: ±4 % max @0...50 °C and 10–90 % rH
Total error band includes accuracy, hysteresis and
temperature effect over 5...50 °C and 10–90% rH.
Technical Specifications
Media compatibility:
Dry air or non-aggressive gases
Measuring units:
°C and % rH
Measuring element:
Temperature: NTC10K
Relative humidity: Thermoset polymer capacitive
sensing element
Environment:
Operating temperature: 0...50 °C
Storage temperature: -20...70 °C
Humidity: 0 to 95 % rH, non condensing
Physical
Dimensions:
Case: 119 x 100 x 44.7 mm
Probe: L=188 mm, d=12 mm
Weight:
150 g
Materials:
Case: ABS
Cover: PC
Probe: ABS
Mounting flange: LLPDP
Protection standard:
IP54
Electrical connections:
4 spring loaded terminals
Power supply:
(24 V and GND)
12–24 AWG (0.2–1.5 mm2)
Modbus RTU:
A and B line
12–24 AWG (0.2–1.5 mm2)
Electrical
Supply voltage: 24 VAC or VDC ±10 %
Current consumption: max 90 mA (at 24 V) + 10 mA for
each voltage output
Communication
Modbus RTU, over RS485
Conformance
Meets requirements for CE marking:
EMC Directive: 2004/108/EC
RoHS Directive: 2002/95/EC
WEEE Directive: 2002/96/EC
INTRODUCTION WARNING
APPLICATIONS
Copyright HK Instruments 2016 www.hkinstruments. Installation version 3.0 2016
Tighten the
screw
SCHEMATICS
DIMENSIONAL DRAWINGS
INSTALLATION
STEP 1: MOUNTING THE DEVICE
1) Mount the device in the desired location (see step 1).
2) Route the cables and connect the wires (see step 2).
3) The device is now ready for configuration.
WARNING! Apply power only after the device is properly wired.
1) Select the mounting location (on a duct).
2) Use the mounting flange of the device as a template and mark
the screw holes.
3) Mount the flange on the duct with screws (not included). (Figure
1a)
4) Adjust the probe to the desired depth. Ensure that the end of
the probe reaches the middle of the duct. (Figure 1b)
5) Tighten the screw on the flange to hold the probe in position.
Figure 1a - Mounting a flange
Figure 1b - Mounting the probe in a flange
Air ow direction Air ow direction
Air ow direction Air ow direction Air ow direction
Strain relief facing down
Figure 1c - Mounting orientation
Display connection
Terminal block
A
B
24 V
GND
Joystick 1
Joystick 2
Joystick 3
Select
Up
Down
Menu buttons
Copyright HK Instruments 2016 www.hkinstruments. Installation version 3.0 2016
STEP 3: CONFIGURATION
STEP 4: MODBUS REGISTERS
For CE compliance a properly grounded shielding cable is
required.
1) Unscrew the strain relief and route the cable(s).
2) Connect the wires as shown in figure 2a.
3) Tighten the strain relief.
Figure 2a - Wiring diagram
A
24 V
GND
+ Power Supply
24VDC / 24VAC
Modbus A
Modbus B B
WARRANTY POLICY
The seller is obligated to provide a warranty of five years for the de-
livered goods regarding material and manufacturing. The warranty
period is considered to start on the delivery date of the product. If
a defect in raw materials or a production flaw is found, the seller is
obligated, when the product is sent to the seller without delay or
before expiration of the warranty, to amend the mistake at his/her
discretion either by repairing the defective product or by delivering
free of charge to the buyer a new flawless product and sending it to
the buyer. Delivery costs for the repair under warranty will be paid
by the buyer and the return costs by the seller. The warranty does
not comprise damages caused by accident, lightning, flood or other
natural phenomenon, normal wear and tear, improper or careless
handling, abnormal use, overloading, improper storage, incorrect
care or reconstruction, or changes and installation work not done
by the seller or his/her authorized representative. The selection of
materials for devices prone to corrosion is the buyer’s responsibility,
unless otherwise is legally agreed upon. Should the manufacturer
alter the structure of the device, the seller is not obligated to make
comparable changes to devices already purchased. Appealing for
warranty requires that the buyer has correctly fulfilled his/her duties
arisen from the delivery and stated in the contract. The seller will give
a new warranty for goods that have been replaced or repaired within
the warranty, however only to the expiration of the original product’s
warranty time. The warranty includes the repair of a defective part or
device, or if needed, a new part or device, but not installation or ex-
change costs. Under no circumstance is the seller liable for damages
compensation for indirect damage.
1) Activate the device Menu by pushing the the select button for 2
seconds.
2) Select the address for Modbus: 1...247.
ADDRESS
99
SELECT
UP
DOWN
3) Select the baud rate: 9600/19200/38400.
BAUD RATE
9600
SELECT
UP
DOWN
3) Select the parity bit: None/Even/Odd.
PARITY BIT
NONE
SELECT
UP
DOWN
4) Push the select button to exit menu.
SELECT
EXIT MENU SELECT
Function 04 - Read input register
Register Parameter description Data Type Value Range
3x0001 Program version 16 bit 0...1000 0,0...99,00
3x0003 rH reading 16 bit 0...1000 0,0...100,0 %
3x0004 Temperature reading 16 bit 0...500 0,0...50,0 °C
STEP 2: WIRING DIAGRAMS
RECYCLING/DISPOSAL
The parts left over from installation should be
recycled according to your local instructions.
Decommissioned devices should be taken to
a recycling site that specializes in electronic
waste.

Other HK Instruments Transmitter manuals
HK Instruments DPT-Priima Series User manual

HK Instruments

HK Instruments DPT-Priima Series User manual

HK Instruments CDT Series User manual

HK Instruments

HK Instruments CDT Series User manual

HK Instruments DPT-Priima Series User manual

HK Instruments

HK Instruments DPT-Priima Series User manual

HK Instruments DPT-Flow Series User manual

HK Instruments

HK Instruments DPT-Flow Series User manual

HK Instruments RHT Series User manual

HK Instruments

HK Instruments RHT Series User manual

HK Instruments DPT2500-R8 Series Instruction manual

HK Instruments

HK Instruments DPT2500-R8 Series Instruction manual

HK Instruments DPT-Dual-MOD Series User manual
HK Instruments

HK Instruments DPT-Dual-MOD Series User manual

HK Instruments KLU 100 User manual

HK Instruments

HK Instruments KLU 100 User manual

HK Instruments RHT-MOD Duct Series User manual

HK Instruments

HK Instruments RHT-MOD Duct Series User manual

HK Instruments AVT Series User manual

HK Instruments

HK Instruments AVT Series User manual

HK Instruments DPT-R8 Series User manual

HK Instruments

HK Instruments DPT-R8 Series User manual

HK Instruments DPT-2W- 100-R2 User manual

HK Instruments

HK Instruments DPT-2W- 100-R2 User manual

HK Instruments Siro-MOD Series User manual
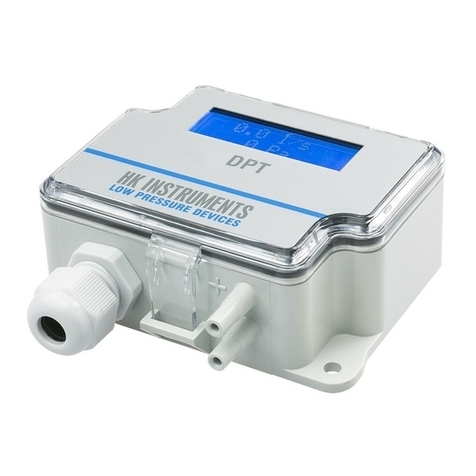
HK Instruments

HK Instruments Siro-MOD Series User manual

HK Instruments DPT-Flow-1000 Quick start guide

HK Instruments

HK Instruments DPT-Flow-1000 Quick start guide

HK Instruments CMT Series User manual

HK Instruments

HK Instruments CMT Series User manual

HK Instruments DPT Series User manual

HK Instruments

HK Instruments DPT Series User manual

HK Instruments SIRO Series User manual

HK Instruments

HK Instruments SIRO Series User manual

HK Instruments DPT-Dual-MOD Series User manual

HK Instruments

HK Instruments DPT-Dual-MOD Series User manual

HK Instruments RHT DUCT Series User manual

HK Instruments

HK Instruments RHT DUCT Series User manual

HK Instruments DPT-CR-MOD Series User manual

HK Instruments

HK Instruments DPT-CR-MOD Series User manual

HK Instruments AVT Series User manual

HK Instruments

HK Instruments AVT Series User manual

HK Instruments RHT-MOD Duct Series User manual
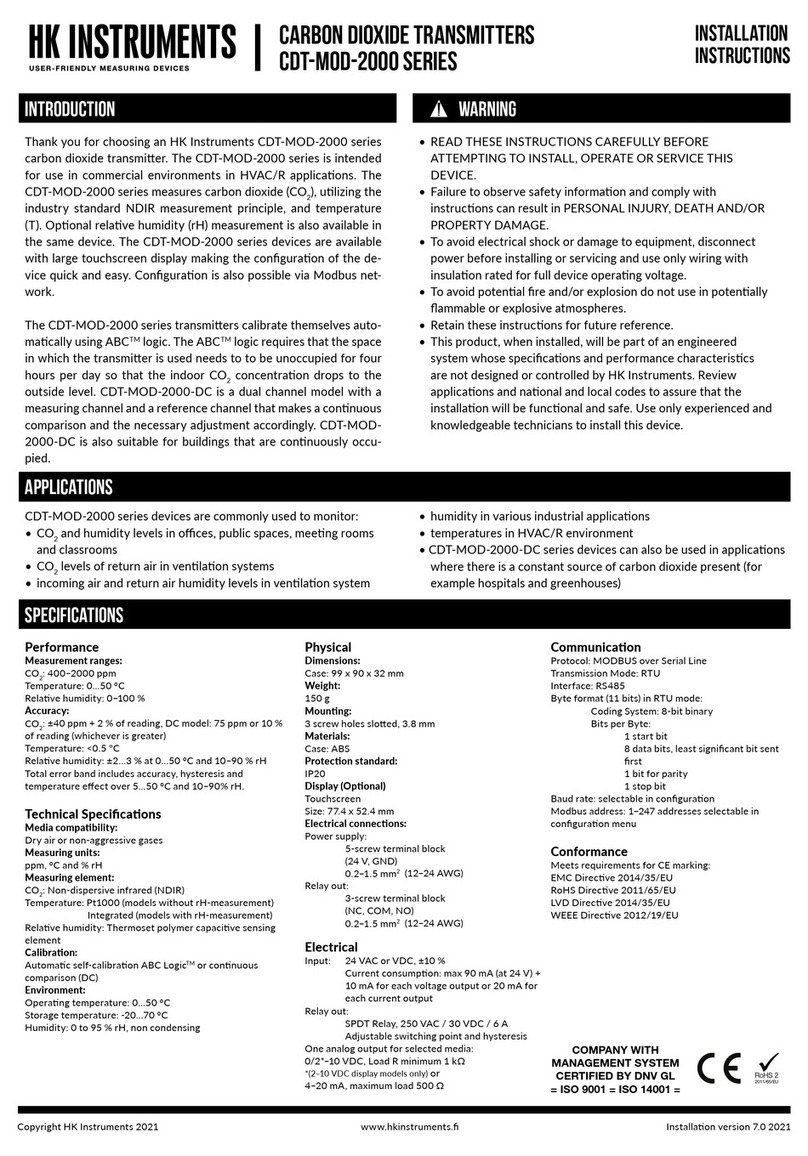
HK Instruments

HK Instruments RHT-MOD Duct Series User manual

HK Instruments DPT-Ctrl-MOD Series User manual
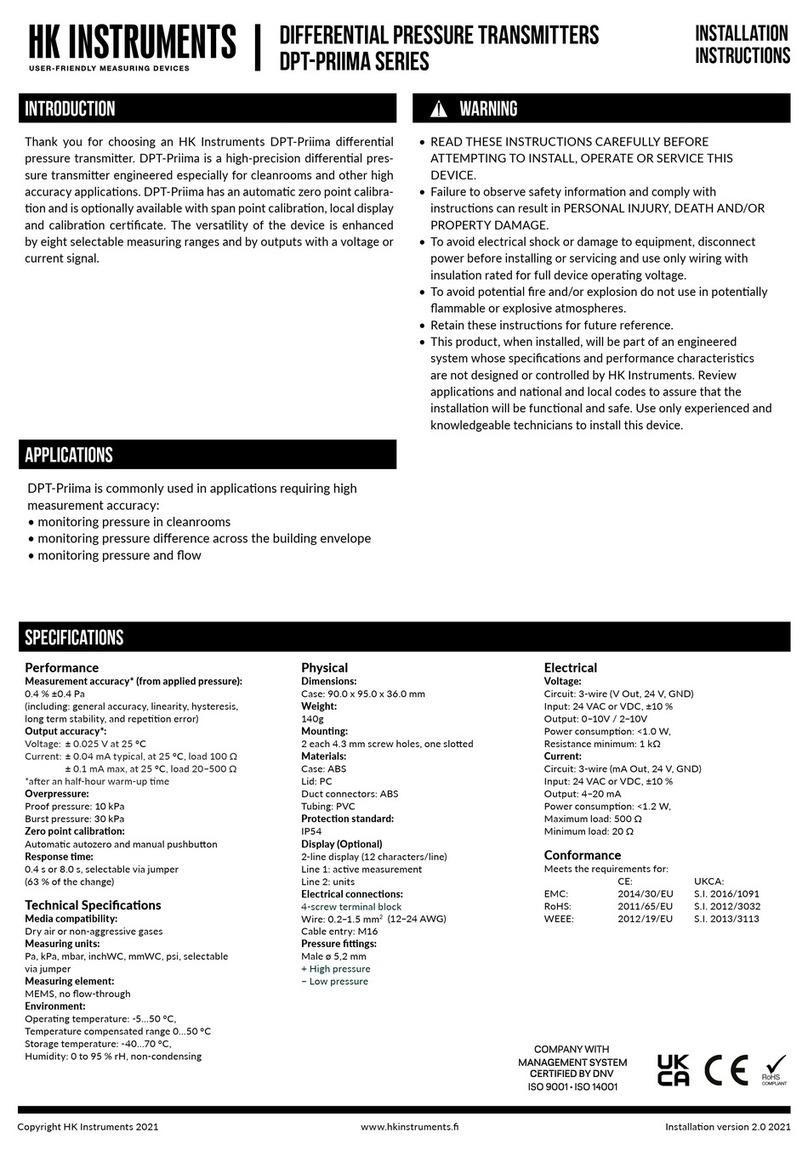
HK Instruments

HK Instruments DPT-Ctrl-MOD Series User manual

HK Instruments DPT-2W- 100-R2 User manual
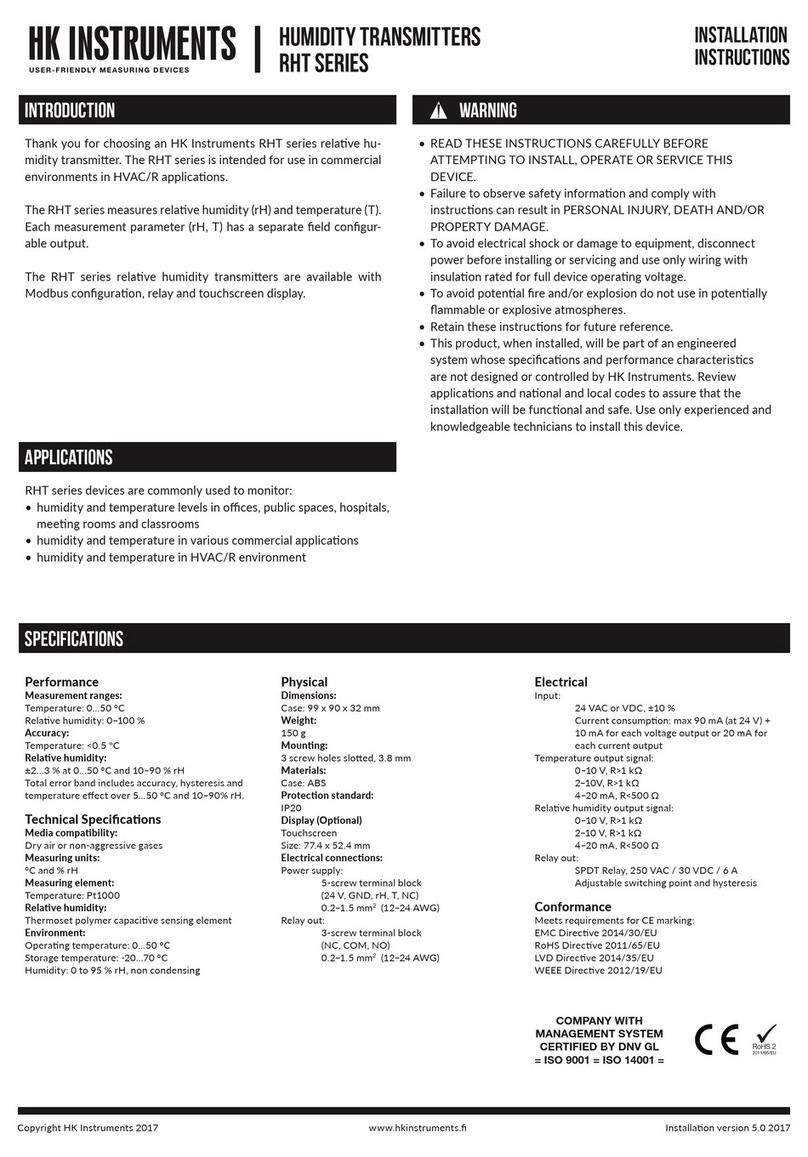
HK Instruments

HK Instruments DPT-2W- 100-R2 User manual

Popular Transmitter manuals by other brands
CYP CH-1103TX Operation manual

CYP

CYP CH-1103TX Operation manual

DogWatch IB-200 operating instructions

DogWatch

DogWatch IB-200 operating instructions

ABB 2600T Series operating instructions

ABB

ABB 2600T Series operating instructions

SKF CMSS500 Series user manual

SKF

SKF CMSS500 Series user manual

Endress+Hauser Liquisys M CLM223F operating instructions

Endress+Hauser

Endress+Hauser Liquisys M CLM223F operating instructions

Extron electronics TP T 15HD AV user manual

Extron electronics

Extron electronics TP T 15HD AV user manual

INOR IPAQ-L User instructions

INOR

INOR IPAQ-L User instructions

Dejero LIVE+ EnGo user guide

Dejero

Dejero LIVE+ EnGo user guide

FISCHER DE45 series instruction manual

FISCHER

FISCHER DE45 series instruction manual

Kyosho PERFEX EX-5UR instruction manual

Kyosho

Kyosho PERFEX EX-5UR instruction manual

CYP EL-2600V user guide

CYP

CYP EL-2600V user guide

SABINE SW70-T BELTPACK TRANSMITTER Quick setup guide

SABINE

SABINE SW70-T BELTPACK TRANSMITTER Quick setup guide

Signet 8450-1 manual

Signet

Signet 8450-1 manual

Emerson Rosemount 248 quick start guide

Emerson

Emerson Rosemount 248 quick start guide

Absolute Process Instruments APD 4300 manual

Absolute Process Instruments

Absolute Process Instruments APD 4300 manual

Audiovox Prestige 07S1BP Programming guide

Audiovox

Audiovox Prestige 07S1BP Programming guide

Marmitek MicroModule AWM2 user manual

Marmitek

Marmitek MicroModule AWM2 user manual

Vaisala DRYCAP DMT143 user guide

Vaisala

Vaisala DRYCAP DMT143 user guide

manuals.online logo
manuals.online logoBrands
  • About & Mission
  • Contact us
  • Privacy Policy
  • Terms and Conditions

Copyright 2025 Manuals.Online. All Rights Reserved.