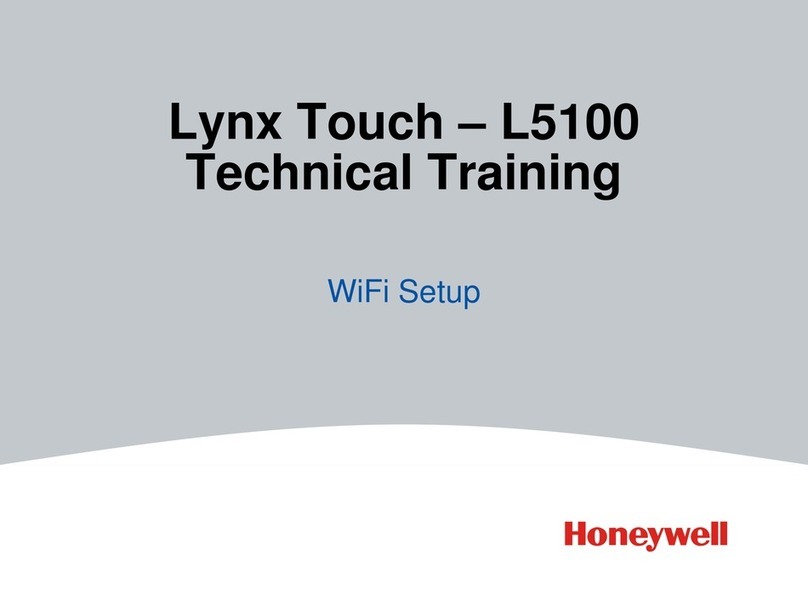
Hit “Date and Time”
Setting Date and Time: You should now be able to set your date and time. Simply use
the arrow keys at the top to select your month, day, and year. When you have the correct
date, then hit the down arrow on the right to take you to the section for the time. Simply
enter your current time. You may need to hit the left delete arrow to erase a default time.
You must enter 4-digits for the time. And then tap am/pm to select the appropriate time
of day. When your date and time is set, hit “save” and this will take you back to the
programming menu.
We are now ready to enter your zone information. It is best to make sure all of your
wireless devices are ready to be enrolled. You will want to make sure each sensor has a
battery in it, and the magnets are next to the door/window sensors and all covers back on.
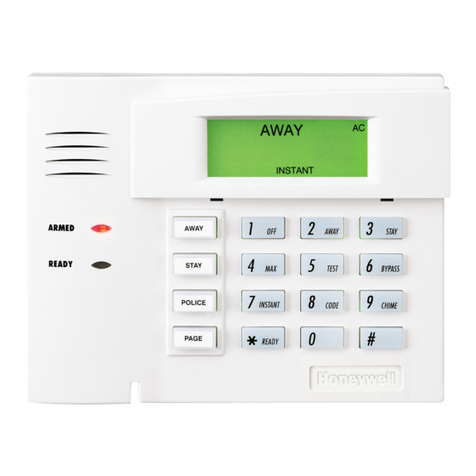
Then go ahead and touch the “zones” tab in the system programming menu.
Step 4: Entering Zones: You are now ready to enter your wireless devices. You will not
use Zone 1 for any wireless device. Zone 1 is for hardwired only. All wireless devices
begin with zone 2. All key fobs or wireless panic buttons will not be entered into this
section.
If you have any questions about “Loops” and what loop should be programmed, refer to
the Lynx Touch Installation and Setup Guide, page 14. However, by defaulted, while
programming the activated loop automatically is inputted in the control panel.
With each device now powered by battery, covers on, and ready to be programmed, go
ahead and select your Zone 2 (by default says Front Door), and once it is highlighted,
click edit.
Enrolling the Device: You can either enter the number manually without using the “A”
(if you choose this way, make sure you select the correct loop). OR you can enroll by
transmitting the device. To transmit the device, make sure you place the magnet next to
the sensor, pull the magnet away and the system will beep. Repeat and put the magnet
next to the sensor and pull the magnet away. The system will fill in the serial number
and loop. Just hit “done”.
Then choose your Zone Descriptor. Begin typing what the device is for. Once you hit
the first letter, you can continue spelling the word or scroll through the words beginning
with that letter. This will mainly be the first word of the description, as you will select
another word later. Once you have the word you want select “done”
Then you will choose your device type. Touch the “device type” tab and select what
device you are working with. You may need to use the up and down scroll arrows on the
side. Once you select that, the basic programming for that device is done, and you can hit
“save”.
