manuals.online logo
Brands
  1. Home
  2. •
  3. Brands
  4. •
  5. Hughes
  6. •
  7. Modem
  8. •
  9. Hughes HughesNet HT1-00 Series User manual

Hughes HughesNet HT1-00 Series User manual

1 2
34
Returning Your HT1x00 Leased Equipment
1039586-0001 Revision C June 26, 2015
Read this safety information before
removing the radio
CAUTION
Make sure the modem is completely disconnected (as instructed in panel 3) before
attempting to disconnect the radio assembly from the satellite antenna. Failure to do
so could result in exposure to RF radiation, which could cause injury to the eyes or
other injury.
To remove the radio, you must go to the roof or other satellite antenna location.
Working on a roof may involve potential safety hazards, as explained below.
DANGER
Hughes recommends you contact a professional installer to disconnect and uninstall
the equipment, especially if the antenna is on a roof or other high structure or
requires a ladder to access. Consider safety and possible damage to the equipment.
• Removing the radio may involve potential hazards involving electricity, radio
frequency (RF) radiation, and—depending on the antenna location—may involve
working on a roof or other high structure.
If you work on a roof, tower, or other high structure, or use a ladder or scaffold to
access the work site, follow these precautions to prevent personal injury or death:
• Do not try to remove the radio (this includes all steps in panel 5) while you are on a
ladder or scaffold.
• Walk only on sound roof structures.
• Use safety equipment (for example, a lifeline) appropriate for the work location.
• Follow the manufacturer’s safety precautions for all safety equipment used.
• To avoid electric shock, stay at least 20 ft from power lines.
• If any part of the antenna or antenna mount comes in contact with a power line, call
your local power company to remove it. Do not try to remove it yourself.
• Do not work in high wind or rain or if a storm, lightning, or other adverse weather
conditions are present or approaching.
Disconnect the modem
CAUTION
You must completely disconnect the modem before attempting to disconnect the radio
from the satellite antenna. Failure to do so could result in exposure to RF radiation,
which could cause injury to the eyes or other injury.
Unplug the AC power cord from the power outlet or surge protector first, as shown in
Figure 2 to avoid static electricity discharge that could shock you and/or damage the
modem.
To disconnect the modem, follow steps 1, 2, and 3 below.
Figure 2 - Disconnecting cables from the modem
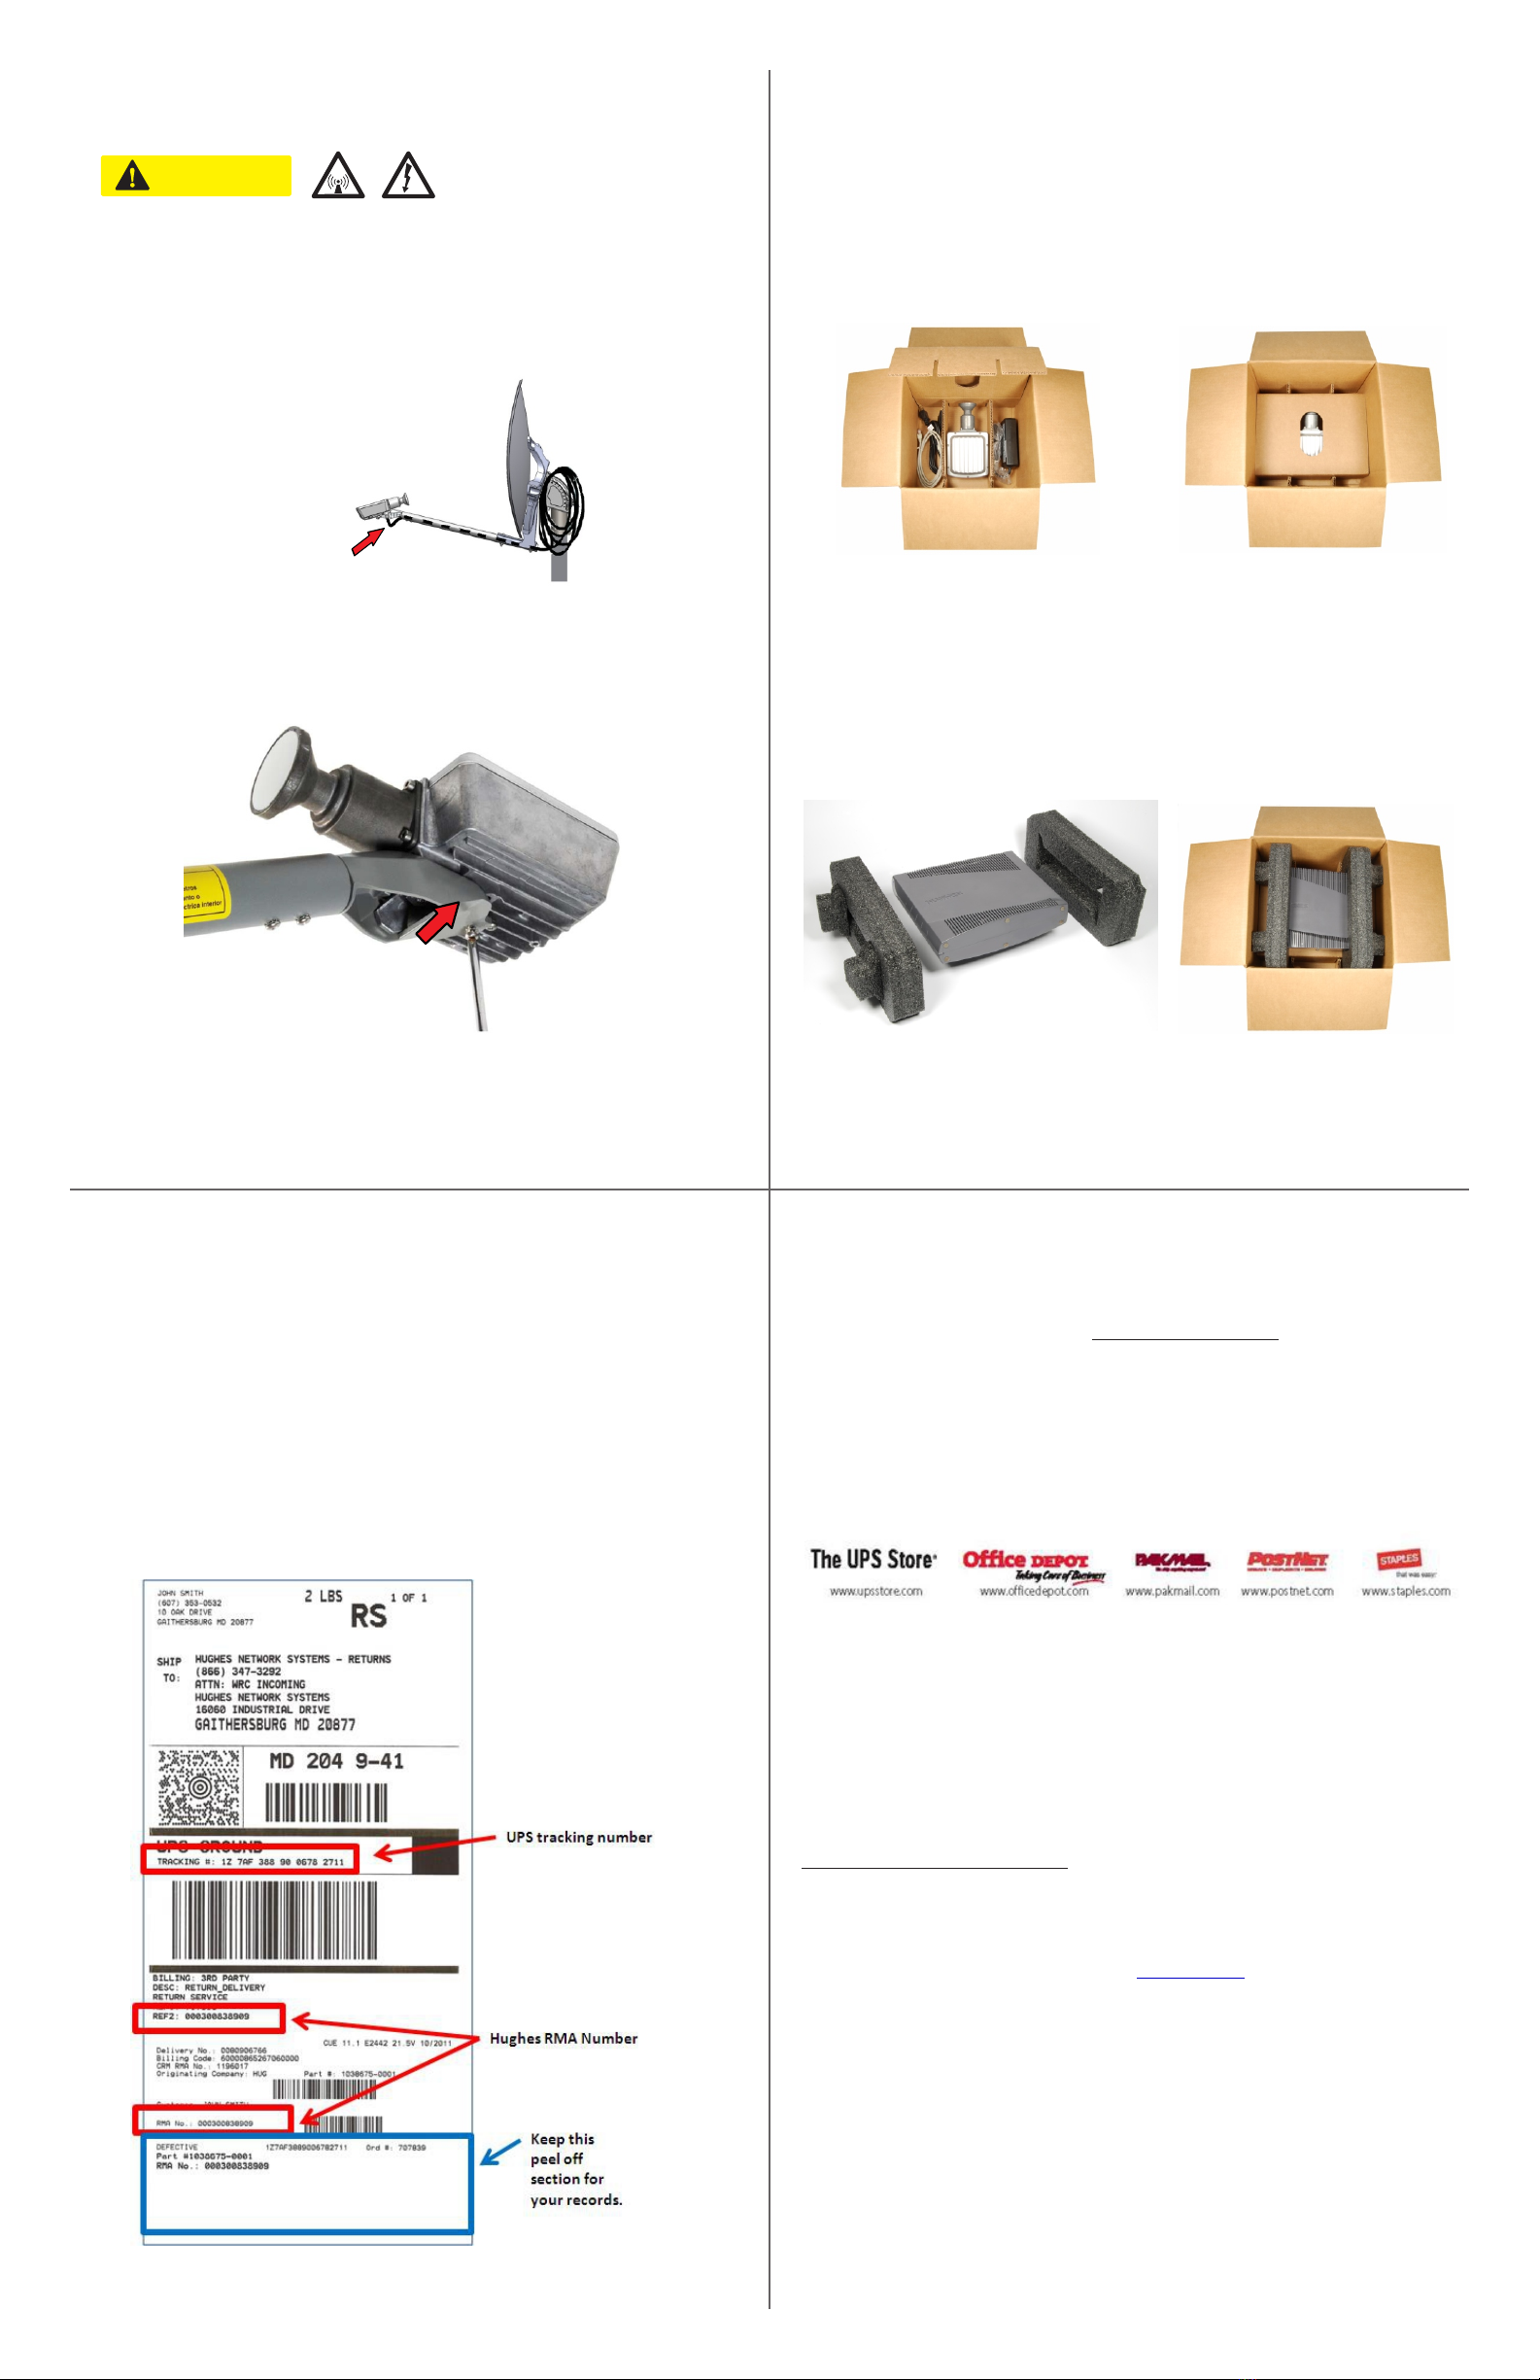
If you return the HughesNet equipment you leased, you can avoid being charged a
fee for unreturned equipment. These instructions explain how to uninstall the
equipment, pack it, and return it to Hughes in the box you have received.
Return all items shown in Figure 1. If you return only some of the equipment you will
be charged a partial fee. For details, see the letter enclosed in the box.
You can hire a professional installer to remove the radio or remove it yourself.
Hughes recommends you hire a professional installer. You are liable for any damage
you may cause to the equipment during removal.
Why did I get a return kit from Hughes?
You do not need to return the antenna, antenna mount, or cables that connect
the radio (outside) to the modem. Hughes is not obligated to uninstall or pay for
removal of these items.
Modem
Radio
LAN cable
Figure 1 - Equipment to return
Power
supply
If you have questions, call HughesNet Customer Care, toll-free, at 1-866-347-3292.
Please read these instructions before you call.
If you want to hire a professional installer to remove your HughesNet equipment, you
can search for a local HughesNet dealer at:
http://contact.hughesnet.com/dealer/search.cfm
You must make your own arrangements, including payment, with the dealer.
If you need assistance
Important: Before removing any equipment, read all safety
information indicated by or .
CAUTION DANGER
• Heavy duty wire or cable cutters
• inch wrench (if you cannot loosen SAT connector cable attached
to the modem by hand)
• 1/4 inch Phillips head screwdriver
• 7/64 inch hex wrench (provided in the return kit)
7/16
Tools needed
• A box – for returning the equipment
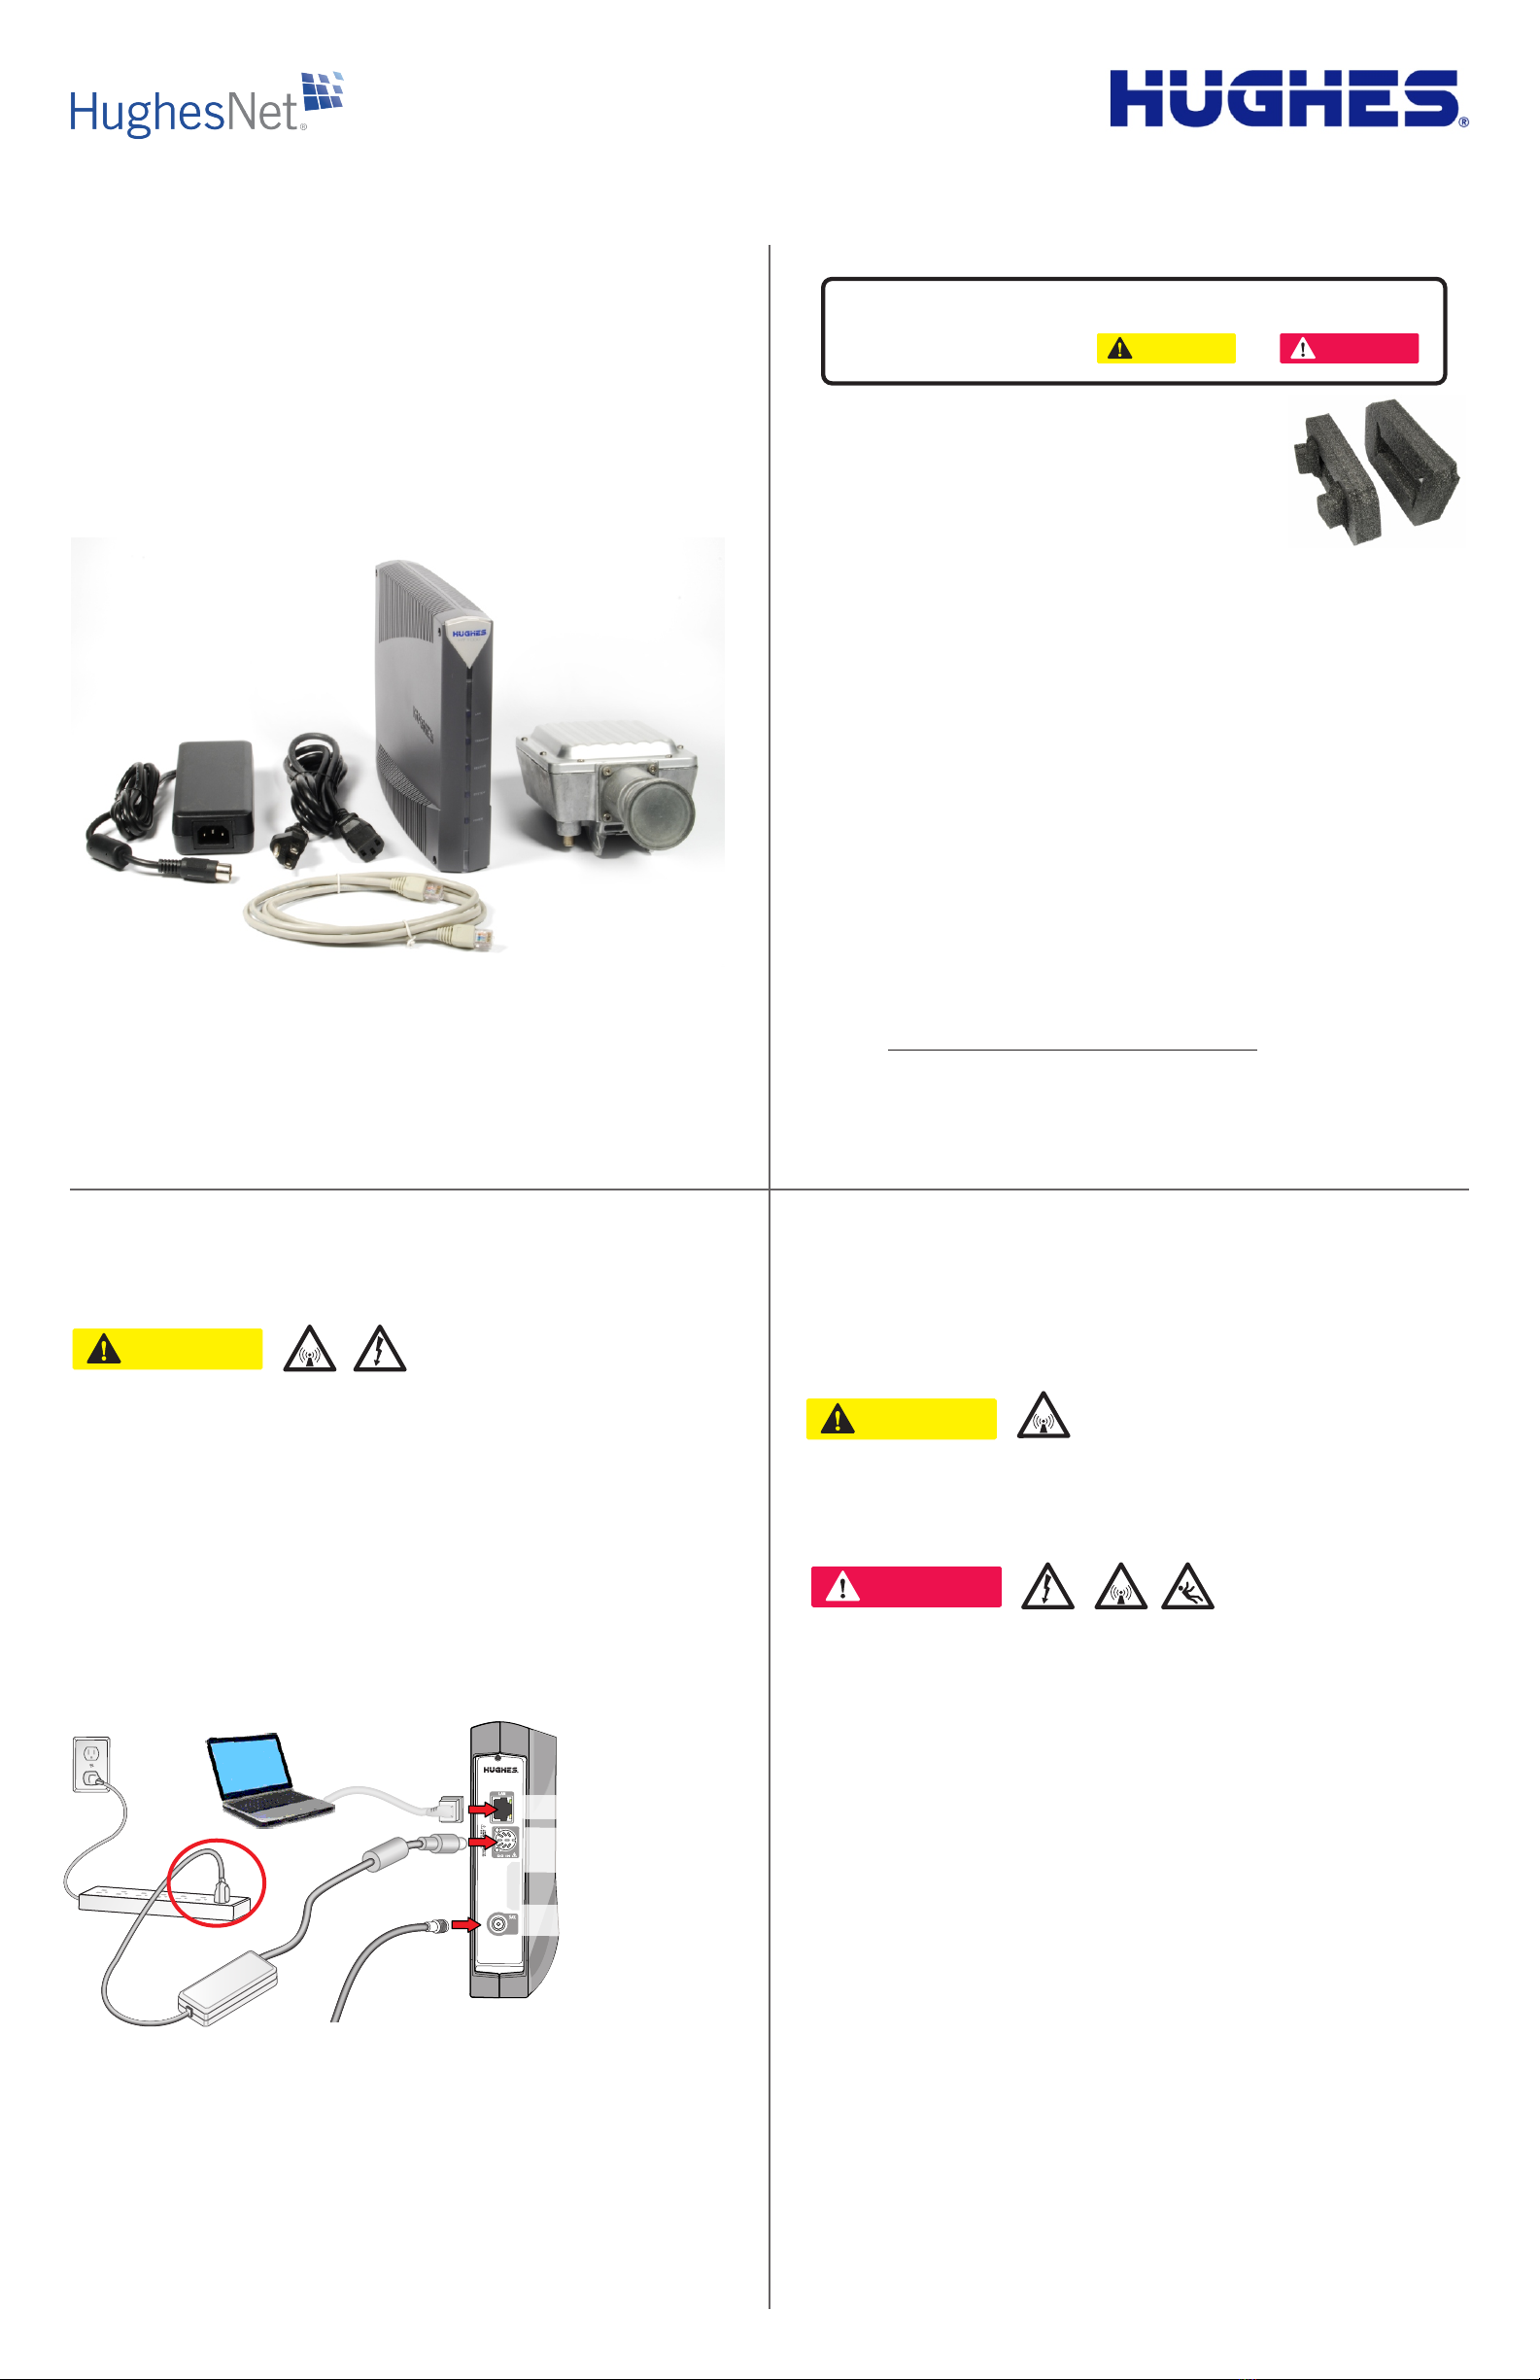
• 2 foam end caps – to protect the equipment during shipping
• Strip of tape – to seal the box
• Pre-paid UPS return label
• UPS packing slip (UPS Supply Chain Solutions - Pack Slip) found
inside the box. This will be sent back with equipment so please save.
The return kit includes:
End caps
Loosen the SAT
connector cable by hand.
7/
If necessary, use a 16
inch wrench.
Important:
first
(circled in red).
1. Unplug the power plug from the surge protector or power outlet
2. Unplug the Ethernet cable from your computer.
3. Unplug all other
cables from the modem.
Modem
rear
panel
LAN port
Ethernet
cable
Installer laptop PC
G47380a C
SA
T connector
Satellite
cable
DC IN
power connector
DC
power
cord
Power
supply
Surge
protector
AC
power
cord
AC
power
outlet
5
78
Copyright © 2012, 2013, 2015 Hughes Network Systems, LLC
All rights reserved. This publication and its contents are proprietary to Hughes Network Systems, LLC. No part of
this publication may be reproduced in any form or by any means without the written permission of Hughes Network
Systems, LLC, 11717 Exploration Lane, Germantown, Maryland 20876. Hughes Network Systems, LLC has
made every effort to ensure the correctness and completeness of the material in this document. Hughes Network
Systems, LLC shall not be liable for errors contained herein. The information in this document is subject to change
without notice. Hughes Network Systems, LLC makes no warranty of any kind with regard to this material,
including, but not limited to, the implied warranties of merchantability and fitness for a particular purpose.
Trademarks
Hughes, HughesNet, SPACEWAY, and Hughes Network Systems are trademarks of Hughes Network Systems,
LLC. All other trademarks are the property of their respective owners. This product is compatible with the Hughes
SPACEWAY system.
6
Pack the equipment for shipping
Figure 5 Figure 6
Figure 7 Figure 8
1. Place the open box on a flat surface and open the flap inside the box.
2. Place the radio in the middle and the LAN cable and power supply on either side as
shown in Figure 5.
3. Close the inner flap as shown in Figure 6.
4. Place the UPS packing slip on top of flap.
5. Place the foam end caps on either side of the satellite modem (Figure 7) and
press down to make sure the cap fits snugly.
6. Carefully slide the end caps with the satellite modem into the box as shown
in Figure 8.
Pack the equipment—Continued
Note: Record the number.
You will need it for any inquiry. Also record the tracking number if you want
to track the return shipment to Hughes. The RMA number and tracking
number both appear on the UPS return label, as shown in Figure 9.
return material authorization (RMA)
7. Close the box flaps—end flaps first and then the longer flaps.
8. Apply the strip of tape provided in the return kit to the top of the box,
lengthwise, to seal the small separation between the longer flaps.
9. Place the return label to Hughes Network Systems on the box so it covers
the old label with your address on it.
(The return label is included in the box.)
Figure 9 - R
tracking number
eturn label example showing locations of RMA number and
Note: The radio is the only outdoor part you need to return.
Remove the radio
Radio
Antenna
reflector
Figure 3 - Radio and antenna
1. Go to the antenna location. Follow all precautions listed in panel 4.
2. Cut the cable at the location indicated by the arrow. Cut as close as you can to
the metal connector.
3. Use a 1/4 inch Phillips head screwdriver and remove the screw at the bottom of
the radio as shown in Figure 4 (indicated by the arrow).
4. Lift the radio upward until it is free.
Figure 4 - Removing the radio from the feed support arm
Radio
Feedhorn
Track the return package
You can track the return package online at with the tracking number.www.ups.com
Check return shipment status
You can check the status of your return shipment online at
http://rmastatus.hughesnet.com. You will need your site account number (SAN) or
RMA number. The RMA number appears on the return label, as shown in Figure 5.
Ship the package
To ship the equipment, take the box to any staffed UPS location or give the box to
any UPS driver.
You can find UPS locations online at www.ups.com/dropoff.
1. Enter your address.
2. Select the type of location you want to search for. Staffed UPS locations
include those designated as:
• The UPS Store
• UPS customer centers
• UPS Alliance locations
• Authorized shipping outlets
3. Click the Select button and the locations of the preferred centers will be
displayed on a map.
=Do not take the box to a UPS drop box – it will not fit.
=If a pickup is required, call UPS at 1-800-742-5877. Say “send a package” and
then “schedule a pickup”. Be prepared to give the full UPS tracking number.
1039586-0001 Revision C June 26, 2015
Feed support
arm
Make sure the modem is completely disconnected or powered off before
attempting to disconnect the radio assembly from the satellite antenna.
Failure to do so could result in exposure to RF radiation or electrocution ,
which could cause injury to the eyes or other injury.
CAUTION

Other Hughes Modem manuals

Hughes Satellite IP Modem R-BGAN User manual

Hughes

Hughes Satellite IP Modem R-BGAN User manual

Hughes HN7000S User manual

Hughes

Hughes HN7000S User manual

Hughes Jupiter HT1100 User manual

Hughes

Hughes Jupiter HT1100 User manual

Hughes dishNET HT 1000 Parts list manual

Hughes

Hughes dishNET HT 1000 Parts list manual

Hughes 9201 User manual

Hughes

Hughes 9201 User manual

Hughes DW4020 User manual

Hughes

Hughes DW4020 User manual

Hughes HN9000 User manual

Hughes

Hughes HN9000 User manual

Hughes JUPITER System HT2000 User manual

Hughes

Hughes JUPITER System HT2000 User manual

Hughes ThurayaIP User manual

Hughes

Hughes ThurayaIP User manual

Hughes HN9000 User manual

Hughes

Hughes HN9000 User manual

Hughes HN9000 User manual

Hughes

Hughes HN9000 User manual

Hughes HN9200 User manual

Hughes

Hughes HN9200 User manual

Hughes HN9600 User manual

Hughes

Hughes HN9600 User manual

Hughes 9100 UMOD User manual

Hughes

Hughes 9100 UMOD User manual

Hughes Hylas 2 - freedomsat User manual

Hughes

Hughes Hylas 2 - freedomsat User manual

Hughes HX50 User manual

Hughes

Hughes HX50 User manual

Hughes NH9000 User manual

Hughes

Hughes NH9000 User manual

Hughes PES 5000 User manual

Hughes

Hughes PES 5000 User manual

Hughes Thuraya IP+ User manual

Hughes

Hughes Thuraya IP+ User manual

Hughes HN Series User manual

Hughes

Hughes HN Series User manual

Hughes Jupiter HT1100 User manual

Hughes

Hughes Jupiter HT1100 User manual

Hughes Direcway DW6000 User manual

Hughes

Hughes Direcway DW6000 User manual

Hughes HN9200 User manual

Hughes

Hughes HN9200 User manual

Hughes dishNET HT 1000 User manual

Hughes

Hughes dishNET HT 1000 User manual

Popular Modem manuals by other brands

ZyXEL Communications Prestige 630 quick start guide

ZyXEL Communications

ZyXEL Communications Prestige 630 quick start guide

ProSoft Technology RLXIC-S user manual

ProSoft Technology

ProSoft Technology RLXIC-S user manual

O2 X230D user guide

O2

O2 X230D user guide

Aztech MSP2950(W) troubleshooting guide

Aztech

Aztech MSP2950(W) troubleshooting guide

Sierra Wireless AirLink MP user guide

Sierra Wireless

Sierra Wireless AirLink MP user guide

PROLiNK Hurricane 9000S user manual

PROLiNK

PROLiNK Hurricane 9000S user manual

Sonim W100 quick start guide

Sonim

Sonim W100 quick start guide

Cisco DPC3925 quick start guide

Cisco

Cisco DPC3925 quick start guide

ALZA Cudy WU1300S user manual

ALZA

ALZA Cudy WU1300S user manual

Ebyte MA02-AAC 2220 Series user manual

Ebyte

Ebyte MA02-AAC 2220 Series user manual

Telular Wi PATH SX7M user guide

Telular

Telular Wi PATH SX7M user guide

Novatel Mobile Connect quick start guide

Novatel

Novatel Mobile Connect quick start guide

Novatel Merlin for GPRS G201 user manual

Novatel

Novatel Merlin for GPRS G201 user manual

NetComm NB100 Technical specifications

NetComm

NetComm NB100 Technical specifications

Rice Lake AirStream Operation manual

Rice Lake

Rice Lake AirStream Operation manual

Blusky BSC9000 series user manual

Blusky

Blusky BSC9000 series user manual

TRENDnet TFM-PCIV92A - DATA SHEETS Quick installation guide

TRENDnet

TRENDnet TFM-PCIV92A - DATA SHEETS Quick installation guide

NETGEAR FVL328 - Cable/DSL ProSafe VPN Firewall... Reference manual

NETGEAR

NETGEAR FVL328 - Cable/DSL ProSafe VPN Firewall... Reference manual

manuals.online logo
manuals.online logoBrands
  • About & Mission
  • Contact us
  • Privacy Policy
  • Terms and Conditions

Copyright 2025 Manuals.Online. All Rights Reserved.