Version Februar 2014 DE 3
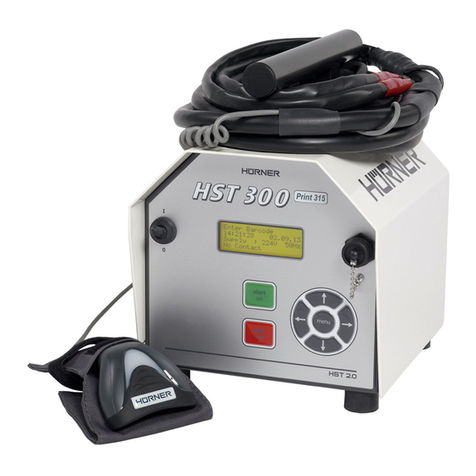
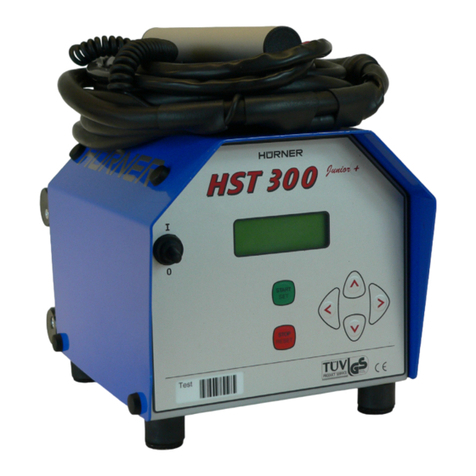
Bedienungsanleitung HÜRNER HST 300 Manual USB 2.0
HÜRNER Schweißtechnik GmbH
Nieder-Ohmener Str. 26
35325 Mücke,
Deutschland
Inhalt
1 Einleitung ............................................................................................................ 5
2 Sicherheitshinweise............................................................................................. 5
2.1 Benutzung des richtigen Fitting-Adapters ........................................................ 5
2.2 Zweckentfremdung des Schweiß- oder Netzkabels .......................................... 5
2.3 Sicherung des Fittings und der Verbindungsstelle ........................................... 5
2.4 Reinigung des Produkts ...................................................................................... 5
2.5 Öffnen des Gehäuses .......................................................................................... 6
2.6 Verlängerungskabel im Freien ........................................................................... 6
2.7 Kontrolle des Produkts auf Beschädigungen .................................................... 6
2.8 Allgemeiner Hinweis........................................................................................... 6
2.9 Anschlussbedingungen ....................................................................................... 6
2.9.1 Am Netz ............................................................................................................... 6
2.9.2 Bei Generatorbetrieb .......................................................................................... 6
3 Wartung und Reparatur ..................................................................................... 7
3.1 Allgemeines ......................................................................................................... 7
3.2 Transport, Lagerung, Versand ............................................................................ 7
4 Funktionsprinzip ................................................................................................. 7
5 Inbetriebnahme und Bedienung ........................................................................ 8
5.1 Einschalten des Schweißautomaten .................................................................. 8
5.2 Anschließen des Fittings ..................................................................................... 8
5.3 Eingabe von Spannung und Zeit ........................................................................ 8
5.4 Starten des Schweißvorgangs ............................................................................ 8
5.5 Schweißprozess ................................................................................................... 8
5.6 Ende des Schweißvorgangs ................................................................................ 9
5.7 Abbruch des Schweißvorgangs .......................................................................... 9
5.8 Abkühlzeit ........................................................................................................... 9
6 Ausgabe der Protokolle ...................................................................................... 9
6.1 Wahl des Dateiformats ....................................................................................... 9
6.2 Ausgabe aller Protokolle .................................................................................... 9
6.3 Ausgabe von Kommissionsnummer, Datums- oder Protokollbereich............ 10
6.4 Ablauf der Protokollausgabe ........................................................................... 10
6.5 Löschen des Speicherinhalts ............................................................................. 10
6.6 Erhalt des Speicherinhalts ................................................................................ 10
7 Gerätespezische Informationen ..................................................................... 10
7.1 Anzeige der Gerätekenndaten ........................................................................ 10
7.2 Widerstandsmessung ........................................................................................ 11
7.3 Thermischer Überlastschutz ............................................................................. 11
7.4 Hinweis auf Netzunterbrechung bei der letzten Schweißung ....................... 11
8 Konguration des Schweißautomaten ............................................................ 11
8.1 Wahl der Anzeige-Sprache ............................................................................... 12
8.2 Stellen von Datum und Uhrzeit ....................................................................... 12
8.3 Einstellen der Summerlautstärke ..................................................................... 12
