manuals.online logo
Brands
  1. Home
  2. •
  3. Brands
  4. •
  5. hygena
  6. •
  7. Indoor Furnishing
  8. •
  9. hygena Matrix User manual

hygena Matrix User manual

Assembly Instructions -Please keep for future reference
Dimensions
Width -70cm
Depth -18cm
Height -100cm
Important - Please read these instructions fully before starting assembly
If you need help or have damaged or missing parts, call the Customer Helpline: 0345 6400800
Matrix 5 Shelf Black Glass and Chrome
hygena
Issue 1 - 09/22/14
319/4645
• Check you have all the
components and tools listed on
page 2 and 3.
• Remove all fittings from the
plastic bags and separate them
into their groups.
• Keep children and animals
away from the work area, small
parts could choke if swallowed.
• Make sure you have enough
space to layout the parts before
starting.
• Do not stand or put excessive
weight on the product, this
could cause damage.
• Assemble the item as close
to its final position (in the same
room) as possible.
• Parts of the assembly will be
easier with 2 people.
• Dispose of all packaging
carefully and responsibly.
• Place the product on flat and
steady surface during use.
• Assemble on a soft level
surface to avoid damaging the
unit or your floor.
• Keep these instructions for
further use.
• To ensure an easier assembly,
we strongly advise that all
fittings are only finger tightened
during initial assembly. Only
upon completion of the
assembly should all fixing points
be fully tightened.
• Keep these instruction for future
reference.
• Imported by:
489-499 Avebury Boulevard.
Saxon Gate West.
Central Milton Keynes.
•
MK9 2NW
• Batch No:
Warnings
are used to prevent such items from coming into contact with the glass.
(b) Do not sit or stand upon the glass surface(s).
(c) Do not use the glass as a chopping surface. Do not strike the glass with hard or pointed items.
(d) When cleaning glass panels use a damp cloth or leather with washing up liquid or soft soap if
necessary, do not use washing powders or any other substance containing abrasives since these
substances scratch glass.
Glass safety
(a) Do not place very hot or very cold items on the glass surface(s) unless adequately thick table mats
Argos Ltd.
If the glass is chipped or broken, stop using the product and
consult the Manufacturer or Supplier.
• Date of Manufacture:
• Type of glass used: 5mm toughened glass
Care and maintenance
• Only clean using a damp cloth
and mild detergent, do no use
bleach or abrasive cleaners.
• From time to time check that
there are no loose screws on
this unit.
• This product should not be
discarded with household
waste. Take to your local
authority waste disposal centre.
Components – Parts If you have damaged or missing components,
call the Customer Helpline: 0345 6400800
Plastic pad Connector
Please check you have all the parts listed below
0
pad
Back tube support x 4
BC
wall plug x 2 screw x 2
B
BB
padjx 2
0 102030405060708090100110 120 130 140 150
01234 56
Tape measure
wall mounting strapx 2
Attaching Metal rod
T
Fitting Wall straps
Attaching Metal tube
Attaching Glass shelf
0
0
1 pc of
back tube support
and 4pcs of plastic pad
through 4 pcs of metal
rods
Attaching Metal tube
Attaching Glass shelf
0
0
1 pc
back tube support
Attaching Connector
Fitting Plastic pad
Screw Connector
or
T
Attaching Metal rod
Attaching Metal tube
metal
tubes 0
0
5
1 pc of
back tube support
5
Matt surface
Attaching Metal tube
Attaching Glass shelf
metal
tubes
0
0
1 pc of
back tube support
5
Matt surface
Attaching Glass shelf
Attaching Metal tube
Turn the assembled unit
upright carefully.
Attaching Feet
strap
metal
tubes
C
BBBB
BB
If you need help or have damaged or missing parts, call the Customer Helpline: 0345 6400800
Boulevard. Saxon Gate West. Central Milton Keynes. MK9 2NW
Argos Ltd.489-499Avebury

A Guide to - Wall Mounting & Fixings
Revision 2 - 7/10/09
Important note:
Types of walls
Care &
Maintenance
No.1 “General Purpose” wall plug
No.6 “Shield Anchor” wall plug
Heavy loads
No.3 “Cavity Fixing” wall plug
No.4 “Cavity Fixing-Heavy Duty”
wall plug
No.5 “Hammer Fixing” wall plug
No.2 “Plasterboard” wall plug
Generally aerated blocks should not
be used to support heavy loads, use
a specialist ftting in this case. For light
loads, general purpose wall plugs can
be used.
For use with heavier loads such as TV
& HiFi speakers and satelite dishes etc.
For use with plasterboard partitions or
hollow wooden doors.
For use when ftting or supporting
heavy loads such as shelving, wall
cabinets and coat racks.
For use with walls stuck with
plasterboard. The hammer fxing allows
it to be fxed to the wall rather than the
plasterboard. Always check the fxing
is secure to the retaining wall.
For use when attaching light loads on
to plasterboard partitions.
Safety: Always check the ftting
and location to ensure your safety
in and around the home.
Fitting: From time to time check
the ftting to ensure the wall plugs
or screws do not become loose.
You can use one of the following types of wall plug if your walls are made
of brick, breeze block, concrete, stone or wood.
Important: When drilling into walls always
check that there are no hidden wires or pipes etc.
Hints:
1: General rule: Always use a larger screw and wall plug
if you are not sure.
2: Ensure you use the recommended drill bit to match the wall
plug and hole size.
3: Ensure you drill the hole horizontally, do not force the drill or
enlarge the hole.
4: Take extra care when drilling high walls, ceilings and ceramic
tiles. Ensure wall plugs are inserted beyond the thickness of
the ceramic tiles to avoid the tiles splitting or cracking.
5: Ensure wall plugs are well ftted and are a tight ft in the
drilled hole.
If plastic wall plugs
are supplied with your
product:
Make sure that the screws and wall plugs being used
are suitable for supporting your unit. Consult a qualifed
tradesperson if you are unsure.
- these are only suitable for
use in masonry walls.
If you are in any doubt about
the correct wall plugs for
your wall, seek professional
advice.
Failure of the product due to
using incorrect fxings is the
responsibility of the installer.

This manual suits for next models

1

Other hygena Indoor Furnishing manuals

hygena 459/1553 User manual

hygena

hygena 459/1553 User manual

hygena Luna 461/8436 User manual

hygena

hygena Luna 461/8436 User manual

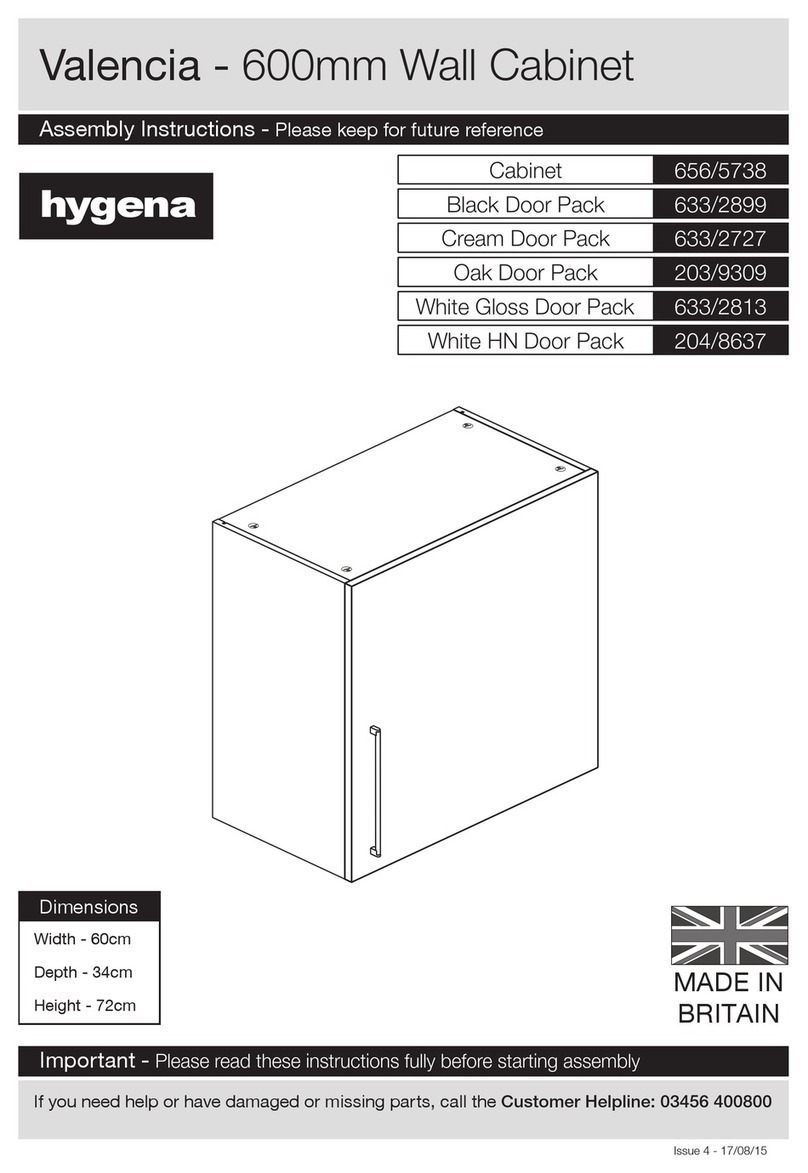
hygena Valencia 656/5790 User manual

hygena

hygena Valencia 656/5790 User manual

hygena 833/4455 User manual

hygena

hygena 833/4455 User manual

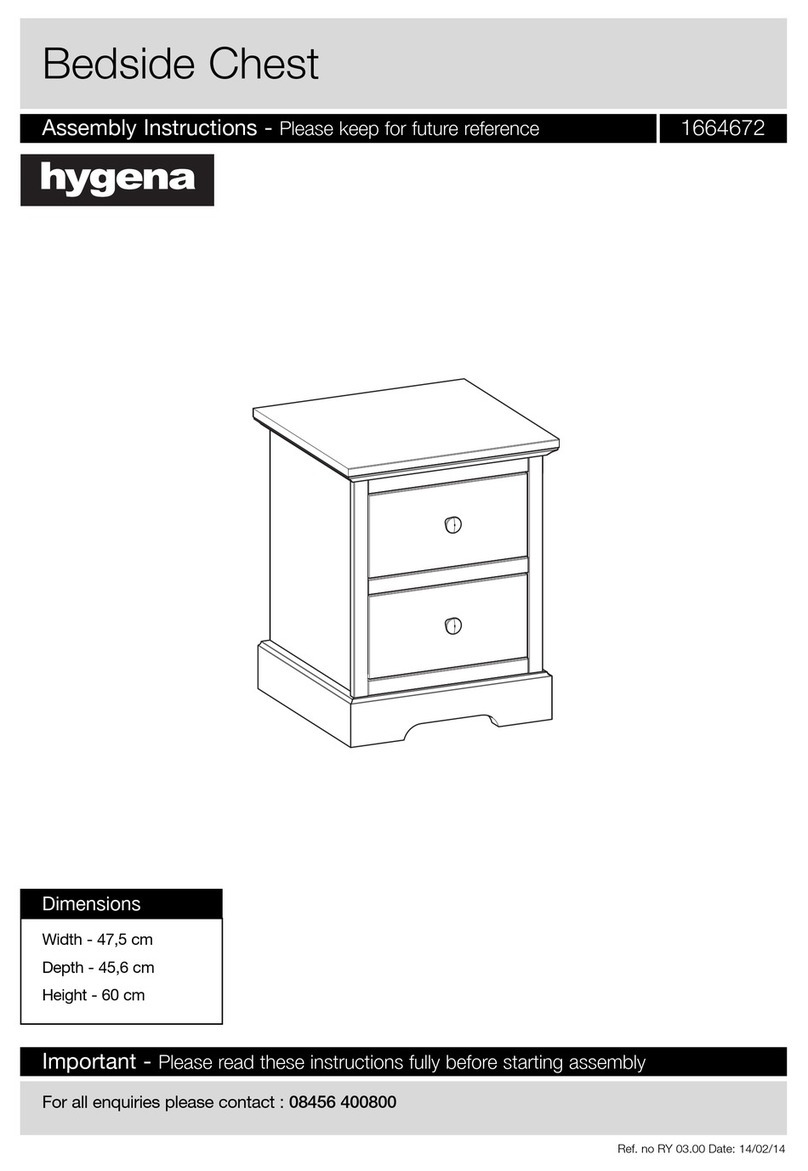
hygena 1664672 User manual

hygena

hygena 1664672 User manual

hygena Berkeley 411/9681 User manual

hygena

hygena Berkeley 411/9681 User manual

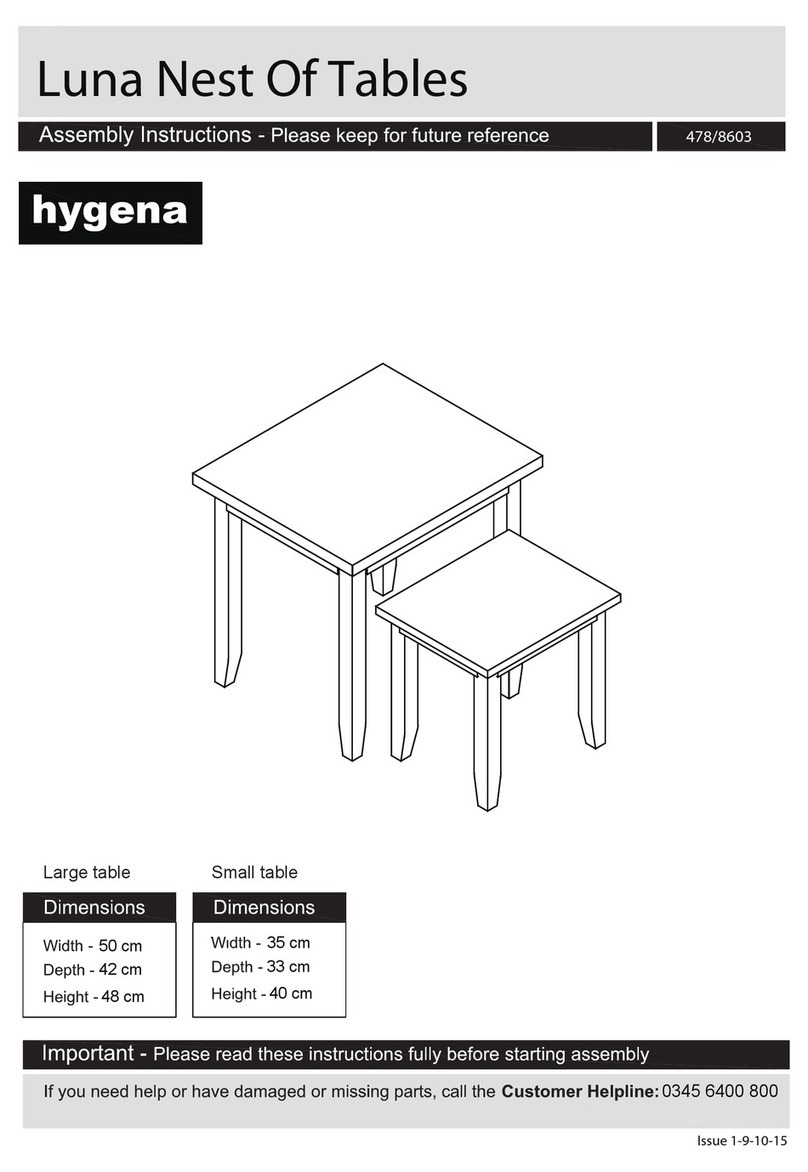
hygena Luna Nest Of Tables User manual

hygena

hygena Luna Nest Of Tables User manual

hygena Nitro Bar Stool User manual

hygena

hygena Nitro Bar Stool User manual

hygena 6166560 User manual

hygena

hygena 6166560 User manual

hygena Vince Ottoman Bed Frame User manual

hygena

hygena Vince Ottoman Bed Frame User manual

hygena Harcourt 412/1806 Datasheet

hygena

hygena Harcourt 412/1806 Datasheet

hygena Luna TV Unit 464/9883 Datasheet

hygena

hygena Luna TV Unit 464/9883 Datasheet

hygena Amparo 633/3252 User manual

hygena

hygena Amparo 633/3252 User manual

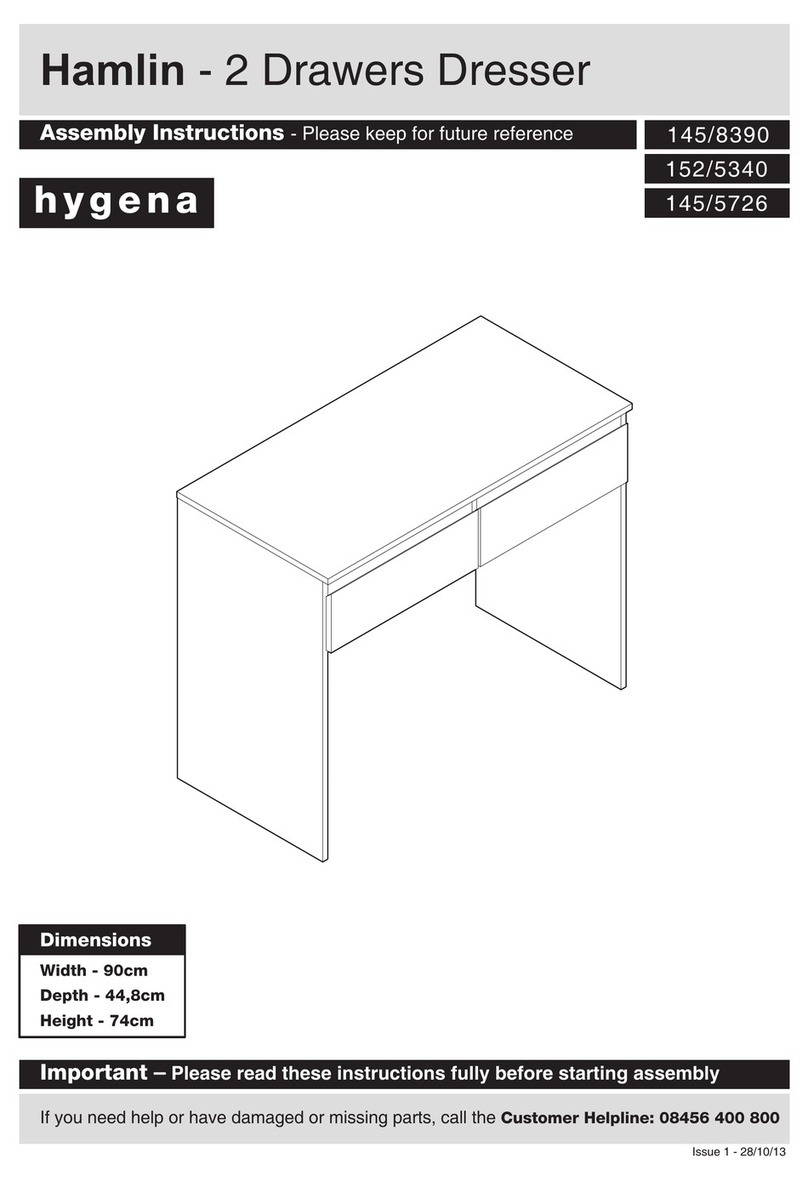
hygena Hamlin 145/8390 User manual

hygena

hygena Hamlin 145/8390 User manual

hygena Bergen 228/2840 User manual

hygena

hygena Bergen 228/2840 User manual

hygena Hamlin 152/6909 User manual

hygena

hygena Hamlin 152/6909 User manual

hygena Amparo 600/1443 User manual

hygena

hygena Amparo 600/1443 User manual

hygena 314/9195 User manual

hygena

hygena 314/9195 User manual

hygena 656/5831 User manual

hygena

hygena 656/5831 User manual

hygena Valencia 656/5824 User manual

hygena

hygena Valencia 656/5824 User manual

hygena 427/7396 Datasheet

hygena

hygena 427/7396 Datasheet

hygena Berkeley User manual

hygena

hygena Berkeley User manual

hygena 614/9305 User manual

hygena

hygena 614/9305 User manual

hygena Luna 459/6077 Datasheet

hygena

hygena Luna 459/6077 Datasheet

Popular Indoor Furnishing manuals by other brands

ATIM LUNCH 450 Assembly instructions

ATIM

ATIM LUNCH 450 Assembly instructions

PITH & STEM DropTop instructions

PITH & STEM

PITH & STEM DropTop instructions

DIVERSIFIED WOODCRAFTS WBML-BL2 Series Assembly instructions

DIVERSIFIED WOODCRAFTS

DIVERSIFIED WOODCRAFTS WBML-BL2 Series Assembly instructions

Elle Decor LARA Assembly instructions and warranty information

Elle Decor

Elle Decor LARA Assembly instructions and warranty information

BRW S134-KOM2D4S/9/13 Assembly instructions

BRW

BRW S134-KOM2D4S/9/13 Assembly instructions

Walker Edison W60C73 Assembly instructions

Walker Edison

Walker Edison W60C73 Assembly instructions

Furniture of America CM-BK1035 Assembly instructions

Furniture of America

Furniture of America CM-BK1035 Assembly instructions

Furniture of America CM7661Q Assembly instructions

Furniture of America

Furniture of America CM7661Q Assembly instructions

FURNITUREBOX ROMERA Assembly guide

FURNITUREBOX

FURNITUREBOX ROMERA Assembly guide

Zenith 9615W Assembly instructions

Zenith

Zenith 9615W Assembly instructions

GMI BT BENCH Assembly instructions

GMI

GMI BT BENCH Assembly instructions

Hewi 805 Classic Series installation instructions

Hewi

Hewi 805 Classic Series installation instructions

Create table 538W quick start guide

Create table

Create table 538W quick start guide

Design Within Reach Raleigh 100082160 manual

Design Within Reach

Design Within Reach Raleigh 100082160 manual

Mocka Detroit Trolley Shelf Assembly instructions

Mocka

Mocka Detroit Trolley Shelf Assembly instructions

VECELO KHD-DC-CD01 Assembly instructions

VECELO

VECELO KHD-DC-CD01 Assembly instructions

Whittier Wood 1317AFGAC Assembly instructions

Whittier Wood

Whittier Wood 1317AFGAC Assembly instructions

Woood CONNECT 2DRS KAST manual

Woood

Woood CONNECT 2DRS KAST manual

manuals.online logo
manuals.online logoBrands
  • About & Mission
  • Contact us
  • Privacy Policy
  • Terms and Conditions

Copyright 2025 Manuals.Online. All Rights Reserved.