manuals.online logo
Brands
  1. Home
  2. •
  3. Brands
  4. •
  5. hygena
  6. •
  7. Indoor Furnishing
  8. •
  9. hygena Valencia 1000mm Wall Cabinet User manual

hygena Valencia 1000mm Wall Cabinet User manual

MADE IN
BRITAIN
Dimensions
Width - 100cm
Depth - 34cm
Height - 72cm
Valencia - 1000mm Wall Cabinet
Assembly Instructions - Please keep for future reference
If you need help or have damaged or missing parts, call the Customer Helpline: 03456 400800
Issue 5 - 17/08/15
Important - Please read these instructions fully before starting assembly
ALR2663
hygena
656/5745
Issue 2 - 15/09/11 - Removed the dowel hole on Panel 2 shown on the panels page as it on the other surface.
633/2882
633/2710
205/4009
633/2806
192/3722
Cabinet
Black Door Pack
Cream Door Pack
Oak Door Pack
White Gloss Door Pack
White HN Door Pack
Issue 3 - 31/07/14 - Replaced Grey and Plum codes with Oak and White HN codes.
Issue 4 - 11/02/15 - Hinges changed to Slide-ons with Soft Close fittings.
Updated helpline number.
Issue 5 - 17/08/15 - Changed Hanging Brackets.
End Panels now DPF141B.
Safety and Care Advice
Important - Please read these instructions fully before starting assembly
• Warning: This unit weighs
approximately 16.5kgs.
Please lift with care.
• Check you have all the
components and tools listed on
pages 1, 2 and 3.
• Remove all fittings from the
plastic bags and separate them
into their groups.
• Keep children and animals
away from the work area, small
parts could choke if swallowed.
• Parts of the assembly will be
easier with 2 people.
• Make sure you have enough
space to layout the parts before
starting.
• Do not stand or put weight on
the product, this could cause
damage.
• Assemble the item as close to
its final position (in the same
room) as possible.
• Assemble on a soft level
surface to avoid damaging the
unit or your floor (use opened
out unit carton).
• Do not stand or put weight on
the product, this could cause
damage.
• Assemble the item as close to
its final position (in the same
room) as possible.
• Assemble on a soft level
surface to avoid damaging the
unit or your floor (use opened
out unit carton).
• Parts of the assembly will be
easier with 2 people.
1
Care and maintenance
• Only clean using a damp cloth
and mild detergent, do no use
bleach or abrasive cleaners.
• From time to time check that
there are no loose screws on
this unit.
• This product should not be
discarded with household
waste. Take to your local
authority waste disposal centre.
Note: If required the next page
can be cut out and used as
reference throughout the
assembly. Keep this page with
these instructions for future
reference.
• We do not
recommend the
use of power
drill/drivers for
inserting screws,
as this could damage the unit.
Only use hand screwdrivers.
• Safety note: It is
recommended that this unit is
secured to a wall using the
brackets supplied.
• Dispose of all packaging
carefully and responsibly.
Tools required
Rule Scissors Hammer
Eye protection
(when using a
hammer or drill)
Cross-head
screwdriver
Electric drill
Components - Panels
Please check you have all the panels listed below
2
80%
If you have damaged or missing components, call the
Customer Helpline: 03456 400800 quoting the reference
numbers below
3
2
5
Loose Shelf (DPF098A)
(968 x 236mm)
4
Top/Base Panel (DPF097A)
(969 x 319mm) x 2
Back Panel (DPF099A)
(979 x 694mm)
Muntin Rail (DPF100A)
(36 x 688mm)
6Valencia Door (DPF147A)
(497 x 716mm) x 2
The front surface
of this door is
protected with a
peel-off film
1End Panel (DPF141B)
(320 x 716 mm) x 2
Please check you have all the fittings listed below
3
Components - Fittings If you have damaged or missing components, call the
Customer Helpline: 03456 400800 quoting the reference
numbers below
Note: The quantities below are the correct amount to complete the assembly. In some cases
more fittings may be supplied than are required.
A
Wooden dowel (F22) x 10
B
Metal dowel (F901) x 8
C
D
Large locking
nut (F900) x 8
F
G H
N
Ruler - Use this ruler to help correctly identify the screws
mm 10 20 30 40 50 60 70 80 90 100 110 120 130 140 150 160 170
see malibu fitment mk2 for large number of panels and fittings
13mm Screw (F63) x 8
E
19mm Connecting bolt (F461) x 2
25mm Screw (F50) x 4
Connecting Sleeve (F432) x 2
Shelf support (F110) x 5
40mm Screw (F910) x 2
O
O
a
b
25mm Screw (F132) x 4
Handle (F214) x 2
K
M
L
Hinge Plate
(F574) x 4 Hinge (F316) x 4
Soft Close (F320) x 2
I
Wall bracket (F198) x 2
JHanging bracket
(F181) x 2
Assembly Instructions
4
If you have damaged or missing components, call the
Customer Helpline: 03456 400800 quoting the reference
numbers below
Step 1
50%
80%
80%
K
Prepare the left end
panel
Fit 2 hinge plates onto
the left end panel ,
orientated as shown.
Screw 4 metal dowels
into the holes shown on
the left end panel .
Note: Tighten metal
dowels up fully against
the panels.
Fit a hanging bracket
to the left side using
2 screws , making
sure that the hook is
towards the back edge.
Step 2
1
B
1
B
This will be the
left end panel
J
1
G
This will be the
right end panel
K
Prepare the right end
panel
Fit 2 hinge plates onto
the right end panel ,
orientated as shown.
Screw 4 metal dowels
into the holes shown on
the right end panel .
Note: Tighten metal
dowels up fully against
the panels.
Fit a hanging bracket
to the right side using
2 screws , making
sure that the hook is
towards the back edge.
1
B
1
J
1
G
K
B
B
B
B
1
J
K
K
G
G
B
B
B
B
1
J
K
K
K
G
G
Assembly Instructions
5
Step 3
Prepare the base and
top
Insert 4 large locking
nuts into the base
and top as shown.
Note: Arrow on locking
nut must point towards
hole in edge of panel.
Tap 4 wooden dowels
into the base and top
as shown.
Note: Wooden dowels
must not stick out from
the edge by more than
10mm or they may
damage other panels.
C
C
2
10mm
A
A
2
A
A
C
C
C
AA
A
C
2
A
A
C
C
C
AA
A
C
2
Finished
front edge
Assembly Instructions
6
Step 4
Join the right side and
base
Push the base onto
the right end panel .
Use a screwdriver to
tighten the 2 large
locking nuts fitted to
the base .
Note: Turn the large
locking nuts as far as
they will go - more than
1/2 a turn.
B
C
2
2
1
C
C
Step 5
2
1
1
2
Fit the top
Push the top onto
the right end panel .
Use a screwdriver to
tighten the 2 large
locking nuts fitted to
the top .
Note: Turn the large
locking nuts as far as
they will go - more than
1/2 a turn.
2
2
1
C
C
NOTE: Hinge plates are not
shown as you may have
fitted them to the left side.
A
Assembly Instructions
7
Step 6
Step 7
2
A
4
Prepare the muntin
rail
Tap 2 wooden dowels
into the muntin rail as
shown.
A
4
N
N
4
2
N
Fit the muntin rail
Attach the muntin rail
to the top and base
. and secure with 2
screws .
2
4
2
8
Step 8
5mm
Step 10
Joining units together
Fittings have been
supplied so you are able
to join units together.
Make sure that your first
unit is level.
Push the other unit up
against first unit and
ensure both units are
level.
Check that the ends are
flush and in line, then
clamp them together.
Using a 5mm drill bit,
drill 2 holes (approximate
positions shown circled)
in the side panel into the
adjoining side panel of
the other unit.
Push the connecting
sleeves into the holes
and then screw the
connecting bolts in
from the other side.
G
H
G
H
Assembly Instructions
Step 9
Fit the back
Slide the back along
the grooves in the top
and bottom and into
the groove of the right
end panel .
Important: Make sure
that the cut-outs on the
back are at the top of
the assembly.
2
2
1
5
5
5
2
1
Cut-outs
at the top
C
Fit the left end panel
Push left end panel
onto the assembly.
Use a screwdriver to
tighten the 2 large
locking nuts fitted to
the base and top .
Note: Turn the large
locking nuts as far as
they will go - more than
1/2 a turn.
1
2
2
2
2
C
1
2
I
I
964mm
Assembly Instructions
9
Step 10
18mm
37mm
964mm
18mm
Outline of
the unit
Warning: The
unit is heavy.
Lift with care.
Fit the unit to the wall
If you are joining this unit
to another one, also refer
to step 11.
To fix the unit to the wall,
place the unit in the
required position and
lightly mark the outline of
the top corners of the
unit with a pencil.
Fit the 2 wall brackets
to the dimensions shown
in the top diagram.
The screws and plugs
are not supplied as they
need to be the correct
type to suit your wall.
Place your unit onto the
wall brackets , via the
hanging brackets
which you have fitted to
the sides of the unit.
Use the screw at the top
of the wall brackets to
adjust the height of the
unit.
Finally, pull the unit up
against the wall by
tightening up the bottom
screw in the hanging
brackets .
Warning: Take
care when
drilling the wall
that you do not drill into
any pipes, wires etc. If in
doubt, consult an expert.
I
I
J
1
1
1
J
J
I
J
To adjust the
height of the
unit on the wall,
turn the top
screw
Pull the unit up against
the wall by tightening
the bottom screw
I I
Assembly Instructions
10
Step 11
Joining units together
Fittings have been
supplied so you are able
to join units together.
Make sure that your first
unit is level.
Push the other unit up
against first unit and
ensure both units are
level.
Check that the ends are
flush and in line, then
clamp them together.
Using a 5mm drill bit,
drill 2 holes (approximate
positions shown circled)
in the side panel into the
adjoining side panel of
the other unit.
Push the connecting
sleeves into the holes
and then screw the
connecting bolts in
from the other side.
E
F
Fit the shelf studs
Insert 5 shelf studs at
the required height.
H
Hx 2
Hx 2
Hx 1
5mm
E
F
Step 12
Assembly Instructions
11
Step 13
Fit the loose shelf
Insert the loose shelf
at an angle then lower it
down onto the shelf
studs .
H
3
Step 14
Prepare the 2 doors
Push fit 2 hinges into
each door .
Secure each hinge with
2 screws .
Note: Before securing
with the screws, make
sure that the hinges are
positioned at 90 degrees
with the front edge of the
door.
D
L
6
6
3
D
D
L
90
L
D
D
L
x 2
Small piece of
waste wood
Assembly Instructions
12
Step 15
6
This will be
the left door
This will be
the right door
Drill the handle holes
in the doors
Important: Please follow
these instructions
carefully.
Lay the doors down
onto a smooth surface.
Important: Carefully
choose which holes you
need to drill.
Check that the holes and
hinges are in the same
place as the diagrams.
Note: We recommend
the use of a small piece
of waste wood, placed
behind the hole while
drilling, to reduce the
possibility of any
breakout.
Using the pilot hole in
the rear face of the door,
. drill through the
holes indicated opposite,
using a 2.5mm diameter
drill.
Turn the door over
and open out the 2.5mm
holes that you have just
drilled by drilling back
through them with a
5mm drill.
Note: Drill bits are not
provided.
Fit a soft close fitting
onto the bottom hinge on
each of the 2 doors, as
shown.
Push the hooks on the
soft-close fitting into the
holes on the hinge and
then press down to click
into place.
6
6
6
PLEASE FOLLOW THESE INSTRUCTIONS CAREFULLY
TO CHOOSE WHICH 2 HOLES YOU WILL NEED TO DRILL
M
ONLY drill
these 2 holes
DO NOT drill
any other holes
6
ONLY drill
these 2 holes
DO NOT drill
any other holes
Note: We recommend
the use of a small
piece of waste wood,
placed behind the hole
while drilling, to reduce
the possibility of any
breakout.
M
M
Assembly Instructions
13
Step 16
6
6
O a
O a
O b
O b
6
O a
a: b:
c: d:
K
L
BL
K
L
K
A
L
K
L
K
B
e:
L
L
L
K
K
K
L
K
6
5
Fit doors and handles
Note: The easiest way to
attach a door is to fit
the top hinge first, then
align and fit the other
hinge.
a: Push the hinge
onto the front part of the
hinge plate .
The recess at the bottom
of screw B goes into the
slot in the hinge plate.
b: Keep the hinge
FLAT against the hinge
plate as you slide it
across as far as it will go.
Tighten screw A.
c: The hinge must be
flat against the hinge
plate prior to any
adjustment.
d: The hinge must
NOT be AT AN ANGLE
to the hinge plate
when assembled.
This would indicate that
the recess at the bottom
of screw B had not
located in the slot in the
hinge plate and the hinge
would not be secure.
Remove the hinge from
the hinge plate and then
re-assemble being
careful to follow
instructions a-c.
e: Attach a handle
to each door using
screws .
L
L
L
K
K
K
L
K
6
6
6
O a
O b
Assembly Instructions
14
Step 17
Adjust the doors if
needed
a: Before adjusting the
doors, use a spirit level
to check the base (or
top) of the unit is level,
front-to-back and
side-to-side in the 3
positions shown.
Use suitable packing
pieces (not supplied) to
make the unit level
BEFORE making any
adjustment to the hinges,
as shown.
b: Height adjustment.
Loosen screws A on
hinge plates and move
door up or down as
required.
Retighten screw A.
c: Forward and Back
adjustment.
Loosen screw B on hinge
plate and move door in
or out as required.
Retighten screw B.
d: Sideways
adjustment.
To move door ‘out’
loosen screw C.
To move door ‘in’ tighten
screw C.
e: Soft close
adjustment.
To adjust the damping
force on the soft-close
fittings, turn towards the
‘+’ to increase and
towards the ‘-’ to
decrease.
b:
c:
d:
a:
A
A
B
C
e:
Assembly Instructions
15
If you need help or have damaged or missing parts, call the Customer Helpline: 03456 400800
and quote the reference numbers on the component pages.
Argos Ltd, 489-499 Avebury Boulevard, Central Milton Keynes, MK9 2NW
Step 18
ALR2663
Fit other products to
the unit
To fit other products to
this unit, please follow
the instructions packed
with them.
We recommend that you
consult a qualified joiner
or kitchen fitter.
Note: Now the assembly
has finished you can
remove any protective
film from the panels.
Assembly is complete
Warning: The
unit is heavy.
Lift with care.

This manual suits for next models

6

Other hygena Indoor Furnishing manuals

hygena Valencia 600mm Wall Cabinet User manual

hygena

hygena Valencia 600mm Wall Cabinet User manual

hygena 6166560 User manual

hygena

hygena 6166560 User manual

hygena Valencia 656/5776 User manual

hygena

hygena Valencia 656/5776 User manual

hygena Valencia User manual

hygena

hygena Valencia User manual

hygena 833/4455 User manual

hygena

hygena 833/4455 User manual

hygena Valencia 656/5824 User manual

hygena

hygena Valencia 656/5824 User manual

hygena Amparo 633/3290 User manual

hygena

hygena Amparo 633/3290 User manual

hygena 462/5670 User manual

hygena

hygena 462/5670 User manual

hygena 296/7378 User manual

hygena

hygena 296/7378 User manual

hygena HYG 724/1673 User manual

hygena

hygena HYG 724/1673 User manual

hygena Bergen 228/2840 User manual

hygena

hygena Bergen 228/2840 User manual

hygena Berkeley 411/9681 User manual

hygena

hygena Berkeley 411/9681 User manual

hygena Amparo 600/1443 User manual

hygena

hygena Amparo 600/1443 User manual

hygena Bergen 180 User manual

hygena

hygena Bergen 180 User manual

hygena 614/9305 User manual

hygena

hygena 614/9305 User manual

hygena Luna 459/6077 Datasheet

hygena

hygena Luna 459/6077 Datasheet

hygena 503/7968 Configuration guide

hygena

hygena 503/7968 Configuration guide
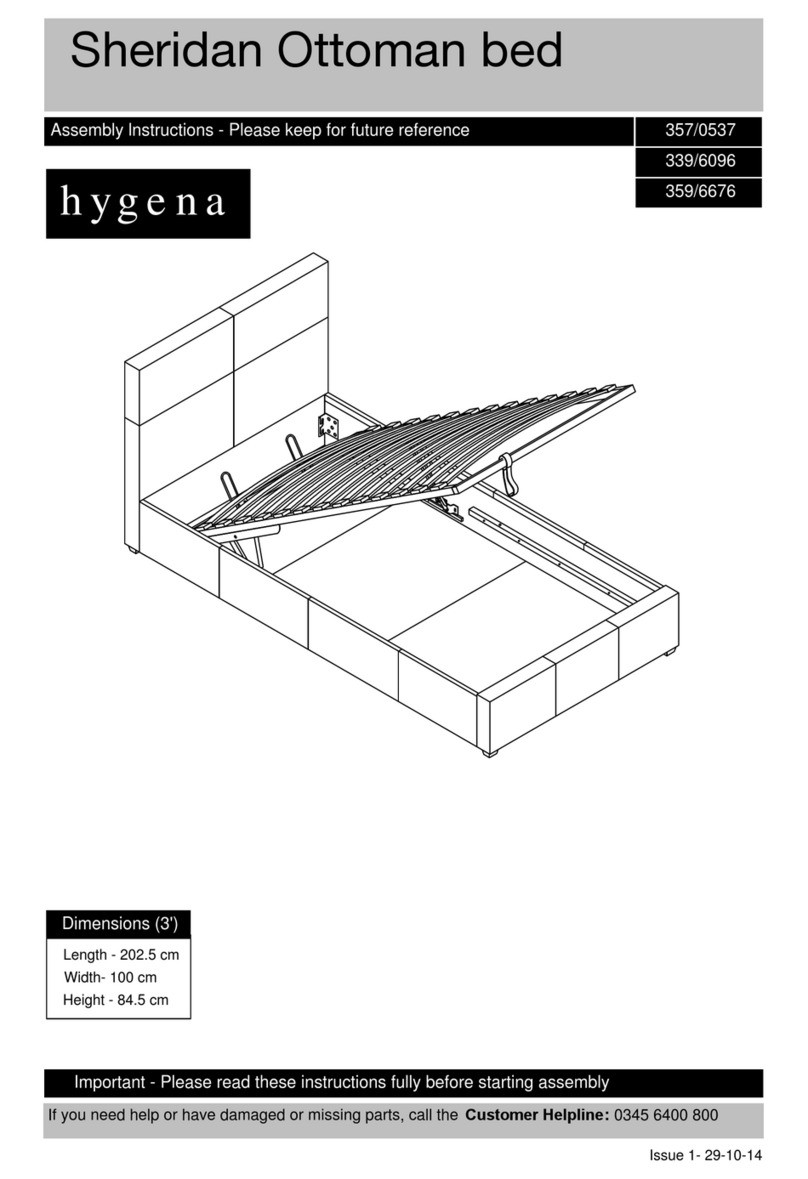
hygena 314/5041 User manual

hygena

hygena 314/5041 User manual

hygena Luna TV Unit 464/9883 Datasheet

hygena

hygena Luna TV Unit 464/9883 Datasheet

hygena Bergen 557/2911 User manual

hygena

hygena Bergen 557/2911 User manual

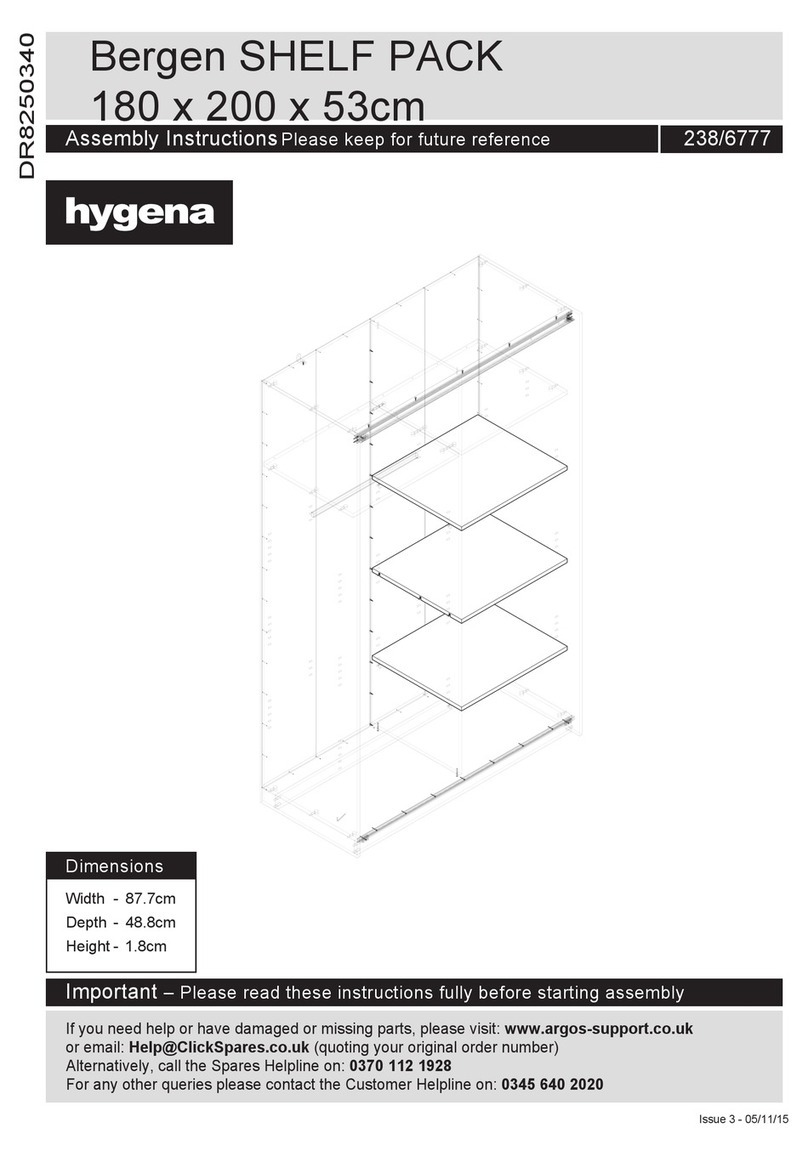
hygena Bergen SHELF PACK User manual

hygena

hygena Bergen SHELF PACK User manual

hygena Hamlin 152/6909 User manual

hygena

hygena Hamlin 152/6909 User manual

hygena Luna 460/5339 Datasheet

hygena

hygena Luna 460/5339 Datasheet

hygena Harcourt 412/1806 Datasheet

hygena

hygena Harcourt 412/1806 Datasheet

Popular Indoor Furnishing manuals by other brands

Songmics VASAGLE BBK111 Assembly instructions

Songmics

Songmics VASAGLE BBK111 Assembly instructions

Costway PV10077 manual

Costway

Costway PV10077 manual

Clou match me CL/07.56.003.65 Montage Instructions

Clou

Clou match me CL/07.56.003.65 Montage Instructions

TUHOME Furniture ECO NIGHTSTAND Assembly instructions

TUHOME Furniture

TUHOME Furniture ECO NIGHTSTAND Assembly instructions

NUMENN C02 Series Assembly instructions

NUMENN

NUMENN C02 Series Assembly instructions

Feather Lodge VANITY CABINET Assembly guide

Feather Lodge

Feather Lodge VANITY CABINET Assembly guide

Fellowes Lotus Dual Monitor Arm Kit manual

Fellowes

Fellowes Lotus Dual Monitor Arm Kit manual

Perfect Choice Bistro Counter Height or Bar Height Table Assembly instructions

Perfect Choice

Perfect Choice Bistro Counter Height or Bar Height Table Assembly instructions

HOUE Circle 110 Assembly instructions

HOUE

HOUE Circle 110 Assembly instructions

Invacare H450LA Omega user manual

Invacare

Invacare H450LA Omega user manual

True BIBLIS BB 2000 Assembly instructions

True

True BIBLIS BB 2000 Assembly instructions

Manhattan Comfort Liberty 70.86 Floating Entertainment Center quick start guide

Manhattan Comfort

Manhattan Comfort Liberty 70.86 Floating Entertainment Center quick start guide

DURAVIT LM 7840 R installation instructions

DURAVIT

DURAVIT LM 7840 R installation instructions

BEKA 08402 instructions

BEKA

BEKA 08402 instructions

HF 6850-75906-80 Assembly instruction

HF

HF 6850-75906-80 Assembly instruction

Westwood Design Donnington Assembly instruction

Westwood Design

Westwood Design Donnington Assembly instruction

Steelcase Think 465 manual

Steelcase

Steelcase Think 465 manual

Pinnacle PRO Series quick start guide

Pinnacle

Pinnacle PRO Series quick start guide

manuals.online logo
manuals.online logoBrands
  • About & Mission
  • Contact us
  • Privacy Policy
  • Terms and Conditions

Copyright 2025 Manuals.Online. All Rights Reserved.