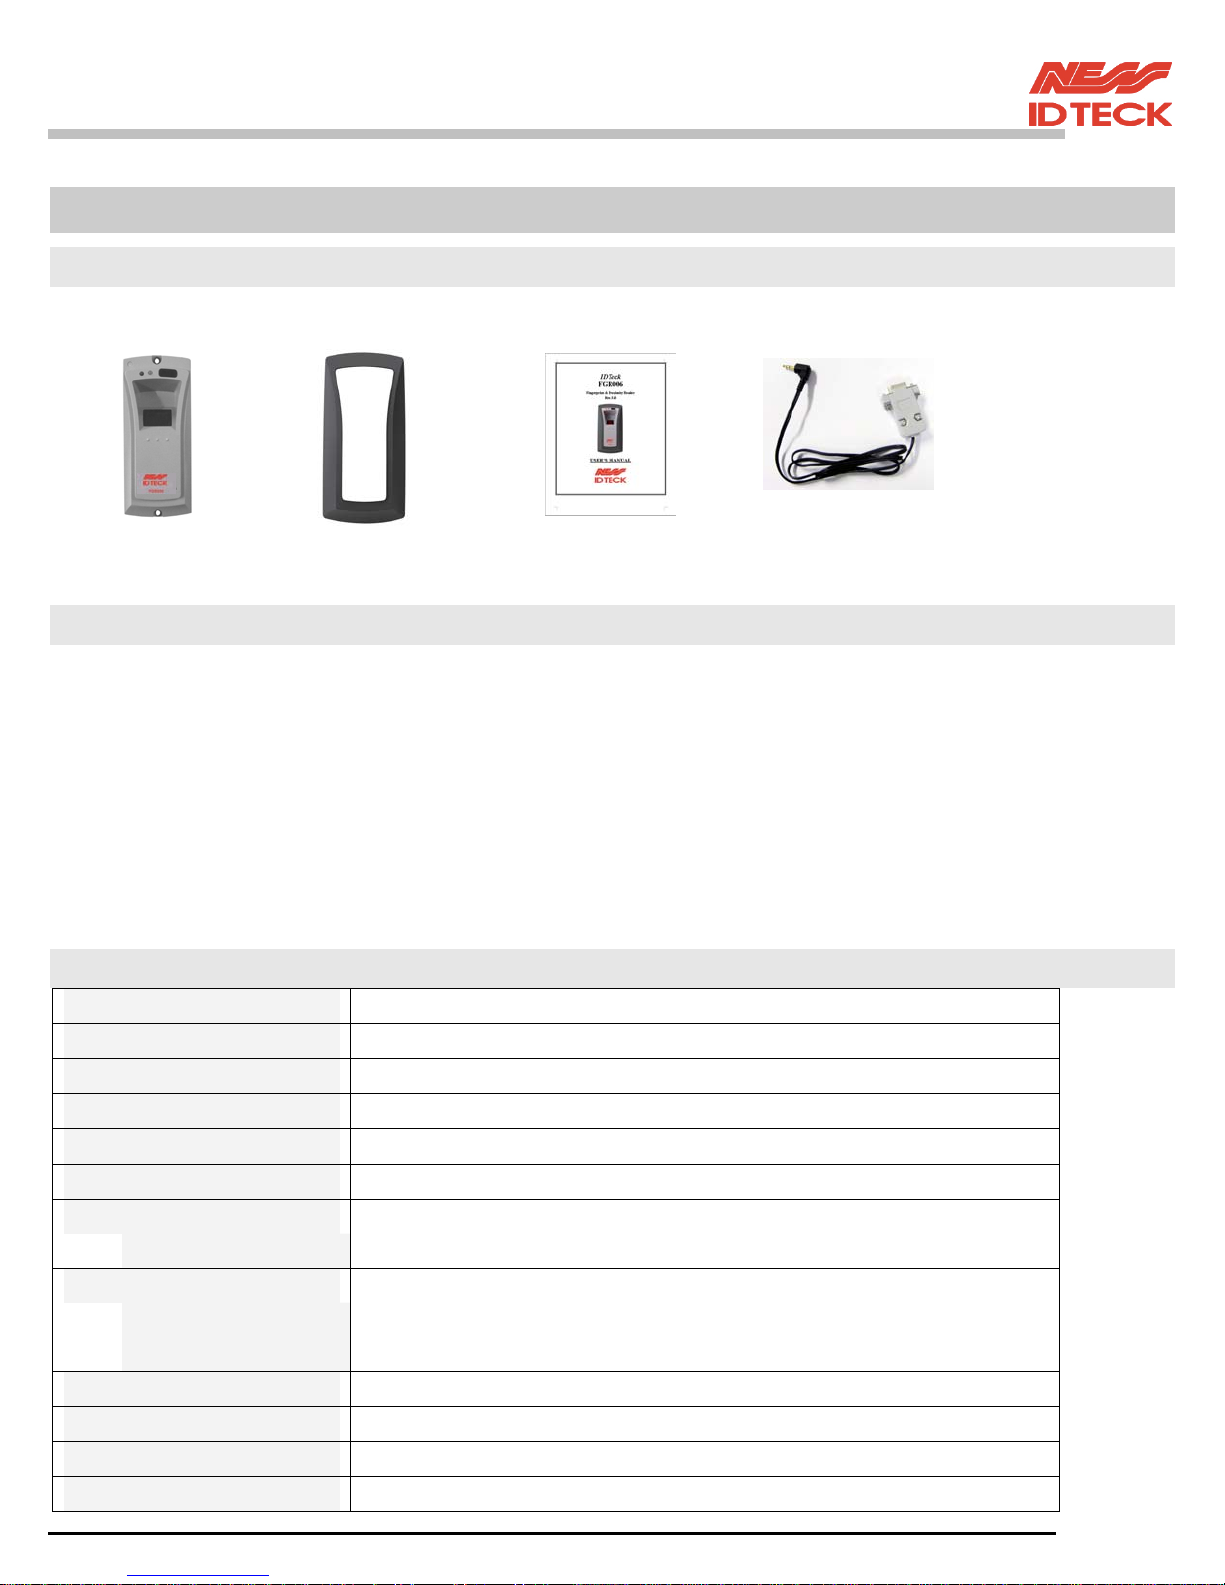
IDTECK FGR006 User manual

IDTeck
FGR006
Fingerprint & Proximity Reader
Rev. 3.0
USER’S MANUAL

101-091 2 FGR006 – Version 3.0
IDTeck
–
FGR006 FINGERPRINT & PROXIMITY READER
CONTENTS
1. Important Safety Instructions
2. Introduction
2.1 Identifying Supplied Parts
2.2 About NESS - IDTECK FGR006
2.3 Specification
3. Product overview
3.1Function
3.2 Product Explanation
3.2.1 Panel Description
3.2.2 Colour Coded & Wiring Table
4. Installation
4.1 System Initialisation
4.2 Wire Connection of FGR006
4.3 Wire Connection of FGR006EX
4.4 Network Connection of FGR006
4.5ForExample
4.5.1Power
4.5.2 Input Connections (FGR006EX Only)
4.5.3OutputConnections
4.5.4ErrorSignalConnection
5. Communication
5.1 Address Setting for RS485/RS422 Communication
5.2 RS232 Communication Port Connection
5.3 RS485 Communication Port Connection
5.4 RS422 Communication Port Connection
6. Operation
6.1 Master Card Registration Mode
6.2 Reader Mode
6.3 Registration Mode
6.4AutomatchFunction (OPTION1)
6.5 External RS232 Serial Jack (OPTION 2)
7. Operation Indication of Reader/Register
8. FCC Registration Information
9. Contacts

101-091 3 FGR006 – Version 3.0
IDTeck
–
FGR006 FINGERPRINT & PROXIMITY READER
1.Importantsafetyinstructions
To prevent injuries to persons and damages to property, please read all the instructions and follow them
whenever you deal with this product.
After reading, please put this instruction manual where it can be easily seen for the system operator.
ON INSTALLATION AND POWER
Use 12V DC power ONLY
- Connecting to higher than 12V DC may result in a risk of electric shock, fire, or heavy
damage of the unit.
Do NOT install this product at places with wet or metallic dust, or that can be watered.
- There may be risks of electric shock and fire.
Do NOT install this product near electric motors running.
- The unit may not operate normally.
Do NOT set this product near heaters or any thing that produces heat.
- There may be a risk of fire.
Be ALWAYS careful not to short-circuit any part of the circuitry with tools like a screwdriver
in hand.
- There may be a risk of fire or heavy damage of the unit.
ON MAINTENANCE
Do NOT use any kind of liquid for cleaning.
- There may be a risk of electric shock, fire or heavy damage of the unit. Use an
air spray, if needed.
Users are cautioned NOT to attempt repair of this product or modify the wirings set by the
installer at their own discretion.
- It may pose the risk of fire, hardware damages, or abnormal operations of the unit.
It is recommended not to use a flammable spray or something easy to burn near this product.
- There may be the risk of an explosion or fire.
Keep the unit away from any unauthorized people.
- It may cause abnormal operations of the unit.
NOTICE
Please, contact a designated service centre or the outlet at which the product was purchased when
A. Any liquid has been spilt or sprayed onto the product. In this case, cut the power off first.
B. The product seems to be operating abnormally.
C. The unit exhibits a distinct change in performance.
D. The unit has fallen to be broken down or damaged on its case.
* The cost of repairing can be charged for troubles due to the improper handling or negligence
of users or the operator.

101-091 4 FGR006 – Version 3.0
IDTeck
–
FGR006 FINGERPRINT & PROXIMITY READER
2.Introduction
2.1 Identifying Supplied Parts
Please unpack and check the contents of the box.
Main Unit Bezel User’s Manual RS232 Serial line
(OPTION)
2.2 About NESS - IDTECK FGR006/FGR006EX
The NESS - IDTECK FGR006 is a Biometrics and Proximity Reader, which is compatible to existing
proximity readers. FGR006 can be connected to any existing access control panel and you will have personal
authorization by one’s fingerprint to avoid any access from un-authorized person. FGR006 has built-in
proximity reader and fingerprint module so that the access is only allowed when the personal ID and
fingerprint are authorized. Its modern design gives you an easy installation (just replace existing reader) to
metal door frame (mullion) or to any flat wall surface. FGR006 ensures you a successful operation where you
want biometrics access control. FGR006 has three LED of red, green and lens (upper right), inside beeper
sound to guarantee you an accurate and reliable access control.
2.3 Specification
CPU 32bit, dual 8bit Microprocessor
Memory Program Memory: 64KB EEPROM
Power DC 12V/350mA max
Card Holders 720 (optional 2,000/4,5000)
Reader Port (FGR006EX only) 1 Extra port
Reader Data Format 26bit Wiegand, 8bit burst Format for keypad reader
Output Format 26bit Wiegand, ABA Track II Magstripe format (Caution: Card
Present signal is Open Collector)
Communication port RS232, RS485, RS422 (default, up to 255ch) selectable
4800,9600(Default), 19200, 38400, 57600, 115200bps
communication speed
LED Control Input Low active, maximum 20mA current drain
Beeper Control Input Low active, maximum 20mA current drain
Tamper Switch Low active
LED/Beeper Three LEDs / Piezo Buzzer

101-091 5 FGR006 – Version 3.0
IDTeck
–
FGR006 FINGERPRINT & PROXIMITY READER
Colour Light and Dark Grey
Operating Environment -15˚~+40˚(-5˚~ +104˚), 0~90% Humidity
Overall Size (WxHxD) 66x129x51mm (2.6"x5.1"x2.0")
Weight 230g (0.5lb)
3. Product Overview
3.1. FUNCTION
The FGR006 is finger reader with integrated proximity reader and registration terminal.
[Registration Mode]
The registration mode registers (or deletes) user cards.
[Reader Mode]
If your fingerprint is authorized then FGR006 will send your card ID to the access controller.
[Master Card]
A master card is used to change modes from Registration to reader modes.
[A Card Number Output Form]
If your fingerprint is authorized then output becomes the card number to 26bit Wiegand or ABA
Track II according to an output type.
[An Error Signal Output]
If your fingerprint is not authorized then FGR006 will generate finger error signal for 500ms of
low active pulse. (Only available when your FG006 is set to 26bit Wiegand output)
This signal is open collector.

101-091 6 FGR006 – Version 3.0
IDTeck
–
FGR006 FINGERPRINT & PROXIMITY READER
3.2. PRODUCT EXPLANATION
3.2.1 PANEL DESCRIPTION
3.2.2 COLOUR CODED & WIRING TABLE
IO PORT NAME SIGNAL NAME COLOUR CODE
POWER
Main Power (+12V) +12V RED
Power Ground GND BLACK
INPUT (Only available with RS232/RS485 Communication)
LED Control Input LED BROWN
Beeper Control Input BEEP BLUE
WIEGAND OUTPUT
Wiegand Data-0 DATA0 GREEN
Wiegand Data-1 DATA1 WHITE
* Finger Error ERROR ORANGE
* Note that the Finger Error output is only available with Wiegand output.
ABA TRACK II OUTPUT
Card Present CLS Orange
Clock CLK White
Data DATA Green
RS232 COMMUNICATION PORT
RS232 RX RXD Grey
RS232 TX TXD Yellow

101-091 7 FGR006 – Version 3.0
IDTeck
–
FGR006 FINGERPRINT & PROXIMITY READER
RS485 COMMUNICATION PORT
RS485-A 485A Grey
RS485-B 485B Yellow
RS422 COMMUNICATION PORT ÎDEFAULT
RS422 TX+ TX+ Grey
RS422 TX- TX- Yellow
RS422 RX+ RX+ Brown
RS422 RX- RX- Blue
TAMPER SWITCH
Tamper Switch TAMPER Purple
EXTERNAL READER PORT (FGR006EX Only)
Wiegand Data-0 IN_DATA0 Pink
Wiegand Data-1 IN_DATA1 Cyan

101-091 8 FGR006 – Version 3.0
IDTeck
–
FGR006 FINGERPRINT & PROXIMITY READER
4. INSTALLATION
4.1 Mullion/Wall Mount
4.1.1 Drill two Ø1/8"(3mm) holes, 4.4"(113mm) apart in vertical and drill one Ø1/2" hole for
the reader cable 2.2"(56mm) apart from the top hole.
4.1.2 Connect wires between the control panel and FGR006 reader then put reader
cable into the centre hole and install the main unit by using two 3-16 screws.
4.1.3 Put bezel into the main unit then push bezel until you hear the locking sound.
4.2 System Initialisation
You can H/W initialise using DIPswitch.
First, turn on the system power and turn off all Dipswitches.
Set the DIPswitch after an initialisation completion.
* DIP Switch use for address of RS422/RS485 communication.
An Initialisation situation refers to the "7.Operation Indication
of Reader / Register" of manual.

101-091 9 FGR006 – Version 3.0
IDTeck
–
FGR006 FINGERPRINT & PROXIMITY READER
4.3 Wire Connection of FGR006
4.4 Wire Connection of FGR006EX

101-091 10 FGR006 – Version 3.0
IDTeck
–
FGR006 FINGERPRINT & PROXIMITY READER
4.5 Network Connection of FGR006
4.6 Check Points and Tip
4.6.1 Recommended cable type and permissible length of cable
•Need thicker wire if you connect the reader with high current consumption.
Description Cable Specification
Maximum
Distance
Belden #9512, 22 AWG
4 conductor, shieldedReader (Power and Data)
Reader -> ACU Belden #9514, 22 AWG
8 conductor, shielded
150m

101-091 11 FGR006 – Version 3.0
IDTeck
–
FGR006 FINGERPRINT & PROXIMITY READER
4.6.2 Reader connection
If you install the reader in a long distance between the ACU and the reader, you have to remind that there
will be a voltage drop between both ends of GND wire. For example, if you connect a reader with 100mA
current consumption at 100m distance (assume to using DC resistance of cable of 100Ω/100m) and the
reader power is supplied from the ACU, the voltage drop of the GND wire will be 1V. In this case, the
Wiegand data signal cannot be measured lower than 1V.
The most of ACU is capturing the signal by the voltage level of data input and 1V is the critical point
whether the ACU read the data logic “1” or logic “0” therefore the reader output can not be read correctly
from the ACU.
You have to think about how you reduce the voltage drop between both ends of GND wire. There will be
two methods to reduce the voltage drop and ACU can read data correctly.
Reduce the DC resistance of GND wire; Using thick cable or add more wires to GND wire in parallel.
If you connect 4 wires in parallel for GND, the DC resistance of GND wire will be reduced to 1/4 of
single wire.
Use separate power for the reader; Disconnect +12V wire from the ACU and connect external power
supply to the reader nearby then there will be no current flow through the GND wire and no voltage
drop between both ends of GND wire.
< Reader connection using additional wires >
< Reader connection using external power supply >
4.7 For Example of Wiring
4.7.1 Power
- Connect (+) wire of DC 12V power to Red wire
- Connect Power GND (-) wire of DC 12V to Black wire
Shield
Shield

101-091 12 FGR006 – Version 3.0
IDTeck
–
FGR006 FINGERPRINT & PROXIMITY READER
4.7.2 Input Connection (Only available with RS232/RS485 communication)
- A green LED turn on if the short does LED CONTROL INPUT wire with the
GND
- The beep sound appears if the short does BEEPER CONTROLER INPUT wire
with the GND.
4.7.3 Output Connections
[26bitWiegandOutput] [ABATrackIIOutput]
4.7.5 External Reader Connection (FGR006EX Only)

101-091 13 FGR006 – Version 3.0
IDTeck
–
FGR006 FINGERPRINT & PROXIMITY READER
5. Communication
The communication setting is defaulted to RS422.
If you need the change of the mode of the communication, FGR006
(FGR006EX) must set on the links on the MAIN PCB.
Changing this jumper setting requires the use of a soldering iron.
CAUTION: Damage to the PCB will void warranty.
5.1 Address Setting for RS485/RS422 Communication
There is 8bit DIP SW for address setting and it turns to 8bit binary code as below and each bit has fixed
address value, the address is calculated the sum value of each bit set to “1” position.
Example
NOTE: To select the address switch
to “ON” switch it down.
NOTE: Address Setting
If used with a Ness – IDTeck iCON
control panel with Dual Pro software
then the address must start at 33 ((i.e 1
& 6 down)) regardless of how many
controllers you have online.
If used with a Ness – IDTeck iTDC
control panel with iTDC Pro software
then the address must start at 100. (i.e 3,
6 & 7 down) regardless of how many
controllers you have online.
If used with 3rd party controllers refer to
your vender for address instructions

101-091 14 FGR006 – Version 3.0
IDTeck
–
FGR006 FINGERPRINT & PROXIMITY READER
5.2 RS232 Communication Port Connection
You set the jumper with a silkscreen side up.
9-pin connector (COM Port, D-SUB 9P Female) is required to connect serial communication RS-232 between
Main Unit and PC (Personal Computer)
- Connect RS232 TX, Yellow wire of Main Unit to pin number 2 of 9-pin connector.
- Connect RS232 Rx, Grey wire of Main Unit to pin number 3 of 9-pin connector.
- Connect GND, Black wire of Main Unit to pin number 5 of 9-pin connector.
- Plug in 9-pin connector to COM1 or COM2 Port of PC
- Install and run Application Software.
5.3 RS485 Communication Port Connection
You set the jumper with a silkscreen side up.
RS-485/RS-232 converter is required to connect serial communication RS485 between Main Unit and PC
(Personal Computer). The converter used CNP200A.
- Connect RS485 A, Grey wire of Main Unit to Red wire of CNP200A converter.
- Connect RS485 B, Yellow wire of Main Unit to Grey wire of CNP200A converter.
- Plug in RS232 9-pin connector of CNP200A converter to COM1 or COM2 Port of PC.
- Install and run application software.
FGR006 (FGR006EX) Wire P C (D-SUB 9P Female)
YELLOW RS232 TX 2 RS232 Rx
GRAY RS232 Rx 3 RS232 TX
BLACK GND 5 GND
FGR006 (FGR006EX) Wire CNP-200A Converter Wire
GREY RS485-A RED RS485-A
YELLOW RS485-B GREY RS485-B

101-091 15 FGR006 – Version 3.0
IDTeck
–
FGR006 FINGERPRINT & PROXIMITY READER
5.4 RS422 Communication Port Connection
You set the jumper with a silkscreen side up.
RS422/RS232 converter is required to connect serial communication RS422 between Main Unit and PC
(Personal Computer). The converter used CNP200A.
- Connect RS422 TX [-], Yellow wire of Main Unit to White wire (Rx [-] port) of CNP200A converter.
- Connect RS422 TX [+], Grey wire of Main Unit to Red wire (Rx [+] port) of CNP200A converter.
- Connect RS422 Rx [-], Blue wire of Main Unit to Black wire (TX [-] port) of CNP200A converter.
- Connect RS422 Rx [+], Brown wire of Main Unit to blue wire (TX [+] port) of CNP200A converter.
- Plug in RS232 9-pin connector of CNP200A converter to COM1 or COM2 Port of PC.
- Install and run application software
6. Operation
6.1 Master Card Registration Mode
6.1.1 A Master Card Registration
The first card presented to the FGR006 after initialisation becomes the Master Card.
For master card registration mode refer to the "7.Operation Indication of Reader / Register" of
manual.
Note: A Master card cannot be used for access.
6.1.2 A Master Card Change
You can register Master Card again after initialisation of hardware.
CAUTION: If you initialise the hardware, all user data are deleted.
You can change the master card by using the application software.
Using the application software keeps the user data unchanged.
Please refer the FGR006 software manual for download master card.
6.1.3 A Master Card Function.
It is used as the key to change reader from normal mode to registration mode manually
For example)
In the Reader mode if you present the master card to the FGR006, it is changes it to registration mode.
In the Registration mode if you present the master card to the FGR006, it changes it to Reader mode.
(Therefore the master card cannot be used as an access card.)
mode.
FGR006 (FGR006EX) Wire CNP-200A Converter Wire
YELLOW RS422-Tx[-] WHITE Rx-
GRAY RS422-Tx[+] RED Rx+
BLUE RS422-Rx[-] BLACK Tx-
BROWN RS422-Rx[+] BLUE Tx+

101-091 16 FGR006 – Version 3.0
IDTeck
–
FGR006 FINGERPRINT & PROXIMITY READER
6.2 Reader Mode
6.2.1 A Reader Mode Function.
In reader mode cards and fingerprints are read for access authorization.
If your fingerprint is authorized then the system will transmit the card ID.
If your fingerprint is not authorized then error signal output.
For reader mode situation refer to the "7.Operation Indication of Reader / Register"
of manual.
6.2.2 Authorization procedure.
When in program mode (i.e. after the Master card has been presented), present a proximity card to
the FGR006
If your card ID is registered then fingerprint scanner will light on.
If your card ID is not registered then FGR006 will make 2 beep sounds and return to reader mode.
Put your finger on the fingerprint scanner for authorization.
If your fingerprint is authorized then FGR006 will turn on the lens led (upper light) and make a
beep sound for a second and will send your card ID to the access controller.
If your fingerprint is not authorized then FGR006 will make 2 beep sounds
and generate finger error signal for 500ms of low active pulse. (Only available when your
FGR006 is set to 26bit Wiegand output)
6.3 Registration Mode
6.3.1 A Registration Mode Function
To access registration mode into a FGR006 you must first present the Master card.
In registration mode you can add or delete cards.
It deletes the card when user card has already been registered. (Beeps 4 times)
It registers the card when user card is not registered. (Beeps 3 times)

101-091 17 FGR006 – Version 3.0
IDTeck
–
FGR006 FINGERPRINT & PROXIMITY READER
6.3.1 User Card Registration.
When registering a fingerprint you must present it twice.
Present a proximity card to the FGR006
Put you finger on the scanner when the red scanner light is illuminated, when the scanner light goes
out remove your finger and then put the scanner finger back on when the scanner light is
illuminated again.
It beeps 3 times when the registration is completed.
Add additional fingerprints the same as above.
After registration is complete present the master card again to toggle the reader from registration
mode to reader mode.
It will beep 2 times when a registration error occurs.
6.3.2 User Card Deletion
Present proximity card to the FGR006
It beeps 4 times when the deletion is completed.
After deletion present proximity master card again, and it is changed to reader mode.
It beeps 2 times when the deletion is error.
6.4 Auto match Function (OPTION 1)
This function operates in the Reader mode.
User can be verified with Fingerprint template only. (No card necessary)
Sensor will be activated automatically when user places their registered finger on fingerprint scanner.
CAUTION: This function will ONLY be available when the number of users is less than 100
If your fingerprint is authorized the FGR006 will turn on the lens led (upper light) and make a beep
sound for a second and will send your card ID to the access controller.
If your fingerprint is not authorized then FGR006 will make 2 beep sounds and
generate finger error signal for 500ms of low active pulse. (Only available when your FGR006
is set to 26bit Wiegand output)

101-091 18 FGR006 – Version 3.0
IDTeck
–
FGR006 FINGERPRINT & PROXIMITY READER
6.5 External RS232 Serial Jack (OPTION 2)
This function allows the FGR006 to connect directly to a PC (or Notebook) via RS232 for fingerprint
registrations.
It is used to connect with FGR006
and RS232 port of PC (or
notebook).
It uncover TOP CASE in FGR006.
Extract after you pull TOP CASE
bottom of FGR006
It insert RS232 serial jack at bottom
of FGR006
It connects a d-sub connector with
RS232 port of PC (or notebook).

101-091 19 FGR006 – Version 3.0
IDTeck
–
FGR006 FINGERPRINT & PROXIMITY READER
7. Operation indication of Reader/Register
FGR006: over the version 3.00
7.1 LED status
LED STATUS FUNCTION
Booting The system is booting when power is supplied
Register
Master Card
The unit is initialised and master card is
unregistered
Registration Mode Add / Delete user
Reader Mode Verify user card
Initialisation The unit is initialised
Initialisation
Completed System initialisation is completed
7.2 Beeps sound status
BEEP SOUND TIMES STATUS
1 time (1second) Access granted.
2 times Error (Fingerprint or operation error)
3 times Register user card.
4 times Delete user card.

101-091 20 FGR006 – Version 3.0
IDTeck
–
FGR006 FINGERPRINT & PROXIMITY READER
8. FCC REGISTRATION INFORMATION
FCC REQUIREMENTS PART 15
Caution: Any changes or modifications in construction of this device, which are not expressly approved by the
responsible for compliance, could void the user's authority to operate the equipment.
NOTE: This device complies with Part 15 of the FCC Rules.
Operation is subject to the following two conditions;
1. This device may not cause harmful interface, and
2. This device must accept any interference received, including interference that may cause undesired operation.
This equipment has been tested and found to comply with the limits for a Class A Digital Device, pursuant to Part
15 of the FCC Rules. These limits are designed to this equipment generates, uses, and can radiate radio frequency
energy and, if not installed and used in accordance with the instructions, may cause harmful interference to radio
communications.
However, there is no guarantee that interference will not occur in a particular installation. If this equipment does
cause harmful interference to radio or television reception, which can be determined by turning the radio or
television off and on, the user is encouraged to try to correct interference by one or more of the following measures.
1. Reorient or relocate the receiving antenna.
2. Increase the separation between the equipment and receiver.
3. Connect the equipment into an outlet on another circuit.
4. Consult the dealer or an experienced radio/TV technician for help.
Table of contents
Other IDTECK Card Reader manuals

IDTECK
IDTECK Star FINGER006 User manual

IDTECK
IDTECK SR30 User manual

IDTECK
IDTECK Star SR10 User manual

IDTECK
IDTECK RF900I-8 User manual

IDTECK
IDTECK Star RFK505 User manual

IDTECK
IDTECK SRK101 User manual

IDTECK
IDTECK Star SR10 User manual

IDTECK
IDTECK SR30 User manual

IDTECK
IDTECK PROX10 User manual

IDTECK
IDTECK NEO RF245 User manual

IDTECK
IDTECK Star SR10 User manual

IDTECK
IDTECK Star RFK101 User manual

IDTECK
IDTECK Star RF10 User manual

IDTECK
IDTECK Star RFK101 User manual

IDTECK
IDTECK SR10RW User manual

IDTECK
IDTECK SR10/30V User manual

IDTECK
IDTECK Star RF30 User manual

IDTECK
IDTECK Star RF TINY User manual

IDTECK
IDTECK Star RFK101 User manual

IDTECK
IDTECK Star RFK505 User manual