iPA Alpha MUTT with ABS User manual

#5710A
Alpha MUTT®with ABS
Shop Model
(No Tablet)
#5710A-T10
Alpha MUTT® with ABS
and Tablet
Shop Model
#5710A-RT8
Alpha MUTT® with ABS
and Rugged Tablet
Shop Model
ALPHA MUTT®with ABS
Mobile Universal Trailer Tester
Set-Up Information • Operator’s Manual • Technical Information
For All Models
Innovative Products of America®Incorporated 234 Tinker Street, Woodstock, NY 12498
888-786-7899 | tech247@ipatools.com | www.ipatools.com

Congratulations on your recent purchase of an Alpha MUTT®from
Innovative Products of America®!
This binder provides information on the #5710A Series Alpha MUTT®units:
•#5710A Alpha MUTT®with ABS Shop Model (No Tablet)
•#5710A-T10 Alpha MUTT®with ABS & Tablet Shop Model
•#5710A-RT8 Alpha MUTT®with ABS & Rugged Tablet Shop Model
For questions or support, call 888-786-7899 or email tech247@ipatools.com.

FOREWORD
The Alpha MUTT®with ABS has been specifically engineered to provide the ultimate level of control and
diagnostic troubleshooting capability when inspecting trailer lighting, air brake and ABS systems. Your
tester has been delivered turnkey with all accessories (hoses, cables, remote controls, tablet, etc.)
needed to begin testing. Be sure to read the entire set up and operational instructions to ensure that all
the benefits this tester can bring to your shop are utilized.
This Operator’s Manual has been created by Innovative Products of America® (IPA®) to provide users
with the necessary information to:
•Identify and understand the full capabilities of the tester.
•Recognize the safety precautions that should be adhered to during operation.
•Properly identify all parts, accessories and attachments included with the tester for
maintenance, operation, repair and replacement.
IPA®truly wants you to be 100% satisfied with your purchase. The Alpha MUTT®includes a 3-Year
Warranty and 24-Hour Repair or Replace Policy. Upon first receiving your tester, utilize the provided
unpacking sheet with included accessories kit for reference to specific accessories and features based
on your particular model. If you are missing any accessories,have questions or need assistance withany
step of the process, please call Tech Support at 888-786-7899 or email tech247@ipatools.com.
IPA®is also interested in hearing any suggestions you may have that could increase the productivity
and functionality of the Alpha MUTT®. If there is a feature you wish it had, send us your feedback and
it may be included in the next update.
From all of us at IPA®, we thank you for your purchase and wish you and your family the very best
of everything.
Ian Vinci,
President
Innovative Products of America®

TABLE OF CONTENTS
PART 1: INTRODUCTION AND SET-UP Pg.
1.1 Introduction ……………………………………………………………….……………........ 1-1
1.2 Important Safety Information …………………………………………….………….…….. 1-2
1.3 Battery Gases, Tester Preparation and Tester/Charger Location ……....................... 1-2
1.4 General Charger Use ………………………………………………………………………. 1-3
1.5 Registering Your Tester’s Warranty …………………………………………...............… 1-4
1.6 Tester Identification ………………………………………………………………….……… 1-5
Tester Serial Number
Firmware Version Number
Software Version Number
1.7 Included Accessories …………………………………………………………………..….. 1-6
Optional Accessories
1.8 Control Panels …………………………………………..……………………………….…. 1-8
Electrical Control Panel
Air Brake Control Panel
Left and Right-Side Panels
Back Panel
1.9 Battery Requirements …………………………………………………………................ 1-12
Standard 12-Volt Wiring Configuration
Optional 24-Volt Wiring Configuration
Charging with the AC Plug
1.10 Auto Shutdown Feature ………………………………………………………................. 1-13
1.11 Stowing the 7-Way cable on ShopModels ……………………….…………………….. 1-14
1.12 Stowing the Gladhand Hoses on Shop Models ………………………………………... 1-14
1.13 Connecting Shop Air …………………………………………………………………….... 1-15
1.14 Face Shield/Lid ……………………………………………………………………………. 1-15
1.15 Bluetooth®…………………………………………………………………….................. 1-16
Installing the Bluetooth®Communication Module
Direct Connection
Using an Extension Cable
Bluetooth®Do’s and Don’ts
Bluetooth®Module FCC Regulations
1.16 Remote Control …………………………………………………………………………… 1-17
How to Program the 12-Button Remote
How to Use the 12-Button Remote
1.17 Tablet ………………………………………………………………………………………. 1-18
Tablet Buttons
Tablet Pen
Power Saving
Bluetooth®Connection
How to Charge the Tablet with the AC Plug
How to Charge the Standard Tablet While Mounted to Face Shield/Lid
How to Charge the Rugged Tablet While Mounted to Docking Station
How to Check for Software Updates
Email to Tablet
Computer to Tablet
Direct to Tablet
1.18 Updating Firmware ……………………………………………………………................. 1-20
Updating the System Firmware
Updating the ABS PLC Firmware
1.19 Maintenance and Storage ………………………………………………………………... 1-21
1.20 Frequently Asked Questions …………………………………………………………….. 1-21
1.21 Common System Checks ……………………………………………………….............. 1-22

1.22 Common Troubleshooting Solutions ……………………………………………………. 1-23
1.23 Instructions for In- and Out-of-Warranty Repairs ………………………………………. 1-24
PART 2: ELECTRICAL, LIGHTING AND AIR BRAKE TESTING
2.1 Electrical/Lighting Testing …………………………………………….……...................... 2-1
Pretest Checklist
Tester Placement
Maintain Connectors
Cable Testing Procedure
2.2 Selecting a Circuit …………………………………………….……………………………. 2-2
Autocycle Mode
2.3 Ground Integrity Test ………………………………………………………………………. 2-4
Chassis and Pin Grounds
Establishing a Chassis Ground
2.4 Fault Indication ………………………………………..…………………………................ 2-5
Open Circuit
Crossed Circuit
Short/Overloaded Circuit
2.5 Activating Hazard Lights …………………………………………………….…................. 2-6
2.6 All Circuits On (Override) Mode …………………………………………………………... 2-7
2.7 Air Brake Testing Set-Up ………………………………………………………………….. 2-8
2.8 Actuating Air Brakes ……………………………………………………………................. 2-9
2.9 LeakdownTesting …………………………………………………………….................. 2-11
Manual Leakdown Testing
Automatic Leakdown Testing
Changing Automatic Leakdown Test Parameters
PART 3: ABS TESTING
3.1 Accessing ABS Codes …………………………………………….……........................... 3-1
ABS Explained
3.2 Manual Controls ...…………………………………………….…………………............... 3-2
Accessing Active Faults
Accessing Stored Faults
Clear All Codes
3.3 Tablet Controls ……………………………………………………………………………… 3-4
3.4 Failure Mode Identifier (FMI) Assignments ……..……………………………………….. 3-5
3.5 SAE J1587 Mid 137 Sid List ………………………………………………………………. 3-6
PART 4: USING THE ALPHA MUTT®APP
4.1 Alpha MUTT®Application Setup ……………………………….…….............................. 4-1
Accounts
Company Information
Testing Defaults
4.2 Menu Bar Screens ...…………………………………………….…………………………. 4-2
4.3 Diagnostic Controls ……………………………………………………………….............. 4-3
4.4 Electrical Inspections ………………………..……..………………………………………. 4-4
Pass Result
Fail Result
4.5 DOT/PM Inspections ……………………………………………………………................ 4-7
Truck Inspection Controls
Trailer Inspection Controls
4.6 Saved Reports …………………………………………………………………………….. 4-10
4.7 Inspection Creation Tab ………………………………………………………................ 4-11

4.8 Sample Reports ………………………………………………………………….............. 4-12
PART 5: TECHNICAL INFORMATION
5.1 Exploded Views ………………………………………………………………….…………. 5-1
Shop Model Body Exploded View
Shop Model Head Exploded View
Shop Model Back Exploded View
Shop Model Faceplate Exploded View
Shop Model Base Exploded View
5.2 Shop Model Wiring Diagrams …………………………………………………………..…5-7
7-Way Socket Wiring Diagram
7-Way Test Socket Wiring Diagram
Pneumatic Plumbing/Coil Routing Diagram
Power Wiring Diagram
Peripheral Wiring Diagram
Internal Battery Charger Cable Diagram
5.3 Typical Trailer Wiring ……………………………………………………………………... 5-11
5.4 Complete Specifications ………………………………………………………................ 5-12
#5710A Alpha MUTT®(2nd Gen) with ABS Shop Model
#5710A-T10 Alpha MUTT®(2nd Gen) with ABS and Tablet Shop Model
#5710A-RT8 Alpha MUTT®(2nd Gen) with ABS and Rugged Tablet Shop Model
#5700-TAB-AS Standard Tablet
#5700-TABRT-AS Military-Grade, Rugged Tablet

PART 1
PART 1:
INTRODUCTION
ANDSET-UP

PART 1: INTRODUCTION AND SET-UP 1-1
PART 1: INTRODUCTION AND SET-UP
1.1 Introduction
The Alpha MUTT®(2nd Gen) with ABS is an all-in-one, mobile, advanced diagnostic tester and inspection
system for both vehicles and trailers. The Alpha MUTT®Series is IPA®’s premier trailer tester product line
and is equipped to test lights, air brakes and ABS. These products are designed to withstand the rigors
of everyday service.
While there are various models of the Alpha MUTT®available with different included accessories, all
products that feature the name Alpha are Bluetooth®and RF equipped and can be operated by both
tablet and RF remote control. The Alpha MUTT®is microprocessor controlled and features state-of-the-
art current sensing, computer-controlled circuit protection, live circuit monitoring with automatic pass/fail
calculations, as well as digital voltage and amperage draw readout. The Alpha MUTT®will detect poor
grounds, open circuits, crossed circuits, short circuits, and also features Pulsar®mode which aides in
troubleshooting intermittent and dead shorts. The ABS diagnostics can be utilized to read andclear codes
and display troubleshooting information on a trailer via the 7-way connector. Those readings are
displayed on the face panel as well as through the tablet app.
This manual covers the entire Alpha MUTT®series technology. Please consult your specific model for
your exact list of included options. This product is backed by a 3-year warranty with 24-hour repair or
replace service. Should you run into any issues, please contact IPA®directly at 888-786-7899 or email
Testing Functions
•Electrical Testing (12/24 Volt Operation)
-Automatic cross, open, overload, short and ground fault detection
-Chases down short circuits with Pulsar®Mode
-Cable testing
-Ground failure detection: differentiates between wire and chassis ground
-Detailed inspection reports generated from auto-test report function in under 60 seconds
•Air Brake Testing
-Real-time,repetitivebrake activation to find developingproblemsand verify leakingservocans
-Analog leak-down tests in service and emergency lines
•ABS Testing
-Reads and clear codes
-Displays diagnostic troubleshooting information
-Accesses ECU data: manufacturer, make, model, etc.

1-2 PART 1: INTRODUCTION AND SET-UP
1.2 Important Safety Information
It is important to read, understand and follow all safety messages and instructions printed in this
manual and on the equipment before operating. If safety information is not heeded, serious injury
or death to the operator or bystanders may occur.
Danger
Indicates a hazardous situation, if not avoided, will result in death or serious injury. The possible hazards
are shown in the adjoining symbols or explained in the text.
Warning
Indicates a hazardous situation, if not avoided, could result in death or serious injury. The possible
hazards are shown in the adjoining symbols or explained in the text.
Caution
Indicates a hazardous situation, if not avoided, may result in minor or major injury. The possible hazards
are shown in the adjoining symbols or explained in the text.
The following safety alert symbols are used in this manual.
Symbol 1: Potential burn hazard. Sparks from electrical shorts can ignite flammable liquids such as
fuel or oil. Heat from electrical overloads can cause fire hazards.
Symbol 2: Potential electrical hazard. Batteries have enough electrical energy potential to ignite
flammable liquids such as fuel or oil. Wire overloads can cause electrical failures. Shock hazard exists.
Symbol 3: Potential explosive air hazard. Pneumatic pressures used with this equipment can cause
explosive failures on damaged equipment.
Symbol 4: Potential eye hazard. Wear OSHA approved safety glasses. Battery acid and high air
pressures create hazardous situations for eyes.
Symbol 5: Potential chemical burn hazard. Wear protective gloves. Battery acid is corrosive and can
cause skin damage.
Symbol 6: Potential electrical hazard. Electrical energy can cause heat and burn hazards.
Symbol 7: Potential fire hazard. Use caution with flammable liquids such as fuel and oil. Electrical
shorts can ignite flammable liquids and wiring.
Symbol 8: Important information is stated.
1.3 Battery Gases, Tester Preparation and Tester/Charger Location
Risk of Explosion
•Gases produced by a battery are highly explosive.
Battery explosions can cause injury.
•Wear safety goggles and protective clothing, both users
and bystanders.
•Use in an area having at least four air changes per hour.
•Read, understand and follow all instructions for charger, battery, vehicle and any equipment used
near battery and charger.

PART 1: INTRODUCTION AND SET-UP 1-3
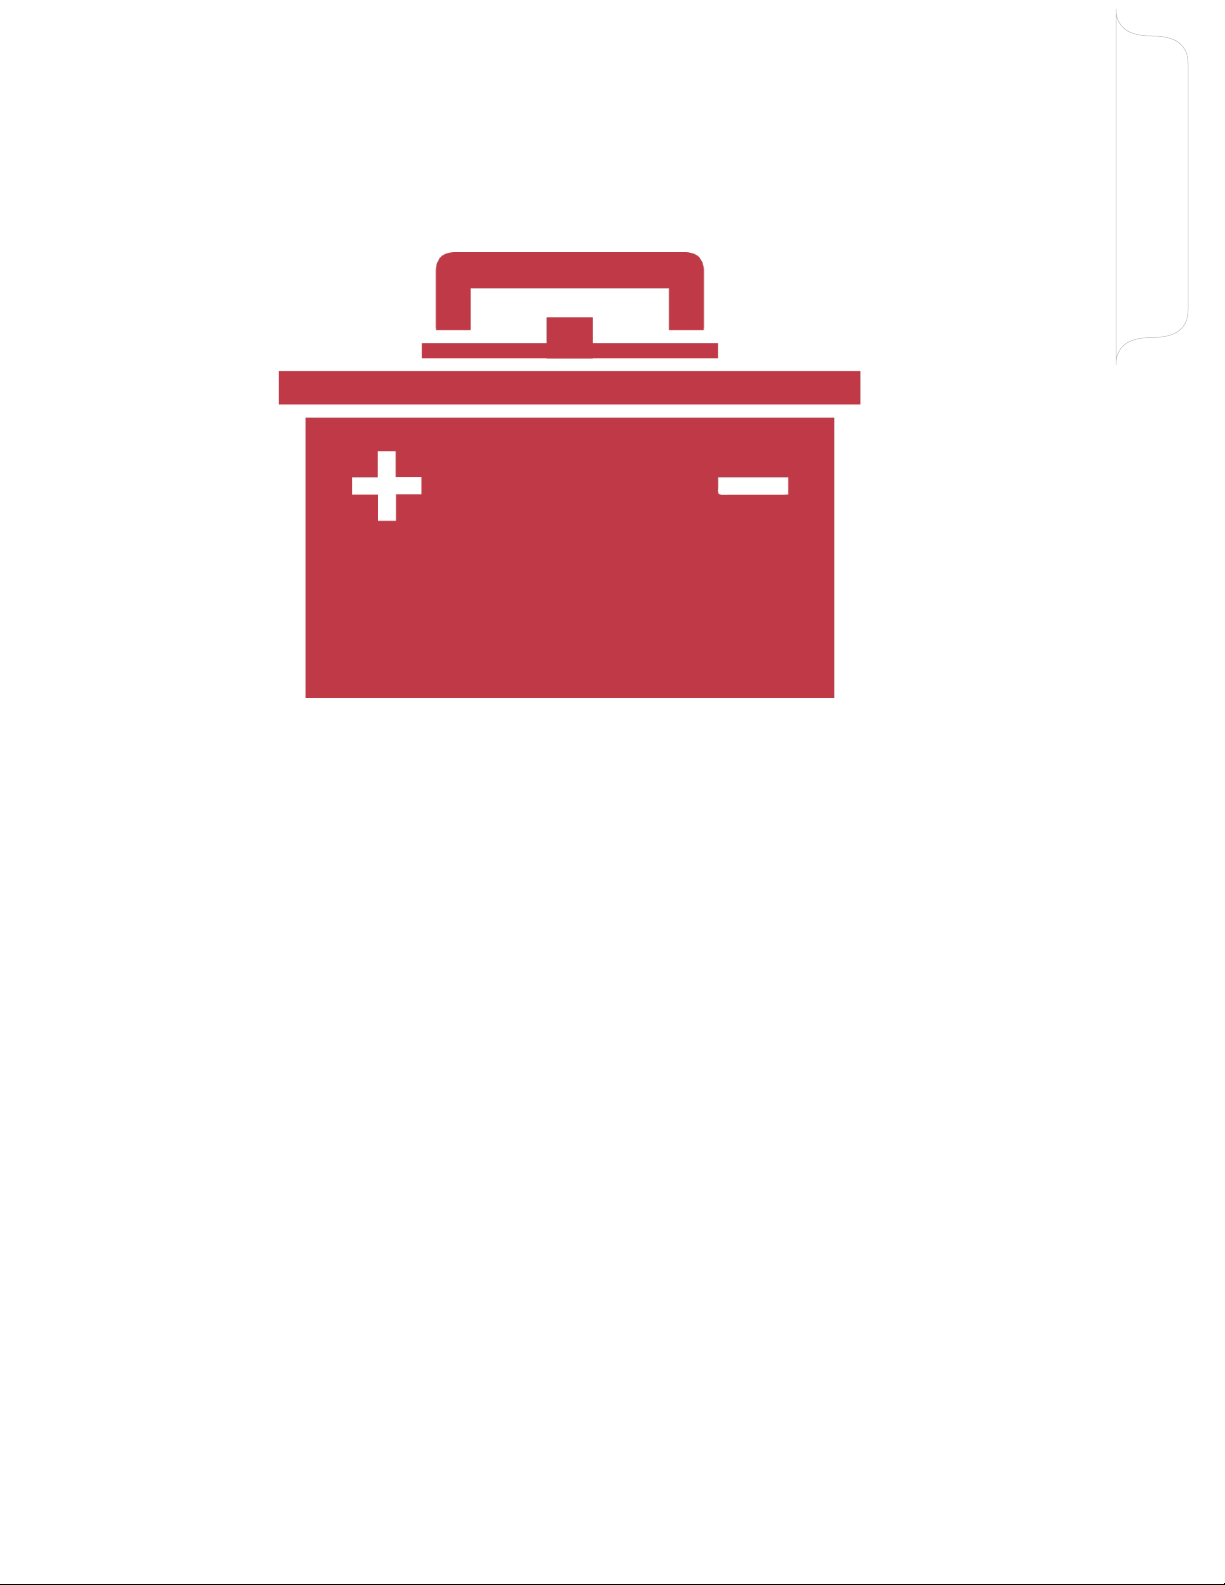
•Do not smoke, strike a match, place metal tools on battery or cause a spark in the vicinity of the
battery. When removing battery cables, remove the ground cable first.
•Clean terminals before charging battery. Keep corrosive particles from eyes, nose and mouth.
Use baking soda and water to neutralize acid and help eliminate airborne corrosion.
•Never allow clamps on charger cables to touch each other.
•Do not expose tester or charger to rain, snow or wet conditions.
•Do not allow battery gases or acid to contact MUTT®cabinet. Do not place charger directly above
or below battery.
•Fill battery to level specified by battery manufacturer using distilled water.
•Do not remove cell caps while charging per manufacturer instructions.
•Make sure tester cable clamps make tight connections.
1.4 General Charger Use
Risk of Electric Shock and Fire
•Before connecting charger cable to tester,
make sure controls are set to OFF.
•Do not remove or bypass the grounding pin.
•Do not operate charger with damaged cord or plug. Replace immediately if damage occurs.
•Position power cord and charger cables away from the hood, doors and hot or moving engine
parts where they could be damaged.
•Unplug power cord by grasping and pulling on the plug, rather than the cord, when disconnecting
charger from outlet.
•Charger power cord uses an equipment-grounding conductor and a grounding plug. Plug only
into a 120V AC outlet that is correctly installed and grounded in accordance with all ordinances
and local codes.
•Unplug power cord from outlet before cleaning or maintaining tester and charger. Turning off
controls does not reduce the risk of electric shock.
•Do not operate charger after a sharp impact, drop or any other damage. Do not disassemble.
•Use only recommended attachments.
•Do not charge a frozen battery. Do not overcharge a battery.
•Use charger only on lead-acid automotive batteries. Do not use charger to charge dry-cell
batteries.
•Electric shock or fire can cause injury.
Risk of Entanglement
•Keep yourself, clothing and battery charger leads clear of moving parts such as fan blades,
pulleys, doors and hood. Moving parts can cause injury.
Risk of Burns
•Batteries can produce a short circuit current that is high enough to weld jewelry such as rings,
bracelets and watches. You must remove them before working near batteries.
•Short circuits can cause injury.

1-4 PART 1: INTRODUCTION AND SET-UP
1.5 Registering Your Tester’s Warranty
Innovative Products of America®(IPA®) has established a Limited Three-Year Warranty Policy for the
Alpha MUTT®Series, not including any wearable parts, i.e., batteries (30-day warranty), battery clips,
etc.
Three-Year Limited Warranty/Return or Replace Policy: The product is covered for three years from
the date of original user purchase under the stipulations of the Standard Warranty.
The product is warranted to be free from defects in workmanship or material. If there is a defect, IPA®will
repair or replace the product within 24 working hours after it is received at the IPA®repair service center.
If the product has been tampered with or altered in any way, the warranty is void and all claims against
the product will not be honored. The Warranty Repair/Return procedures require that proof of purchase
must be established (either by warranty card or purchase receipt/invoice) and the manufacturer makes
every attempt to return ship the product within three business days from the receipt of the returned
product, freight prepaid. If it has been determined that the tool has been damaged due to misuse, IPA®
will repair the unit at a cost we deem reasonable, and these charges will be the responsibility of the user.
We genuinely want you to be happy with our products. If you have any questions, call us toll-free at
888-786-7899.
There are three options for registering your tester for warranty:
•Complete the included warranty card found in
the front pocket of this binder and mail it to:
Innovative Products of America
234 Tinker Street
Woodstock, NY 12498
•Complete the online warranty registration at
www.ipatools.com/warranty-returns/.
•Complete your registration on the Alpha
MUTT®App under the SETTINGS section.
(Currently unavailable)
OR
OR

PART 1: INTRODUCTION AND SET-UP 1-5
1.6 Tester Identification
Tester Serial Number
Located on the back of the tester’s head.
Firmware Version Number
Displays on the Upper LCD Menu Screen when
the tester is powered on.
Software Version Number
Located on the top right corner of any
screen while in the Alpha MUTT®App.

1-6 PART 1: INTRODUCTION AND SET-UP
1.7 Included Accessories
Image
Part #
Description
Included In
#MUT2-RM12
2nd Gen 12-Button Remote with
Lanyard
All Models
#5700-TAB-AS
10” Standard Tablet
#5710A-T10
#CBL-9INUSBMIC
Micro USB Cable
#5710A-T10
#5700-RAMMNT-AS
Mount for Tablet
#5710A-T10
#5700-TABRT-AS
Rugged Tablet
#5710A-RT8
#5700-MNTRT-AS2
Mount for Rugged Tablet
#5710A-RT8
#5700-TABCH
Tablet Charger
#5710A-T10
#5710A-RT8
#5700-BT-AS3
Bluetooth®Antenna
#5710A-T10
#5710A-RT8
#CBL-OBD2MF-12
12”Bluetooth®Antenna Extension
Cable
#5710A-T10
#5710A-RT8
#7900K-1-12AS
12’ 7-Way Cable
All Models
#HS-12RED-FXAS
#HS-12BLU-FXAS
12’ Gladhands with Handles
All Models
#7900K-80ACORD
Power Cord for Internal Charger
All Models
#5700-BATJMPR-AS
Battery Jumper Cables w/
Hardware
All Models
#005700-6R
Battery Retaining Bar
All Models
#CVR-0002
Rain Cover
All Models

PART 1: INTRODUCTION AND SET-UP 1-7
Optional Accessories
Image
Part #
Description
Includes
UpgradableOn
#7900K-1-50-AS
50’ 7-Way
Cable
X
All Models
#5705-HS50
50’ Gladhands
with Handles
X
All Models
#MUT2-BLES
Bluetooth®Kit
with Standard
Software
License
Bluetooth®Module, IPA®
Diagnostic Software Suite
#5710A
#MUT2-T10
10” Tablet with
Bluetooth®Kit
and Standard
Software
License
Standard Tablet, Holster,
Hardware, Micro USB Cable,
Bluetooth®Module, 12”
Bluetooth®Extension Cable,
IPA®Diagnostic Software
Suite
#5710A
#MUT2-RT8
8” Rugged
Tablet with
Bluetooth®Kit
and Standard
Software
License
Rugged Tablet, Docking
Station, Hardware, Bluetooth®
Module, 12” Bluetooth®
Extension Cable, IPA®
Diagnostic Software Suite
#5710A
#5710A-T10

1-8 PART 1: INTRODUCTION AND SET-UP
1.8 Control Panels
Electrical Control Panel
A. Upper LCD Screen
Shows voltage, amperage, ABS readings, circuit settings and system menus.
B. Bluetooth®Paired Indicator
Steady blue light indicates paired device.
C. Ground Integrity Indicator
Solid green LED indicates good ground. Blinking green LED indicates a bad/poor ground.
Ground integrity is automatically verified when power is turned on.
D. Upper Control Knob
Used to select trailer circuits or to navigate system menus for upper LCD screen.
E. Circuit Indicators
The small green LEDs illuminate or blink in testing phase.
F. Shortcut Button
Activates custom shortcut. Shortcuts can be set by holding button for three seconds.
G.Back/Home Button
Toggles displays between reading voltage/current/amperage/air pressure and their last viewed
menus or function screen.
H. Main System Power Switch
Powers on or shuts down the Alpha MUTT®.
I. Voltage Indicator
Green LED indicates fully charged battery. Amber LED indicates battery will need charge soon.
Red LED indicates battery needs charge immediately.
J. Tablet Charge Port
For charging tablet. Not a data port.
K. Reverse Polarity Indicator
Indicates when battery leads need to be switched due to reversed polarity.
L. Trouble Warning Indicators
Flashing red LEDs indicate problems that may exist in a selected circuit. This includes the Cross
Circuits indicator, Open Circuit indicator and Overload indicator.
D
C
A
G
B
E
F
H
I
N
M
K
L
O
J
P
Q

PART 1: INTRODUCTION AND SET-UP 1-9
M.ABS ECU Power Indicator
Indicates health status of ECU circuit by analyzing electronic signature of ABS ECU.
N. ABS Signal Quality Indicator
Indicates the communication status of ABS computer through proprietary technology. LED
colors display the specific status and should be referenced in relationship to the ABS ECU
Power and ABS Fault Status indicators.
O.ABS Fault Status Indicator
Indicates if any types of ABS faults are present on the trailer.
P. Mute Button
Mute all alerts.
Q.30 Amp Fuse Socket
Overload protection for unit.
Air Brake Control Panel
A. Lower LCD Screen
Shows air pressure, leakdown test results and settings for brake testing.
B. Emergency-Side Air Regulator Knob
For setting Emergency-Side air pressure up to 120 psi.
C. Start/Air in Button
Initiates Emergency-Side air and enables additional air operation functionality. PSI readings will
not display until this button is pressed.
D. Emergency-Side Exhaust Button
Exhausts all air pressure in both the Emergency and Service Sides.
E. Emergency-Side Closed Button
Closes Emergency-Side air. Can be used to initiate Auto Leakdown test when pressed and held
simultaneously with the Service-Side Close button.
F. Service-Side Air Regulator Knob
For setting Emergency-Side air pressure up to 120 psi.
G.Lower Control Knob
Used to access air brake leakdown test settings and view results on lower LCD screen.
H. Service-Side Apply Brakes Button
Initiates Service-Side air and applies brakes.
B
C
A
D
E
F
H
G
J
I

1-10 PART 1: INTRODUCTION AND SET-UP
I. Service-Side Release Brakes Button
Exhausts air and releases brakes.
J. Service-Side Closed Button
Closes Service-Side air. Can be used to initiate Auto Leakdown test when pressed and held
simultaneously with Emergency-Side Close button.
Left and Ride Side Panels
A. 7-Way Round Pin Cable Test Input
For testing the integrity of a 7-way round pin trailer cable. Can also be used to verify that the
Alpha MUTT®is operating correctly.
B. Bluetooth®Communication Port
For connecting the included Bluetooth®module.
C. 7-Way Round Pin Cable Output
For connecting 7-way round pin trailer to the Alpha MUTT®to test electrical circuits.
D. Shop Air Input
A bulk-head air input that is used to connect an air compressor to the Alpha MUTT®for testing
air brakes on a trailer.
E. Chassis Ground Outlet
Insert the supplied ground cable into this socket for trailers using the frame or body for ground
connections instead of the ground pin in the harness.
B
A
D
C
Left Side
Right Side
E

PART 1: INTRODUCTION AND SET-UP 1-11
Back Panel
A. Serial Tag
Provides the serial number for the individual Alpha MUTT®.
B. 12V DC Battery Trickle Charge Input (Cigarette Socket)
For connecting a trickle charger to the MUTT®’s internal battery (battery not included).
C. Service-Side Air Out
For connecting the Service-Side Gladhand hose (blue).
D. Air Exhaust
E. Emergency-Side Air Out
For connecting the Emergency-Side Gladhand hose (red).
E
A
B
D
C

1-12 PART 1: INTRODUCTION AND SET-UP
1.9 Battery Requirements
The Alpha MUTT®is a 12/24V DC device. Attempting to power the
MUTT®with anything other than a 12- or 24-volt DC power source
will destroy the internal circuitry and void the warranty.
IPA®suggests using two Group 31 batteries for all Shop Models.
DO NOT use 24 volts on 12-volt circuits.
•Battery Voltage: 12/24V DC
•Battery Type: Lead Acid
•Battery Compartment Dimensions: 14" W x 15.5" H x 13" D
•Battery Protection: Inline 30A fuse for overcharge
•Battery must be clean and leak free.
•Identify battery polarity.
•Attach ring terminal with red heat shrink to positive (+) side
and ring terminal with black heat shrink to negative (-) side.
Connections must only be made to clean terminal rings.
•Any loose or corroded connectors may cause erroneous
readings and result in misdiagnosis.
•Use fully charged batteries.
Standard 12-Volt Wiring Configuration
12V Battery #1 12V Battery #2 12V
Charger
Jumper
Positive
Jumper
Negative
Positive
Main
Battery
Leads from
Alpha
MUTT®
Negative
SHOP MODELS

PART 1: INTRODUCTION AND SET-UP 1-13
Optional 24-Volt Wiring Configuration
Charging with the AC Plug
The Alpha MUTT®Shop Models come with a power cord for
the internal charger. Simply plug the cord into the back of the
tester,andthenplugtheotherendintoanACoutlettocharge
the tester.
1.10 Auto Shutdown Feature
If left inactive for a period of 20 minutes, the Alpha MUTT®will enter a Sleep mode and power down.
•A sound is emitted every 20 seconds during Sleep mode.
•Activation of either control knob will cancel Sleep mode.
WARNING: Input isoutput –If you use the 24V wiring configuration, the tester will provide 24V of power
out of the trailer plugs. Make sure the trailer you are testing is equipped to operate off 24V, otherwise
you risk damaging the electrical system.
12V Battery #1 12V Battery #2 12V
Charger
Negative
Negative
Jumper
Positive
Positive
Main
Battery
Leads from
Alpha
MUTT®
This manual suits for next models
3
Table of contents
Other iPA Test Equipment manuals

iPA
iPA LIGHT RANGER MUTT 9101 User manual

iPA
iPA HEAVY RANGER MUTT 9102 User manual

iPA
iPA 9102 User manual

iPA
iPA ALPHA MUTT User manual

iPA
iPA Alpha MUTT 5700 User manual

iPA
iPA 9101 User manual

iPA
iPA SMART MUTT 9004M User manual

iPA
iPA SMART MUTT 9004A User manual

iPA
iPA SUPER RANGER MUTT User manual

iPA
iPA SMART MUTT X User manual