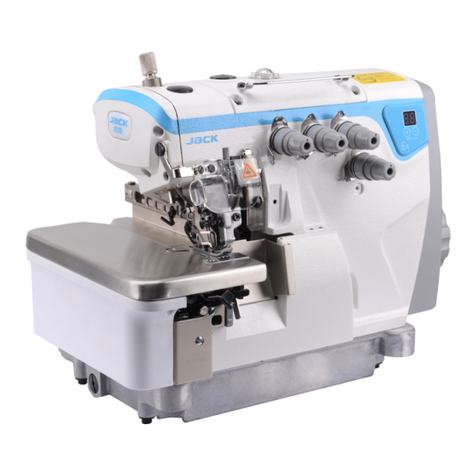
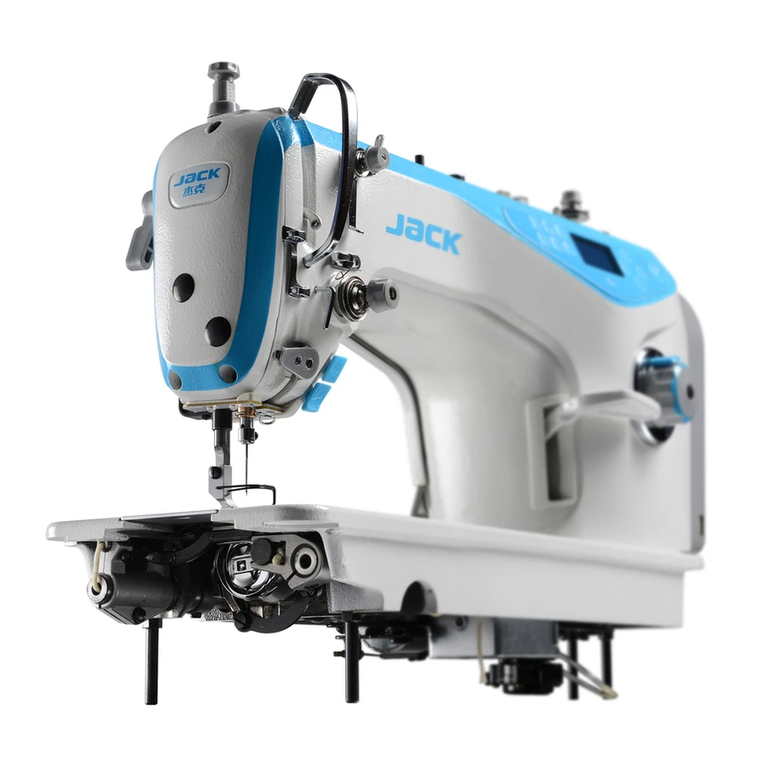
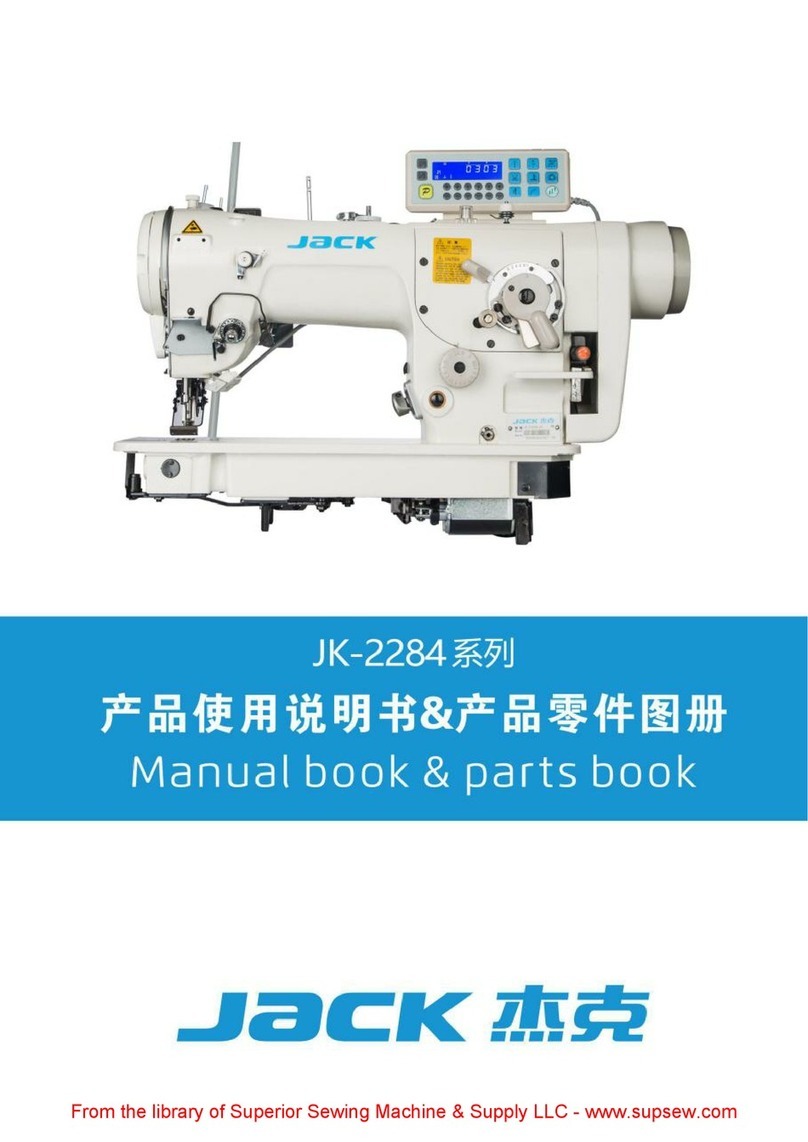
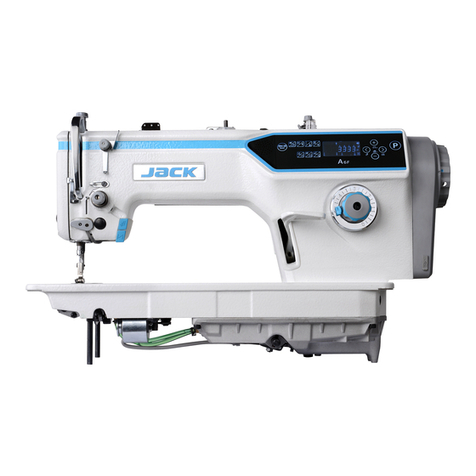
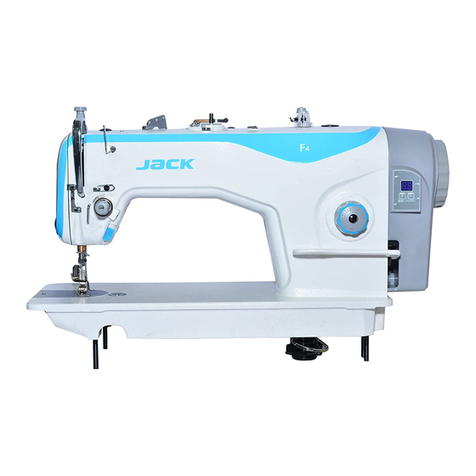
Jack JK-T5878-58G User manual

1
目 录
CONTENT
I.运转前的注意事项......................................................................................................1
CAUTIONS BEFORE OPERATION ............................................................................1
II.各部件的名称..............................................................................................................2
CONFIGURATION OF THE MACHINE......................................................................2
III.机器规格......................................................................................................................3
MECHANICAL SPECIFICATIONS..............................................................................3
IV.安装..............................................................................................................................4
INSTALLATION ..............................................................................................................4
1.包装材料的拆卸...........................................................................................................................4
REMOVING PACKING MATERIALS ..........................................................................................4
2.固定主机.......................................................................................................................................4
SECURING THE MACHINE..........................................................................................................4
3.线架的安装...................................................................................................................................5
ASSEMBLING THE THREAD STAND AND ATTACHING IT.................................................5
4.夹杆堆叠器的安装(选购品) ........................................................................................................5
INSTALLING CLAMP BAR STACKER (OPTIONAL)..............................................................5
5.操作面板的安装...........................................................................................................................6
INSTALLING OPERATION PANEL.............................................................................................6
6.往油槽加油...................................................................................................................................7
LUBRICATING THE OIL TANK.................................................................................................... 7
V. 缝纫机的准备..............................................................................................................8
PREPARATION OF THE SEWING MACHINE .........................................................8
1.缝纫机机头的使用.......................................................................................................................8
HOW TO OPERATE THE SEWING MACHINE HEAD............................................................8
(1)使用机线....................................................................................................................................................8
Thread used.......................................................................................................................................................8
(2)上线的穿线方法........................................................................................................................................8
How to pass the needle thread.........................................................................................................................8
2.底线的卷绕方法...........................................................................................................................9
HOW TO WIND THE BOBBINS................................................................................................... 9
(1)放置梭芯....................................................................................................................................................9
Place bobbin......................................................................................................................................................9
(2)开始绕底线方法......................................................................................................................................10
Winding the lower thread..............................................................................................................................10
3.梭壳的穿线方法......................................................................................................................... 11
HOW TO THREAD THE BOBBIN CASE ................................................................................. 11
4.梭壳的安装................................................................................................................................. 11
HOW TO INSTALL THE BOBBIN CASE ................................................................................. 11
5.线张力器的取下方法................................................................................................................. 11
HOW TO ADJUST THE THREAD TENSION .......................................................................... 11
VI.操作盘的使用方法....................................................................................................12
HOW TOUSE THE OPERATION PANEL ........................................................................12
1.操作面板的基本操作.................................................................................................................12
BASIC OPERATION OF THE OPERATION PANEL ...............................................................12
(1)操作面板各部件的名称..........................................................................................................................12
Configuration of the operation panel ...........................................................................................................12
(2)通用的按钮..............................................................................................................................................13
Buttons used in common................................................................................................................................13

2
(3)基本操作..................................................................................................................................................14
Basic operation.................................................................................................................................................14
2.基本画面的说明.........................................................................................................................16
EXPLANATION OF THE BASIC SCREEN..............................................................................16
3.计数器的使用.............................................................................................................................18
USING THE COUNTER...............................................................................................................18
(1)计数器的设定方法..................................................................................................................................18
Setting procedure of the counter.......................................................................................................................18
(2)计数的解除方法......................................................................................................................................20
Releasing procedure of count-up .....................................................................................................................20
4.底线余量计数器.........................................................................................................................21
USING THE BOBBIN THREAD AMOUNT ADJUSTMENT COUNTER ............................. 21
(1)底线余量计数器的设定方法 ..................................................................................................................21
Setting procedure of the bobbin thread remaining amount adjustment counter.............................................21
(2)解除底线余量调整计数器的计数的方法 ..............................................................................................22
Releasing procedure of the bobbin thread remaining amount detection count-up ...........................................22
5.缝制图案的使用.........................................................................................................................23
USING THE SEWING PATTERN................................................................................................23
(1)选择图案..................................................................................................................................................23
Performing the selection of pattern...................................................................................................................23
(2)编制新图案..............................................................................................................................................24
Performing the new creation of pattern ............................................................................................................24
(3)复制图案..................................................................................................................................................25
Copying the pattern ..........................................................................................................................................25
(4)删除图案..................................................................................................................................................27
Erasing the pattern............................................................................................................................................27
6.变更缝制数据.............................................................................................................................28
CHANGING THE SEWING DATA...............................................................................................28
(1)缝制数据的变更方法..............................................................................................................................28
Changing procedure of the sewing data .........................................................................................................28
(2)缝制数据一览..........................................................................................................................................29
Sewing data list ................................................................................................................................................30
7.变更存储器开关数据.................................................................................................................35
CHANGING THE MEMORY SWITCH DATA ............................................................................35
(1)存储器开关数据的变更方法 ..................................................................................................................35
Changing procedure of the memory switch data............................................................................................35
(2)存储器开关数据一览..............................................................................................................................36
Memory switch data list ...................................................................................................................................37
(3)断线报警..................................................................................................................................................38
Thread breakage alarm .....................................................................................................................................38
8.设定选购项.................................................................................................................................39
PERFORMING OPTIONALSETTING.......................................................................................39
(1)选购项设定的变更方法..........................................................................................................................39
Changing procedure of the optional setting....................................................................................................39
(2)设定选购品一览......................................................................................................................................40
Optional setting list...........................................................................................................................................40
9.管理数据输入画面.....................................................................................................................41
CUSTOMIZING THE DATA INPUT SCREEN..........................................................................41
10.设定缝制画面的管理 ..............................................................................................................42
PERFORMING THE CUSTOMIZING SETTING OF THE SEWING SCREEN................... 42
11.测试 ..........................................................................................................................................43
TEST ...............................................................................................................................................43
(1)测试方法..................................................................................................................................................43
Test method ......................................................................................................................................................43
(2)显示输入/输出端口一览表.....................................................................................................................47
Display the input/output port list......................................................................................................................47
12.使用信息方法 ..........................................................................................................................50


3
USING THE INFORMATION.......................................................................................................50
(1)查看维修检查信息..................................................................................................................................51
Observing the maintenance inspection information .......................................................................................51
(2)时钟显示信息..........................................................................................................................................52
Clock display information................................................................................................................................52
(3)机器运转信息..........................................................................................................................................52
Operation information of the machine .............................................................................................................52
(4)控制结构图..............................................................................................................................................53
Control structure diagram.................................................................................................................................53
13.使用通讯功能 ..........................................................................................................................54
(1)关于可以使用的数据..............................................................................................................................54
Handing possible data ......................................................................................................................................54
(2)媒体文件夹的构成..................................................................................................................................54
The structure of the media folder .....................................................................................................................54
(3)使用媒体进行通信时..............................................................................................................................54
Performing communication by using the media .............................................................................................54
(4)装入数据时..............................................................................................................................................55
Take-in of the data............................................................................................................................................55
14.更新操作面板程序 ..................................................................................................................56
UPDATING PROGRAM OF OPERATION PANEL................................................................56
15.系统设置 ..................................................................................................................................56
SYSTEM SETUP...........................................................................................................................56
16.锁定复制和新建功能 ..............................................................................................................57
LOCK COPY AND NEW FUCTION...........................................................................................57
17.参数初始化 ..............................................................................................................................57
PARAMETER INITIALIZATION..................................................................................................57
VII.维修..........................................................................................................................58
MAINTENANCE............................................................................................................58
1.检查.............................................................................................................................................58
INSPECTION.................................................................................................................................58
(1)压缩空气装置的维修检查......................................................................................................................58
Maintenance and inspection of the pneumatic device....................................................................................58
(2)有关缝纫机的维修检查..........................................................................................................................58
Maintenance and inspection related to the sewing machine .............................................................................58
2.激光灯.........................................................................................................................................59
MARKING LIGHT.........................................................................................................................59
3.维修视频.....................................................................................................................................60
MAINTENANCE VIDEO ..............................................................................................................60
4.错误代码一览.............................................................................................................................62
ERROR CODE LIST.....................................................................................................................65

1
I. 运转前的注意事项
CAUTIONS BEFORE OPERATION
运转前和每日开始工作前,请一定确认以下项目。
1.请确认是否向缝纫机加入了规定量的缝纫机油。
2.在没有向旋梭加油部加入机油的状态,请绝对不要运转缝纫机。
3.请确认空气压力表的读数是否为
0.6MPa
。
※
(
特别是中午午休等情况停止空气压缩机后,请一定进行确认。
)
空气压力在规定值以下时,有发生零件碰撞等危险,请加以注意。
4.请确认缝纫机的上线、底线是否需要补充。
5.打开电源开关开始缝制时,请一定进行试缝之后再正式缝制产品。
Following items have to be checked every working day before the operation of the machine and
before the start of work hours.
1.Ascertain that the sewing machine is filled with the predetermined amount of oil.
2.Never operate the machine unless the lubricating part in the hook has been filled up with oil.
3.Ascertain that the pressure gauge indicates the designated air pressure of 0.6 MPa.
※(This is necessary particularly when the compressor is stopped for a lunch break or the like.)
If the compressed air pressure is equal to or less than the designated value, troubles such as interference
between the parts can occur. It is therefore necessary to carefully check the compressed air pressure.
4.Check whether the needle thread/bobbin thread need to be replenished.
5.To perform sewing immediately after turning ON the power switch, perform trial stitching first, then
proceed with sewing of actual products after the test sewing.

2
II. 各部件的名称
CONFIGURATION OF THE MACHINE
本缝纫机由以下10个部分构成:
○
1急停开关
○
2中刀机构
○
3操作面板
○
4单针直驱缝纫机头
○
5激光定位灯
○
6布料盒
○
7主电源开关
○
8脚踏板
○
9堆叠器
○
10 大压脚
只要把布料放到规定位置,踩脚踏板就
可以缝制。另外,机器动作中,按了中
途停止开关○
1之后,机器就停止。
The T5878-58G consists mainly of the following units.
○
1 Emergency stop switch
○
2 Center knife unit
○
3 Operation panel
○
4 Sewing machine head
○
5 Marking light
○
6 Pcs box
○
7 Main power switch
○
8 Foot pedal
○
9 Stackerunit
○
10 Clamp foot
With this machine consisting of the aforementioned 10
units, you can do desired work simply by push on the
foot pedals. In addition, when temporary stop switch
○
1is pressed during operation of the device, the
device stops.

3
III. 机器规格
1 机器型号 T5878-58G
2 转速 500~4000rpm
3 缝迹针距 平缝:2.0 〜3.4mm( 标准 2.5mm)
缩缝:1.0 〜1.5mm( 标准 1.0mm)
倒缝:1.0 〜3.0mm( 标准 2.5mm)
可以变换缩缝、倒缝。
4 加固缝针数 1~30 针( 标准 3 针)
5 使用机针 DB*1 11#
6 缝纫宽度 1~50mm
7 缝纫长度 15~260mm
8 使用机线 缝纫机线 # 60( 推荐 )
9 送布机构 伺服马达驱动
10 控制 微电脑控制
11 安全功能 检测送布机构异常、断线检测等时自动停机
12 润滑油 缝纫机油
13 使用空气压力 0.6MPa
14 空气消费量 约40dm3/min
15 机器尺寸 宽: 1,500mm
长: 1,800mm
高: 1,500mm
16 机器重量 200kg
17 输入电源 单相 220V 50/60Hz
电源电压变动 额定±5% 以内
18 消费电力 600W
MECHANICAL SPECIFICATIONS
1 Machine type T5878-58G
2 Sewing speed 500~4000rpm
3 Stitch length Lockstitch:2.0 〜3.4mm(standard 2.5mm)
Condensation stitch:1 〜1.5mm(standard 1.0mm)
backstitch:1 〜3.0mm(standard 2.5mm)
Condensation/Back stitch selectable
4 Spliced stitches 1~30 stitch ( standard 3 stitches )
5 Needles DB*1 11#
6 Sewing width 1~50mm
7 Sewing length 15~300mm
8 Thread Spun thread #60 (Recommended)
9 Cloth feed mechanism Driven by servo motor
10 Control By a micro-computer
11 Safety mechanism Machine operation is automatically stopped if the cloth feed mechanism error detector, the needle
thread breakage detector or any of the various safety devices is actuated.
12 Lubricating oil sewing-machine oil
13 Operating air pressure 0.6MPa
14 Air consumption Approx 40dm3/min
15 Dimensions of machine Width : 1,500 mm
Length :1,800 mm
Height : 1,500 mm
16 Weight 200kg
17 Input power Single phase 220V 50/60Hz
Supply voltage variation less than rated ±5%
18 Power consumption 600W

4
IV. 安装
INSTALLATION
1. 包装材料的拆卸
REMOVING PACKING MATERIALS
2. 固定主机
SECURING THE MACHINE
为了防止发生人身事故,将本机水平地移动到稳定的地点后,请放下脚垫①,升起
脚轮②(4 处)进行固定。
To prevent a fatal accident, lower and fix foot pads ○
1(4 places) and raise casters ○
1after
movin
g
the machine to the level and stabilized
p
lace.
注意
CAUTION
从附件箱中取出脚踏板,将
脚踏板线连接上.
Take out operational panel
from accessory case and then
connect the line
请取下固定大压脚的扎线带.
Remove the string that has
fixed the clamp.
请取下固定堆叠器的绳子和包装
材料,还原堆叠器位置.
Remove the string and packing
materials that have fixed the stacker.

5
3. 线架的安装
ASSEMBLING THE THREAD STAND AND ATTACHING IT
请按照左图所示那样,将线架插到主机机架上的圆孔中,调整
好位置以后,用两个内六角紧定螺钉固定。
Putting the thread stand in one of the two holes on main unit frame
and fix the thread stand with two hexagon without a head set screws as
illustrated in the left-hand figure.
4. 夹杆堆叠器的安装(选购品)
INSTALLING CLAMP BAR STACKER (OPTIONAL)
1) 拆开包裹堆叠器的塑料,剪断扎带,然后松开
固定堆叠器的螺钉。
2) 调整堆叠器位置。
3) 按照如图○
1、○
2所示,固定好堆叠器。
1) Remove the string and packing materials that have
fixed the stacker,and then remove the screw.
2) Adjust the stack position.
3) As shown in the fig ○
1、○
2 ,lock the whole
stacker with.screw and plate.
Clamp bar stacker is delivered in the state
that it is fixed in the frame at the time of
delivery with the clamp bar stacker
mounted.It is necessary to change the
installing position to the normal using
position
此时,请确认空气是否进入到里面。
此时,请注意不要夹到堆叠器电线和空气配
管等
。
安装了夹杆堆叠器出货时,是固定到机架内
的状态出货的,因此必须变更安装到通常的
使
用位
置。
At this time, take care to prevent the
stacker cord, the air piping, etc. from being
caught.
At this time,confirm that air is being supplied.

6
5. 操作面板的安装
INSTALLING OPERATION PANEL
如图所示,切断固定操作面板○
A的扎线带,然后除掉扎线带和包装材料。将操作面板按照如图所示固定到
正确位置。
As shown in the figure above,cut and remove the packing material that has fixed the installing operation panel
on frame.
为了防止操作面板因静电而发生误动作,安装到操作盘座进行使用时,请不要变更操作盘座的位置。
To prevent malfunction due to static electricity, install operation panel on the panel base to use and do not
change the position of the panel base.

7
6. 往油槽加油
LUBRICATING THE OIL TANK
运转缝纫机之前,请向油槽○
1里加入旋梭加油用的
油。
1) 卸下加油口盖○
2,使用附件里的油壶,加入缝
纫机白油。
2) 在机器上电绿色画面下加油,请根据显示屏提
示进行加油,油量不易过多及过少,请注意。
Fill the oil tank
○
1 with the oil for hook lubrication
before operating the sewing machine.
1) Remove oil cap ○
2and fill the oil tank with the
oil for hook lubrication by using the oiler
supplied with the machine as accessories.
2) Fill the oil tank at the green screen . please
according to the screen display, Oil should not be
,
too much or too little be careful.
为了防止灰尘侵入,请一定安装上盖子
之后再使用。
1. To prevent accidents caused by abrupt start of the sewing machine, do not connect the power
plug until lubrication has been completed.
2. To prevent inflammation or rash, immediately wash the part when oil has stuck to your eyes or
body.
3. If oil has been swallowed, diarrhea or vomiting may occur. Put oil to the place where children.
cannot reach.
CAUTION
To prevent entering of dust, be sure to
attach the cap for use.
1.为了防止缝纫机的突然起动造成事故,加完油之前,请不要连接电源插头。
2.为了防止炎症、斑疹,油粘附到眼睛、身体上,加完油之后,请立即进行清洗。
3.误饮油之后,有可能发生泻肚、呕吐。请将油放到小孩拿不到的地方。
注
意

8
V. 缝纫机的准备
PREPARATION OF THE SEWING MACHINE
1. 缝纫机机头的使用
HOW TO OPERATE THE SEWING MACHINE HEAD
(1) 使用机线
Thread used
* 上线请使用左捻线。
* 底线左捻线和右捻线均可以使用。
* Use the left hand twist thread for the needle thread
* Either twist thread will do for the bobbin thread.
(2) 上线的穿线方法
How to pass the needle thread
1) 在输入画面,按下穿线按钮 ○
A后,显示穿线画面(画
面A)。
2) 然后,请按图上所示的顺序穿上线。穿好上线以后,按下按
钮,机头和小压脚归位。
When threading button
○
Cis pressed in the input
screen ,threading screen (screen A) displayed.
Then pass needle thread in the order as shown in the figure
below.After that ,press the button and the nose and the small
press foot will be homing
为了防止突然的起动造成事故,请关掉电源之后再进行操作。
Turn OFF the power before starting the work so as to prevents accidents caused by abrupt start
of the sewing machine.
注
意
CAUTION
After press the threading button,the nose will
move to the right,and at the same time , the
small press foot will depress. so ,pay attention!!.
使用的机线,请使用拧得整齐的新线。
Use a new thread which is uniformly twisted.
按下穿线按钮后,机头会向右移动,同时,
小压脚会压下,注意安全。
Ri
g
ht hand twist threa
d
Left hand twist threa
d

9
2. 底线的卷绕方法
HOW TO WIND THE BOBBINS
(1) 放置梭芯
Place bobbin
1) 将梭芯○
1置于梭芯卷线轴○
2上。
2) 按箭头所示的方向将线在梭芯○
1上
卷绕几次。
* 请确认各部分的机线没有松弛。
3) 将梭芯压臂柄○
3推向梭芯○
1。
Place the bobbin
○
1onto the bobbin
winder shaft ○
2.
Wind the thread several times around the
bobbin ○
1in the direction indicated by
the arrow.
* Check that the thread is not loose
anywhere along the thread path .
Push the bobbin presser arm
○
3 toward
the bobbin ○
1.
为了防止受伤,运转中请不要触摸。
To prevent damage, avoid contact with bobbins while the machine is in operation.
注
意
CAUTION

10
(2) 开始绕底线方法
Winding the lower thread
1) 将梭芯放置完成后,按下缝制画面中的按钮 ○
A,显示绕
底线画面(画面 A)。
After complete the first step ,Press the button ○
Ain the
sewing screen,Then the lower thread winding screen (screenA) is
displayed.
绕底线画面(画面 A)
Lower thread winding screen (screenA)
2) 确认线已经从针里面取出后,按下中间的按钮 开始绕底
线。
3) 底线卷绕一旦完成,梭芯压臂柄○
3将自动返回。
4) 此时,按下按钮停止绕底线。然后将梭芯拆下,用切刀○
4将线
剪断。
Make sure the thread is out of the needle ,and then press the button
,lower thread winding will start.
Once winding of the lower thread is completed,the bibbin presser
arm ○
3will return automatically.
Then ,press the botton
○
Bto stop and remove the bobbin,cut the
thread with the knife ○
4.
1. 为了稳定地确保底线的残量,旋梭上的线必须均匀地卷绕。特别是要注意开始卷绕的部分。
2. 底线最适合的卷绕量是卷绕旋梭外径的80%左右。
* 调节卷绕量方法:松开螺钉○
5,移动梭芯压杆○
6即可调节卷绕在梭芯上的底线量。
3. 不卷绕机线时请不要拨压杆○
6。
1. To ensure the appropriate remaining amount of bobbin thread, it is important to wind the bobbin uniformly.
Be sure to check that the bobbin is uniformly wound particularly at the start of bobbin winding.
2. It is most suitable to wind the bobbin with thread to approximately 80% of the outer diameter of the bobbin.
* Loosen the screw ○5and move the bobbin presser ○6to adjust the amount of thread wound onto the
bobbin .
3. Do not press lever ○1except when winding bobbin thread○6.

11
3. 梭壳的穿线方法
HOW TO THREAD THE BOBBIN CASE
1) 手拿旋梭,在线右卷的状态下放入梭壳里。
2) 把线放入梭壳穿线槽①。
3) 然后把线从线张力弹簧下面穿过。
Hold in hand a bobbin in the way that it spins
clockwise and put it into the bobbin case.
Pass the thread through slot ○
1in the bobbin
case.
Pull the thread to pass it under the tension spring.
4. 梭壳的安装
HOW TO INSTALL THE BOBBIN CASE
1) 请拔起旋梭拨杆①,把梭壳和旋梭一起取出来。
2) 放入时,请正确地插入旋梭轴,然后放倒拨杆①。
Raise hook levers ○
1and take out the bobbin cases together with
the bobbins.
When
f
i
tt
i
ng,
fit
the
bobb
i
n
cases
i
n
t
o
t
h
e
hook driving
shaft and tilt levers
○
1.
5. 线张力器的取下方法
HOW TO ADJUST THE THREAD TENSION
底线张力的调整
向右转动底线张力器螺丝张力变强,向左转动则张
力变弱。
Adjusting bobbin thread tension
Turn bobbin thread tension adjustment screw clockwise
to increase the bobbin thread tension or turn the screw
counterclockwise to decrease it.
为了防止突然的起动造成事故,请关掉电源之后再进行操作。
Turn OFF the power before starting the work so as to prevents accidents caused by abrupt start
of the sewing machine.
注
意
CAUTION
Bobbin thread tension
ad
j
ustment screw
Bobbin
Bobbin case
Bobbin
Bobbin case

12
VI. 操作盘的使用方法
HOW TO USE THE OPERATION PANEL
1. 操作面板的基本操作
BASIC OPERATION OF THE OPERATION PANEL
(1) 操作面板各部件的名称
Configuration of the operation panel
符号
Symbol
名称
Name
说明
Description
1触摸操作盘液晶显示部
TOUCH PANEL, LCD display section
2准备完了键 READY key
进行数据输入画面和缝制画面的变换。
Change-over of the data input screen and the sewing screen is
performed.
3信息键 INFORMATION key
进行数据输入画面和信息画面的变换。
Change-over of the data input screen and the information screen is
performed.
4通讯键 COMMUNICATION key
进行数据输入画面和通讯画面的变换。
Change-over of the data input screen and the communication
screen is performed.
5模式变换健 MODE CHANGEOVER key
进行数据输入画面和进行各种详细设定画面的模式变换画面
的变换。
Change-over of the data input screen and the mode change-over
screen which performs various details setting
6
USB接口 USB PORT 请打开盖子后再使用。
Open the lid before use.
打开电源后,第一次按下准备完了键时,进行大压脚马达的原点检索。
此时,大压脚可以移动,请注意。
When READY key is pressed first after turning ON the power, origin retrieval of the clamp foot is performed.
At this time, the clamp foot moves. So, be careful.

13
(2) 通用的按钮
Buttons used in common
在操作面板的各画面上通用操作的按钮如下所示。
Buttons that perform common operation in the respective screens of the operation panel are as described below.
图标
Pictograph
名称
Name
说明
Description
取消按钮
CANCEL botton
关闭凸起画面。
变更数据画面时,取消变更中的数据。
Pop-up screen is closed. In case of the data change screen, the data during changing
can be cancelled.
确定按钮
ENTER botton
确定变更的数据。
Data changed are determined.
上滚动按钮
UP SCROLL botton
向上方滚动按钮或显示。
This button scrolls button or display upward.
下滚动按钮
DOWN SCROLL botton
向下方滚动按钮或显示。
This button scrolls button or display downward.
复位按钮
RESETbotton
解除异常错误等。
This button releases error and the like.
数字输入按钮
NUMBER INPUT botton
显示十数字键,可以进行数字的输入。
Ten keys are displayed and input of number can be performed.

14
(3) 基本操作
Basic operation
1) 打开电源开关
请首先打开电源开关。
欢迎画面显示后,复位凸起画面显示出来。请按复位按钮
○
A。
Turn ON the power
switch.
First, turn ON the power switch.
Reset pop-up screen is displayed after displaying WELCOME screen.
Press RESET button ○
A.
单独缝制输入画面(画面A)
The independent sewinginput screen
(screenA)
2) 选择想缝制的图案No.
按了图案No.按钮 ○
B之后,可以选择图案No.。
有关图案No.的选择方法,请参阅"VI-5-(1).选择图案"。
购买时,图案 No.1 ~11 被登记着,因此请根据缝制规格的情况变
更缝制数据之后使用。( 没有登记的图案号码不显示。)
Select pattern No. you desire to sew.
When PATTERN NO. button ○
Bis pressed, the pattern No. can
be selected. For the selecting procedure of pattern No., see "VI-5-(1)
Performing the selection of pattern ".
At the time of your purchase, pattern Nos. 1 to 11 have been registered.
Change the sewing data in accordance with the sewing types for use. (The
number to which the pattern has not been registered is not displayed.)
缝制画面(画面B)
Sewing screen (screen B)
3) 开始缝制
在单独缝制输入画面(画面A)按了准备完了键○
C之后,绿色的
缝制画面(画面B)被显示出来,一踩踏板就可以开始缝制。
Start sewing
When READY key ○
Cis pressed in the independent sewing input
screen (screen A), the green sewing screen (screen B) is displayed and the
sewing operation is started by the pedal operation.
有关缝制画面的详细说明,请参阅"Ⅵ-2.基本画面的说明"。
For the detailed explanation of input screen,see"VI-2.
EXPLANATION OF THE BASIC SCREEN”.
按了复位按钮之后,机头会移动,因此请注意安全。
When RESET button is pressed, the binder goes
up. So, be
careful.
有关缝制画面的详细说明,请参阅"Ⅵ-2.基本画面的说明"。
For the detailed explanation of input screen,see"VI-2.
EXPLANATION OF THE BASIC SCREEN”.

15
4) 操作中途停止装置时
缝制中按了中途停止开关○
D之后,可以让装置停止。
此时,错误画面被显示出来,通知停止开关被按。按了复位按
钮○
E之后,错误被解除,然后返回到输入画面。
To stop the device during operation
When temporary stop switch ○
Dis pressed during sewing, the device can
be stopped.
At this time, the error screenis displayed to inform that stop switch is
pressed. When RESET button ○
Eis pressed, the error is released
and the screen returns to the input screen.

16
2. 基本画面的说明
EXPLANATION OF THE BASIC SCREEN
符号 按钮名称 内容
A 新编制按钮 显示单独缝制图案新编制画面,可以新登记图案数据。
B 复制按钮 显示单独缝制复制原图案一览画面,可以复制图案数据。
C 绕梭芯按钮 按下按钮开始自动绕梭芯
D 激光灯设定按钮 显示出标记灯设定画面,进行标记灯照射位置的变换和标记灯设定
值的变更的设定。
E 穿线保护 按了按钮之后,机器调整到穿线状态。
F 穿线灯按钮 按一下穿线灯亮,再按一下穿线灯灭。
G 图案 No. 一览按钮 显示图案 No. 一览画面,可以选择图案数据。
H 缝纫尺寸设定按钮 设定缝制的长度。
I 显示缝制数据按钮 显示缝制图案编辑画面。选择在输入画面上没有显示的详细缝制数据,可
以进行编辑。
J 常用缝纫功能按钮 显示常用缝纫功能的按钮
K 缝制模式设定按键 选择缝制模式。
L 功能设定 开启/禁止某项功能
M 底线余量 显示剩余底线长度
N 缝纫件数计数器 显示缝纫件数
* 可以随机设定各按钮的显示/不显示。
详细内容请参照 "Ⅵ-9. 管理数据输入画面"。

17
Symbol Name of button Description
A NEW CREATION button Independent sewing pattern new creation screen is displayed and new
register of the pattern data can be performed.
B COPY button Independent sewing copy source pattern list screen is displayed and the
pattern can be copied.
C WIND BOBBIN button lower thread winding will start automatically while this button is pressed.
D MARKING LIGHT SETTING button When this button is pressed, Marking light setting screen is displayed, and
setting of marking light.
E THREADING PROTECTION button When this button is pressed, The machine adjust to the threading state .
F PATTERN NO. LIST button Pattern No. list screen is displayed and the pattern data can be selected.
G PATTERN NO. LIST button Pattern No. list screen is displayed and the pattern data can be selected.
H THREADING LIGHT button Click the button ,the threading light turn on;Click it again,the threading light
turn off
I DISPLAY SEWING DATA button Display sewing design edit screen. Select the detailed sewing data that not
shown in the input screen, can edit it.
J COMMONLY USED SEWING
FUNCTION
b
utton Display the function of the commonly used
K SEWING MODE SETTING button Sewing mode is selected.
L FUCTION SETTING button Enable/disable a fuction
M BOBBIN THREAD REMAINING
AMOUNT COUNTER Display remaining amount of bobbin thread
N SEWING NUMBER COUNTER Display the number of sewing pieces
* It is possible to customize display/non-display of the respective buttons.
For the details, refer to "VI-9. CUSTOMIZING THE DATA INPUT SCREEN "。
Table of contents
Other Jack Sewing Machine manuals
Popular Sewing Machine manuals by other brands

Pfaff
Pfaff 3511-3/01 instruction manual

Reliable
Reliable MSK-8600B instruction manual

Husqvarna Viking
Husqvarna Viking Eden Rose 250C user guide

Brother
Brother Exedra DB2-B737 instruction manual

Happy Industrial Corporation
Happy Industrial Corporation HCS Instruction book

Brother
Brother 884-T20 Operation manual