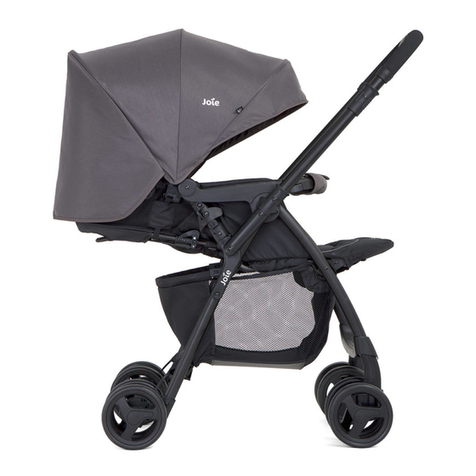
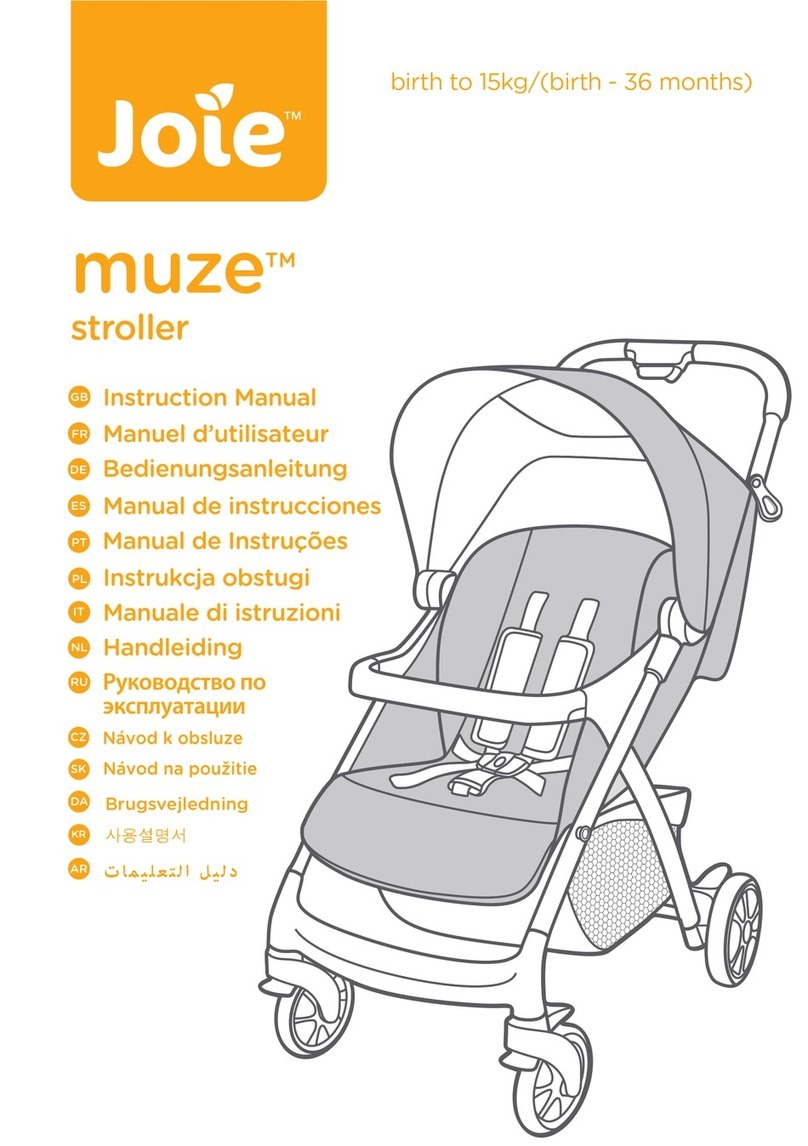
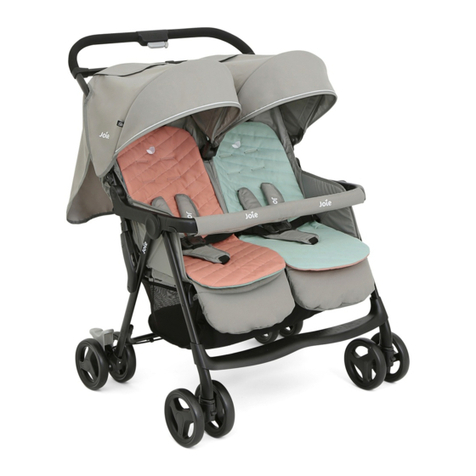
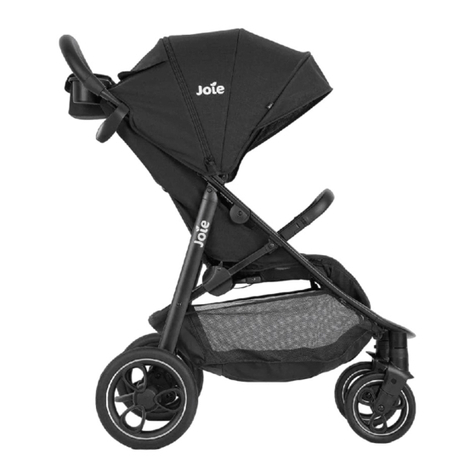
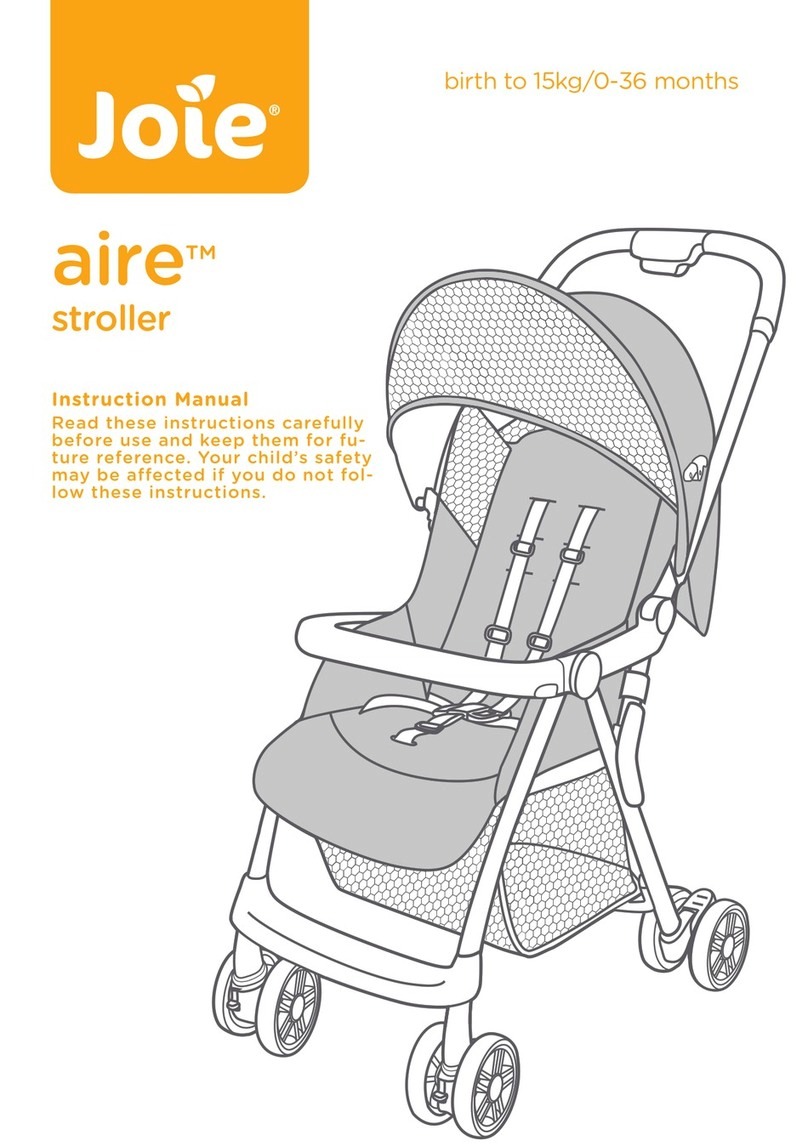
Joie mirus User manual

mirus™
birth to 15kg/0-36 months
使用說明書
組裝及使用本產品前 請先閱讀說明書全文
輕便雙向推車

2
謝謝您使用本產品
你剛買了一台高品質和符合台灣安全標準CNS 12940-2013
和歐洲安全標準EN 1888-2012的多功能手推車。這台車適用於
重量15公斤(0-36個月)以下的寶寶。
請仔細研讀並依照本說明書的指示操作,如此才能保障並提供
您的寶寶一個安全又舒適的行車旅程。
本說明書中採用的插圖是為了說明產品的操作方法和產品
結構,當插圖與實物存在差異時,請以實物為準。
功能介紹
打開、收合單手操作
背靠可四段角度調節
座椅可坐、可躺
扶手可旋轉
小腿靠可調
置物籃超大
織帶超柔軟
車手換向
前輪定向
四輪避震
座布透氣
全罩式遮陽篷
五點式安全扣
! 請保存好說明書,以便日後正確使用本產品。
目錄
參照圖示 1-6
中文
警告7
緊急情況處理 9
產品資訊 9
產品組件及各部位名稱 10
保養常識 10
產品組裝 11
打開手推車 11
安裝置物籃 11
安裝前輪 11
安裝後輪 11
產品操作 12
收合手推車 12
調整背靠角度 12
使用扶手 12
使用安全扣 13
使用肩帶和腰帶 13
調節小腿靠支撐板 14
使用遮陽篷 14
轉換車手方向 14
前輪定向 15
使用剎車踏板 15
使用配件 15
English 18-29

12
1
12
34
2
1
3
4
5
6
7
9
10
11
12
13
14
15
8
16
17
2
FIGURE 1 - 2
FIGURE 3 - 8
1
2
4
6
8
NOISE
3
5
7

34
FIGURE 9 - 14
FIGURE 15 - 19
1
2
10
10
9
11 12
16
15
17
3
1
A
2
B
14
13 19
1
2
18

56
FIGURE 20 - 25
FIGURE 26 - 29
22
20
21
1
2
21
23
26
25
24
6
27
28
29
2
1

78
! 請勿放置任何物品在車手、背靠後面或車台側面,以免影響
手推車的穩定性。
!寶寶乘坐於手推車內時,不可將整個手推車往上提。
!請勿將寶寶放到置物籃內。
!請不要讓寶寶攀爬手推車,以免翻覆。
!為避免手指夾傷問題,收合及展開手推車時,請務必小心。
!寶寶接近手推車前,請確認手推車已完全打開或收合。
!使用前請確定各部件安裝牢固以確保安全。
!保持寶寶遠離遮陽篷及雨篷以免造成窒息。
!停泊此手推車時務必確實使用所有之剎車裝置。
!當發現手推車損壞時,應立即停止使用。
! 本產品不適用於跑步和滑冰,只適合以步行速度使用。
!使用本產品前,請取掉PE袋和包裝材料並銷毀,並放到嬰兒和兒童
觸 摸 不 到 的 地 方。
! 供新生兒使用時,應使用最斜躺位置。
! 請勿允許您的寶寶將本產品當玩具玩耍。
! 當放入和抱出寶寶時,應鎖定剎車裝置。
警告
!本產品須由成人進行組裝。
!本手推車適合體重15公斤以下的寶寶使用,不符合使用條件的寶寶
會 對 手 推 車 造 成 損 壞。
!寶寶乘坐時應使用腰部及胯部的安全帶,並同時使用肩帶。
!請勿擺放超過4.5公斤的物件於置物籃內,以免導致手推車不穩定而
產 生 危 險。
!不得將寶寶單獨留置於手推車上無人看護。
!不得同時乘坐二位以上寶寶或附載其它的物品、附件於手推車上。
!超載或不正確的折疊及使用非經核准的零附件都可能造成手推車
損 壞、故 障 或 不 安 全,請 務 必 閱 讀 說 明 書。
!使用前請仔細閱讀本說明書並請妥善保存供以後參照。如果不按照本
說明書可能會影響乘坐寶寶的安全。
!寶寶乘坐時,安全帶或束縛系統必須正確的扣合及使用。
!當調整手推車上之任何可活動配件時,必須確定寶寶與手推車保持安
全 距 離。
!使用時請扣好安全帶,以免寶寶滑入腿部開口外而造成窒息。
! 禁止在樓梯上使 用 手 推 車。
!使用時請遠離火源、高溫、水池或電源之附近範圍。
!不可讓寶寶站立或倒坐於手推車上。
!不可將手推車放置於馬路、坡道或危險場所。
!使用前,請確保所有鎖定裝置都已處於鎖定狀態。
!請勿將任何繩索或索帶類物件懸掛於寶寶頸部附近,或扣在產品
及玩具上,以免導致意外窒息。

910
緊急情況處理
遇緊急事故時,需將安全帶剪斷,迅速將乘坐的兒童移離現場。
產品資訊
JOIE CHILDREN'S PRODUCTS (UK) LIMITED
16 Old Bailey, London EC4M 7EG, UK
www.joiebaby.com
產品名稱 Mirus 輕便雙向推車
產品型號 S0942
適用範圍新生兒-15公斤(0-36個 月)的 寶 寶
主要材質塑 膠、合 金、布
淨重7.49 公斤
產品尺寸800mmx470mmx1010mm
製造日期詳見產品上貼紙日期(年/月/日)
專利號碼專利申請中
產地中國
委製商英商巧兒宜實業有限公司台灣分公司
地
址 台北市內湖區瑞光路431號2樓
電
話 02-27973000
進 口商奇哥股份有限公司Chickabiddy Co., Ltd
地 址台北市南京東路四段186號5樓
服務專線0800-001-256 / 02-25781188
統一編號04222671
網 址www.chick.com.tw
使用本產品前請先閱讀說明書全文,如果您對於使用本產品還有
任何疑問,請撥服務專線0800-001-256 / 02-25781188
產品組件
及各部位名稱
圖 1.1 主體 圖 2.8 拉板
圖 1.2 前輪組 圖 2.9 前輪
圖 1.3 後輪組
圖
2.10 後輪
圖 1.4 說明書
圖
2 .11 三/五方向安全扣
圖 2.1 單手按鈕 圖 2.12 換向滑塊
圖 2.2 遮陽篷 圖 2.13 第二道安全鎖
圖 2.3 頭靠 圖 2.14 置物籃
圖
2.4 肩帶護片 圖 2.15 後輪剎車踏板
圖
2.5 扶手
圖
2.16 前輪剎車踏板
圖
2.6 座墊
圖 2.17 車手
圖
2.7 腳踏板
組裝前請確認所有部件已經齊全,如有遺漏,請與進口商聯繫。
本 產 品 無 需 工 具 進 行 組 裝。
保養常識
1.清洗座布時,請以30度以下水溫清洗,請勿漂白。
2.清洗車架︰僅能使用中性清潔劑及溫水洗滌,請勿使用漂白劑。
3.隨時檢查您的手推車,並隨時更換修理鬆弛磨損的零件、脫落的材料或
車縫線。
4.過度曝曬於陽光下,可導致手推車老化或變形。
5.手推車潮濕時,請打開手推車及遮陽篷,待乾燥後再收合起來。
6.如果輪子發出“吱吱”聲,可加油(WD-40,防鏽油或縫紉機油)潤滑。請將
潤滑油點入輪軸及軸孔(圖3)之間,此步驟為重要的保養須知。
7.在海邊使用手推車時,務必於使用過後清除沙粒,以做好完善的清洗。

12
產 品 操 作
11
產 品 組 裝
產品組裝
組裝及使用手推車前,請先閱讀說明書全文,並按照說明書指示進行操作。
打開手推車
推開第二道安全鎖(圖4.1),然後持續按壓單手按鈕(圖4.2),同時將手推車向
後上方向拉起。聽到“咔噠”聲表示車架已打開到位。
!使用手推車前務必確保車架已打開到位。
安裝置物籃
將置物籃兩端插入車架末端的對應開口內(圖5),安裝置物籃。
安裝前輪
將前輪套入前腳,聽到“咔噠”聲表示前輪已安裝到位(圖6)
按進彈簧片即可拔出前輪。
安裝後輪
將後輪組件套入後腳,聽到“咔噠”聲表示後輪已安裝到位(圖7),再用置物籃
末端包住剎車鐵線和後叉管,並扣合鈕扣(圖8)
按進彈簧片即可拔出後輪。
手推車組裝完成後如圖所示(圖9)
產品操作
收合手推車
收合手推車前,請先收合遮陽篷。
推開第二道安全鎖(圖10.1),然後持續按壓單手按鈕(圖10.2),稍微提起車手
並將推車向前壓即可收合,聽到“咔噠”聲表示車架已完全收合(圖11)
!車手在前向時無法收合車台。
調整背靠角度
背靠角度有4段可供調整。
調低背靠角度時,按壓背靠調整拉桿(圖12),同時將背靠向下推(圖13)
調高背靠角度時,將背靠向上推即可。
!確保背靠角度調整到合適角度後,方可使用。
!如寶寶已坐在座椅內,請用另一隻手輕托背靠,以減少震盪。
使用扶手
打開扶手時,按壓扶手按鈕(圖14.1),同時將扶手向上拉起(圖14.2)
鎖上前扶手時,請先將扶手提起,對準末端突起部份,然後插入安裝。
使用小秘訣 打開扶手可令寶寶上下手推車更容易。

13 14
產 品 操 作
產 品 操 作
使用安全扣
鬆開安全扣
按下母扣中央的按鈕,鬆開安全扣(圖15)
扣合安全扣
將腰帶扣依次插入肩帶扣(圖16.1)和母扣內(圖16.2),聽到“咔噠”聲表示
扣合到位(圖16.3)
!為了防止寶寶跌落,寶寶乘坐時必須繫上安全帶。
!請牢牢地繫上安全帶,並注意寶寶與安全帶之間須可以放進一個手掌的
厚度。
!請勿交叉肩帶,以免肩帶對寶寶頸部造成壓迫。
使用肩帶和腰帶
!寶寶坐進手推車後,請確認肩帶穿孔高度和肩帶及腰帶的長度是否合適,
以免寶寶於使用時意外跌出。
圖17.1 肩帶固定栓A
圖17.2 肩帶固定栓B
圖17.3 調整扣
調整肩帶固定栓位置時,將背靠後方的肩帶固定栓放置水平、短邊朝前,
從肩帶孔穿出(圖18.1),再從背靠前方將肩帶固定栓穿過最接近寶寶肩膀的
肩帶孔(圖18.2)
將調整扣上下滑動,可調節肩帶長度(圖19.1);按壓按鈕(圖19.2),同時往外
拉安全扣內側或外側的腰帶,可調節腰帶長度(圖19.3)
使用小秘訣 較大的寶寶使用時,請使用肩帶固定栓A和最上方的肩帶孔;
較小的寶寶使用時,請使用肩帶固定栓B和最下方的肩帶孔。
調節小腿靠支撐板
依不同使用需求,小腿靠共有3個段位可供調節,小腿靠段位如數字1-3所示
(圖20)
段位調高時,將小腿靠支撐板由下往上推即可(圖20)
段位調低時,按壓小腿靠兩側的調整按鈕(圖21.1),同時向下調節小腿靠支撐
板(圖21.2)
使用遮陽篷
打開遮陽篷時,將遮陽篷往前翻,即可打開(圖22)
收攏遮陽篷時,將遮陽篷往後翻,即可收攏。
轉換車手方向
同時拉起左右兩側的換向滑塊不放(圖23.1),再將車手向另一側轉換(圖23.2),
聽到“咔噠”聲表示換向滑塊已重新鎖上。
!轉換車手方向時,請務必確認寶寶手足沒有放在側扶手上,以免夾傷。

16
產 品 操 作
15
產 品 操 作
使用腳套(此為選購產品)
柔軟的腳套能給寶寶提供一個溫暖舒適的睡眠環境。
請依以下步驟安裝腳套︰
1.安裝腳套前,請分別將小腿靠和靠背調至水平狀態和斜躺狀態。
2.將腳套套住小腿靠(圖29.1)
3.將腳套兩側的織帶繞過遮陽篷固定座,並扣合鈕扣(圖29.2)
腳套安裝完成后如圖29所示。
!使用腳套時,務必給寶寶系好安全帶。
前輪定向
鎖定時,向上提起拉板(圖24),即可固定車輪前行方向。
釋鎖時,按下拉板,車輪可自由轉向,改變推行方向更容易。
使用小秘訣 當在碎石路面或不平路面推行時,建議鎖定前車輪,便能更
輕鬆地操控手推車。
使用剎車踏板
因產品型號的不同,並非所有車台均有前輪剎車功能。
準備剎車時,踩下前輪剎車踏板(圖25)或後輪剎車踏板(圖26),即可完成剎車
動作。
釋鎖剎車時,將剎車踏板抬起。
使用小秘訣 手推車停止行進時,請使用剎車踏板。
使用配件
圖 27.1 頭靠圖 27.2肩帶護片圖 27.3胯帶護片
圖 27.4 扶手布套圖 27.5雨篷 圖 27.6腳 套(選 購)
因產品型號的不同 ,並非所有車台均附以上配件。
使用肩帶護片和胯帶護片
肩帶護片或胯帶護片可直接從織帶上取下,反之即可組裝。
使用雨篷
打開頂蓬,再將雨篷套在手推車上,並扣好鈕扣(圖28)
!使用雨篷時,請隨時注意並確認雨篷內有良好的通風。
!不使用雨篷時,請先確認雨篷已清潔並乾燥,再收納。
!請勿收合已罩上雨篷的手推車。
!天氣炎熱時,請勿將幼童放在裝有雨篷的手推車內。

mirus™
birth to 15kg/0-36 monthsbirth to 15kg/0-36 months
stroller
Please read all the instructions
in this manual before installing
and using the product.
Instruction Manual

19 20
Thank you for purchasing
Joie Stroller
This product is a high-quality and multi-function stroller,
approved to Taiwan safety standards CNS 12940-2013 and
European safety standards EN 1888-2012. It is suitable for
a child weighing under 15 kg (0-36 months).
Carefully read this instruction manual and follow the
installing steps because this is the ONLY way to protect your
child from serious injury or death in case of an
accident, and to provide comfort to your child while
using this product.
The figures in this manual are to illustrate the operating methods
and product main features. This model may have differences
between features shown. The figures are just for reference.
Stroller Features
One-Hand Fold
Adjustable Backrest
Fully Reclined Seat
Swivelable Armbar
Adjustable Calf Support
Extra Big Storage Basket
Extra Soft Harnesses
Reversible Handle
Lockable Front Swivel Wheel
Four Wheels with Suspension
Ventilative Seat Pad
Full Coverage Canopy
5-point Safety Buckle
! Keep instruction manual for future reference.
Contents
Reference Figures 1 - 6
English
WARNINGS 21
Emergency23
Product Information 23
Parts List 24
Care and Maintenance 24
Stroller Assembly 25
Open Stroller 25
Assemble Storage Basket 25
Assemble Front Wheels 25
Assemble Rear Wheels 25
Stroller Operation 26
Fold Stroller 26
Adjust Backrest Angle 26
Use Armbar 26
Use Buckle 27
Use Shoulder & Waist Harnesses 27
Adjust Calf Support 28
Use Canopy 28
Switch Handle Direction 28
Use Front Swivel Lock 28
Use Brake 28
Use Accessories 29

21 22
WARNINGS
!Adult assembly required.
!Use of the stroller with a child weighing less than 15 kg. It will cause
damage to the stroller with an unfitted child.
!Always use the crotch combination with the waist belt. It is suggested
that the shoulder harnesses be used as well.
!To prevent a hazardous, unstable condition, do not place more than
4.5 kg in the storage basket.
!Never leave child unattended. Always keep child in view while
in stroller.
!Use the stroller with only one child at a time. Never place purses,
shopping bags, parcels or accessory items on the handle or canopy.
!Overload, fold incorrectly or use it along with component parts from other
manufacturers may cause the stroller to be damaged, broken or unsafe.
Do read the instruction manual carefully.
!Please read all the instructions in this manual before using the product.
Please save instruction manual for future use. Failure to follow these
warnings and instructions may result in serious injury or death.
!Safety belts and restraint system must be used correctly.
!Make sure your child's body is clear from the moving parts when
adjusting the stroller.
!Child may slip into leg openings and be strangled.
!Never use stroller on stairs or escalators.
!Keep away from fire source, high temperature objects, liquids,
and electronics.
!Never allow your child stand on the stroller or sit in the stroller with head
toward front of stroller.
!Never place the stroller on roads, slopes or dangerous area.
!Do make sure all mechanisms are fixed before using the stroller.
!Avoid strangulation, do not place items with a string around your child’s
neck, suspend strings from this product, or attach strings to toys.
!To prevent tipping, do not put anything on the handle, back of the
backrest or side of the stroller.
!Do not lift stroller whilst child is in it.
!Do not use storage basket as a child carrier.
!To prevent tipping, never let child climb the stroller.
!Avoid finger entrapment, use care when folding and unfolding
the stroller.
!Be sure the stroller is fully open or folded before allowing child near
the stroller.
!To ensure your child's safety, please make sure all parts are assembled
and fastened properly before using the stroller.
!Avoid strangulation, do make sure your child is clear from the canopy
and the rain cover.
!Always engage the brakes when parking the stroller.
!Discontinue using your stroller if it is damaged or broken.
!This product is not suitable for running or skating. It is intended to be
used only at walking speed.
!To avoid suffocation, remove plastic bag and packaging materials
before using this product. The plastic bag and packaging materials
should then be destroyed or kept away from babies and children.
!It is recommended the use of the most reclined position for
new born baby.
!Do not let your child play with this product.
!The parking device should be engaged when placing and removing
your child.

23 24
Emergency
In case of emergency or accidents, it is most important to have your child
taken care of with first aids and medical treatment immediately.
Product Information
JOIE CHILDREN'S PRODUCTS (UK) LIMITED
16 Old Bailey, London EC4M 7EG, UK
www.joiebaby.com
Product Mirus Stroller
Model S0942
Suitable for Child weighing under 15kg
(birth - 36 months)
Materials Plastics, metal, fabrics
Net Weight 7.49kg
Product Size 800mmx470mmx1010mm
Date Please see detailed date on label (year / month / day)
Patent No. Patents pending
Made in China
Distributor Chickabiddy Co., Ltd
Address 5th FL, 186, Nanking E. Rd, Sec. 4, Taipei, Taiwan 10595
Tel. 0800-001-256 / 02-25781188
Website www.chick.com.tw
Read all the instructions in this manual before using this product. If you have
any further questions, please call 0800-001-256 / 02-25781188 directly.
Parts List
Make sure all parts are available before assembly. If any part is missing,
please contact local distributor.
No tools are required for assembly.
Care and Maintenance
1. Removable seat pad may be washed in cold water and drip-dried.
No bleach.
2. To clean stroller frame, use only household soap and warm water.
No bleach or detergent.
3. From time to time check your stroller for loose screws, worn parts, torn
material or stitching. Replace or repair the parts as needed.
4. Excessive exposure to sun or heat could cause fading or warping of parts.
5. If stroller becomes wet, open canopy and allow to dry thoroughly
before storing.
6. If wheels squeak, use a light oil (e.g., WD-40, antirust oil, or sewing machine
oil). It is important to get the oil into the axle and wheel assembly. (Fig. 3)
7. When using your stroller at the beach, completely clean your stroller
afterward to remove sand and salt from mechanisms and wheel assemblies.
Fig. 1.1 Stroller
Fig. 1.2 Front Wheels
Fig. 1.3 Rear Wheels
Fig. 1.4 Instruction Manual
Fig. 2.1 One-Hand-Fold Button
Fig. 2.2 Canopy
Fig. 2.3 Headrest
Fig. 2.4 Shoulder Harness Cover
Fig. 2.5 Armbar
Fig. 2.6 Seat Pad
Fig. 2.7 Footrest
Fig. 2.8 Front Swivel Lock
Fig. 2.9 Front Wheel
Fig. 2.10 Rear Wheel
Fig. 2.11 3/5 Point Buckle
Fig. 2.12 Reversible Slider
Fig. 2.13 Secondary Lock
Fig. 2.14 Storage Basket
Fig. 2.15 Rear Brake Lever
Fig. 2.16 Front Brake Lever
Fig. 2.17 Handle

26
STROLLER OPERATION
25
STROLLER ASSEMBLY
Stroller Assembly
Please read all the instructions in this manual before assembling and using
this product.
Open Stroller
Push secondary lock (Fig. 4.1) and squeeze one-hand-fold button. (Fig. 4.2)
Meanwhile, pull the stroller backward to open. Latches should click into
place.
!Check that the stroller is completely open before continuing.
Assemble Storage Basket
Insert storage basket plastic ends into the corresponding openings on the
back of the stroller. (Fig. 5)
Assemble Front Wheels
Assemble front wheels to front legs. Check that wheels are securely attached
by pulling on wheel assemblies. (Fig. 6)
The front wheels can be disassembled by pressing the snap buttons.
Assemble Rear Wheels
Assemble rear wheels to rear legs. Check that wheels are securely attached
by pulling on wheel assemblies. (Fig. 7)
Wrap the storage basket around frame and brake axle, and then snap into
place. (Fig. 8)
The rear wheels can be disassembled by pressing the snap buttons.
The completely assembled stroller is shown as Fig. 9
Stroller Operation
Fold Stroller
Before folding, pull up canopy.
Push secondary lock (Fig. 10.1) and squeeze one-hand-fold button
(Fig. 10.2 ) Push the stroller forward to fold.
A click sound means the stroller is folded completely. (Fig. 11)
!The stroller can not be folded when the handle is on the front.
Adjust Backrest Angle
Recline Backrest
There are 4 angles for the backrest.
To recline the backrest, squeeze the recline handle on the back of the seat,
(Fig. 12), pull down on the backrest. (Fig. 13)
To raise the backrest, push up.
!Make sure the backrest angle is set properly for use.
!Hold the backrest with the other hand if a child is already seated in
the stroller.
Use Armbar
Press armbar release button (Fig. 14.1), and then pull up the armbar (Fig. 14.2)
Align the armbar end with matching component, and then push down to lock.
Tip Armbar can be open for easy seating and unseating of child.

27 28
STROLLER OPERATION
STROLLER OPERATION
Use Buckle
Release Buckle
Press the center button to release the buckle. (Fig. 15)
Lock Buckle
Match the waist belt buckle with the shoulder buckle (Fig. 16.1), and click into
the center buckle. (Fig. 16.2)
A click sound means the buckle is locked completely. (Fig. 16.3)
!To avoid serious injury from falling or sliding out, always secure your child
with harness.
!Make sure your child is snugly secured, the space between the child and
the shoulder harness is about the thickness of one hand.
!Do not cross the shoulder belts. This will cause pressure on child’s neck.
Use Shoulder & Waist Harnesses
!
In order to protect your child from falling out, after your child is placed
into the seat, check whether the shoulder and waist harnesses are at
proper height and length.
Fig. 17.1 Shoulder harness anchor A
Fig. 17.2 Shoulder harness anchor B
Fig. 17.3 Slide adjuster
To adjust the position of the shoulder harness anchor, turn the anchor to be
level with the short side facing forward. Thread it through the shoulder
harness slot from back to front. (Fig. 18.1) Rethread it through the slot that is
closest to child's shoulder height. (Fig. 18.2)
Use slide adjuster to change the harness length. (Fig. 19.1)
Press the button (Fig. 19.2), while pulling the waist harness to proper length
(Fig. 19.3)
Tip For larger child, use shoulder harness anchor A and the highest
shoulder slots.
For smaller child, use shoulder harness anchor B and the lowest
shoulder slots.
Adjust Calf Support
There are three reclining angles, 1-3 (Fig. 20), for adjustment.
To raise calf support, push the calf support from position 1 to position 3
(Fig. 20)
To lower calf support, press the adjustment buttons on both sides of the calf
support (Fig. 21.1), and rotate the calf support downwards. (Fig. 21.2)
Use Canopy
To open the canopy, pull canopy toward front. (Fig. 22)
To fold the canopy, push canopy toward back.
Switch Handle Direction
To change handle position, pull up the left and right reversible sliders (Fig. 23.1)
and move the handle to the other side until it clicks into place. (Fig. 23.2)
!Make sure child’s hands and legs are clear from the armrest when
switching the handle.
Use Front Swivel Lock
Pull up the front swivel locks to maintain the moving direction. (Fig. 24)
Tip
It is recommended to use swivel lock on uneven surfaces.
Use Brake
There are no front brakes on some models.
To lock wheels, step on the brake lever. Front wheel is shown as Fig. 25,
rear wheel is shown as Fig. 26
Lift the brake lever to release wheel.
Tip Always apply brake when stroller is in stopped position.

29
STROLLER OPERATION
Use Accessories
Fig. 27.1 Head Support Fig. 27.2 Shoulder Harness Cover
Fig. 27.3 Crotch Harness Cover Fig. 27.4 Armbar Cover
Fig. 27.5 Rain Cover Fig. 27.5 Boot (Selective Purchase)
Not all accessories are included on some models.
Use Shoulder Harness Cover and Crotch Harness Cover
The shoulder harness cover or crotch harness cover can be removed from the
webbing. To assemble shoulder harness cover and crotch harness cover in
reverse steps.
Use Rain Cover
Open canopy and place rain cover over the stroller, and snap into place.
(Fig. 28)
!When using the rain cover, please always check its ventilation.
!When not in use, please check that the rain cover has been cleaned and
dried before folding.
!Do not fold the stroller after assembling the rain cover.
!Do not place your child into the stroller assembled with rain cover during
hot weather.
Use Boot (Selective Purchase)
The soft boot can provide your child with a warm and comfortable sleeping
environment.
Assemble the boot by following these steps.
1. Adjust the calf support and backrest to level position and recline position
respectively before assembling boot.
2. Cover the calf support with boot. (Fig. 29.1)
3. Wrap the webbings on the boot around the canopy mounts, and then
snap buttons. (Fig. 29.2)
The assembled boot is shown as Fig. 29
Note


JK115_S0942
Share the joy at joiebaby.com
Other manuals for mirus
3
Table of contents
Other Joie Stroller manuals