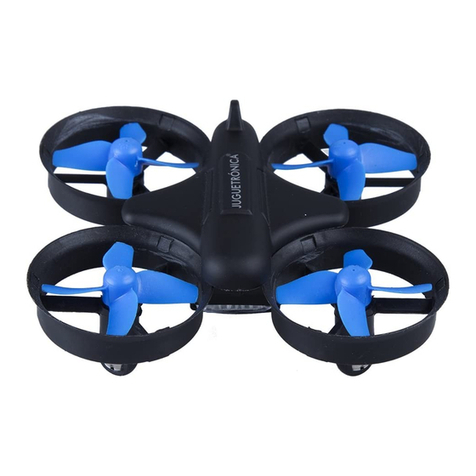
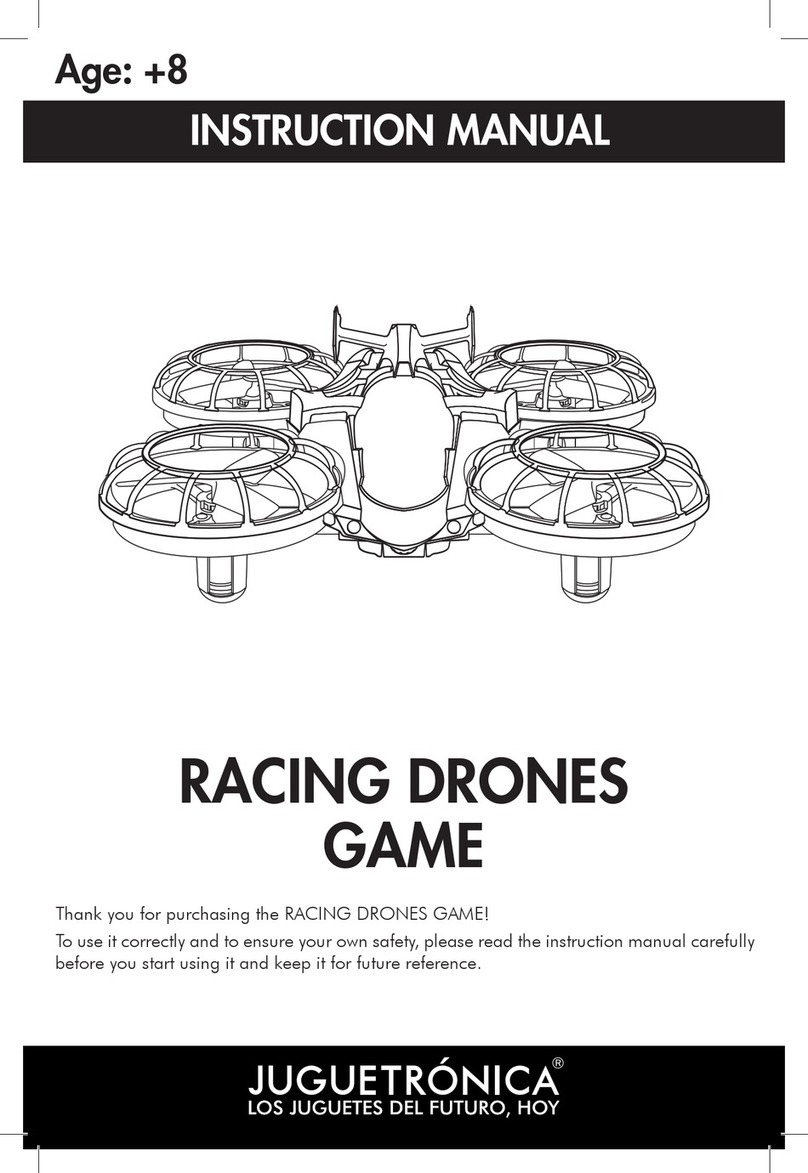
Juguetronica MICRODRONE AUTOFLIGHT User manual

Age: 8+
INSTRUCTION MANUAL
AUTOFLIGHT
MICRODRONE
Warning:
1. This quadcopter is suitable for indoor and outdoor flying, even in moderate wind
conditions.
2. It uses the 2.4 GHz frequency which offers a long range signal and permits several devices
to fly within the same area without interference. Additionally, pilots can control forward/
backwards flying, left/right turns, and left/right flying.
3. Please, read this manual carefully before using your Microdrone Autoflight and keep it
for future reference.

DRONE PARTS
INCLUDES
Propellers
On/Off switch
Battery charging
dock
Propeller
guards
1x USB cable 4x Propellers
(2x A and 2x B)
TRANSMITTER COMPONENTS
Power and turn stick (rise/descent, left/
right turns)
Automatic
take-off and
landing.
Forward/backwards
left/right direction
trimming.
Direction stick (forward/backwards,
left/right)
Switch On/Off
Power LED
Speed (tap).
Three speed modes.
Acrobacy (tap).
Headless mode
(press and hold for
3 seconds).
ONOFF

BATTERY INSTALLATION
MICRODRONE AUTOFLIGHT CHARGING
1. Unscrew the back
cover on the transmitter.
2. Place 2 1.5v alkaline
"AAA" batteries.
3. Replace the back
cover.
Connect the quadcopter to a PC USB dock using the supplied charging cable.
When the USB plug is lit, it indicates that battery is charging. When the indicator turns off,
the battery is fully charged (takes about 30 minutes). The supplied USB charging cable can
also be connected to any other USB charger (such as smartphone, tablet or car charger)
except Apple device charger.
Pay particular attention to the correct polarity when placing the batteries into the transmitter.
Direction stick (forward/backwards,
left/right)
WARNING ABOUT CHARGING LITHIUM BATTERIES
Charging:
• Please use, original manufacturer charger to ensure safe use.
• Do not charge batteries that have swollen, are damaged, have suffered an impact, or
present cuts.
• Do not overcharge the batteries. Please, unplug the charger once the batteries are fully
charged.
• Do not charge near flammable materials or electrically conductive materials. You should
monitor the batteries at all times during the charging period.
• Do not charge batteries that have not been cooled down to room temperature. Otherwise,
they could swell or even catch fire.
• Charging temperature must be between 0°C to 40°C.
WARNING:
Please, disconnect the battery while quadcopter is not being used.

DRONE AND TRANSMITTER BINDING
WARNING ABOUT USING LITHIUM BATTERIES
• Do not store damaged batteries in a plastic bag.
• Do not insert or remove the battery while the product is on.
• Do not expose batteries to shock or impact.
• Use of swollen/damaged batteries is forbidden.
• Batteries are not to be used by children.
• Do not throw batteries into fire nor put them in contact with liquids.
• Inserting the batteries in the microwave, oven, or pressure cooker is forbidden.
• Always leave the battery disconnected from the device when you have finished using it
or if it is not in use.
• Please, store the product at room temperature. Please, avoid extreme temperatures.
• Do not place the product near a heat source.
• Please, remove the battery from its compartment when the product is not in use.
• Unplug the charger when not in use.
• Keep in mind that lithium batteries are damaged if they are excessively discharged. The
damage resulting from this misuse is not covered by warranty.
Batteries recycling:
• Do not dispose of batteries in the household waste container. Dispose of the batteries in
the appropriate container.
• This equipment is composed of electronic parts and batteries. Dispose of electronic waste
properly according to legal regulations.
• Please, acquaint yourself with local waste disposal methods.
1. Place the drone on a completely flat, stable horizontal surface and turn it on. The indicator
light will begin to blink slowly.
2. Turn on the transmitter. It will beep three times and the drone will start to blink fast.
Then, lower the left stick (figure 1), the transmitter beeps once and the lights turn to steady
on. The transmitter and the drone are now binded.
3. To initialize engines, place
both sticks diagonally as
described in figure 2.
FLYING AREA
To get you acquinted with Microdrone Autoflight, we
recommend you to try it on windless days. Make sure
you are away from other people, animals, or any kind
of obstacles.
Remote control range: The flight range of the drone is
about 25 meters. If yo try to pilot beyond this range, you
may lose control of the quadcopter.
Warning: The quadcopter can fly beyond the signal
range under strong wind conditions, which can lead to
loosing control of it.
ONOFF ONOFF

FLIGHT MODES
Mode 1: Automatic take-off and landing
Mode 2: Manual take-off and landing
Once drone and transmitter are already binded, press the automatic take-off/
landing button once.
The drone will take off and will remain in stationary flight at a height of approximately
1.5 meters. Now you can easily move it in any direction using the steering stick.
To land, simply press the automatic take-off/landing button again and the drone will
land. Then, the engines will stop.
With the drone already synchronised, start the engines by placing both sticks
diagonally as described in the "Drone and transmitter binding - figure 2" section.
Then, push the power stick up until you reach the desired height. If you release the
power stick, the drone will remain in steady flight automatically.
To land, push the power stick down until the drone has completely landed. Then,
the engines will stop.
Emergency stop:
You can performance an emergency stop at any time. To do this, place both sitcks
diagonally as described in the “Drone and transmitter binding - figure 2” section.
This action will stop the engines. Keep this in mind to avoid strong impacts onto
the ground.
Automatic take-off and landing
ONOFF
ONOFF

ONOFF
UP / DOWN
Push the left stick upward to
increase propeller speed for the
drone to rise or push it down to
reduce propeller speed so the
drone will descend.
Rise
Descend
ROTATION
ATTENTION: This drone is equipped with automatized height system. When you
release the stick, it will automatically remain at that height.
This quadricopter also includes automatic take-off and landing button (see "Transmit-
ter components" for more information).
ONOFF
ONOFF
ONOFF
Push the left stick to the
left for the drone to rotate
to the left or push it to
the right for the drone to
rotate to the right.
Push the right stick up for
the drone to move forward
or push it down to move it
backwards.
Rotation to the right
Rotation to the left
Forward
Backward
Push the right stick sideways
for the drone to move to the
right or left respectively.
Shift to the left
Shift to the right
FORWARD / BACKWARD
LATERAL MOVEMENTS
OPERATION AND FLIGHT CONTROL

Forward acrobacy
Backwards acrobacy
ONOFF
ACROBATICS
HEADLESS MODE
Microdrone Autoflight can perform stunning
360º acrobacies. To achieve this, press the
right stick while drone is flying. When you hear
the signal (fast intermittent beep), the drone
will perform the trick in the direction you push
the steering stick.
When drone is on Headless mode, the lights blink and transmitter beeps intermittently.
Headless mode means that the drone moves in the direction we indicate in the transmitter,
regardless of how it is positioned or towards is facing the front. When Headless mode is off,
the drone moves forward towards the direction it is oriented to.
Front
Headless
mode
On
Headless mode
Off
ATTENTION: To perform acrobacies,
the drone must be flying at least 1 meter
above the ground.
Acrobacy to the left
Acrobacy to the right
ONOFF
ONOFF
ONOFF
ONOFF

TRIMMING OPERATIONS
If Microdrone Autoflight does not fly steadly, it must be trimmed so it flies correctly again.
To do this, follow these steps:
Place the drone on a horizontal surface, turn it on, and start binding process (see “Drone
and transmitter binding" on page 4).
Place both sticks (left and right) to the left and down on 45° angle for 3 seconds. The
transmitter beeps twice and the drone LED lights start to blink. Keep the sticks in this position
until the drone LED lights are steady.
Repeat the procedure, now moving both sticks (left and right) to the right and down on 45°
angle for 3 seconds. The transmitter beeps twice and the drone LED lights start to blink. Keep
the sticks in this position until the drone LED lights are steady.
The trimming operation has been completed and the flight experience will be improved.
Trimming operation left Trimming operation right
ONOFF ONOFF
JUGUETRÓNICA, SL - NIF: B83788414
Thank you for purchasing this product.
Warranty and National Technical Service.
Store: C/ Alberto Aguilera, 1 - 28015 Madrid - Spain
Post-sale service: C/ Acuerdo, 36 - 28015 Madrid - Spain
This manual suits for next models
1
Table of contents
Other Juguetronica Drone manuals

Juguetronica
Juguetronica NANODRONE EVOLUTION Manual

Juguetronica
Juguetronica SMARTDRONE BT User manual

Juguetronica
Juguetronica MICRO HEXADRONE VCAM HD User manual

Juguetronica
Juguetronica JUG0252 User manual

Juguetronica
Juguetronica JUG0246 User manual

Juguetronica
Juguetronica NANODRONE VCAM HD 3 Manual

Juguetronica
Juguetronica RACING DRONES GAME User manual

Juguetronica
Juguetronica BRICK DRONE User manual

Juguetronica
Juguetronica VR HD NANO DRONE User manual

Juguetronica
Juguetronica JUG0315 User manual