AJUSTES DEL SOPORTE EN LA EMISORAPUESTA EN MARCHA
PRECAUTIONS
1. When the transmitter’s LED stays on but the drone’s LED blinks slowly, it is an indication
that the synchronization has not been successful. Turn the transmitter and drone off and
perform the “start-up” again from the beginning.
2. If when you start flying, the drone does not maintain stability, land, turn off the transmitter
and the drone and synchronize again paying close attention to the drone being placed on a
flat, horizontal surface to the floor.
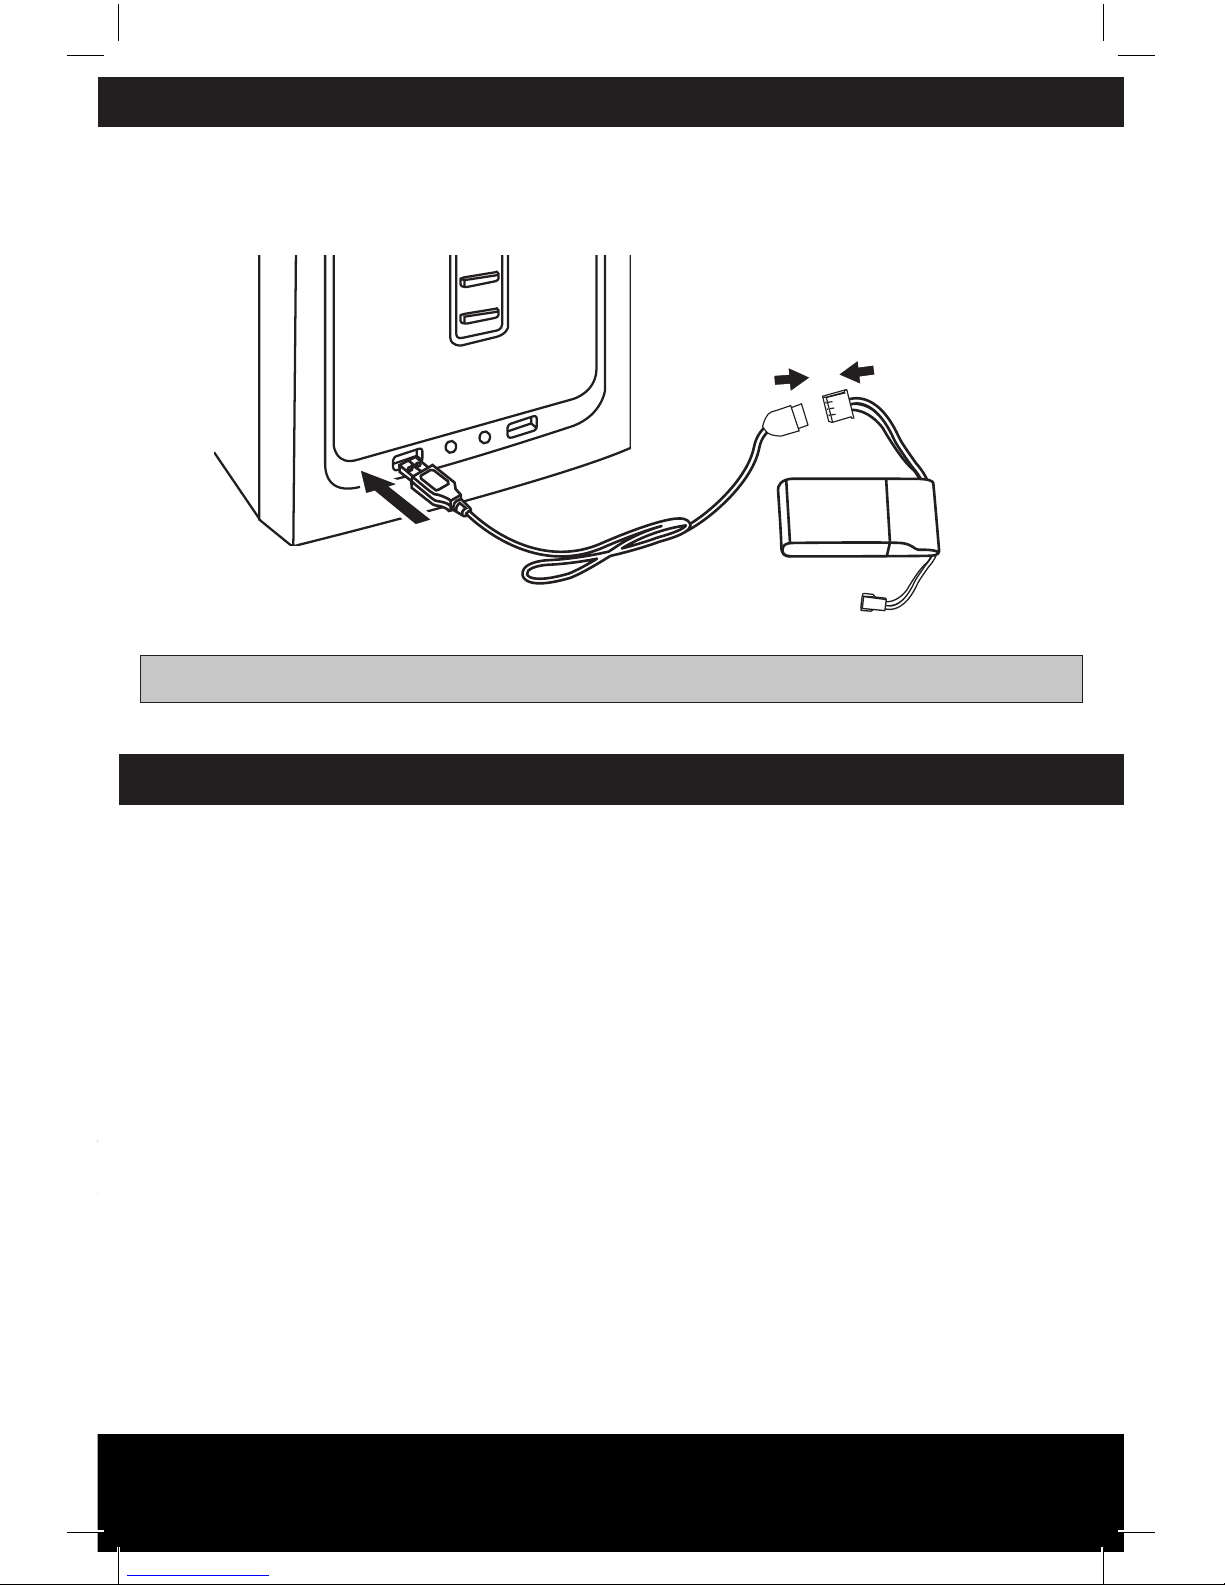
3. When the drone’s LED slowly blinks, it means that the battery is running low. Land and put
the drone’s battery to charge with the USB charger provided.
TIP:
When you synchronize your VR NANODRONE
AUTOFLIGHT make sure it is on a flat and horizontal
surface, so the flight is stable. If the drone moves in an
undesirable direction, place it on a flat surface and push
the self-trimming button (page 4)
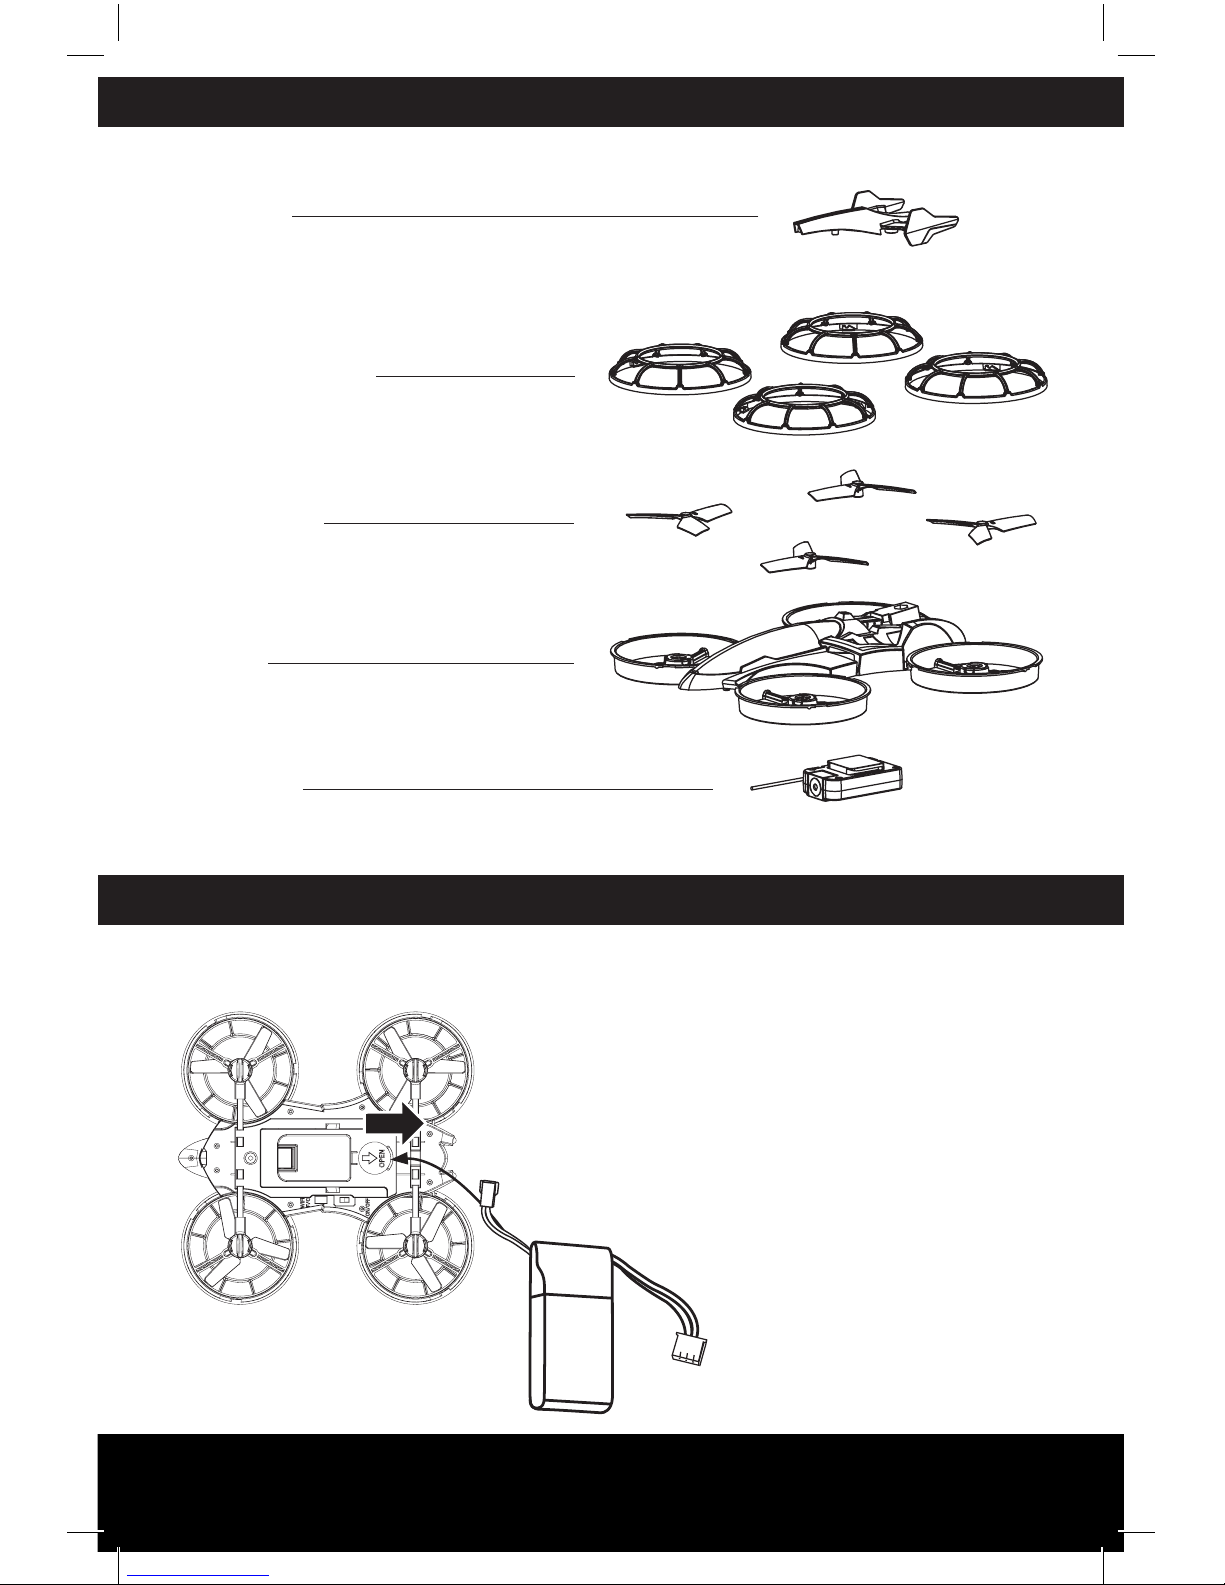
1. Turn on the VR NANODRONE AUTOFLIGHT
You will find the ON button at the bottom of the
drone, move the switch to On and leave the drone
blinking on a flat surface.
3. Raise power level to the max, then, lower it to the lowest
position.
The transmitter will issue a prolonged beep which is the
signal that transmitter and drone are synchronized. Lights
will stop blinking
2. Turn on transmitter by pressing the on/off button. The
transmitter will beep 3 times and the red LED will come on
and keep blinking.
4. Push both levers simultaneously and diagonally inward
and downward, as shown in the image. The drone unlocks,
and the motors will be launched. Just push the left lever
up, so the drone rises. Keep in mind that the drone rises
between 1 and 3 meters. To avoid collision, give the power
lever down a few taps to stop the climb.
DRONE SYNCHRONIZATION AND DEPARTURE
ON/ OFF
UP AND DOWN
RIGTH AND LEFT ROTATION
There is a button on the controller that allows the pilot to take off and land automatically.
Just press it and you will see how the drone takes off or lands autonomously. After starting
the take-off process, the drone will rise up to a height between 1 and 3 meters. The pilot
must be careful not to collide with anything. The left stick should be kept down so that the
drone stops ascending automatically. The landing takes place slowly.


 user manual")