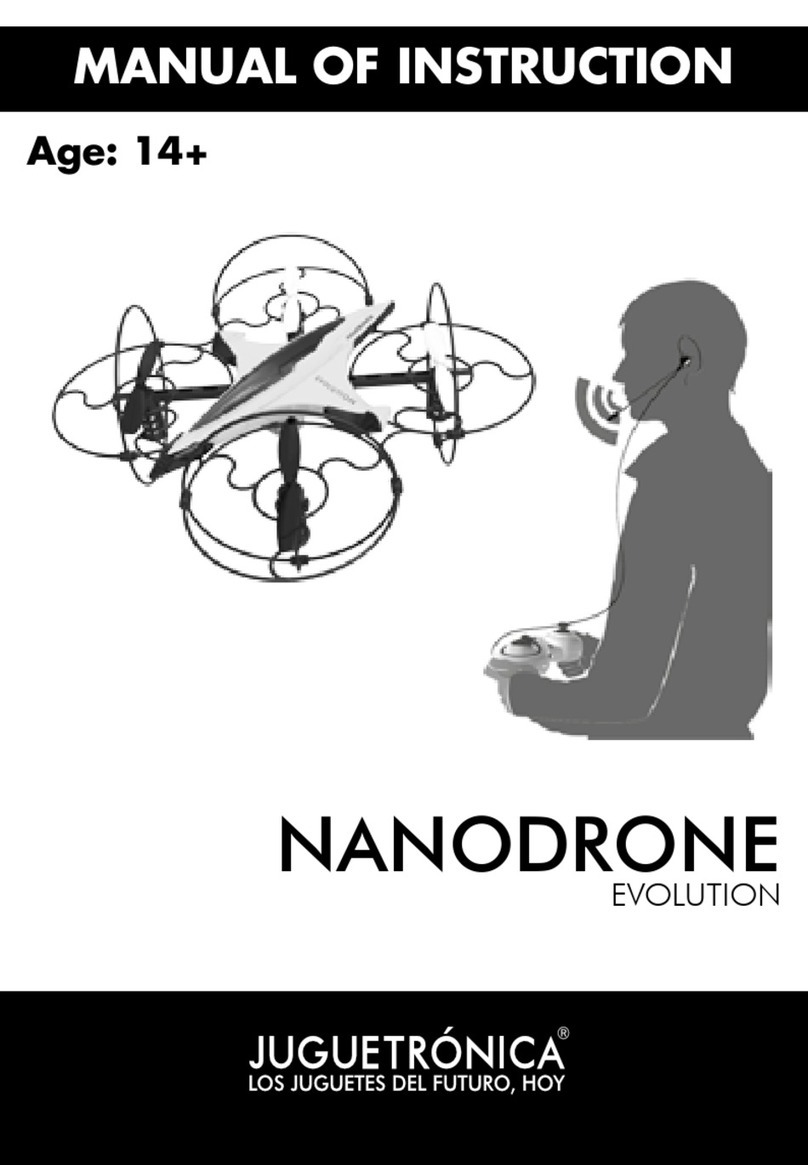
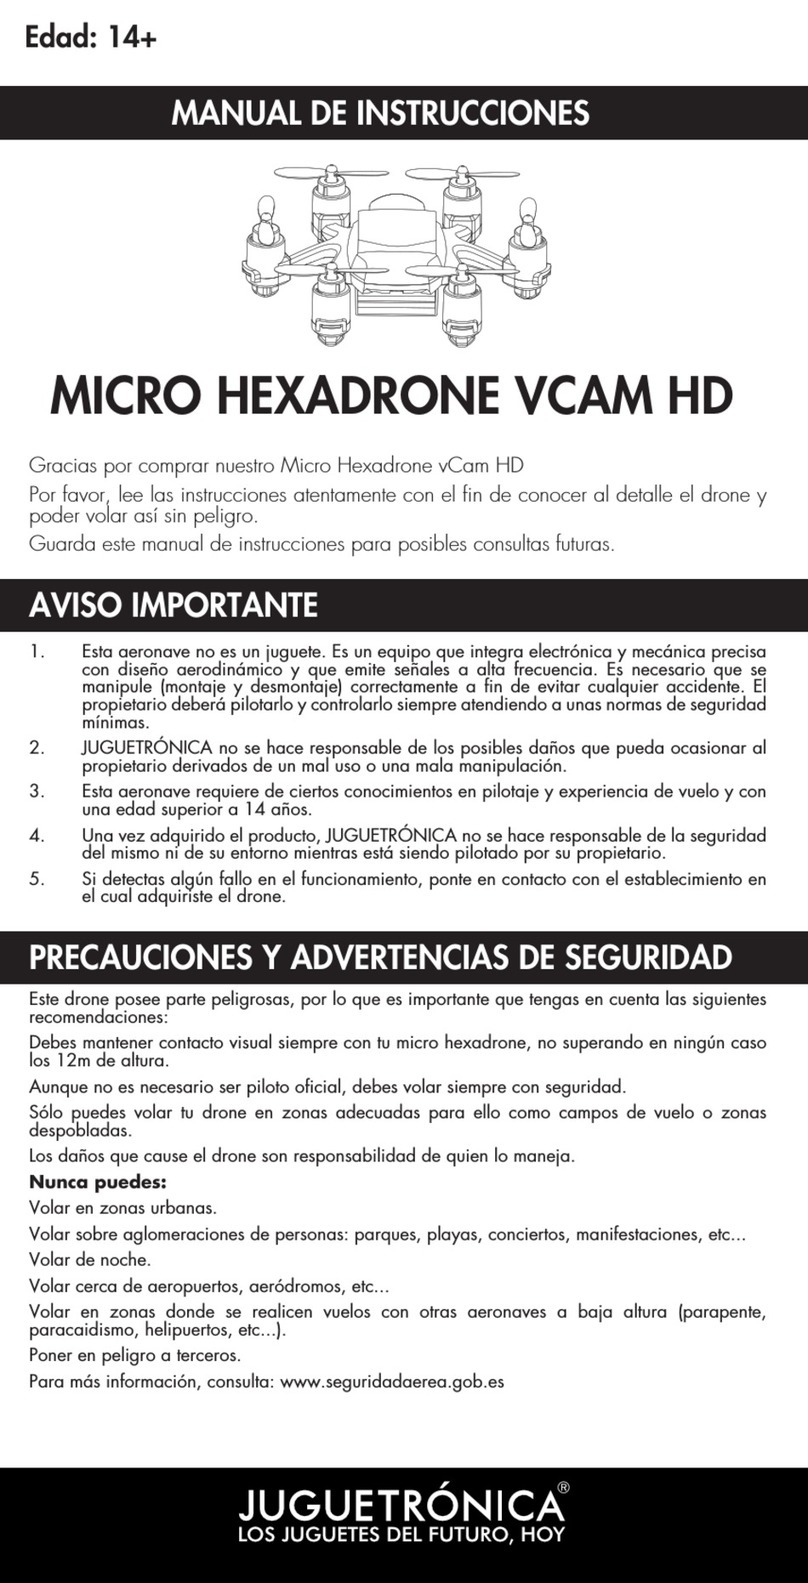
Juguetronica NANODRONE VCAM HD 3 Manual

1
Age: 14+
MANUAL OF INSTRUCTIONS
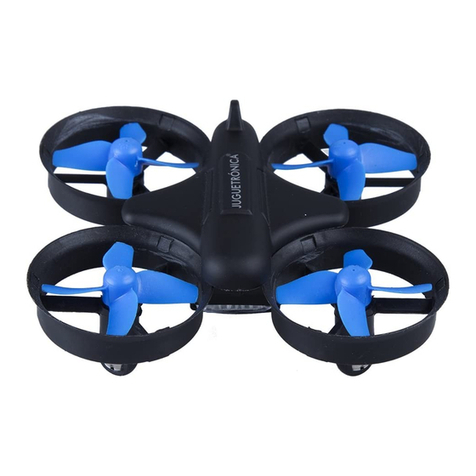
NANODRONE VCAM HD 3
Thank you for purchasing our Nanodrone VCAM HD 3.
Please read the manual carefully in order to know in detail the drone and fly it safely.
Keep this instruction manual for possible future reference.

2
WARNING
PRECAUTIONS AND SAFETY WARNINGS
CONTEÚDO DA CAIXA
1. This aircraft is not a toy. It is a quipment that integrates electronic and mechanical with
aerodynamic design and it emits high-frequency signals. You need to handle (assembly
and disassembly) correctly to avoid accidents. The owner shall drive it and control it
always attending some minimum security standards.
2. JUGUETRÓNICA is not responsible for any damage that may suffer the owner due to
misuse.
3. This aircraft requires certain knowledge of piloting and flying experience and the age of
14 years.
4. After purchasing the product, JUGUETRÓNICA is not responsible of the security of the
owner or of the environment while the aircraft is being flown by its owner.
5. If you detect any malfunction, contact the establishment where you purchased the drone.
This drone has hazardous parts, so it is important to consider the following recommendations:
You should always maintain eye contact with your drone not exceeding, in any case, the
1.20m high.
Although it is not necessary to be a professional pilot, you must always fly safely.
You can fly your drone only in areas suitable for this as flight camps or unpopulated areas.
The damage to the drone is the responsibility of who handles.
You can never:
Flying in urban areas.
Fly over crowds of people: parks, beaches, concerts, events, etc.
Flying night.
Fly near airports, airfields, etc.
Flying in areas where conduct flights with other low-altitude aircraft (paragliding, parachuting,
heliports, etc).
Do not expose others to danger.
For more information visit: www.seguridadaerea.gob.es
Lista de componentes:
1 x Nanodrone vCam HD 3
2 x BaterIas
4 x Hélices de reposição
1 x Controle 2,4Ghz
1 x Carregador USB
1 x Chave de fenda
1 x Cartão microSD e leitor
1 x Manual de instruções

3
PARTS OF THE CONTROL
BATTERIES INSTALLATION IN THE CONTROL
On/Off
Photo/Video Capture acrobatics
Absolute
Control
Acceleration
and turns
Trimming Turn
Left
Trimming Turn
Right
Trimming Left
Displacement
Trimming
Forwards
Trimming
Backwards
Trimming Right
Displacement
Steering
Control
Light Control
Speeds
Return
Home
Battery cover
4 x AAA | 1,5V
Remove the battery cover unscrew
the screws. Place 4 “AAA” batteries
(not included) and place back the
cover of the batteries and screw it.
1 Place the batteries according to the polarity.
2 Do not mix new and old batteries.
3. Do not mix different types of batteries.

4
DEPARTURE
PRECAUTIONS
1Turn on the Nanodrone VCam HD 3
Turn the drone and changes the switch on the
bottom, to the right (“ON”).
1 When the control LED of the drone remains on but flashes slowly, it indicates that
synchronization has not been performed correctly. Turn off the drone and returns to perform
the “departure” from the beginning.
2. If to start flying the drone does not remain stable, lands, turn off the control and the drone
and returns to synchronize them watching drone position on a flat, horizontal surface.
3. When the drone LED blinking slowly means that the battery is running out. Lands and
carries the drone of the battery with the USB charger provided.
2. Turn on the control by pressing the on / off
button.
The control will emit 3 beeps and the red LED will
light flashing.
3. Move up the power lever to the maximum
and then lower it to the maximum.
The control emits a long beep which means that
the control and the drone are synchronized.
Your Nanodrone vCam HD 3 is ready to fly.
Horizontal
position
ADVICES:
When you synchronize your Nanodrone vCam HD 3
ensured that it is on a flat, horizontal surface so that the
flight is stable.
OFF ON
CHA

5
CHARGE OF THE BATTERY OF THE DRONE
1. Turn off the Nanodrone vCam HD 3
Turn your drone and move the switch on
the bottom left (“OFF”).
2. Now extract the battery by removing
following the direction of the arrow.
3. To charge the battery, insert it into the
charger as shown in the picture (watch the
correct position and not use force). Now
connect the other end to the USB port of a
PC. The charger LED is off during charging,
lighting when the battery is charged.
CHARGING TIME:
The battery takes about 70 minutes to load for 6-8 minutes per battery flight autonomy.
ONoff
CHA
ONoff
CHA
1 2
3
3
PRECAUTIONS FOR BATTERY CHARGING
1. During charging, place the battery and charger in a dry, ventilated area away from sources
of intense heat or flammable products.
2. During charging, disconnects the battery of the drone. It is important that the battery
charge be supervised by an adult to prevent accidents.
3. Do not charge the battery as soon as you finish flying. Wait for the battery to cool down,
otherwise the battery may swell, explode or burn.
4. ensured you to use the original USB charger provided with the drone. When you’ve used
enough battery or see it’s a little swollen, exchange the battery for another.
5. A battery that is not used for a long period of time lose their charge.
Charge or discharge a battery often shortens its lifetime.

6
BATTERY MAINTENANCE
MOVEMENT CONTROL
FLIGHT SPEED
UP AND DOWN
TURN RIGHT AND LEFT LATERAL DISPLACEMENTS
FORWARD AND BACKWARD
1. The battery must be placed in a dry, ventilated place at room temperature between 18 and
25º C.
2. To make the most of the life of your battery, avoid performing repeated loads or ecessivas
discharges.
3. When you are storing the battery for a long period of time, and first charges the battery
with the umbrella at least 50-60% of the total load allowed.
4. If you are not using it for more than a month, it is recommended to measure it the battery
voltage each month to assure you that is not below 3V. Otherwise back to point number 3.
Move up the power lever (left) to the drone
go up.
Lowers the power lever (left) to the drone
down.
In order to enhance the level of difficulty according to your
experience Nanodrone vCam HD 3 has a 3-speed sector: low,
medium and high.
This speed can be selected by pressing the lower cursor, as on
the image.
Move the power lever (left) to the right
or left so that the drone turn to the
corresponding side.
Move the direction lever (right) to the right
or left so that the drone to move to the
corresponding side.
Move up the direction lever (right) to the
drone go forward.
Lowers the direction lever (left) to the
drone go backward.

7
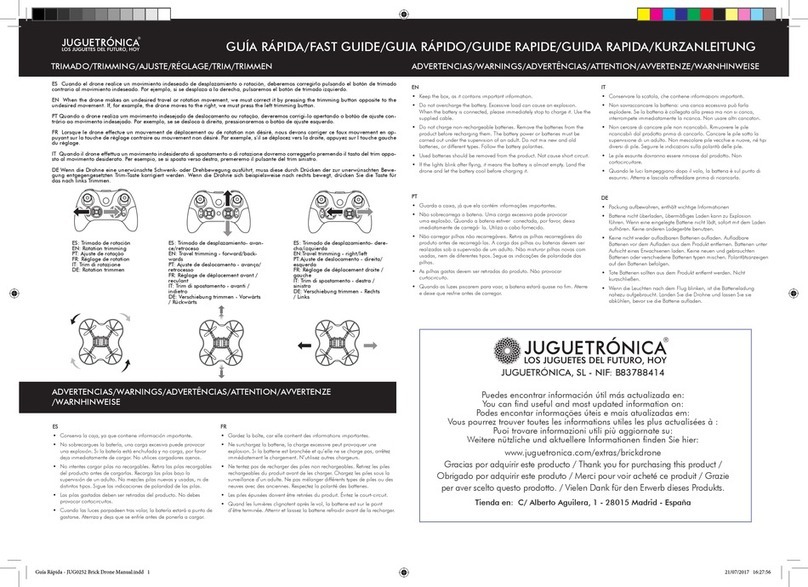
TRIMMING
FUNCTIONS OF THENANODRONE VCAM HD 3
TRIMMING OF FORWARD
AND BACKWARD
TRIMMING OF TURNS LEFT
RIGHT
TRIMMING OF LATERAL
DISPLACEMENT
Low-voltage protection:
When the drone of the battery is not charging enough, the motors interrupt its
power. It is an automatic protection system battery.
Overcurrent protection:
When the drone of propellers collide against an object or lock, the power control
system momentarily paralyzes the engines, reactivating when the propeller is
released.
Lights control:
The LEd lights drone can be activated or deactivated
by pressing the control of top courses as shown in the
side image. The first press turns on the LED lights, the
following pressure turns them off.
Function Return to Home:
When you want the drone returns to the starting point
automatically, place yourself in front of him, and
pressing the button marked in the left image once.
When the drone is returning, you should only maintain
stable the power lever (left).
When the drone moves
forward and backward
incorrectly, you can correct
the flight by pressing the
button trimming of forward
and backward according to
the need.
When the drone turns
uncontrolled, you can
correct the flight by pressing
the trimming button to turn
the right or left according to
need.
When the drone moves
sideways incorrectly, you
can correct the flight
pressing the trimming
button to displace to the
left or right, according to
necessity.

8
Hard Reset:
When the drone fly uncontrolled and it is impossible to perform a trimming to correct the
flight errors, it is better to perform a factory reestablishment. This setting lets the drone with
the fabrication settings that it had when you bought it.
To perform the hard reset following the steps:
4. Place the drone on a flat,
horizontal surface and moves
the right and left control levers
the lower left corner for 2-3 seconds and the LED indicator will
change to steady light flashing rapidly.
When, after 2-3 seconds, the LED back light fixed the drone
will be restored correctly.
3. When the drone LED flash quickly, move up and lowers
the power lever (left) to the maximum. Now the LED stops
flashing to keep fixed.
Absolute Control function:
While the drone is operating in the normal way, without absolute control, the pilot
must master which is the front and rear of the drone, as well as the side, so that,
during the flight provides the correct order of movements. In this flight mode when
the drone face you it is to know that the controls are reversed. The Nanodrone vCam
HD 3 integrates a complete control system that is much simpler to piloting.
ACROBATIC MODE:
When you’ve controlled the flight and basic operation of the
drone, you’re ready to perform some tricks and impressive
stunts.
The first of all is that you fly at a height of more than 3
meters, since all the stunts lead to a loss of height, and so
avoiding that the drone crashes into the ground.
To perform its acrobatics, you have to press the button
“aerobatics” (button located on the front right) and then
push the direction lever (right) in the desired direction to
make an acrobatic 360.
When the absolute control is on, the direction of the drone
does not influence the movements since the drone moves
towards its own direction.
To activate the mode absolute control press the button shown
on the right side image.
To disable this mode, simply press it again.
1. Turn on
the drone. 2. Trun on
the control.
ONoff
CHA
ACROBATIC FLIGHT MODE ADVICES:
The drone must be with battery charged to perform the stunts.

9
Photo capture:
Before you start flying insert a microSD card (included) in the entry and assures you
that it is properly connected.
Once the drone is flying, press the capture button (located on the left front of the
control). The front lights drone light up for one second indicating that the capture’s
been done.
Videos capture:
To capture videos, press the capture button (located on the left front of the control) for
at least for 3 seconds and release it. The camera will start recording while the front
lights of drone light up and start flashing. Press the button again to stop recording.
LED indicators stop flashing indicating that the recording is interrupted.
Replacement and/or accessories that can be acquired to complete your Nanodrone vCam
HD 3.
The drone does
not respond to
commands.
The drone slow
to respond or
responds with
difficulty the
commands.
1. The drone does not have enough
battery.
2. The control does not have
enough battery.
3. The control of the frequency does
not correspond with the drone.
1. The control does not have
enough power.
2. There are other radio frequency
equipment close to the same
frequency control.
1. Exchange the control battery.
2. Remove the other radio frequency
equipment from the drone coverage area.
1. Charge the drone.
2. Change the control batteries.
3. Performs a resynchronization of the
control and drone.
Propellers Battery Charger
Indicadores da câmera
USING THE CAMERA
ACCESSORIES AND EXCHANGES
PROBLEMS AND SOLUTIONS
PROBLEM REASON SOLUTION

JUGUETRÓNICA, SL - NIF: B83788414
Thank you for purchasing this product.
Domestic Warranty and Technical Support
Shop: C/ Alberto Aguilera, 1 - 28015 Madrid - España
After-sales service: C/ Acuerdo, 36 - 28015 Madrid - España
Table of contents
Other Juguetronica Drone manuals

Juguetronica
Juguetronica JUG0246 User manual

Juguetronica
Juguetronica MICRO HEXADRONE VCAM HD User manual

Juguetronica
Juguetronica JUG0252 User manual

Juguetronica
Juguetronica JUG0315 User manual

Juguetronica
Juguetronica VR HD NANO DRONE User manual

Juguetronica
Juguetronica BRICK DRONE User manual

Juguetronica
Juguetronica MICRODRONE AUTOFLIGHT User manual

Juguetronica
Juguetronica SMARTDRONE BT User manual

Juguetronica
Juguetronica RACING DRONES GAME User manual

Juguetronica
Juguetronica VR AUTOFLIGHT User manual