Operator’s Manual JM 2040
10
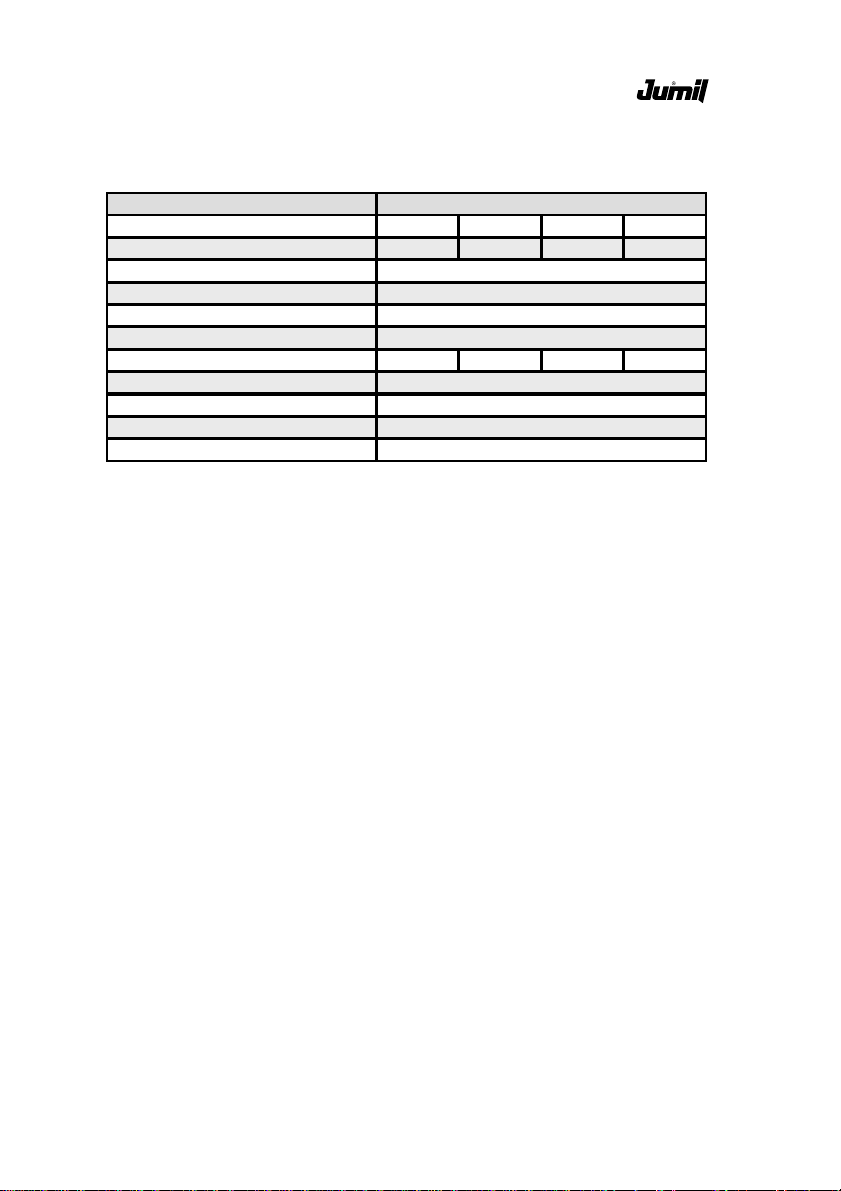
5.1 - Discs and Wedges
Forthe seeddistributionJumil usesthehorizontal drilleddiscsystem,
oflarger precision due to the unique characteristics of project.
JUMIL possesses several discs for be used in agreement with the
type of culture and/or seed size to be used.
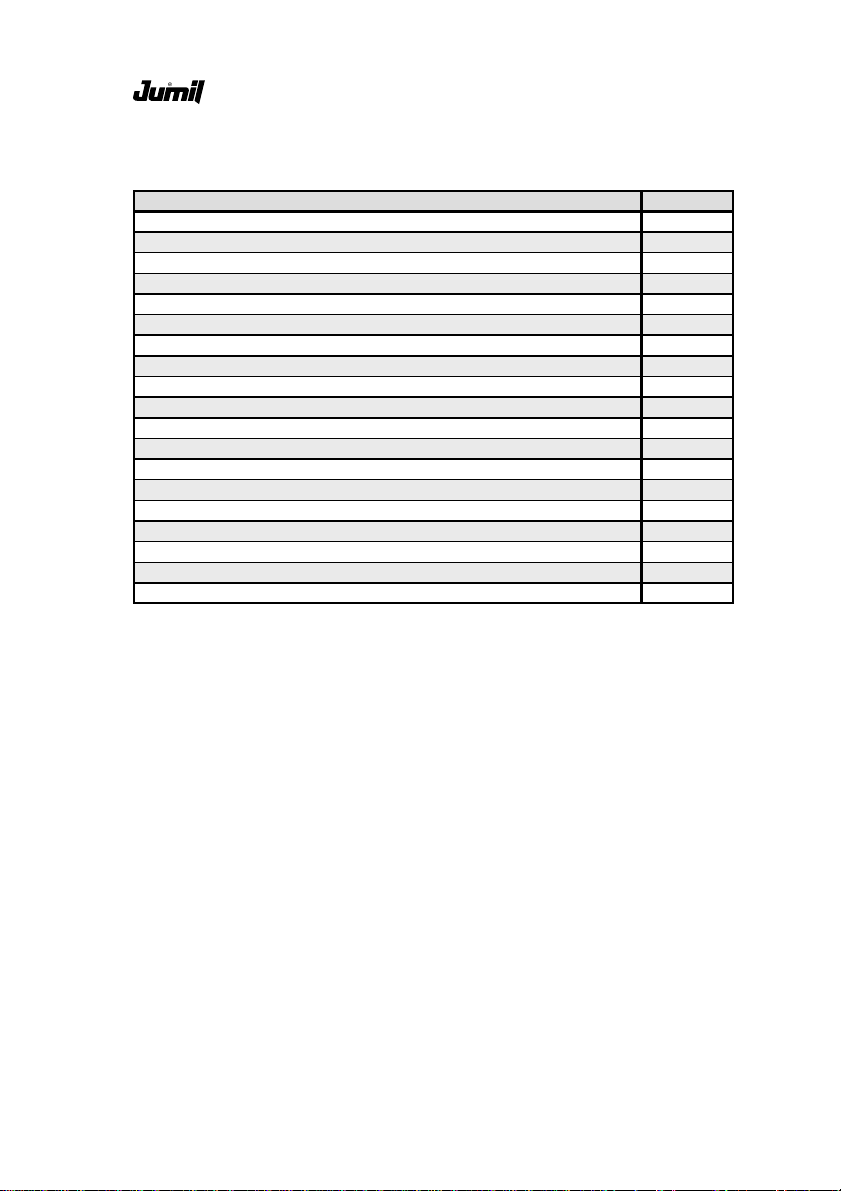
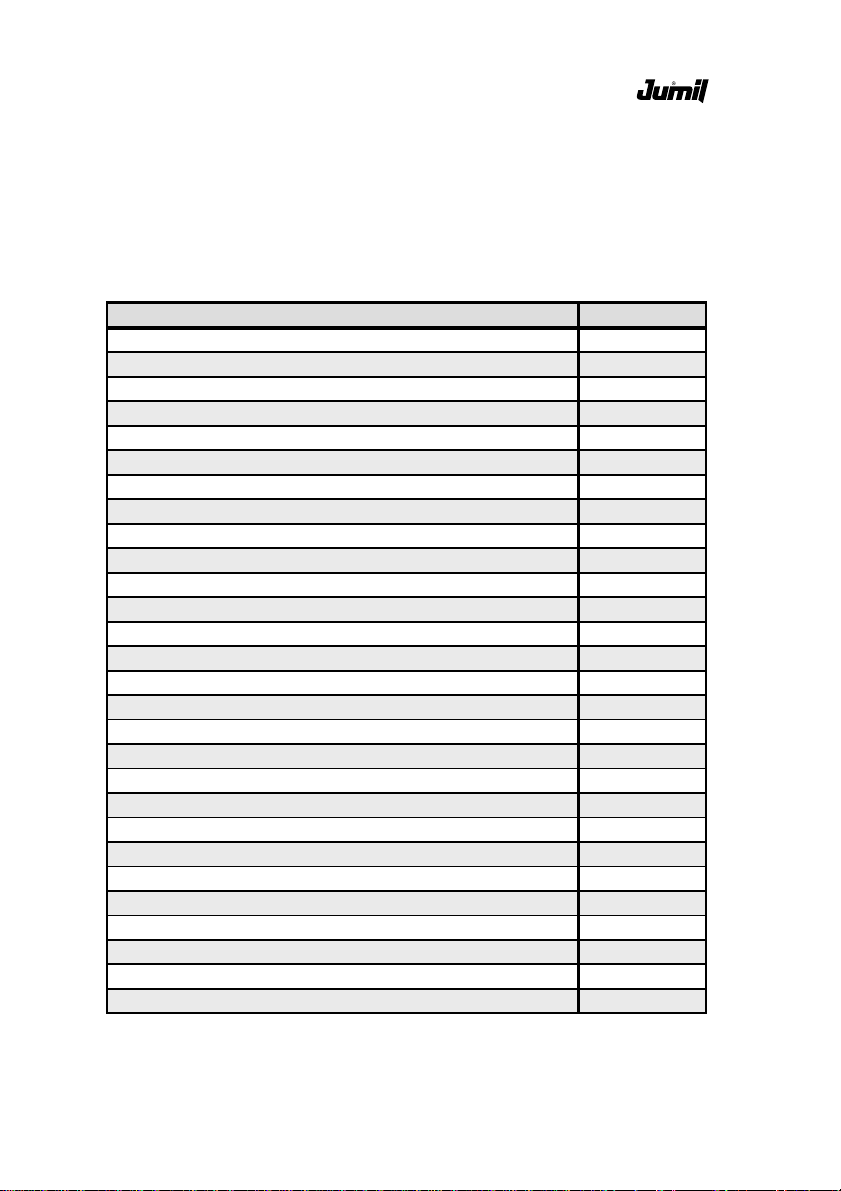
DESCRIPTION CODE
COTTON DISC 64FXE4,5F6,5X11,5 27.10.058
COTTON DISC 64FXE4,5XF5,5X10,5 27.10.057
COTTON DISC WITHOUT LINTER 40FXE5,0 27.18.607
RICE DISC 22FXE4,0XF14,0 27.10.063
RICE DISC 22FXE5,5XF12,0 27.10.142
RICE DISC 22FXE5,5XF13,0 27.28.699
RICE DISC 24FXE4,5XF14,0 27.10.064
JALO BEAN DISC 36FSXE6,5XF9,5X16,5 **27.28.711
BEAN DISC 41FSXE5,5XF7,5X13,5 27.28.545
BEAN DISC 72FDXE5,5XF8,0X12,0 27.10.072
BEAN DISC 80FDXE4,5XF7,0X10,0 27.10.071
SUNFLOWER DISC 20FSXE3,5XF5,0X11 27.28.591
SUNFLOWER DISC 20FSXE3,5XF6,0X12 27.28.590
SUNFLOWER DISC 20FSXE4,0XF7,5X15 27.10.148
SUNFLOWER DISC 20FSXE4,0XF8,5X17 27.10.161
SUNFLOWER DISC 24FSXE3,5XF5,0X11 27.28.566
SUNFLOWER DISC 24FSXE3,5XF6,0X12 27.28.567
PLAIN DISC E4,5 27.28.701
PLAIN DISC FOR MAIZE 24FXE4,5 27.28.709
MAIZE DISC 22FXE4,0XF13,0 27.10.143
MAIZE DISC 22FXE4,0XF14,0 27.10.139
MAIZE DISC 22FXE7,5XF12,0 *27.10.141
MAIZE DISC 24FXE4,0XF10,5X15,0 27.28.596
MAIZE DISC 24FXE4,0XF11,0X16,0 27.28.595
MAIZE DISC 24FXE4,0XF9,0X13,8 27.28.577
MAIZE DISC 24FXE4,0XF9,5X14,0 27.28.597
MAIZE DISC 24FXE4,5XF10,5X14,0 27.28.578
MAIZE DISC 24FXE4,5XF13 27.28.694