3
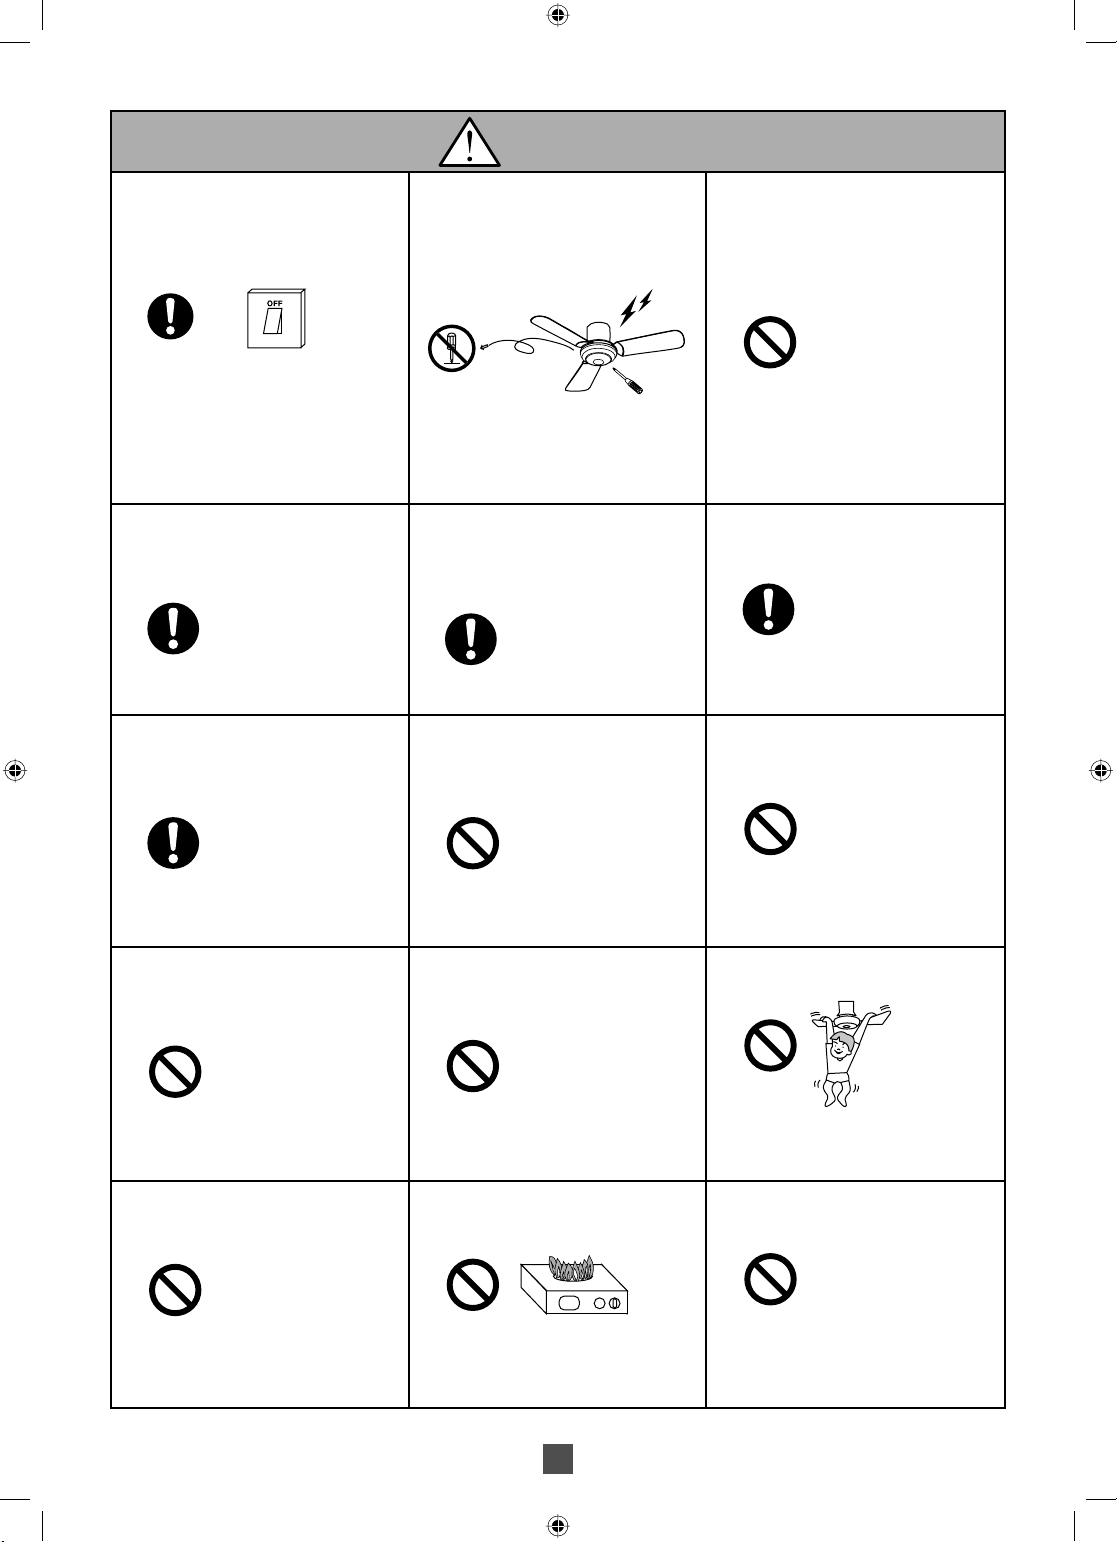
Switch off power supply and wait until
the Blade is fully static, before cleaning
or doing any maintenance jobs.
清掃或進行任何維修工作前,關閉所有
電源並等待扇翼完全靜止。
Can cause Ceiling Fan to move
suddenly, injuries and electrical shock.
Kindly refer to your sales agent for
repairing or maintenance issue.
可以導致吊扇突然轉動、受傷和電擊。
請向您的經銷商咨詢有關修理或維修
問題。
Do not dismantle the Ceiling Fan unless
stated by this manual.
Must use only supplied parts.
請勿拆除吊扇,除非此說明書指示。
務必只使用附帶的零件。
Can cause fire, electrical shock, Ceiling
Fan drops and injuries.
可以導致火災、電擊、吊扇掉落和受
傷。
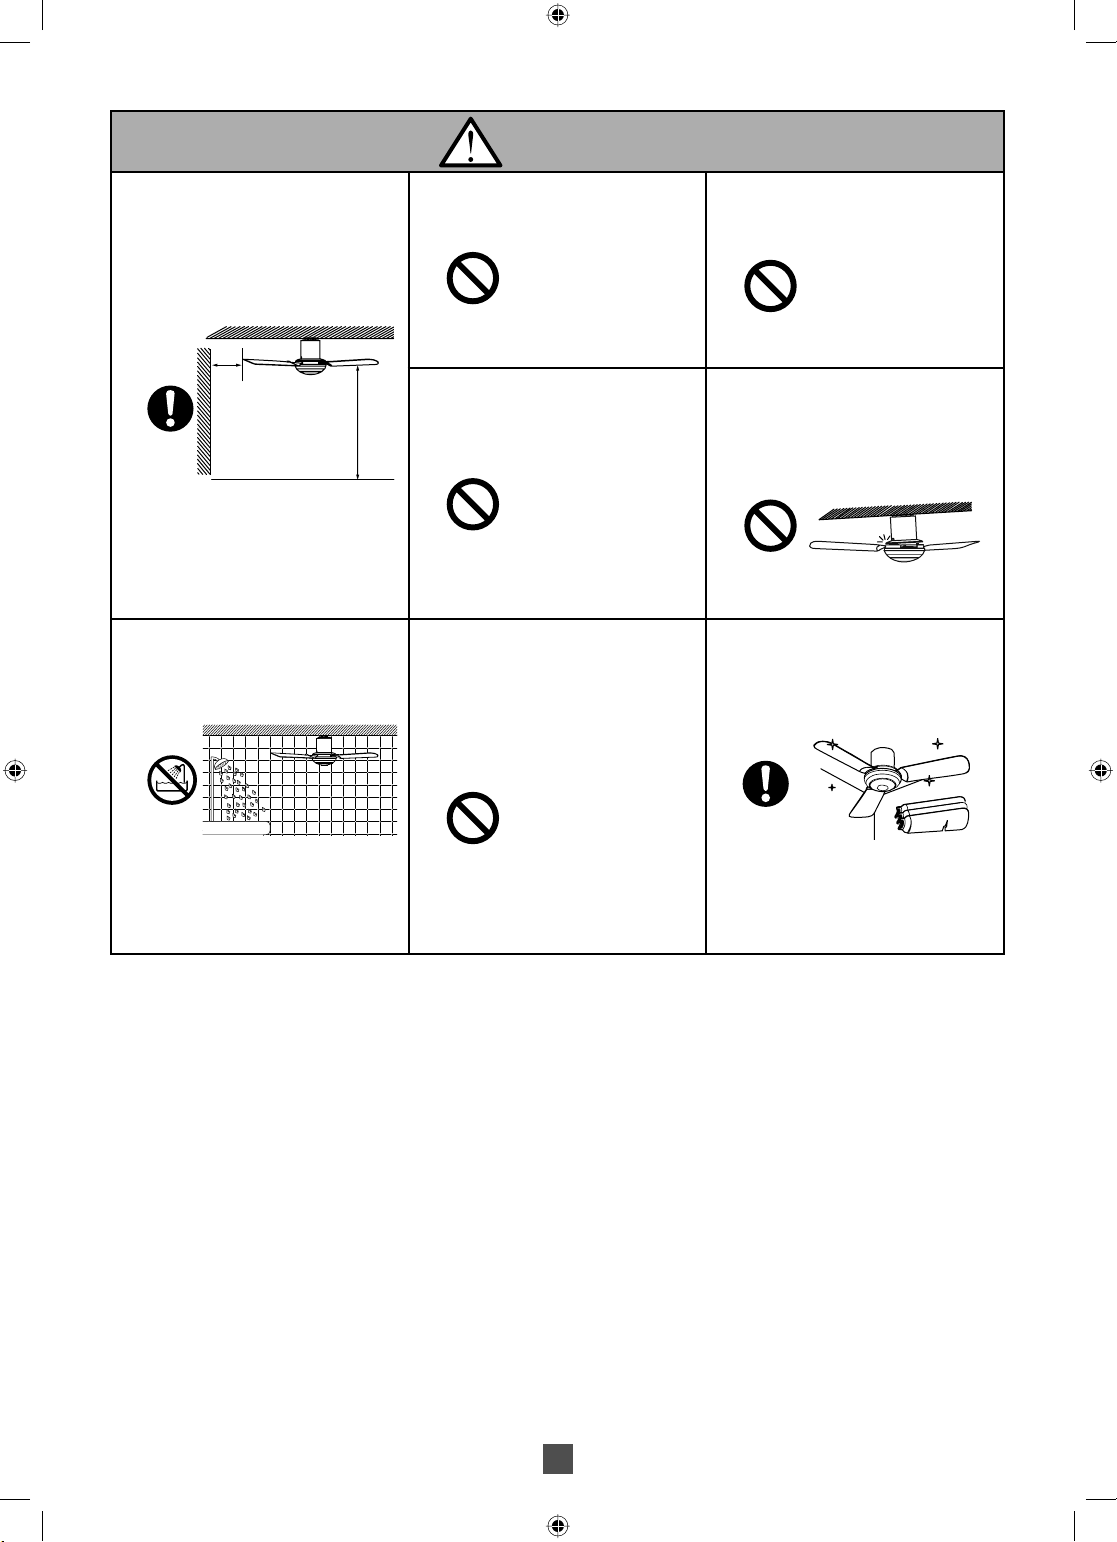
Avoid damage wire during installation
eg. Deform due to heat, twist, bend, etc.
避免在安裝時損壞電線,例如因熱量、
扭曲、彎曲造成的變形等等。
Can cause fire, explosion, short circuit
and electrical shock.
這可導致火災、爆炸、短路及
電擊。
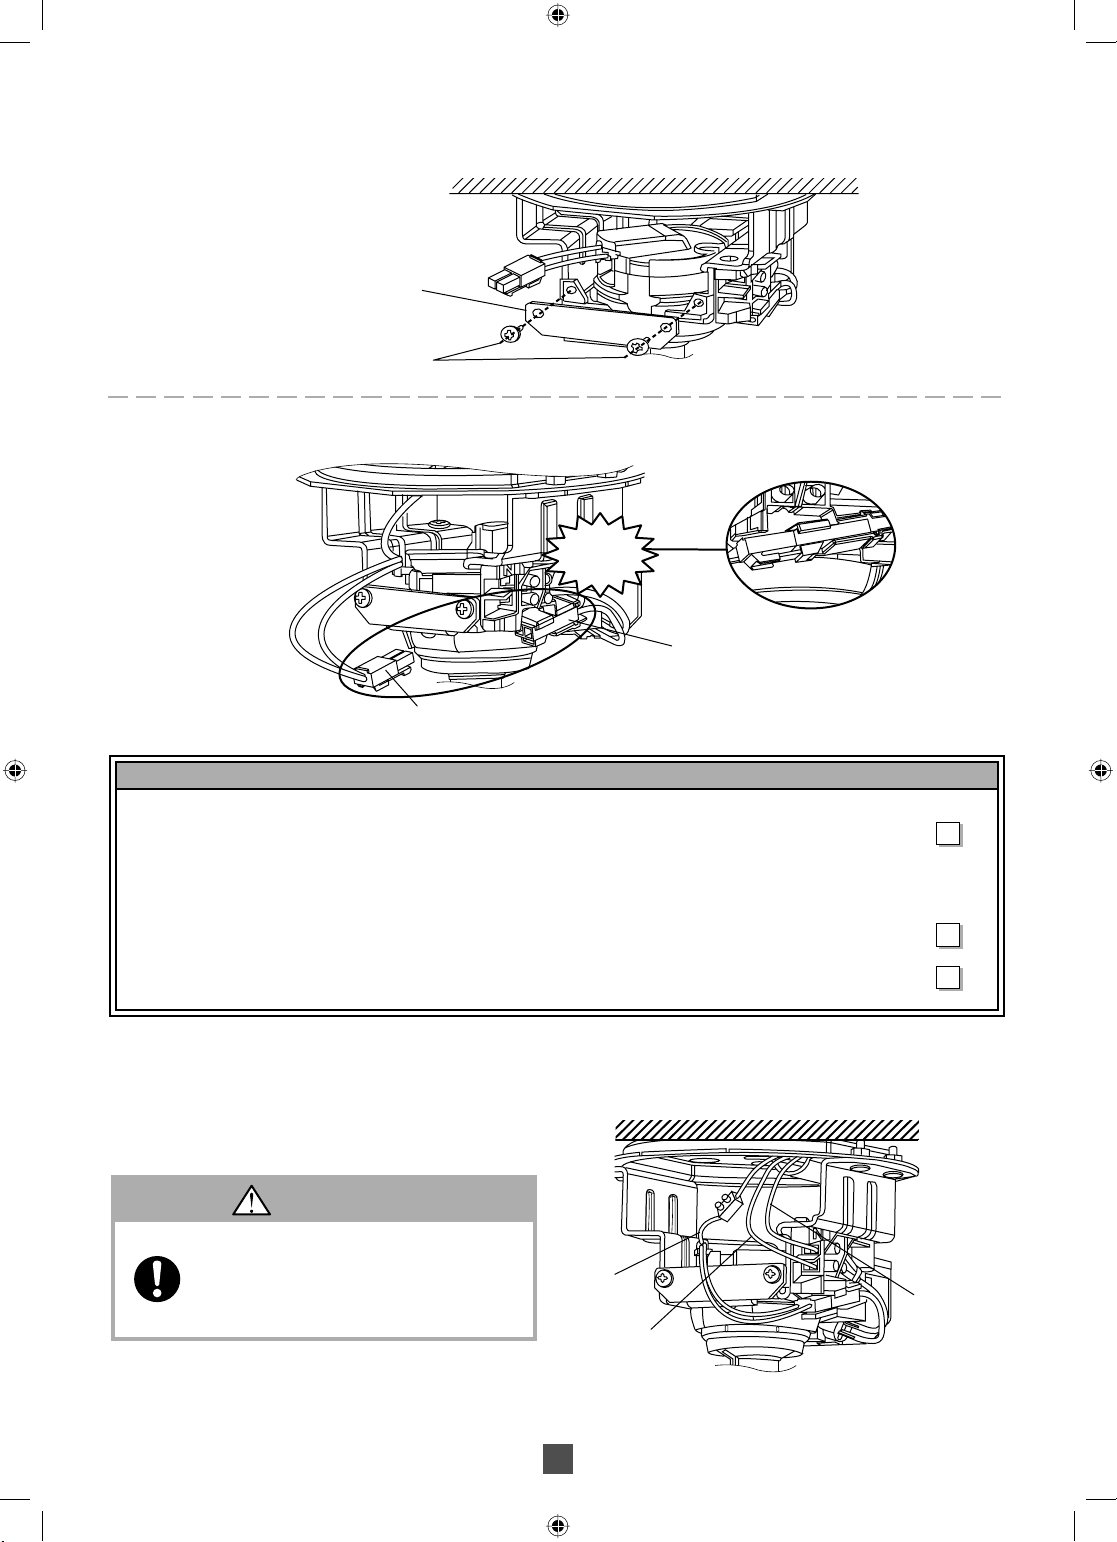
Make sure all Screws, Nut, Bolt and
connection are firmly tighten.
確保鎖緊所有螺絲、螺帽、螺栓和連
接。
Can cause injury if Ceiling Fan drops.
若吊扇掉落會導致受傷。
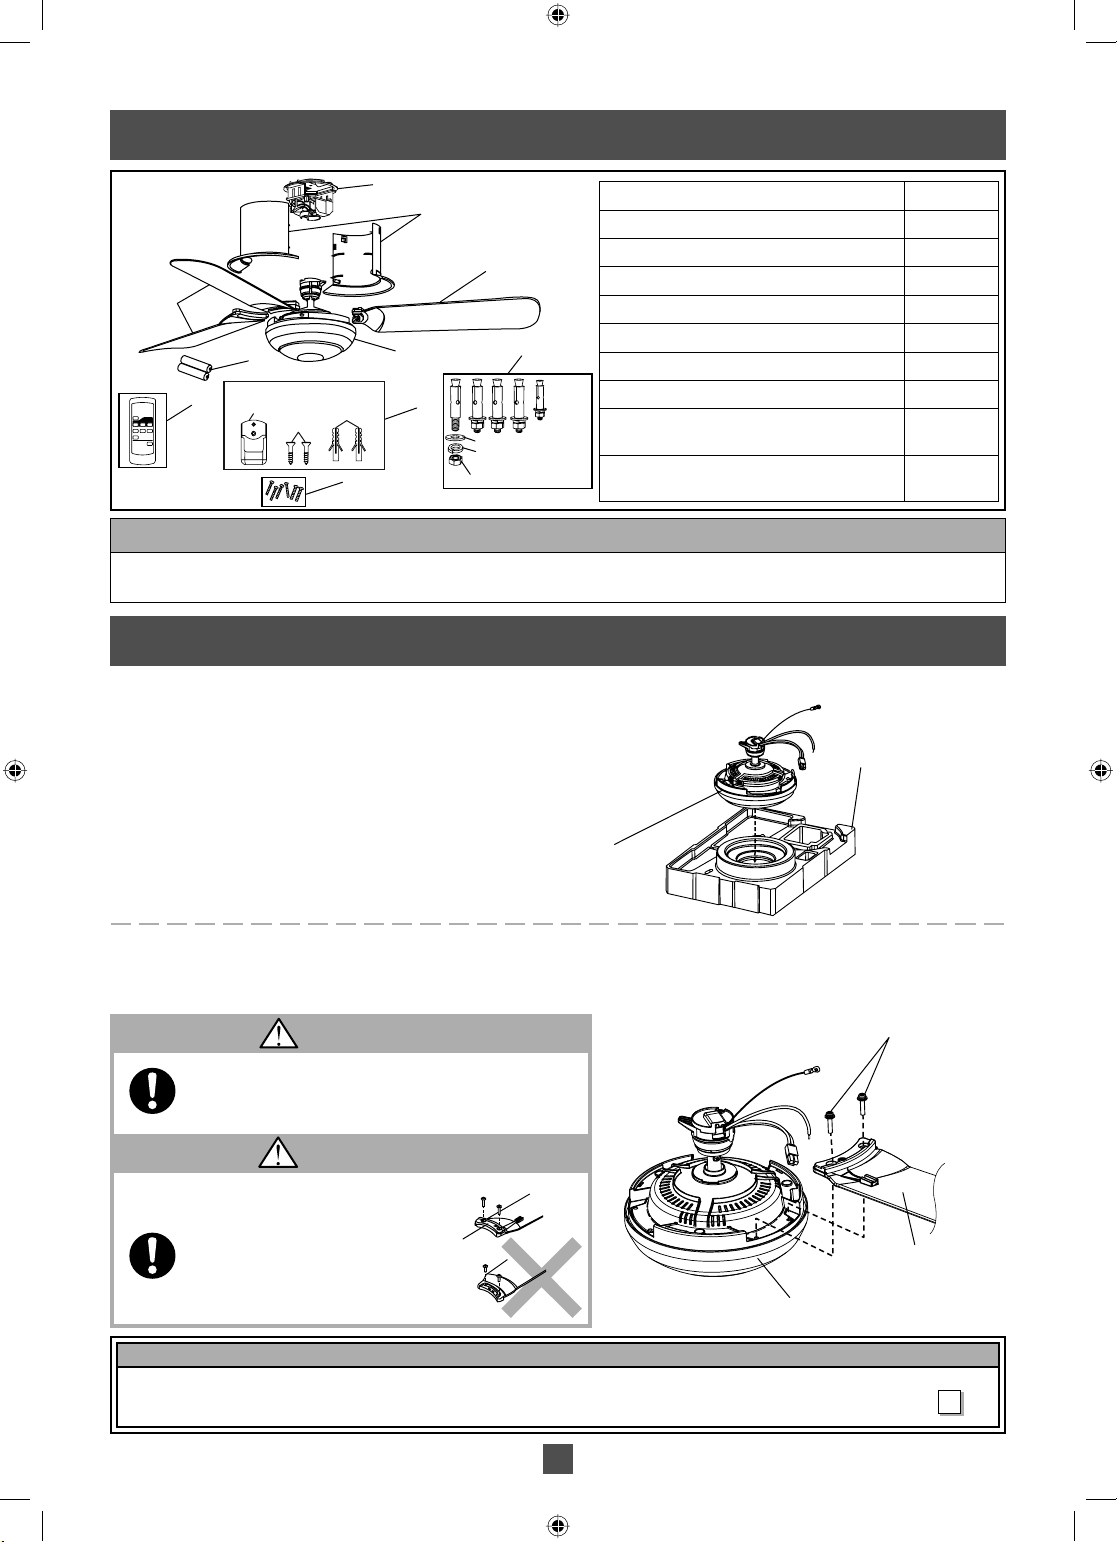
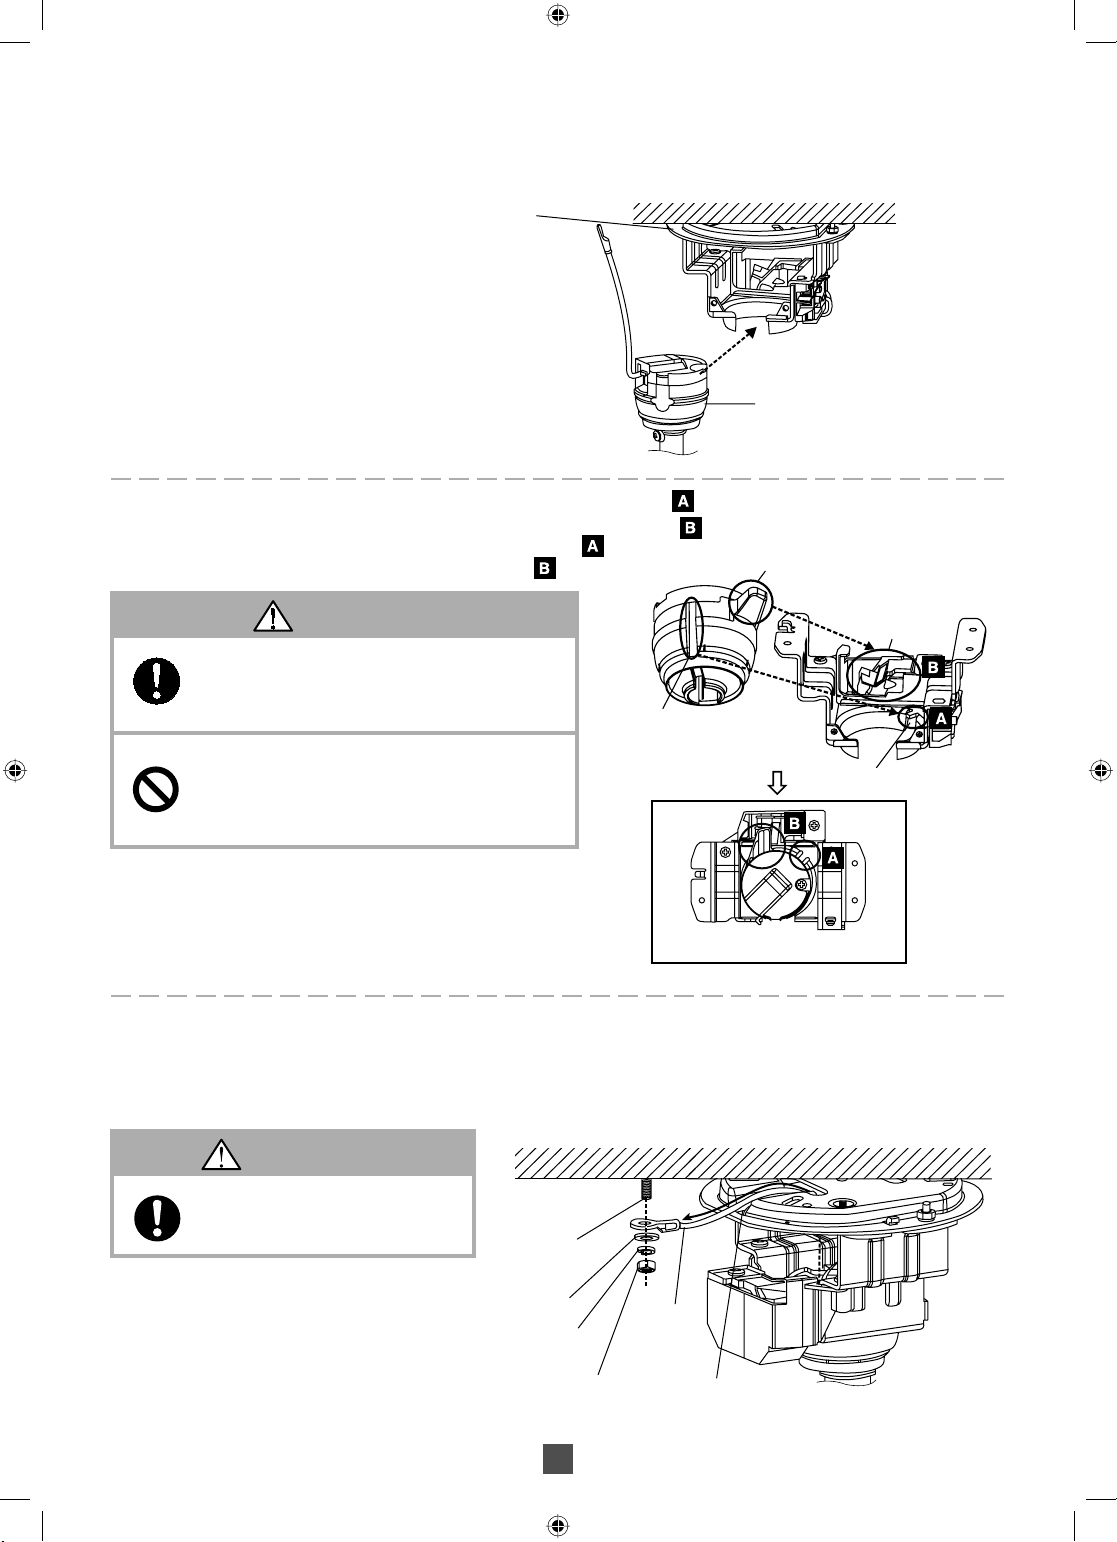
Fix Hanger Plate Assembly correctly
to the concrete ceiling and tighten Nut
firmly.
將吊板組件正確地安裝於混凝土天花
板,並鎖緊螺帽。
Can cause injury if Ceiling Fan drops.
若吊扇掉落會導致受傷。
Dismantle the broken or damage
Ceiling Fan.
拆除破損或損壞了的吊扇。
Can cause Ceiling Fan drops and
injuries.
可以導致吊扇掉落和受傷。
Tighten the Blade Screws firmly using a
screwdriver.
使用螺絲起子將扇翼螺絲鎖緊。
Can cause injury if Blade drops.
若扇翼掉落會導致受傷。
Do not use power supply other than
rated voltage mentioned.
切勿使用本文指定的額定電壓以外的
電源。
Overheating can cause electrical shock
and fire.
過熱可導致電擊和火災。
Do not sprinkle water to Ceiling Fan. Or,
do not wet Ceiling Fan.
切勿向吊扇灑水。 或者,切勿弄濕
吊扇。
Can cause fire, explosion, short circuit
and electrical shock.
這可導致火災、爆炸、短路及
電擊。
Do not touch the Ceiling Fan while it is
operating.
請勿在吊扇正在操作的時候觸摸
吊扇。
Can cause injury, damage and Ceiling
Fan drops.
若吊扇掉落會導致受傷、損壞。
Do not insert metal item in the Remote
Control battery area with the Battery.
不要插入金屬物品在遙控器的電池與電
池領域。
Can cause fire, explosion, short circuit
and electrical shock.
這可導致火災、爆炸、短路及
電擊。
Do not hang up to the Ceiling Fan.
切勿懸掛在吊扇上。
Can cause Ceiling Fan drops and
injuries.
可以導致吊扇掉落和受傷。
Avoid installing at oily and dusty places.
避免安裝在油膩及多塵的地方。
Can cause fire, explosion, short circuit
and electrical shock.
這可以導致火災、爆炸、短路和電擊。
Do not install near a flammable area
such as a gas cooker.
切勿安裝在煤氣灶等易燃地區附近。
Can cause fire, explosion, short circuit
and electrical shock.
這可導致火災、爆炸、短路和
電擊。
Do not install near chemicals and alkali.
切勿安裝在化學物品和鹼性物品附近。
Can cause fire, explosion, short circuit
and electrical shock.
這可以導致火災、爆炸、短路
和電擊。
WARNING /
警告
M11SU(REVISION)_EN-CT.indd 3M11SU(REVISION)_EN-CT.indd 3 12/14/2010 12:40:03 PM12/14/2010 12:40:03 PM