manuals.online logo
Brands
  1. Home
  2. •
  3. Brands
  4. •
  5. Knoll
  6. •
  7. Indoor Furnishing
  8. •
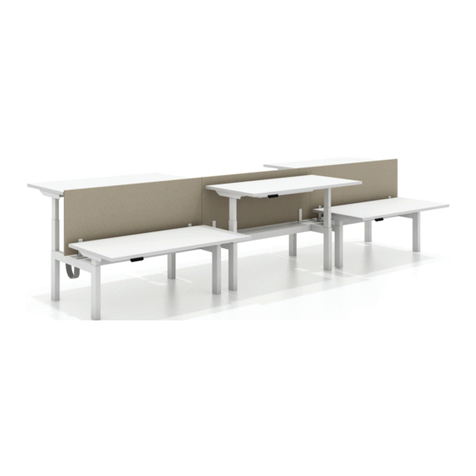
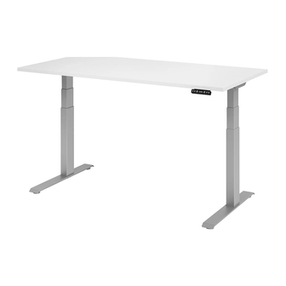
  9. Knoll Pixel KCXE6030G User manual

Knoll Pixel KCXE6030G User manual

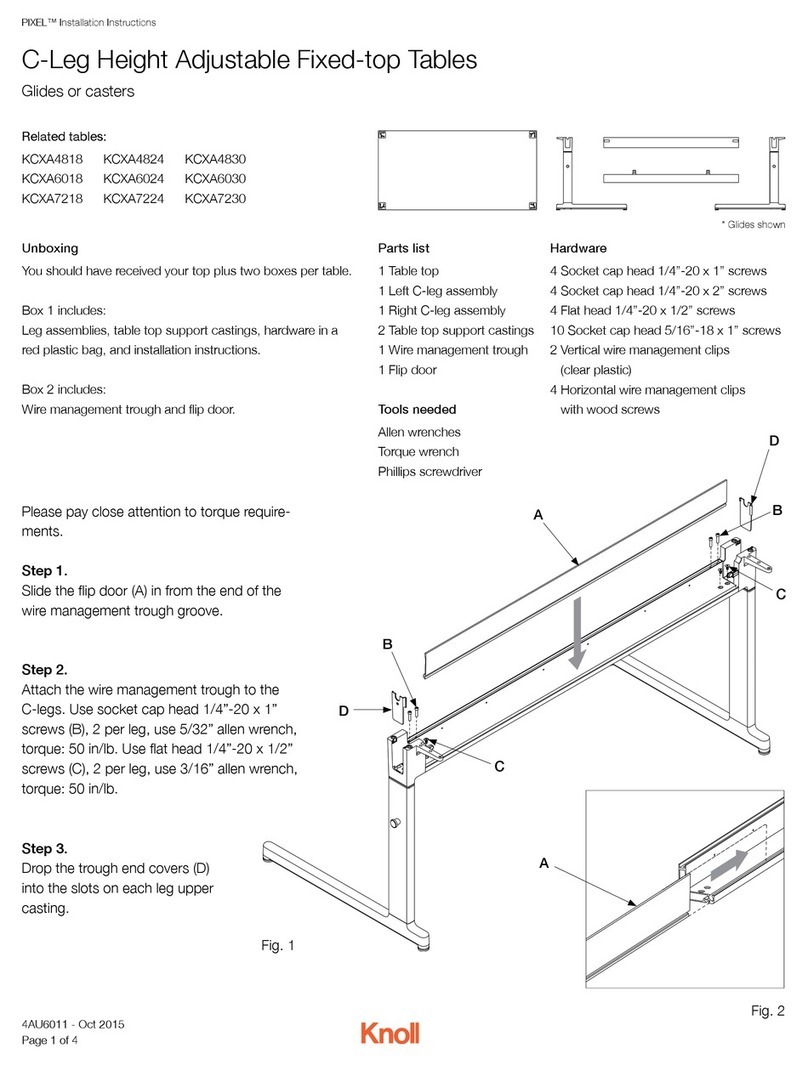
PIXEL™ Installation Instructions
C-Leg Electric Height Adjustable Tables
Glides only
Unboxing
You should have received your top plus two boxes per table.
Box 1 includes:
C-Leg assemblies, feet castings, electrical controller box and
screws, control switch with cable and screws, leg extension
cables, main power cable, hardware in a red plastic bag, and
installation instructions.
Box 2 includes:
C-Leg rail kit
Hardware
24 Pan head sheet metal #10 x 1.00 screws
12 Socket button head M6 x 12mm screws
2 Pan head sheet metal #10 x 2.00 screws
8 Socket head cap M6 x 55mm screws
2 Vertical wire management clips
(clear plastic)
4 Horizontal wire management clips
with wood screws
Tools needed
Allen wrenches
Torque wrench
Phillips screwdriver
Related tables:
KCXE6030G
KCXE7230G
A
Fig. 1
Please pay close attention to torque requirements.
Step 1.
Lay the inverted table top on the floor.
Step 2.
Align the two “C” section rail (A) holes with the top
pilot holes. Attach the rails to the top using pan
head sheet metal #10 x 1.00 screws, 6 per rail,
torque: 20 in/lb.
Parts list
1 Table top
2 C-Leg assemblies
2 Feet castings
1 C-Leg rail kit
1 Electrical controller box
and screws
1 Control switch with cable
and screws
2 Leg extension cables
1 Main power cable
4AU6004 - Oct 2015
Page 1 of 6
PIXEL™ Installation Instructions
C-Leg Electric Height Adjustable Tables
Step 3.
Align the two end bracket (B) holes with the top pilot holes.
Attach the brackets to the top using pan head sheet metal
#10 x 1.00 screws, 5 per rail, torque: 20 in/lb.
Step 4.
Align the two ‘L’ section rails (C) with the ‘C’ section rails and
slide into the notched holes so that the end of the rails slides
into the end bracket.
Fig. 2
Fig. 3
B
B
C
C
4AU6004 - Oct 2015
Page 2 of 6
PIXEL™ Installation Instructions
C-Leg Electric Height Adjustable Tables
Step 6.
Insert the 3 staged motorized leg assemblies (G) into the
rail frame. Attach using socket button head M6 x 12mm
screws (H), 6 per leg, torque: 20 in/lb.
Step 5.
Attach feet castings (D) to C-Leg 3 stage assemblies (E)
using socket head cap M6 x 55mm screws (F), 4 per leg,
torque: 20 in/lb.
G
Fig. 5
Fig. 4
G
H
H
H
H
H
H
F
E
D
4AU6004 - Oct 2015
Page 3 of 6
PIXEL™ Installation Instructions
C-Leg Electric Height Adjustable Tables
Step 7.
Attach the controller box (I) in
the desired position between the
rails and legs motors using two
pan head sheet metal #10 x 2.00
screws (J).
Step 8.
Attach the control switch (K) on
the desired side of the table top
using two pan head sheet metal
#10 x 1.00 screws (H).
Step 9.
Connect all cables: two motor ca-
bles between controller box and leg
motors (M), (controller box features
cable passages); one switch cable
(N) between the switch and control-
ler box; and the main power cable
(O) that connects to the controller
box and a wall outlet.
Step 10.
Turn the assembled table into the
upright position.
Note: Use horizontal wire manage-
ment clips to secure wires under
table.
Fig. 6
Fig. 7
L
K
I
M
M
N
N
O
J
4AU6004 - Oct 2015
Page 4 of 6
PIXEL™ Installation Instructions
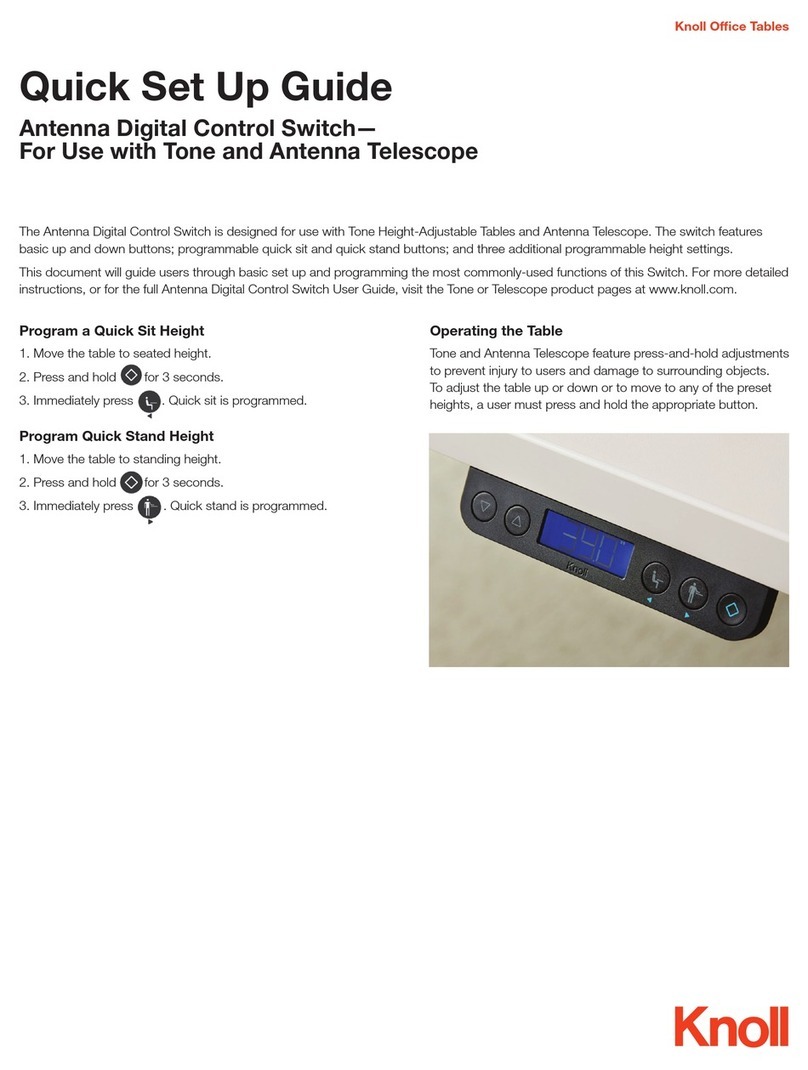
C-Leg Electric Height Adjustable Tables - Operating Instructions
Parallel drive
The arrow buttons (A).
Hold down the button to activate the parallel drive.
Memory drive
Small buttons with dots (B).
Press one of the memory buttons and the system will
start driving to the pre-programmed memory position.
Keep the button pressed until the position is reached.
Store memory
S button (C).
Press the button and within two seconds press one of
the small buttons with dots (B), and the current position
will be stored at this button.
Table Height
In standing position, table height should be just below
the elbow.
Fig. 9
A B C
Fig. 8
4AU6004 - Oct 2015
Page 5 of 6
PIXEL™ Installation Instructions
1. The desk does not drive at all
Check: Is the main power connected to the control box?
Try/Solution: Try to connect a lamp or similar to the main
power supply to check that the supply voltage is OK.
Check: Are all plugs mounted correctly in the control box
and to the leg?
Try/Solution: Check all connections.
Check: Are there any visible damages on cables, controls,
the control box or legs?
Try/Solution: Contact Knoll Customer Service.
Check: Is something blocking the movement: cables,
furniture or other objects?
Try/Solution: Remove items that are blocking the table.
3. The desk can only drive downward (Error code E01)
The desk must be initialized.
How to initialize:
Press the down button and drive to the lowest position.
Hold the button until the desk stops completely.
Reactivate the down button and hold until the desk stops
completely.
Now the desk can drive up.
2. The desk will not drive fully upwards. Always stops in
the same position.
The system has set a new upwards stop position. To erase
this position, the desk must be initialized again. See #3.
C-Leg Electric Height Adjustable Tables - Troubleshooting
4AU6004 - Oct 2015
Page 6 of 6

This manual suits for next models

1

Other Knoll Indoor Furnishing manuals

Knoll k.stand Electric User manual

Knoll

Knoll k.stand Electric User manual

Knoll Pixel KBXL36DG User manual

Knoll

Knoll Pixel KBXL36DG User manual

Knoll Hipso User manual

Knoll

Knoll Hipso User manual

Knoll Islands 6TD00061 User manual

Knoll

Knoll Islands 6TD00061 User manual

Knoll Pop Up User manual

Knoll

Knoll Pop Up User manual

Knoll Pixel KTXE6036G User manual

Knoll

Knoll Pixel KTXE6036G User manual

Knoll Pixel KYPW8436C User manual

Knoll

Knoll Pixel KYPW8436C User manual

Knoll Antenna Telescope User manual

Knoll

Knoll Antenna Telescope User manual

Knoll Islands Collection 6TD00064 User manual

Knoll

Knoll Islands Collection 6TD00064 User manual

Knoll Antenna Telescope Parts list manual

Knoll

Knoll Antenna Telescope Parts list manual

Knoll SL-Base User manual

Knoll

Knoll SL-Base User manual

Knoll Antenna Digital Control Switch User manual
Knoll

Knoll Antenna Digital Control Switch User manual

Knoll k.stand Electric User manual

Knoll

Knoll k.stand Electric User manual

Knoll k. bench User manual

Knoll

Knoll k. bench User manual

Knoll Islands 6TD00062 User manual

Knoll

Knoll Islands 6TD00062 User manual

Knoll Antenna Telescope User manual

Knoll

Knoll Antenna Telescope User manual

Knoll Generation User manual

Knoll

Knoll Generation User manual

Knoll Tone Electric User manual

Knoll

Knoll Tone Electric User manual

Knoll 6TD00034 User manual

Knoll

Knoll 6TD00034 User manual

Knoll Stroke 665/420 User manual

Knoll

Knoll Stroke 665/420 User manual

Knoll Pixel KFXW4818 User manual

Knoll

Knoll Pixel KFXW4818 User manual

Knoll k.stand Electric User manual

Knoll

Knoll k.stand Electric User manual

Knoll Reff Profiles 6TP00587 User manual

Knoll

Knoll Reff Profiles 6TP00587 User manual

Knoll Chadwick User manual

Knoll

Knoll Chadwick User manual

Popular Indoor Furnishing manuals by other brands

ESI LIFT instructions

ESI

ESI LIFT instructions

highwood AD-DTB25 Assembly guide

highwood

highwood AD-DTB25 Assembly guide

YitaHome FTBFSD-6001 Assembly instructions

YitaHome

YitaHome FTBFSD-6001 Assembly instructions

DANSANI SP-515 Maintenance Instruction

DANSANI

DANSANI SP-515 Maintenance Instruction

ACID Core Products TXG517 manual

ACID

ACID Core Products TXG517 manual

Audio Visual Furniture T628-T Assembly and setup instructions

Audio Visual Furniture

Audio Visual Furniture T628-T Assembly and setup instructions

Whalen AVFC54-12BT quick start guide

Whalen

Whalen AVFC54-12BT quick start guide

Seconique Wexford Assembly instructions

Seconique

Seconique Wexford Assembly instructions

Progressive T365-29 Assembly instructions

Progressive

Progressive T365-29 Assembly instructions

CATSKILL 1426 Assembly instructions

CATSKILL

CATSKILL 1426 Assembly instructions

IKEA BILLY BYOM GLASS DOOR FOR HEIGHT EXT instructions

IKEA

IKEA BILLY BYOM GLASS DOOR FOR HEIGHT EXT instructions

Argos Home Venice 457/6918 Assembly instructions

Argos Home

Argos Home Venice 457/6918 Assembly instructions

Quoizel QR5136 installation guide

Quoizel

Quoizel QR5136 installation guide

noken VINTAGE 100240166 manual

noken

noken VINTAGE 100240166 manual

young time 212484 instructions

young time

young time 212484 instructions

YitaHome FTBFSD-0030 Assembly instructions

YitaHome

YitaHome FTBFSD-0030 Assembly instructions

Northbeam VIENNA BOX030205110 manual

Northbeam

Northbeam VIENNA BOX030205110 manual

SCIAE TIAGO 19SA4020 Assembling instructions

SCIAE

SCIAE TIAGO 19SA4020 Assembling instructions

manuals.online logo
manuals.online logoBrands
  • About & Mission
  • Contact us
  • Privacy Policy
  • Terms and Conditions

Copyright 2025 Manuals.Online. All Rights Reserved.