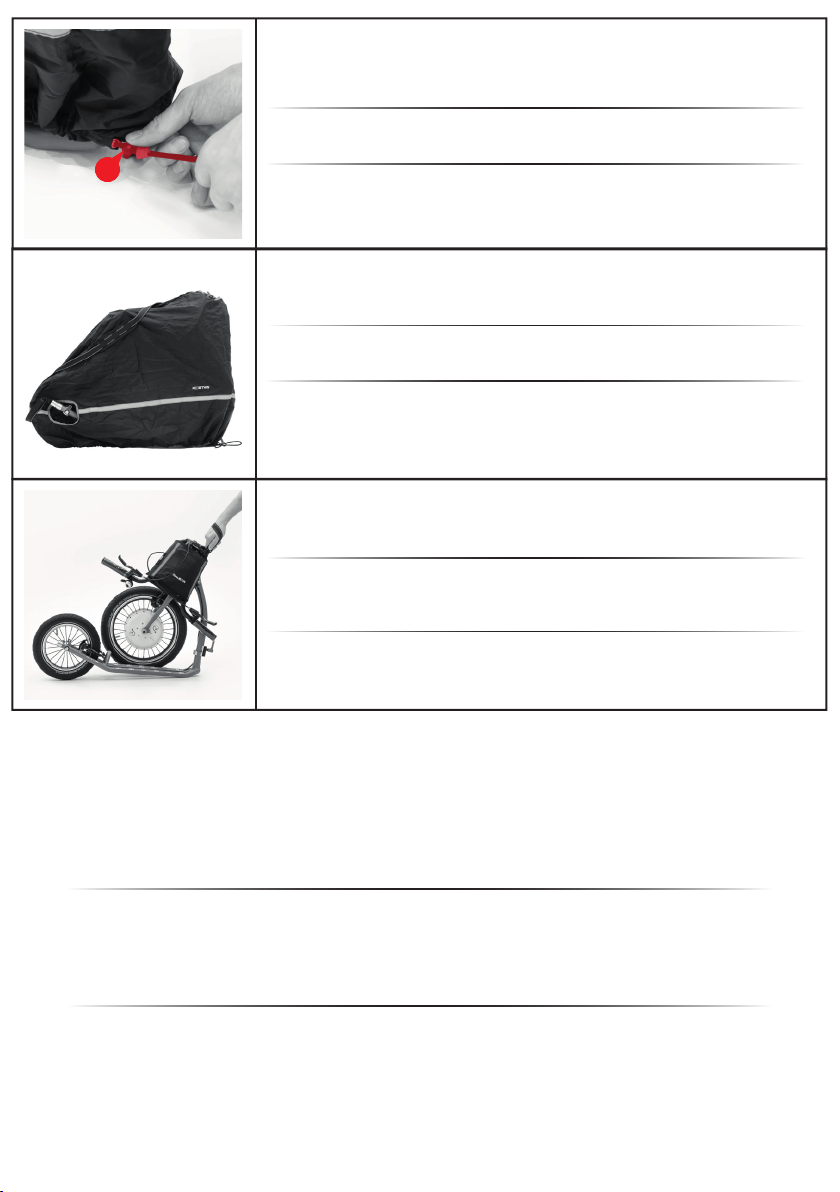
8
9
Spojte přední brzdu. Nasaďte vodítko lanka 8 zpět do pozice 9. Pro kontrolu
roztočte kolo, které se musí volně otáčet. Po zmáčknutí přední brzdové páky se musí
zastavit.
Vorne Bremsteilen ankuppeln. Den Bremszug 8 wieder ansetzen in die Position 9.
Drehen wirdas Rad an, damit wir ko nt roheren könnten, ob das Rad sich
problemlos dreht. Fall man drückt den Bremshebel, das Rad muss sich anhalten.
Connect the front brake. Insert the end cup of the metal cable guide 8 back into
position 9. Check whether the wheel is spinning freely. Press the front brake lever.
The wheel must stop.
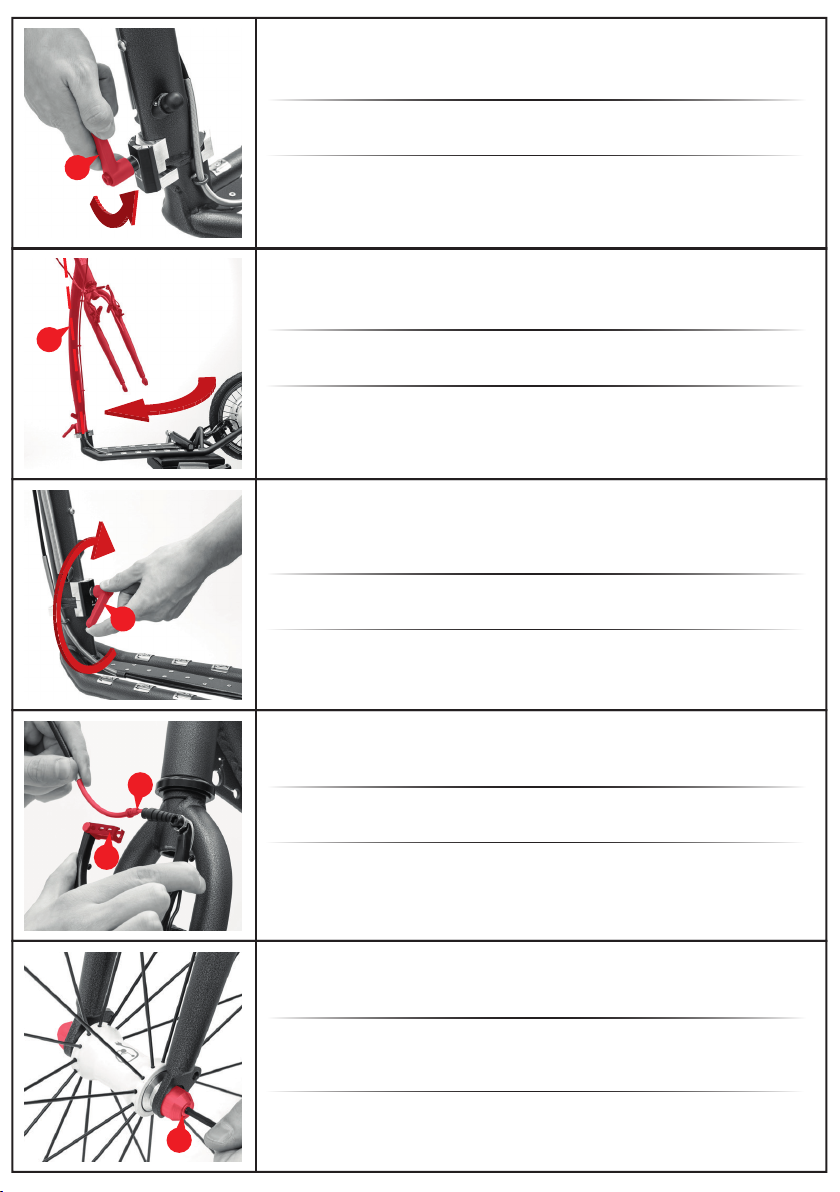
11
Řidítka srovnejte s předním kolem tak, že osa symetrie řidítek je rovnoběžná s
kolem. Dotáhněte šrouby 11 (max 8 - 9 Nm).
Den Lenker mittig zentrienen, damit die Radachse gerade laufen kann. Den
Schraub 11 anziehen (8 - 9 Nm).
Align the handlebars with the front wheel. Tighten the screws 11 (max 8 - 9 Nm).
12
Povolte šrouby 12, srovnejte řídítka do vhodné polohy a šrouby dotáhněte
(maximálně 8-9 Nm). Pozn.: Šrouby dotahujte postupně do kříže proti sobě
(všechny stejným dotahovacím momentem).
Die Schrauben 12 im vorderen Teil lockern, den Lenker gerade ausrichten und die
Schrauben anziehen 8-9 Nm. Die Schrauben bitte über kreuz anziehen.
Loosen up the bolts 12, adjust handlebars to the right position and tighten up the
bolts 8-9 Nm. Note: Tighten up the bolt in cross pattern with the same torque.
CZ
DE
EN
Nastavení řidítek do vhodně polohy
Einstellung des lenkers in der passenden position
Setting the handlebars into the suitable position
14
13
Nastavte brzdové páky 13 do vhodné polohy tak, aby se vám snadno ovládaly a
dotáhněte šrouby 14 (max. 4 Nm) na objímce.
Die Bremsenhebe 5 leinstellen und so justieren, daß die Räder frei laufen, danach
bitte einen Bremstest machen. Ziehen Sie die Schrauben 6 fest (max 4Nm).
Adjust brake levers 13 into the right position for easy usage and tighten up the bolts
14 (max 4Nm).
CZ
DE
EN
Nastavení brzdových pák do vhodné polohy
Einstellung des Bremshebel in der passenden position
Setting the brake levers into the suitable position