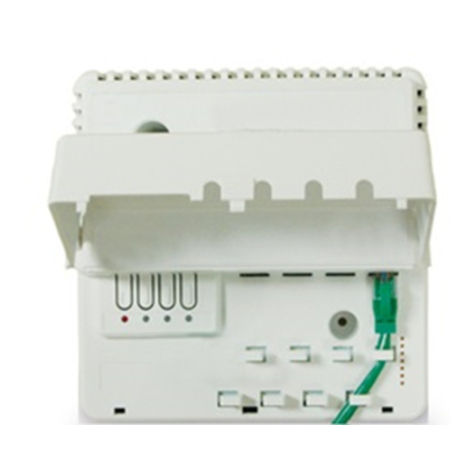
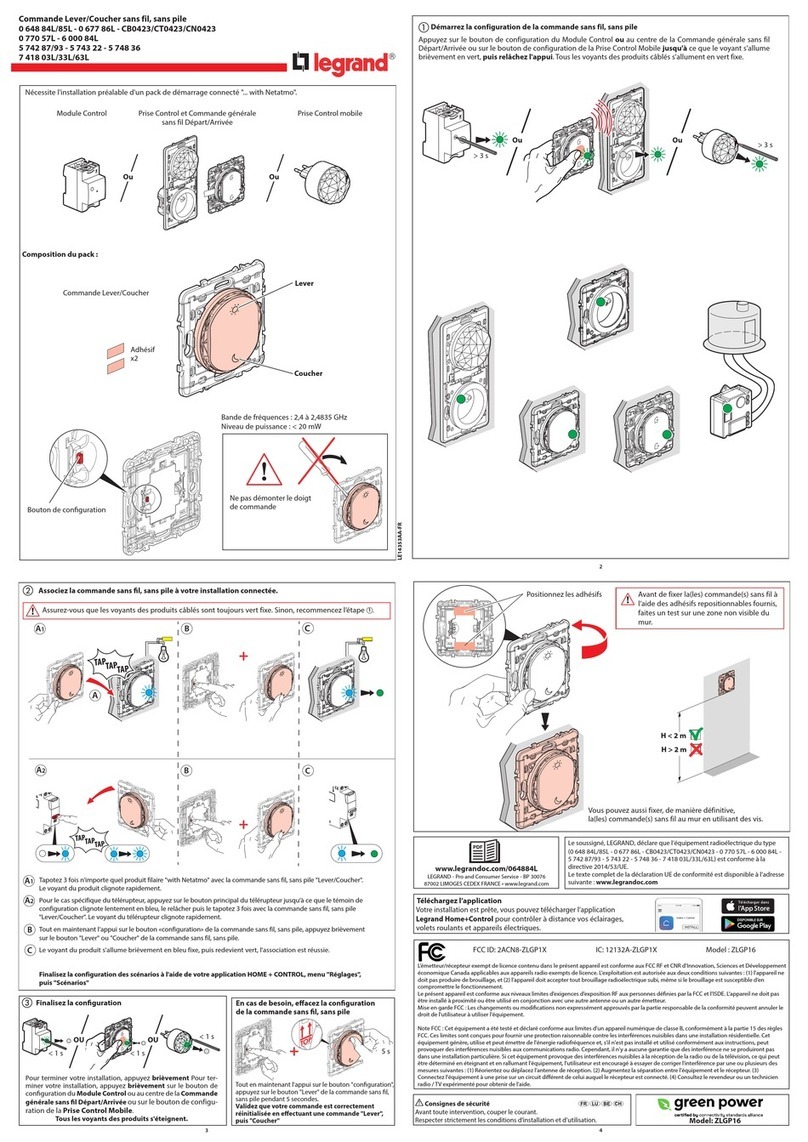
LEGRAND EasyIP VADDIO PCC User manual
Other LEGRAND Controllers manuals

LEGRAND
LEGRAND Radiant WNRCB40 User manual

LEGRAND
LEGRAND 0 261 19 User manual
LEGRAND
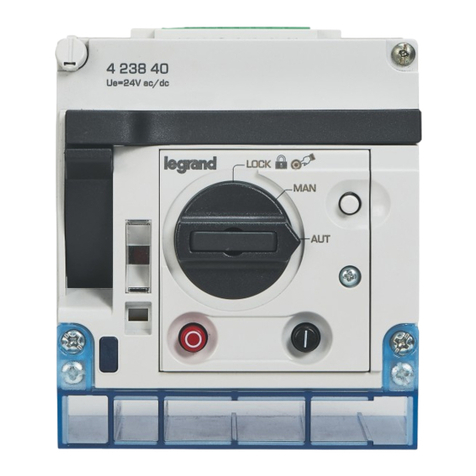
LEGRAND 4 238 40 User manual
LEGRAND
LEGRAND HD4657M3 User manual
LEGRAND
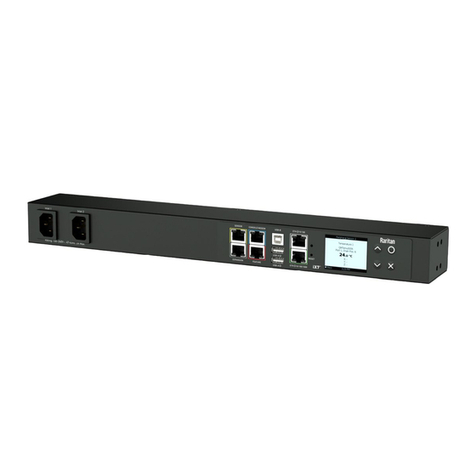
LEGRAND Raritan SRC-0100 User manual
LEGRAND
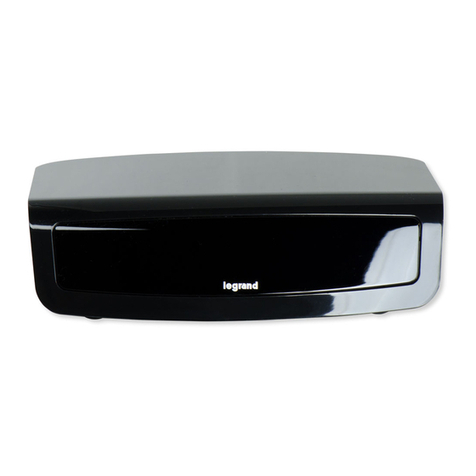
LEGRAND Adorne LC7001 User manual
LEGRAND
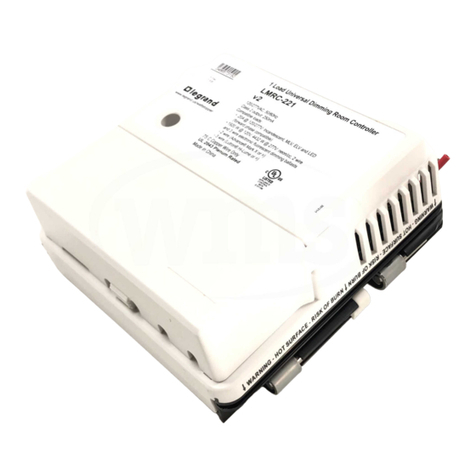
LEGRAND Wattstopper LMRC-221 User manual
LEGRAND
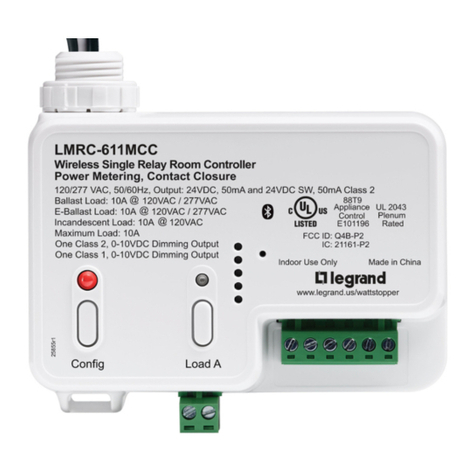
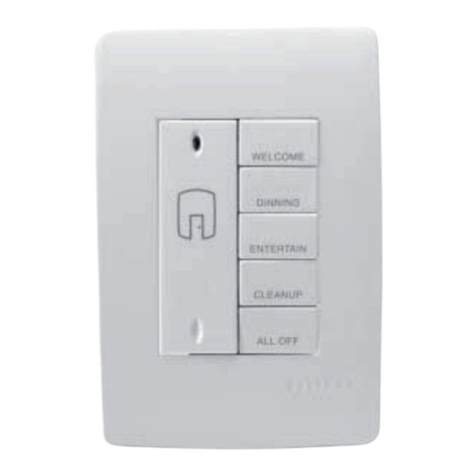
LEGRAND Wattstopper LMPL-611-20M User manual
LEGRAND
LEGRAND MRD6 v2 User manual

LEGRAND
LEGRAND PRO 21 7756 22 User manual
LEGRAND
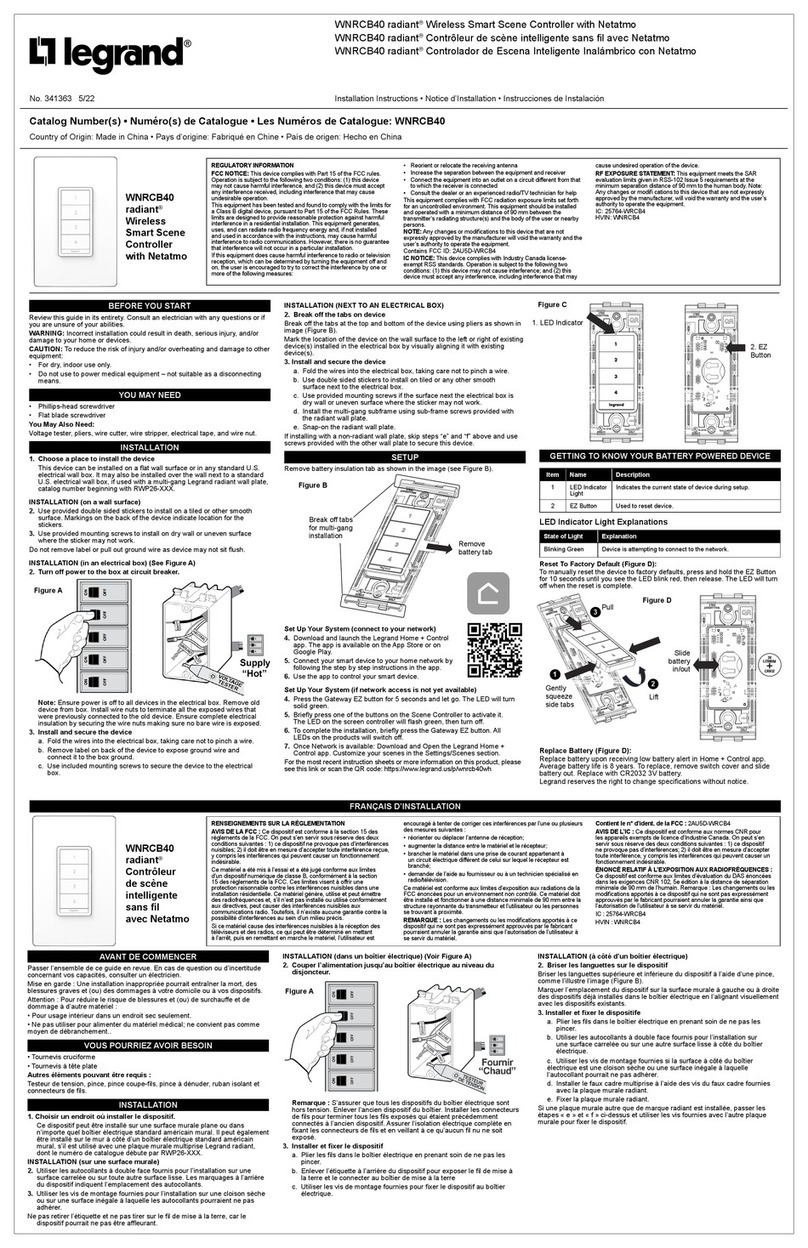
LEGRAND radiant WNRCB40WH User manual

LEGRAND
LEGRAND Adorne LC7001 User manual

LEGRAND
LEGRAND 0 884 07 User manual
LEGRAND
LEGRAND Valena Allure Series User manual

LEGRAND
LEGRAND Wattstopper DLM LMJA-8 Series User manual
LEGRAND
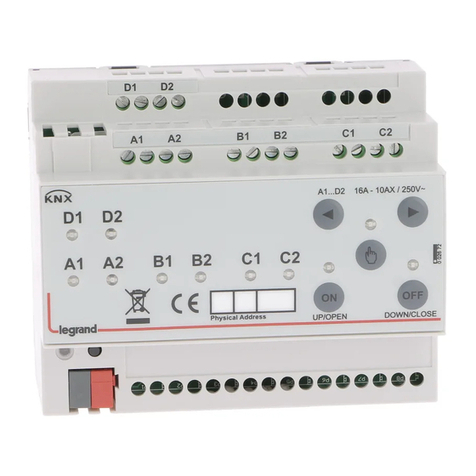
LEGRAND 0 026 72 User manual
LEGRAND
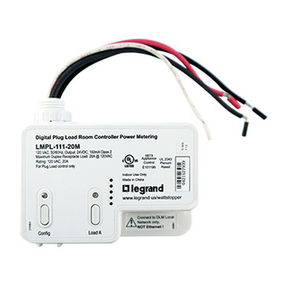
LEGRAND Wattstopper LMPL-111-20M User manual
LEGRAND
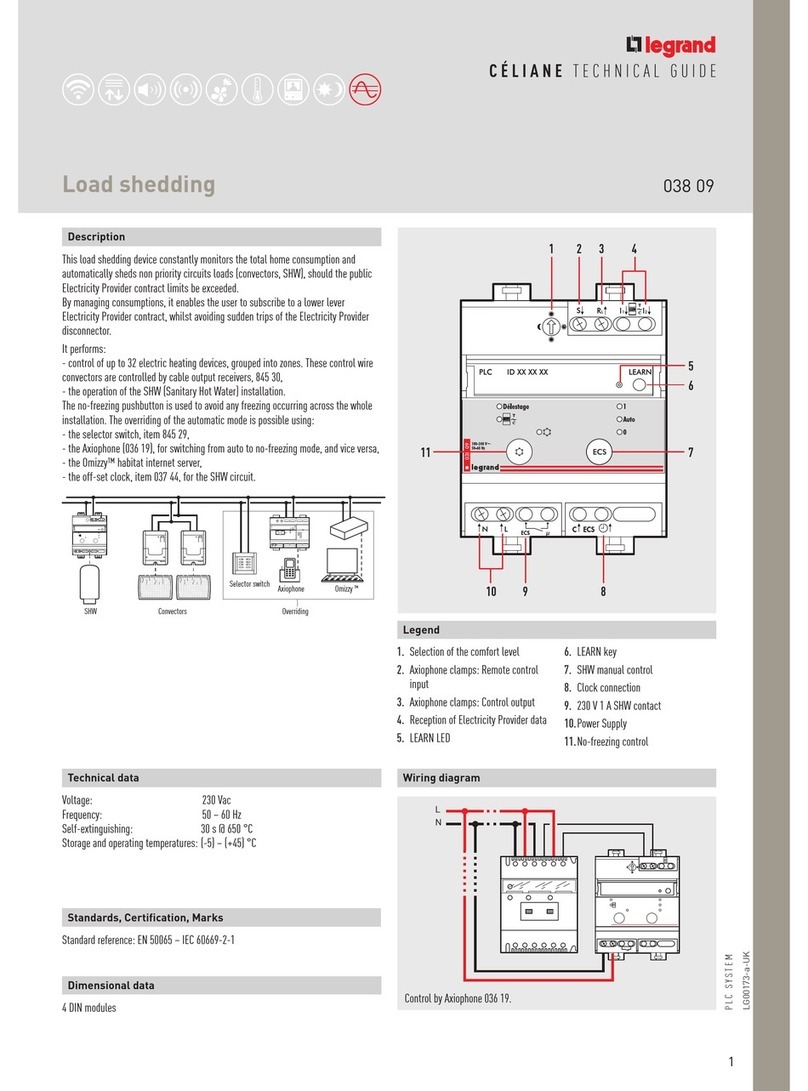
LEGRAND 038 09 Quick start guide

LEGRAND
LEGRAND LE00282AC User manual
LEGRAND
LEGRAND adorne WNACB40 User manual
Popular Controllers manuals by other brands

Digiplex
Digiplex DGP-848 Programming guide

YASKAWA
YASKAWA SGM series user manual

Sinope
Sinope Calypso RM3500ZB installation guide

Isimet
Isimet DLA Series Style 2 Installation, Operations, Start-up and Maintenance Instructions

LSIS
LSIS sv-ip5a user manual

Airflow
Airflow Uno hab Installation and operating instructions

