manuals.online logo
Brands
  1. Home
  2. •
  3. Brands
  4. •
  5. Leviton
  6. •
  7. Controllers
  8. •
  9. Leviton Bitwise BWBC2 User manual

Leviton Bitwise BWBC2 User manual

© 2015 Leviton Mfg. Co., Inc.
bitwise™
BWBC2
QUICK-START
GUIDE
DI-000-BWBC2-00A
003-BWBC2-NPS
010-BWBC2-
000
015-BWBC2-
0NT
410-BWBC2-PSH
Cat. Nos.
WARNINGS & CAUTIONS
• WARNING: TO AVOID DEATH OR SERIOUS PERSONAL INJURY never push objects of any kind into this
product through openings, as they may touch dangerous voltages.
• WARNING: TO AVOID DEATH OR SERIOUS PERSONAL INJURY never touch uninsulated wires or terminals
unless the wiring has been disconnected at the network interface.
• Read and understand all instructions. Follow all warnings and instructions marked on the product.
• Do not use this product near water - e.g., near a tub, wash basin, kitchen sink or laundry tub, in a wet
basement, or near a swimming pool.
• Never install communications wiring or components during a lightning storm.
• Never install communications components in wet locations unless the components are designed specifically
for use in wet locations.
• Use caution when installing or modifying communications wiring or components.
• SAVE THESE INSTRUCTIONS.
INCLUDED IN THE BOX
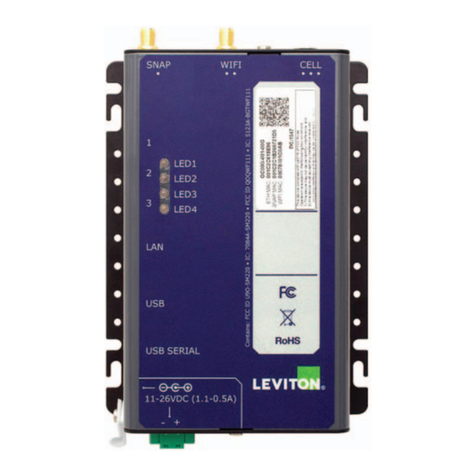
1– BWBC2 Automation Controller features and specs
• 4 – Routed, Adjustable IR Ports
• 2 – Bi-Directional RS-232 ports
• 2 – SPDT Relays rated at 2 A @ 30 VDC
• 2 – Analog to Digital Converters for monitoring external voltage, measuring temperature etc…
• Capable of maintaining multiple TCP client connections simultaneously
• Built-In Astronomical clock and scheduler for automating functions
• Email Notification of events
1– 12 VDC 500 mA Level V Power Supply
LEVITON LIMITED WARRANTY
Leviton warrants to the original consumer purchaser and not for the benefit of anyone else that products manufactured by Leviton under
the Leviton brand name (“Product”) will be free from defects in material and workmanship for the time periods indicated below, whichever
is shorter: • OmniPro II and Lumina Pro: three (3) years from installation or 42 months from manufacture date. • OmniLT, Omni IIe, and
Lumina: two (2) years from installation or 30 months from manufacture date. • Thermostats, Accessories: two (2) years from installation
or 30 months from manufacture date. • Batteries: Rechargeable batteries in products are warranted for ninety (90) days from date of
purchase. Note: Primary (non-rechargeable) batteries shipped in products are not warranted. Products with Windows®Operating
Systems: During the warranty period, Leviton will restore corrupted operating systems to factory default at no charge, provided that
the product has been used as originally intended. Installation of non-Leviton software or modification of the operating system voids this
warranty. Leviton’s obligation under this Limited Warranty is limited to the repair or replacement, at Leviton’s option, of Product that fails due
to defect in material or workmanship. Leviton reserves the right to replace product under this Limited Warranty with new or remanufactured
product. Leviton will not be responsible for labor costs of removal or reinstallation of Product. The repaired or replaced product
is then warranted under the terms of this Limited Warranty for the remainder of the Limited Warranty time period or ninety (90) days,
whichever is longer. This Limited Warranty does not cover PC-based software products. Leviton is not responsible for conditions or
applications beyond Leviton’s control. Leviton is not responsible for issues related to improper installation, including failure to
follow written Installation and operation instructions, normal wear and tear, catastrophe, fault or negligence of the user or other
problems external to the Product. To view complete warranty and instructions for returning product, please visit us at www.leviton.com.
For Technical Assistance Call: 800-824-3005 - www.leviton.com
FOR CANADA ONLY: For warranty information and/or product returns, residents of Canada should contact Leviton in writing at Leviton
Manufacturing of Canada Ltd to the attention of the Quality Assurance Department, 165 Hymus Blvd, Pointe-Claire (Quebec),
Canada H9R 1E9 or by telephone at 1 800 405-5320.
FCC COMPLIANCE: This equipment has been tested and found to comply with the limits for a Class B digital device, pursuant to part
15 of the FCC Rules. These limits are designed to provide reasonable protection against harmful interference in a residential installation.
This equipment generates, uses and can radiate radio frequency energy and, if not installed and used in accordance with the instructions,
may cause harmful interference to radio communications. However, there is no guarantee that interference will not occur in a particular
installation. If this equipment does cause harmful interference to radio or television reception, which can be determined by turning the
equipment off and on, the user is encouraged to try to correct the interference by one or more of the following measures:
- Reorient or relocate the receiving antenna.
- Increase the separation between the equipment and receiver.
- Connect the equipment into an outlet on a circuit different from that to which the receiver is connected.
- Consult the dealer or an experienced radio/TV technician for help.
TRADEMARK DISCLAIMER: Use herein of third party trademarks, service marks, trade names, brand names and/or product names
are for informational purposes only, are/may be the trademarks of their respective owners; such use is not meant to imply affiliation,
sponsorship, or endorsement.
IC STATEMENT: This device complies with Industry Canada licence-exempt RSS standard(s). Operation is subject to the following two
conditions: (1) this device may not cause interference, and (2) this device must accept any interference, including interference that may
cause undesired operation of the device.
WE KNOW YOU ARE EXCITED TO GET YOUR HANDS ON THIS BWBC2, BUT THERE ARE SOME
IMPORTANT THINGS YOU NEED TO DO FIRST.
• Make sure you have updated your Project Editor software to the latest version (v1.9.0 or higher is required).
You can verify that you have the latest version by checking Help>About in the Project Editor menu. The
BWBC2 is not supported by PE versions before PE 1.9.
• Make sure you have updated Leviton®bitwise™ Touch for iOS™ or Android™ devices to version v1.9 or
higher. The BWBC2 is not supported by Leviton bitwise Touch versions lower than 1.9.
• The BWBC2 includes a brand new IR engine and database. Make sure you log in to our support center to learn
about the great new IR features, compatibility, and differences at www.bitwisecontrols.com/support.
• THE BWBC2 DOES NOT HAVE A BUILT-IN IR LEARNER! If you don’t already have one, order a bitwise USB
IR Learner today!
© 2015 Leviton Mfg. Co., Inc.
DI-000-BWBC2-00A
ENGLISH
WEB VERSION
INSTALLING THE BWBC2 – QUICK START – CONTINUED
3) Location Settings – The BWBC2 has a built-in scheduler that will also allow events to be triggered based on a
specific time, sunrise or sunset. In order for the sunrise and sunset calculations to work properly, it is necessary
to set the Location in the Project node.
a. Right-Click on the Project Node and select “Location”
b. Type the name of your city or town and click search to find your Lat/Long and click “OK”.
4) Email Settings – The BWBC2 can also send email notifications to recipients based on events or macros.
a. Right-Click on the Project Node and select “Email Settings”
b. Fill out the fields using the proper email server settings. For a list of common SMTP email server settings go
to http://www.emailaddressmanager.com/tips/mail-settings.html
c. Add recipients to the project and Send a test to yourself to verify email server settings.
CONGRATULATIONS!
You now have a BWBC2 configured on the network and ready to program. For more details on programming for
devices, macros and GUI interfaces, please view our training video series available in the Support Center.
CONTACT
Technical Support: 1-800-824-3005
Email: [email protected]
[email protected]
Web: www.leviton.com/automation
INSTALLING THE BWBC2 – QUICK START
The BWBC2 (like the BWBC4) is an IP based controller and does need to be connected to a Local Area Network
(LAN). The BWBC2 is shipped from the factory in DHCP mode and should be able to obtain an IP address as long
as there is a DHCP server available on the network.
NOTE: BWBC2 programming and functionality require Project Editor Software version 1.9 or Higher.
1) Add the BWBC2 controller to a new or existing project.
a. Connect the BWBC2 to your LAN via the Ethernet Port and power from the included power adapter.
i. During start-up the Red Status LED on the front of the unit will blink in a “Heartbeat” pattern until all
processes are loaded and running. (This takes about 45 seconds.)
b. Start Project Editor Software and open an existing project or create a new one. Right-click on the BWBC2’s
node of the Project and select “Add Controller from Network”. In the resulting Controller Discovery Window,
select the IP address for the BWBC2 and select “Add to Project”.
2) Modify properties for the newly added BWBC2 via right-click on the BC2:BWCBC2 node in the project.
a. Network Settings
i. Give the BWBC2 a meaningful name for the project. Perhaps the client’s name or the location.
ii. Uncheck the “Use DHCP” checkbox
iii. Assign a valid static IP address to the BWBC2
iv. Click “Apply Settings to BWBC2”
b. Time
i. Choose the Appropriate Time Zone for the install from the drop down menu.
ii. Make sure the current Time and Date from your PC are shown in the two lines below the drop down and
click the “Set” button to set the BWBC2 time and date.
CONNECTIVITY
Ethernet 10/100 Base-T
USB 2.0 2 Ports - future expansion
DEVICE CONTROL
IR Ports 4 (routable, attenuable)
RS232 2 (1 DB9, 1 terminal strip)
Relays 2 (SPDT)
Signal Sense 2 (analog or digital)
Network Yes
DIMENSIONS
H x W x D 1.68 in. x 7.56 in. x .87 in.
H x W x D (packaging) 4 in. x 12 in. x 9 in.
MOUNTING
Shelf Yes
Rack Yes (rack ears sold separately)
POWER
External 12 VDC - 0.5 A (adapter included)
SPECIFICATIONS
© 2015 Leviton Mfg. Co., Inc.
DI-000-BWBC2-00A
WEB VERSION

Other Leviton Controllers manuals

Leviton MLC128R User manual

Leviton

Leviton MLC128R User manual

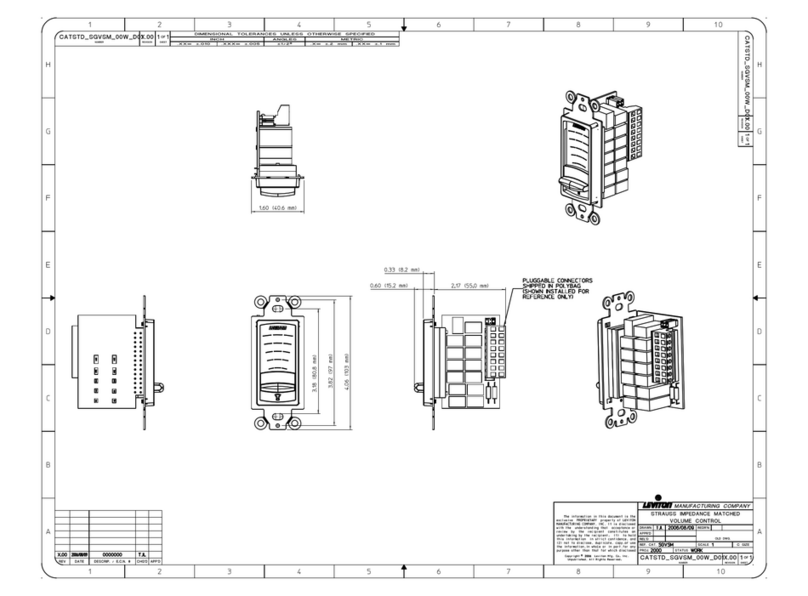
Leviton SGVSM-00W User instructions

Leviton

Leviton SGVSM-00W User instructions

Leviton CN200 User manual

Leviton

Leviton CN200 User manual

Leviton NorthStar Site Controller User manual

Leviton

Leviton NorthStar Site Controller User manual

Leviton PowerSwitch MS4X-302 User manual

Leviton

Leviton PowerSwitch MS4X-302 User manual

Leviton CN221 User manual

Leviton

Leviton CN221 User manual

Leviton D3208 User guide

Leviton

Leviton D3208 User guide

Leviton vizia rf+ User manual

Leviton

Leviton vizia rf+ User manual

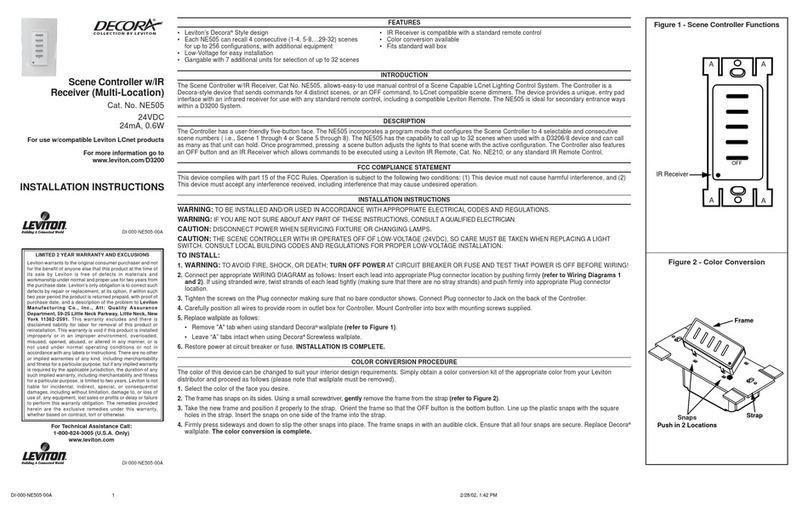
Leviton Decora NE505 User manual

Leviton

Leviton Decora NE505 User manual

Leviton MS602-BW User manual

Leviton

Leviton MS602-BW User manual

Leviton 6616 User manual

Leviton

Leviton 6616 User manual

Leviton Decora Illumatech IPF05-1L User manual

Leviton

Leviton Decora Illumatech IPF05-1L User manual

Leviton CN220 User manual

Leviton

Leviton CN220 User manual

Leviton vizia rf+ VRCS1 User manual

Leviton

Leviton vizia rf+ VRCS1 User manual

Leviton DRKDN-U Series User manual

Leviton

Leviton DRKDN-U Series User manual

Leviton Decora Smart DW15P User manual

Leviton

Leviton Decora Smart DW15P User manual

Leviton VZ00R-10 User manual

Leviton

Leviton VZ00R-10 User manual

Leviton RTD01-10 User manual

Leviton

Leviton RTD01-10 User manual

Leviton miniZ mZb00-102 User manual

Leviton

Leviton miniZ mZb00-102 User manual

Leviton Acenti ACF01-1L User manual

Leviton

Leviton Acenti ACF01-1L User manual

Leviton MC7008 User manual

Leviton

Leviton MC7008 User manual

Leviton MLC128R User manual

Leviton

Leviton MLC128R User manual

Leviton ILLUMATECH IPE04-1L User manual

Leviton

Leviton ILLUMATECH IPE04-1L User manual

Leviton HCPRF Manual

Leviton

Leviton HCPRF Manual

Popular Controllers manuals by other brands

Martin maxxyz modules series user manual

Martin

Martin maxxyz modules series user manual

Mitsubishi A Series user manual

Mitsubishi

Mitsubishi A Series user manual

High End Systems Universal Controller User manual addendum

High End Systems

High End Systems Universal Controller User manual addendum

TEL AFA1000/2 MK2 Installation & operating manual

TEL

TEL AFA1000/2 MK2 Installation & operating manual

Chamberlain LiftMaster K001A6039 installation instructions

Chamberlain

Chamberlain LiftMaster K001A6039 installation instructions

Wibre 5.0620.19.52 installation manual

Wibre

Wibre 5.0620.19.52 installation manual

Sub-Zero CRC-1023 user manual

Sub-Zero

Sub-Zero CRC-1023 user manual

Kantech KT-315 installation manual

Kantech

Kantech KT-315 installation manual

Sony MB-8N user guide

Sony

Sony MB-8N user guide

Colorado time systems WTTC-1 easy instructions

Colorado time systems

Colorado time systems WTTC-1 easy instructions

QCON ProX Setup

QCON

QCON ProX Setup

Omron SYSMAC C200HS Operation manual

Omron

Omron SYSMAC C200HS Operation manual

Miele H 4640 User instructions

Miele

Miele H 4640 User instructions

dixell XR20C Installing and operating instructions

dixell

dixell XR20C Installing and operating instructions

Beluk BLR-CM Modbus Technical documentation

Beluk

Beluk BLR-CM Modbus Technical documentation

SMC Corporation LEF Series Operation manual

SMC Corporation

SMC Corporation LEF Series Operation manual

Gardner Denver GD PILOT TS Original operating instructions

Gardner Denver

Gardner Denver GD PILOT TS Original operating instructions

Welker INLOOP ACE Installation, operation and maintenance manual

Welker

Welker INLOOP ACE Installation, operation and maintenance manual

manuals.online logo
manuals.online logoBrands
  • About & Mission
  • Contact us
  • Privacy Policy
  • Terms and Conditions

Copyright 2025 Manuals.Online. All Rights Reserved.