manuals.online logo
Brands
  1. Home
  2. •
  3. Brands
  4. •
  5. Life
  6. •
  7. Lighting Equipment
  8. •
  9. Life 39.9FS1210N User manual

Life 39.9FS1210N User manual

Other Life Lighting Equipment manuals

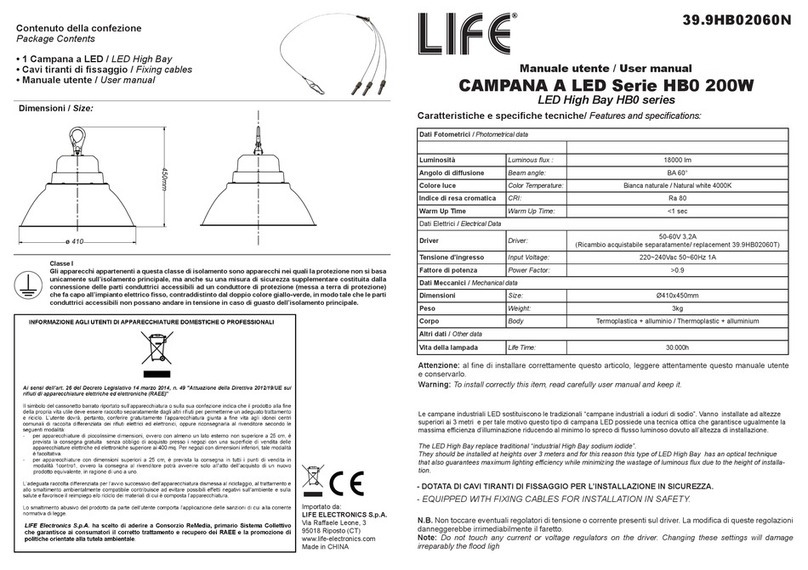
Life 39.9TS041010C User manual

Life

Life 39.9TS041010C User manual

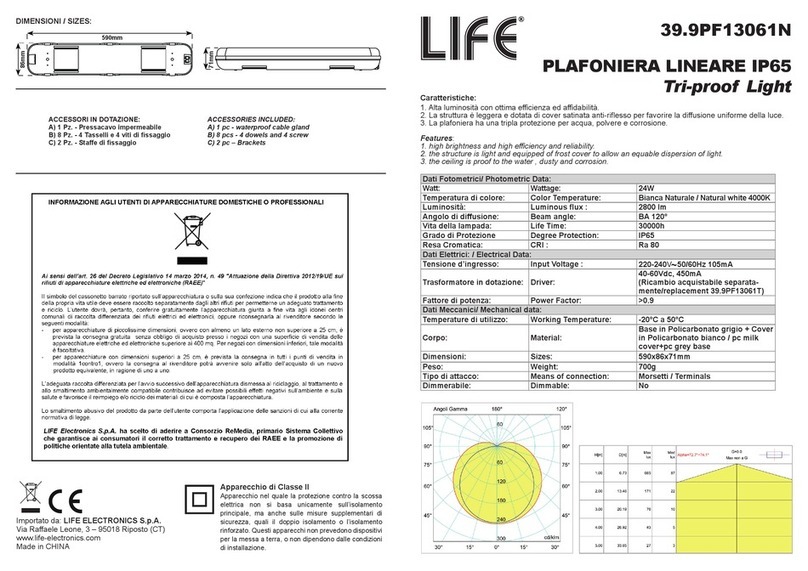
Life 39.9PF13061N User manual

Life

Life 39.9PF13061N User manual

Life 39.9RG112N User manual

Life

Life 39.9RG112N User manual

Life 39.9TP050359C User manual

Life

Life 39.9TP050359C User manual

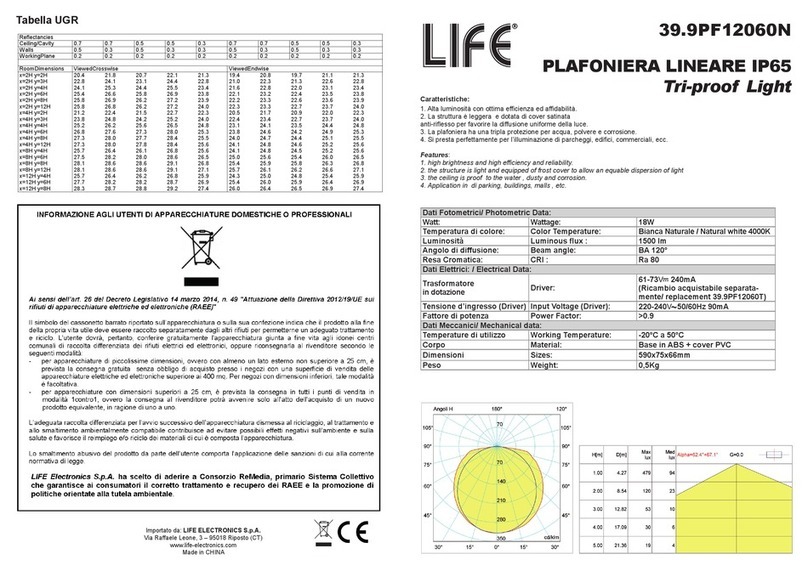
Life 39.9PF12060N User manual

Life

Life 39.9PF12060N User manual

Life 39.9PF2023C User manual

Life

Life 39.9PF2023C User manual

Life 39.LED0611 User manual

Life

Life 39.LED0611 User manual

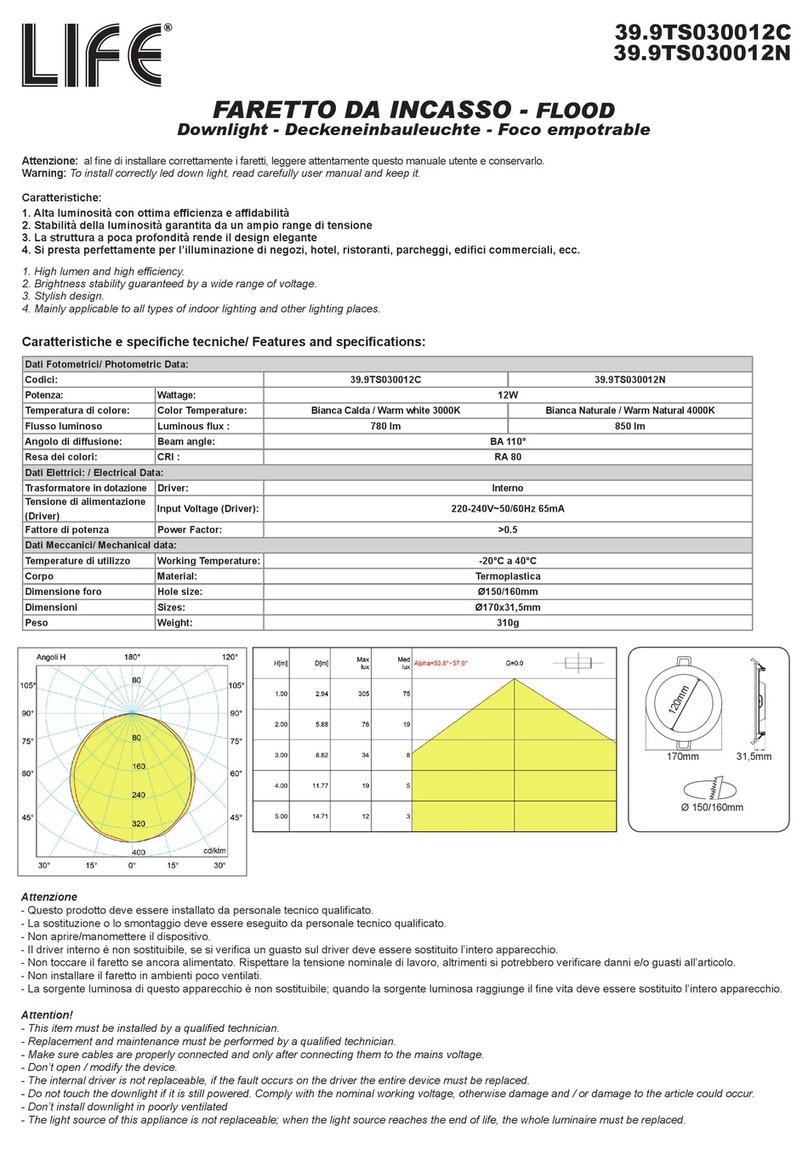
Life HB0 Series User manual

Life

Life HB0 Series User manual

Life 39.9TS042620N40 User manual

Life

Life 39.9TS042620N40 User manual

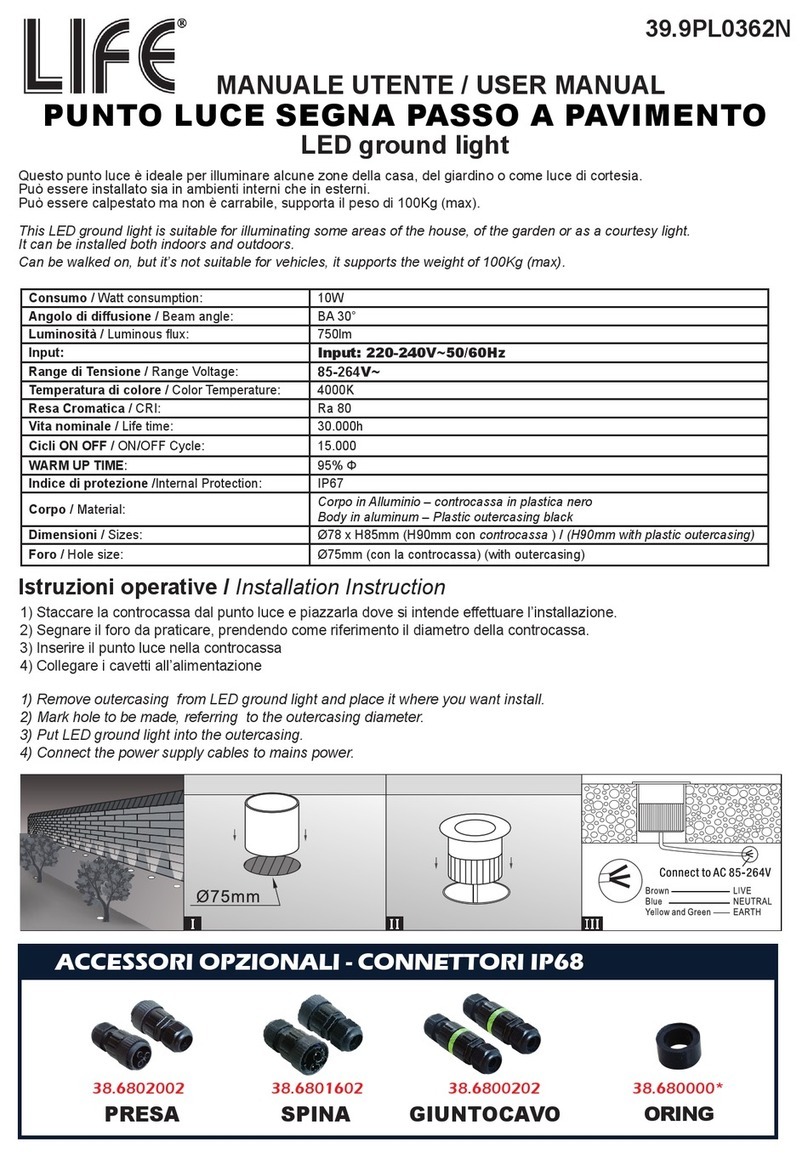
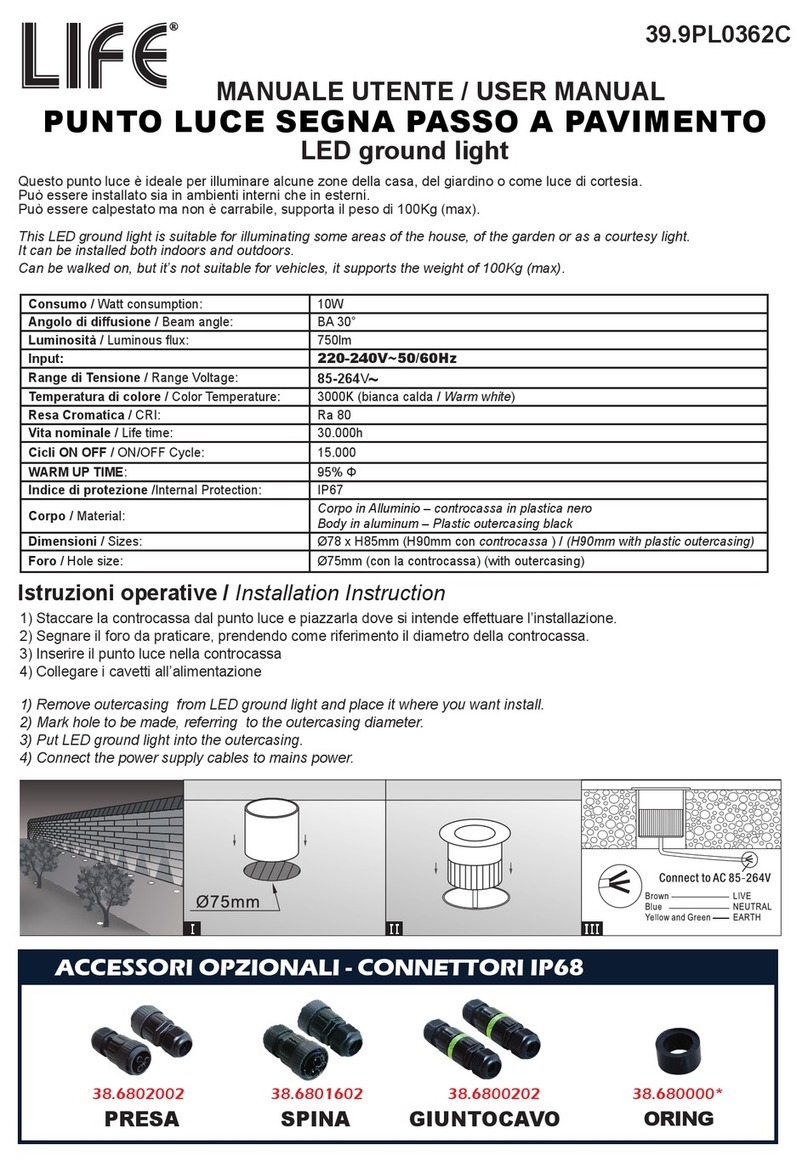
Life 39.9PL0362N User manual

Life

Life 39.9PL0362N User manual

Life HB0 Series User manual

Life

Life HB0 Series User manual

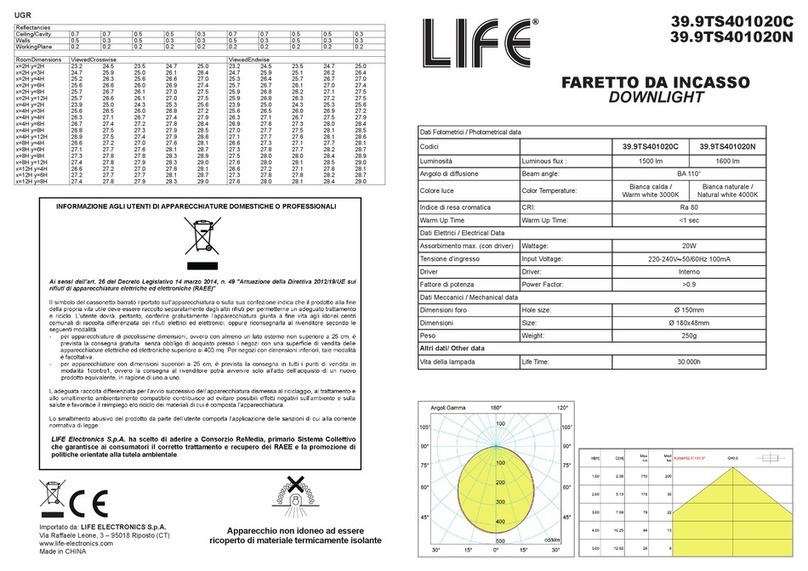
Life 39.9TS030012C User manual

Life

Life 39.9TS030012C User manual

Life 39.9PF13150N User manual

Life

Life 39.9PF13150N User manual

Life 39.9F70020C User manual

Life

Life 39.9F70020C User manual

Life FLOOD ULTRA SLIM User manual

Life

Life FLOOD ULTRA SLIM User manual

Life HB0 Series User manual

Life

Life HB0 Series User manual

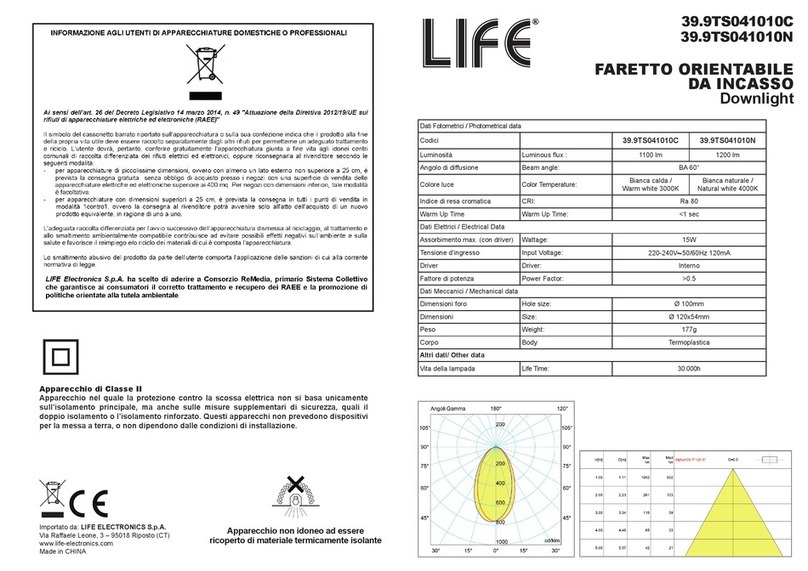
Life 39.9TS401020C User manual

Life

Life 39.9TS401020C User manual

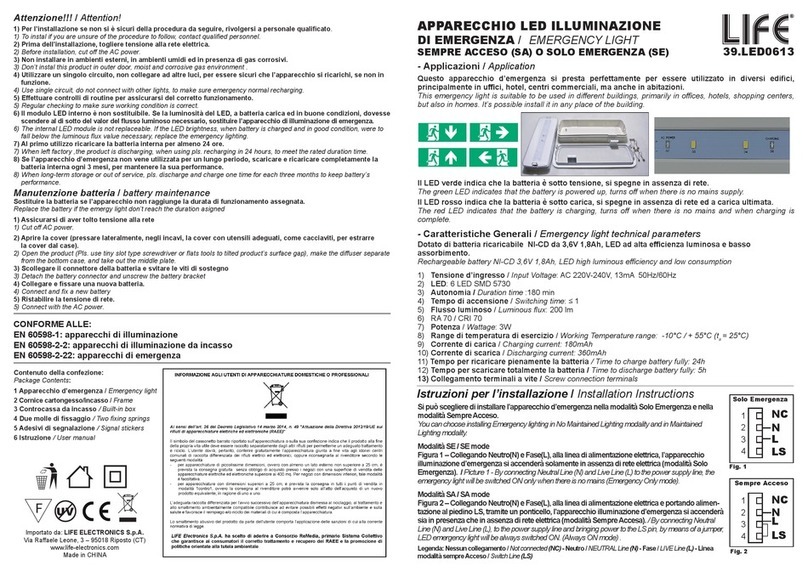
Life 39.LED0613 User manual

Life

Life 39.LED0613 User manual

Life 39.9TP050253C User manual

Life

Life 39.9TP050253C User manual

Life 39.9P034 Series User manual

Life

Life 39.9P034 Series User manual

Life 39.LED09390 User manual

Life

Life 39.LED09390 User manual

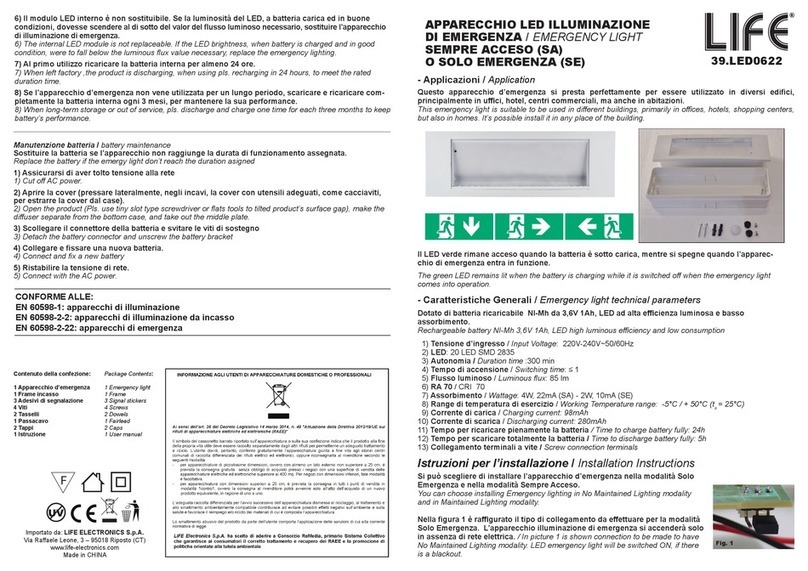
Life 39.LED0622 User manual

Life

Life 39.LED0622 User manual

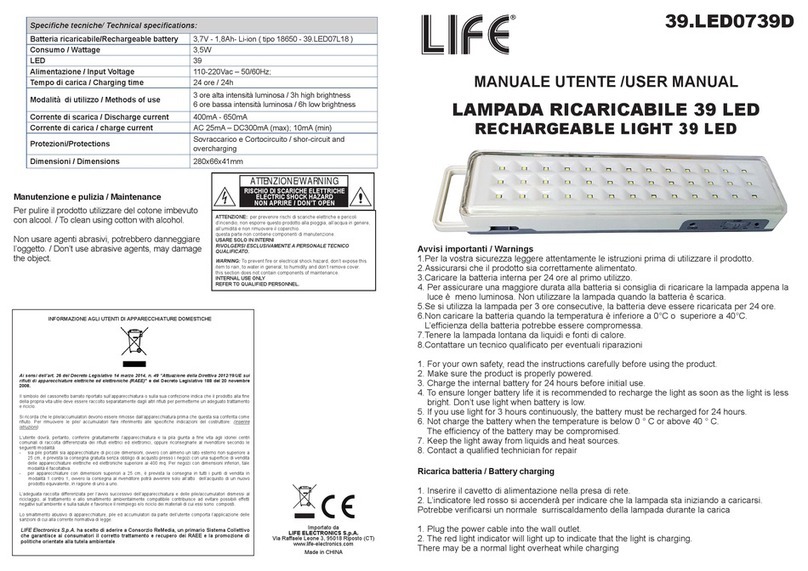
Life 39.LED0739D User manual

Life

Life 39.LED0739D User manual

Life FLOOD ULTRA SLIM User manual

Life

Life FLOOD ULTRA SLIM User manual

Popular Lighting Equipment manuals by other brands

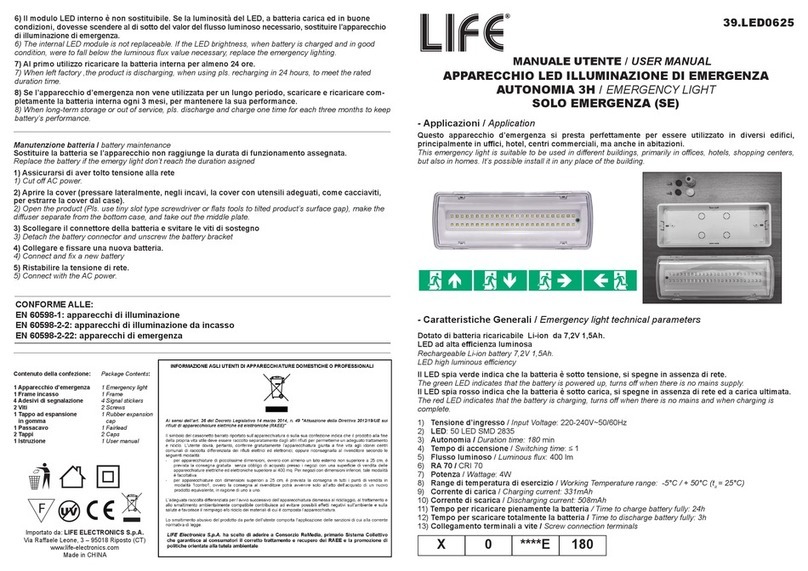
EuroLite LED ML-20 user manual

EuroLite

EuroLite LED ML-20 user manual

LIGMAN OD-50141 installation manual

LIGMAN

LIGMAN OD-50141 installation manual

Home Accents Holiday 1002461144 instructions

Home Accents Holiday

Home Accents Holiday 1002461144 instructions

Experia IRiS Ripple Light instruction manual

Experia

Experia IRiS Ripple Light instruction manual

Erco Gecko Mounting instructions

Erco

Erco Gecko Mounting instructions

Inter-lux ZTA.100.Surface Installation and maintenance instructions

Inter-lux

Inter-lux ZTA.100.Surface Installation and maintenance instructions

Whelen Engineering Company TN Series installation guide

Whelen Engineering Company

Whelen Engineering Company TN Series installation guide

IKEA BJÖRKSPIREA manual

IKEA

IKEA BJÖRKSPIREA manual

Toolland PM 6640 instruction manual

Toolland

Toolland PM 6640 instruction manual

GTD GTD-LP200 user manual

GTD

GTD GTD-LP200 user manual

LIVARNO home 1105-W-UK manual

LIVARNO home

LIVARNO home 1105-W-UK manual

ProLights EclPar IPMFC user manual

ProLights

ProLights EclPar IPMFC user manual

Velvet EVO Series user manual

Velvet

Velvet EVO Series user manual

IDTOLIGHT GENT installation instructions

IDTOLIGHT

IDTOLIGHT GENT installation instructions

MAYTONI S35 installation manual

MAYTONI

MAYTONI S35 installation manual

MaxLite MLFP14DP4535 user manual

MaxLite

MaxLite MLFP14DP4535 user manual

SLV Elektronik 550621 instruction manual

SLV Elektronik

SLV Elektronik 550621 instruction manual

Iluminarc Logic MR16 DN S Quick reference guide

Iluminarc

Iluminarc Logic MR16 DN S Quick reference guide

manuals.online logo
manuals.online logoBrands
  • About & Mission
  • Contact us
  • Privacy Policy
  • Terms and Conditions

Copyright 2025 Manuals.Online. All Rights Reserved.

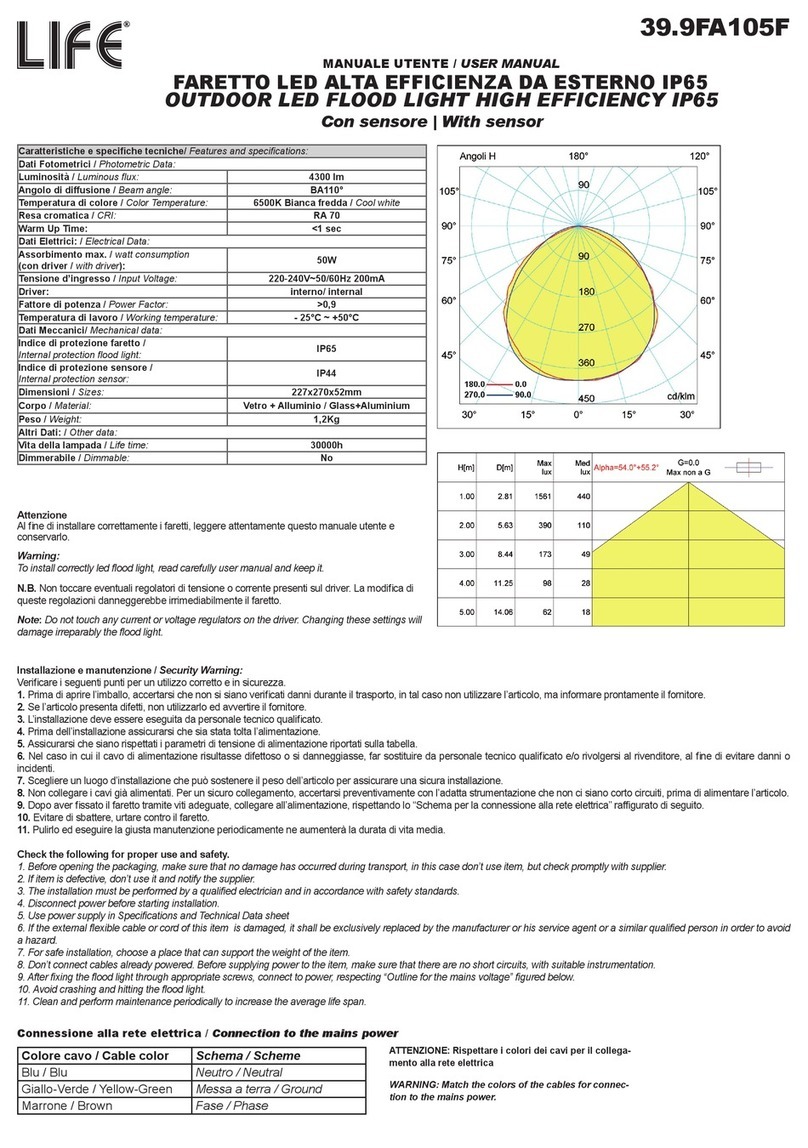
39.9FS1210N
FARO STRADALE LED IP65
LED Street light
MANUALE UTENTE / USER MANUAL
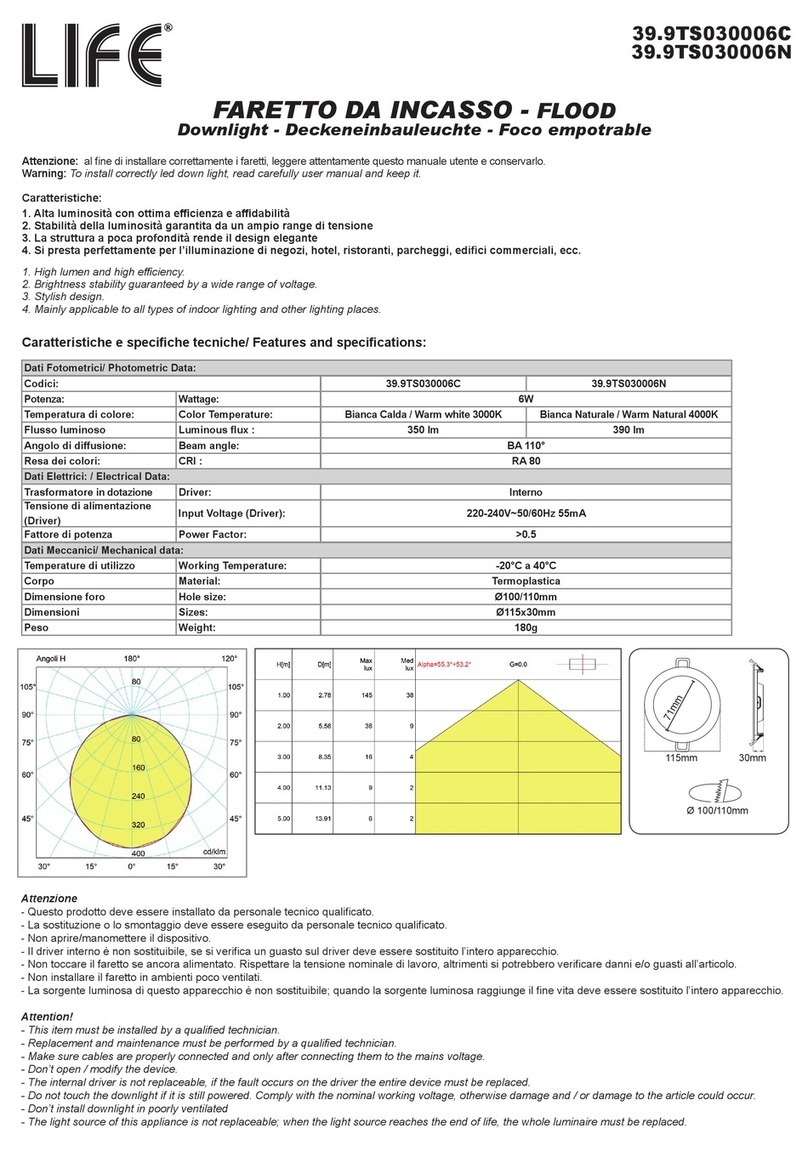
Caratteristiche e speciche tecniche/ Features and specications:
Dati Fotometrici/ Photometric Data:
Luminosità: Luminous ux : 9500 lm
Angolo di di󰀨usione: Beam angle: Fascio V 100° - Fascio H 150°
Temperatura di colore: Color Temperature: 4000K Bianca Naturale / Natural White
Resa Cromatica: CRI : RA 70
Rapporto medio di emissione superiore: RN value: Rn ≤ 0,5% Inclinazione 0° ZONA 1
Warm Up Time: Warm Up Time: <1 sec
Dati Elettrici: / Electrical Data:
Assorbimento (con driver): watt consumption ( with driver): 100W
Tensione d’ingresso: Input Voltage: 220-240V~50/60Hz 420mA
Fattore di potenza: Power Factor: >0,9
Dati Meccanici/ Mechanical data:
Dimensioni: Sizes: L535*W242*H140 mm
Corpo: Material: Alluminio / Aluminium
Peso: Weight: 4Kg
Altri Dati: / Other data:
Vita della lampada: Life time 30000h
Dimmerabile: Dimmable: No
180.0
270.0
0.0
90.0
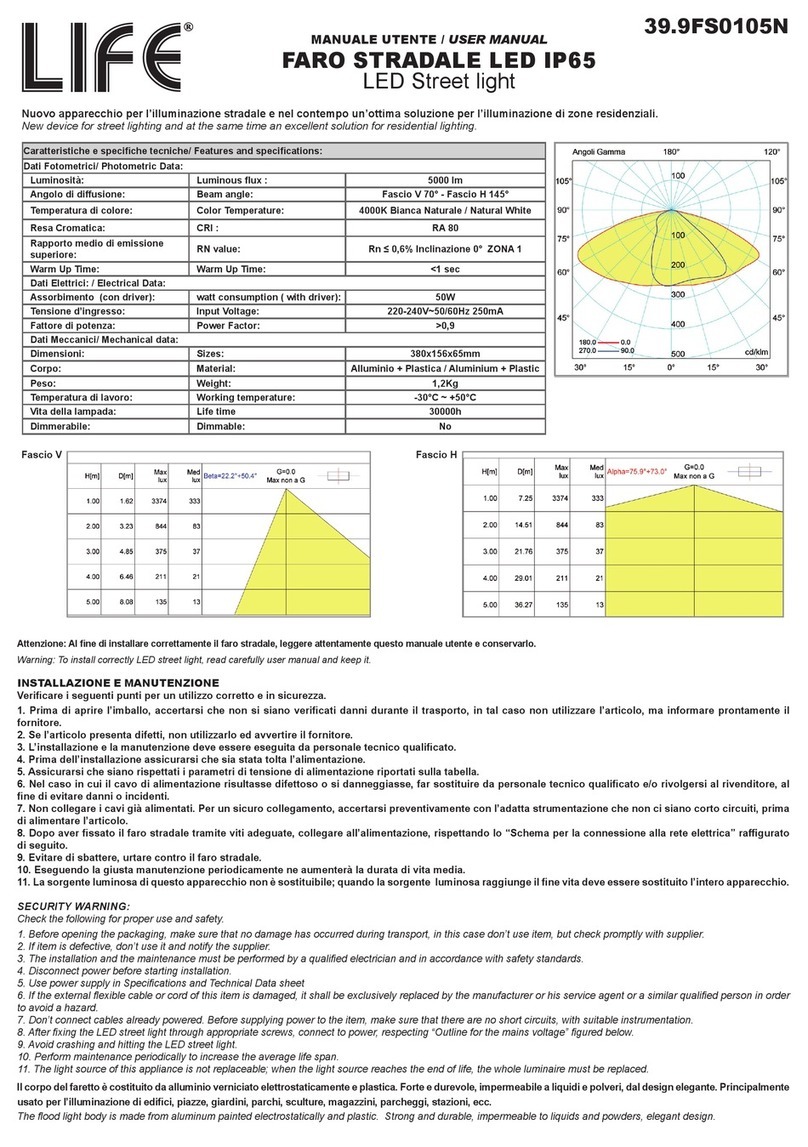
Nuovo apparecchio per l’illuminazione stradale e nel contempo un’ottima soluzione per l’illuminazione di zone residenziali.
New device for street lighting and at the same time an excellent solution for residential lighting.
Fascio V
Fascio H
Attenzione
Al ne di installare correttamente il faro stradale, leggere
attentamente questo manuale utente e conservarlo.
Warning:
To install correctly LED street light, read carefully user manual and
keep it.
Installazione e manutenzione / Security Warning:
Vericare i seguenti punti per un utilizzo corretto e in sicurezza.
1. Prima di aprire l’imballo, accertarsi che non si siano vericati danni durante il trasporto, in tal caso non utilizzare l’articolo, ma informare prontamente il fornitore.
2. Se l’articolo presenta difetti, non utilizzarlo ed avvertire il fornitore.
3. L’installazione e la manutenzione devono essere eseguite da personale tecnico qualicato.
4. Prima di e󰀨ettuare qualsiasi operazione sul Faro Stradale, togliere tensione alla linea di alimentazione elettrica 220-240V~50/60Hz.
5. Assicurarsi che siano rispettati i parametri di tensione di alimentazione riportati sulla tabella.
6. Nel caso in cui il cavo di alimentazione risultasse difettoso o si danneggiasse, far sostituire da personale tecnico qualicato e/o rivolgersi al rivenditore, al ne di evitare danni o incidenti.
7. Non collegare i cavi già alimentati. Per un sicuro collegamento, accertarsi preventivamente con l’adatta strumentazione che non ci siano corto circuiti, prima di alimentare l’articolo.
8. Evitare di urtare contro il faro stradale.
9. Eseguendo la giusta manutenzione periodicamente ne aumenterà la durata di vita media.
10. La sorgente luminosa di questo apparecchio non è sostituibile; quando la sorgente luminosa raggiunge il ne vita deve essere sostituito l’intero apparecchio.
Check the following for proper use and safety.
1. Before opening the packaging, make sure that no damage has occurred during transport, in this case don’t use item, but check promptly with supplier.
2. If item is defective, don’t use it and notify the supplier.
3. The installation and the maintenance must be performed by a qualied electrician and in accordance with safety standards.
4. Before carrying out any operation on the Street Light, disconnect the 220-240V~50/60Hz power supply line.
5. Use power supply in Specications and Technical Data sheet
6. If the external exible cable or cord of this item is damaged, it shall be exclusively replaced by the manufacturer or his service agent or a similar qualied person in order to avoid a hazard.
7. Don’t connect cables already powered. Before supplying power to the item, make sure that there are no short circuits, with suitable instrumentation.
8. Avoid crashing and hitting the LED street light.
9. Perform maintenance periodically to increase the average life span.
10. The light source of this appliance is not replaceable; when the light source reaches the end of life, the whole luminaire must be replaced.
Contenuto della confezione / Package Contents
• 1 faro stradale a LED / LED street light
• Manuale utente / User manual
Importato da: LIFE ELECTRONICS S.p.A.
Via Ra󰀨aele Leone, 3 - 95018 Riposto (CT)
www.life-electronics.com
Made in CHINA
Installazione / Installation
1 Aprire la cover del faro stradale pressando simultaneamente le due chiusure di sicurezza.
1 Open the lamp cover by pressing the two security closure
2 Allentare i due bulloni M12 laterali per liberare la sta󰀨a di bloccaggio del palo, svitare il giunto impermeabile con una
chiave esagonale per permettere il passaggio dei cavi della linea di alimentazione per poi collegarli alla morsettiera
del faretto stradale.
2 Loosen the two lateral M12 nuts to release pole clamping bracket and the waterproof joint with hexagon wrench, thread
supply line through clamp and waterproof joint.
4 Scegliere l’inclinazione di installazione desiderata, ed inserire il palo da ø60mm su una delle scalanature
disponibili e stringere i bulloni M12 per bloccarlo.
4 Level the xture side to side and tighten the two M12 nuts. Slide the xture to dierent steps to achieve requested
inclination angle, then tighten the waterproof joint.
3 Collegamento alla linea di alimentazione elettrica
Prima di e󰀨ettuare qualsiasi operazione sul Faro Stradale, togliere tensione alla linea di alimentazione elettrica
220-240V~50/60Hz.
Inserire ai morsetti a vite del faro stradale Fase, Neutro e Messa a terra del cavo di alimentazione elettrica gommato,
con sezione compresa tra 1,5mm2 e 2,5mm2 .
Sguainare e spelare il cavo della linea di alimentazione elettrica solo della porzione che entrerà all’interno della
morsettiera.
Prestare attenzione alla fuoriuscita dei trefoli dalla morsettiera, poichè potrebbero causare corto circuiti.
3 Connection to the main power
Before carrying out any operation on the Street Light, disconnect the 220-240Vac, 50 / 60Hz power supply line.
Insert the Phase, Neutral and Earth of the rubberized power supply cable to the screw terminals, with a cross-section between
1.5mm2and 2.5mm2.
Strip and strip the power line cable only of the portion that will go inside the terminal board.
Pay attention to the exit of the strands from the terminal, as they may cause short circuits.
Only after completing the connection to the power supply line, maintaining adequate insulation along the entire power line,
restoring the voltage and testing the operation of the street light.
5 Richiudere la cover del faro stradale, premendo decisamente in modo tale da far agganciare le chiusure
di sicurezza.
5 close the cover and press the cover rmly. The security closure will x the cover.
6 Solo dopo aver ultimato le operazioni di connessione alla linea di alimentazione elettrica 220-240Vac, mantenendo
un adeguato isolamento su tutta la linea di alimentazione, ristabilirne la tensione e testare il funzionamento del
faro stradale.
6 Only after completing the connection to the power supply line 220-240Vac, maintaining adequate insulation along the
entire power line, restoring the voltage and testing the operation of the street light.
Dimensioni / Size:
Marrone “L”
Giallo&verde
Blu “N”
Rispettare la
polarità
e i colori dei cavi
Angolazioni:
-10°
-5°
0°
+5°
+10°
Morsetti
Giunto impermeabile
Bulloni M12
1
NF
2
SIMBOLO COLORE CAVO
F= Fase Marrone
N= Neutro Blu
Terra Giallo - Verde
Gli apparecchi appartenenti a questa classe di isolamento sono apparecchi nei quali
la protezione non si basa unicamente sull’isolamento principale, ma anche su una
misura di sicurezza supplementare costituita dalla connessione delle parti conduttrici
accessibili ad un conduttore di protezione (messa a terra di protezione) che fa capo
all’impianto elettrico sso, contraddistinto dal doppio colore giallo-verde, in modo
tale che le parti conduttrici accessibili non possano andare in tensione in caso di
guasto dell’isolamento principale.
Classe I