manuals.online logo
Brands
  1. Home
  2. •
  3. Brands
  4. •
  5. Life
  6. •
  7. Lighting Equipment
  8. •
  9. Life 39.9TS041010C User manual

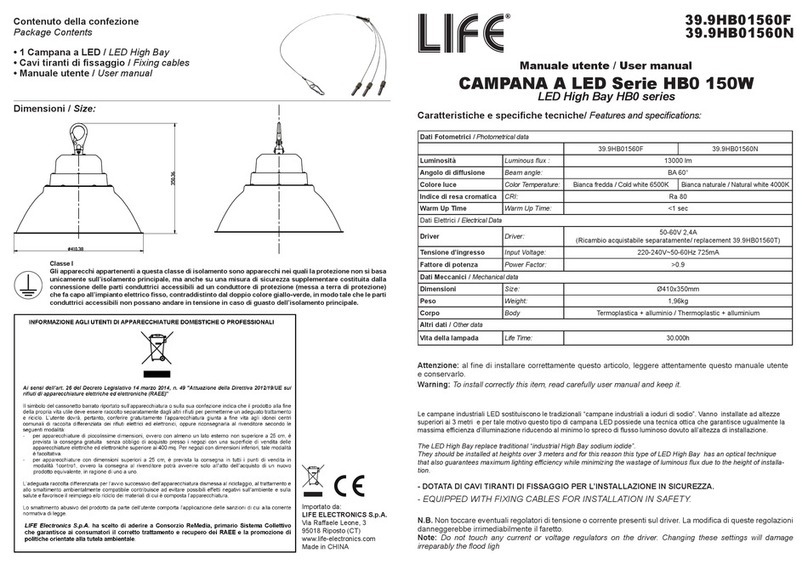
Life 39.9TS041010C User manual

39.9TS041010C
39.9TS041010N
Importato da: LIFE ELECTRONICS S.p.A.
Via Ra󰀨aele Leone, 3 – 95018 Riposto (CT)
www.life-electronics.com
Made in CHINA
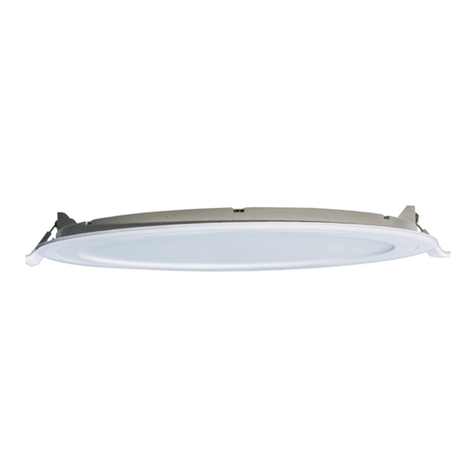
FARETTO ORIENTABILE
DA INCASSO
Downlight
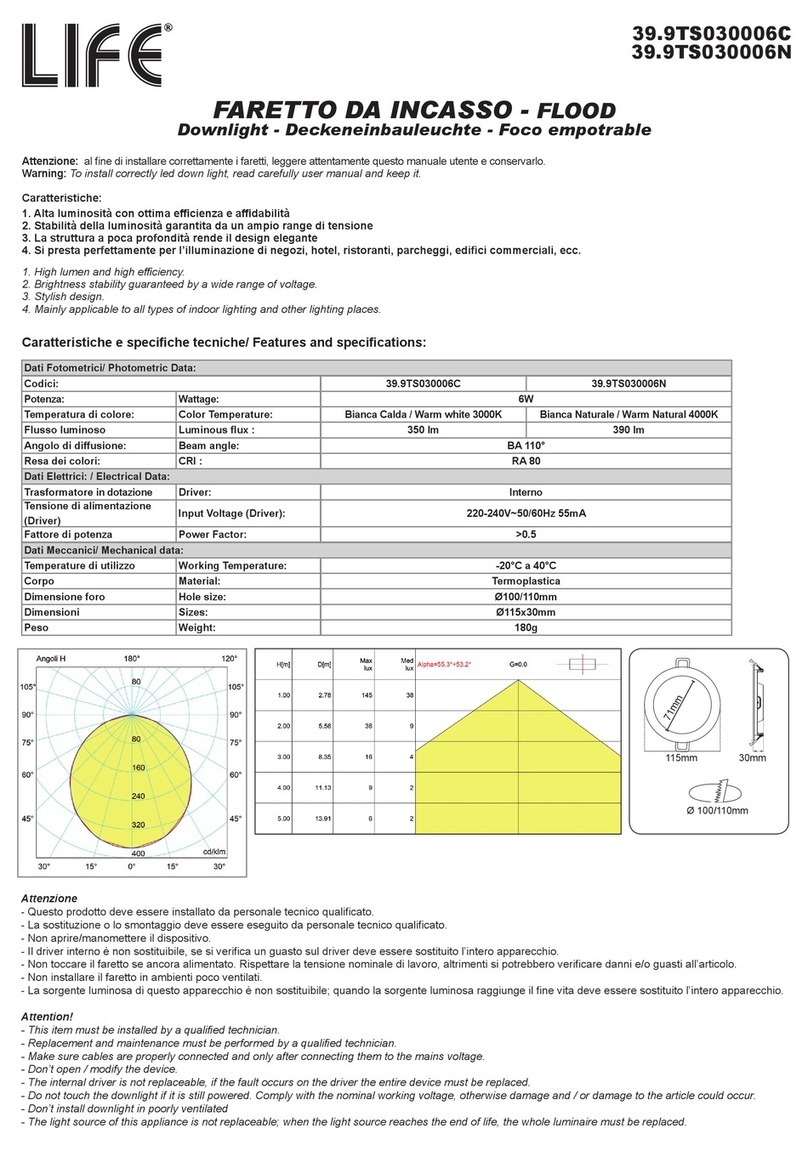
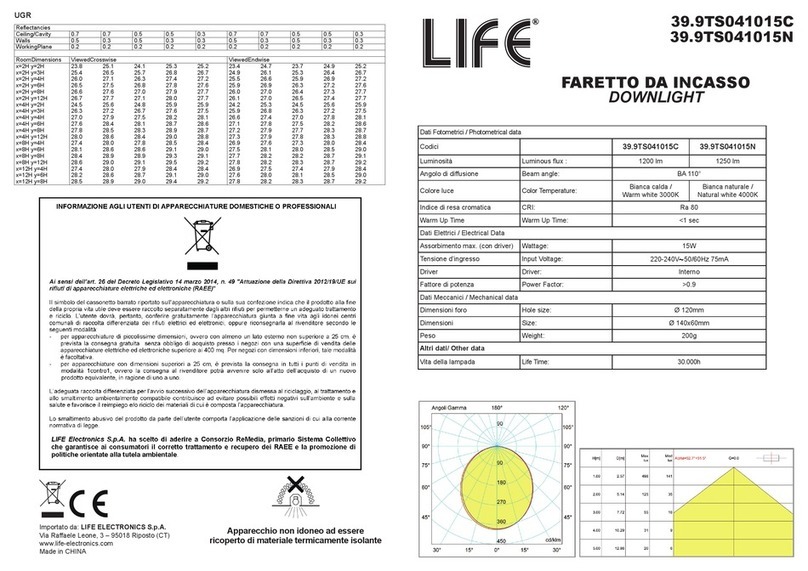
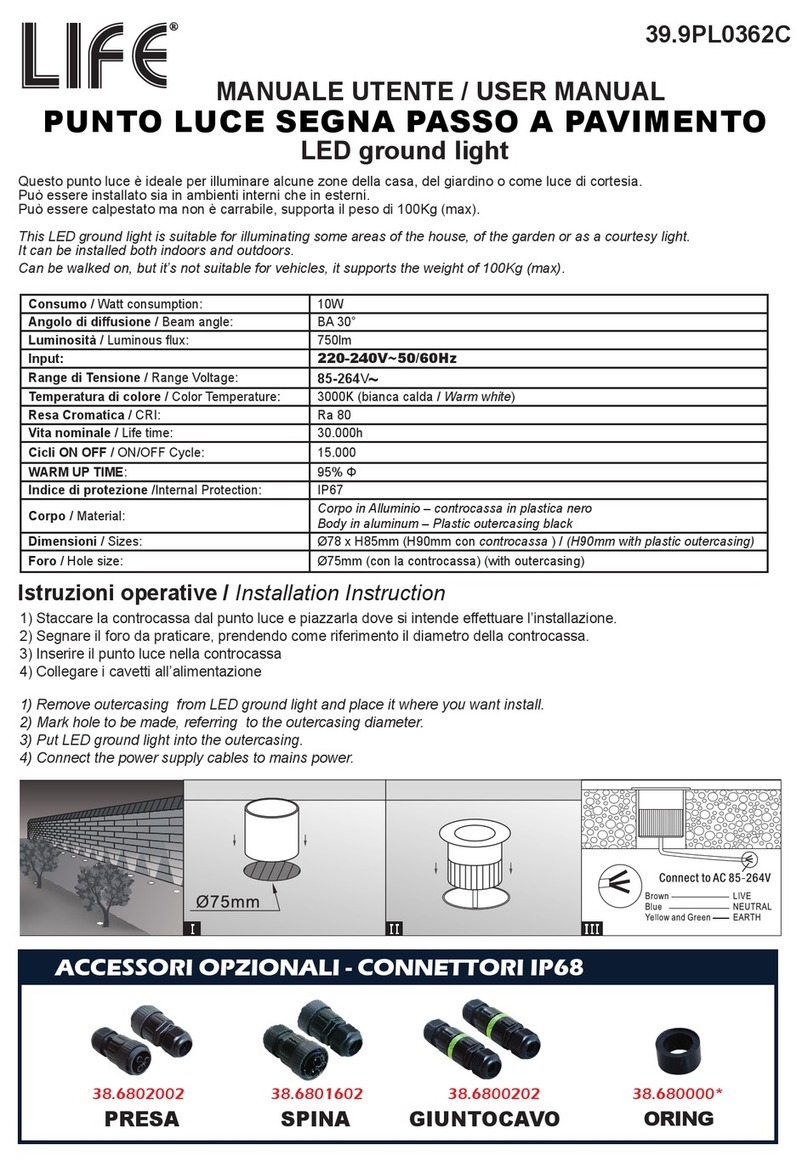
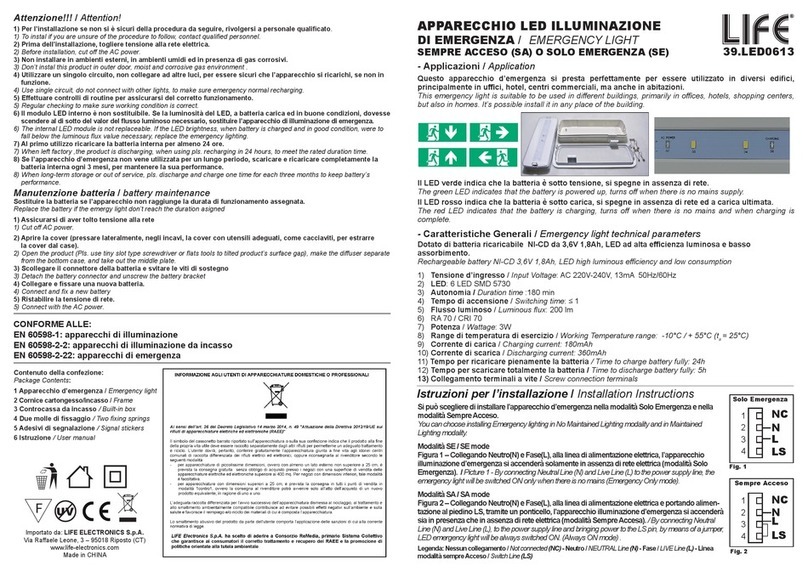
Dati Fotometrici / Photometrical data
Codici 39.9TS041010C 39.9TS041010N
Luminosità Luminous ux : 1100 lm 1200 lm
Angolo di di󰀨usione Beam angle: BA 60°
Colore luce Color Temperature: Bianca calda /
Warm white 3000K
Bianca naturale /
Natural white 4000K
Indice di resa cromatica CRI: Ra 80
Warm Up Time Warm Up Time: <1 sec
Dati Elettrici / Electrical Data
Assorbimento max. (con driver) Wattage: 15W
Tensione d’ingresso Input Voltage: 220-240V50/60Hz 120mA
Driver Driver: Interno
Fattore di potenza Power Factor: >0.5
Dati Meccanici / Mechanical data
Dimensioni foro Hole size: Ø 100mm
Dimensioni Size: Ø 120x54mm
Peso Weight: 177g
Corpo Body Termoplastica
Altri dati/ Other data
Vita della lampada Life Time: 30.000h
Apparecchio non idoneo ad essere
ricoperto di materiale termicamente isolante
Apparecchio di Classe II
Apparecchio nel quale la protezione contro la scossa elettrica non si basa unicamente
sull’isolamento principale, ma anche sulle misure supplementari di sicurezza, quali il
doppio isolamento o l’isolamento rinforzato. Questi apparecchi non prevedono dispositivi
per la messa a terra, o non dipendono dalle condizioni di installazione.
Caratteristiche / Features
1. Alta luminosità con ottima e󰀩cienza e a󰀩dabilità
2. Stabilità della luminosità garantita da un ampio range di tensione
3. Il proiettore permette una regolazione manuale dell’angolo di orientamento della luce.
Note: non dimmerabile
1. High brightness and eciency.
2. Brightness stability ensured by a wide voltage range.
3.The downlight can be rotated manually for a better lighting.
Note: not dimmable
Installazione su controso󰀩tto / Ceiling installation
L’installazione deve essere eseguita da personale tecnico qualicato
Installation must be performed by qualied technical personnel.
Prima di e󰀨ettuare qualsiasi operazione sul proiettore LED, togliere tensione alla linea di
alimentazione elettrica 220-240V~50/60Hz.
Before carrying out any operation on the LED downlight, disconnect the 220-240V~50/60Hz power supply
line.
1. Praticare un foro delle dimensioni riportate nelle speciche.
1. Drill a hole of the dimensions given in the specications.
2. Collegare Fase e Neutro del primario del driver ad una morsettiera protetta (non in dotazione).
Connect Phase and Neutral of the driver primary to a protected terminal board (not supplied).
3. Collegare Fase e Neutro della linea di alimentazione elettrica 220-240V~50/60Hz nell’altro lato
della morsettiera protetta.
3.Connect Phase and Neutral of the 220-240V~50/60Hz power supply line to the other side of the
protected terminal board.
Il dispositivo è in Classe II, quindi non
necessita della messa a terra, ma per
assicurare un adeguato doppio isolamento
su tutta la linea di alimentazione utilizzare
un cavo gommato, avente una sezione
compresa fra 1,5mm2e 2,5mm2. Sguainare
i li conduttori del cavo di alimentazione
elettrica solo della porzione di conduttore
che entrerà all’interno della morsettiera del
driver, prestando attenzione alla fuoriuscita
dei trefoli che potrebbero causare corto
circuiti.
The device is in Class II, so it does not need to
be grounded, but to ensure adequate double
insulation along the entire power line use a
rubberized cable, having a section between
1.5mm2 and 2,5mm2. Strip the conductor wires
of the power supply cable only of the conductor
portion that will enter the driver terminal board,
paying attention to the escape of the strands that
could cause short circuits.
4. Tenere premute le molle di ssaggio e inserire il proiettore nel foro praticato sul controso󰀩tto.
4. Press and hold the xing springs and put the projector into the hole in the ceiling.
5. Rilasciare le molle una volta che il proiettore sia entrato nell’apposito alloggiamento e spingerlo
per farlo incastrare più stabilmente.
5. Release the springs after the downlight is positioned in the slot and push it to make it more stable
6. Controllare che il proiettore sia stato ssato correttamente.
6. Make sure that the downlight is xed properly.
7.Ristabilire la tensione alla linea di alimentazione 220-240V~50/60Hz e testarne il funzionamento.
7.Restore the voltage to the 220-240V~50/60Hz power supply line and test the operation.
Ø120mm
54mm
Ø100mm
ATTENZIONE: rispettare lo schema di collegamento
Attention: respect the diagram and don’t invert the connections
Simbolo / Schema Cavo / Cable
L = Fase / Phase Marrone / Brown
N = Neutro / Neutral Blu / Blue
1
2
NF
Attenzione / Warning
• La sorgente luminosa di questo apparecchio non è sostituibile; quando la sorgente
luminosa raggiunge il ne vita, deve essere sostituito l’intero apparecchio.
• il driver di questo apparecchio non è sostituibilE; quando il driver si guasta, deve essere
sostituito l’intero apparecchio.
• Non posizionare il faretto LED vicino a fonti di calore.
• Vericare che tutti i collegamenti siano stati eseguiti correttamente rispettando la tensione
nominale di lavoro, altrimenti si potrebbero vericare danni e/o guasti.
• Non toccare il faretto LED se ancora alimentato.
• La manutenzione e la sostituzione deve essere eseguita da personale tecnico qualicato
• The light source of this appliance IS not replaceable; when the light source reaches the
end of life, the entire appliance must be replaced.
• The driver of this appliance IS not replaceable; when the driver fails, the entire appliance must be
replaced.
• Do not place the LED downlight near heat sources.
• Check that all connections have been made correctly respecting the nominal working voltage, otherwise
damage and / or faults could occur.
• Do not touch the LED downlight if it is still powered.
• Maintenance and replacement must be performed by qualied technical personnel

This manual suits for next models

1

Other Life Lighting Equipment manuals

Life 39.LED0611 User manual

Life

Life 39.LED0611 User manual

Life HB0 Series User manual

Life

Life HB0 Series User manual

Life CIRCOLINA G10q T9 User manual

Life

Life CIRCOLINA G10q T9 User manual

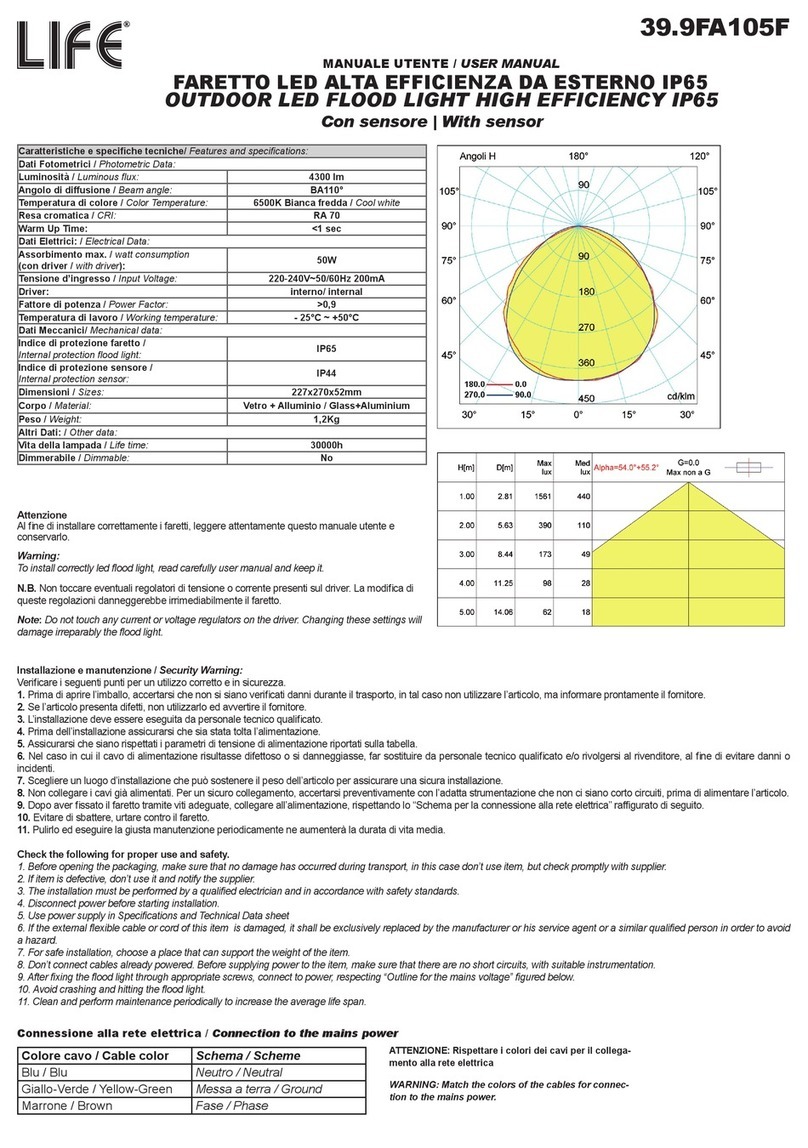
Life FLOOD ULTRA SLIM User manual

Life

Life FLOOD ULTRA SLIM User manual

Life 39.9PL0362N User manual

Life

Life 39.9PL0362N User manual

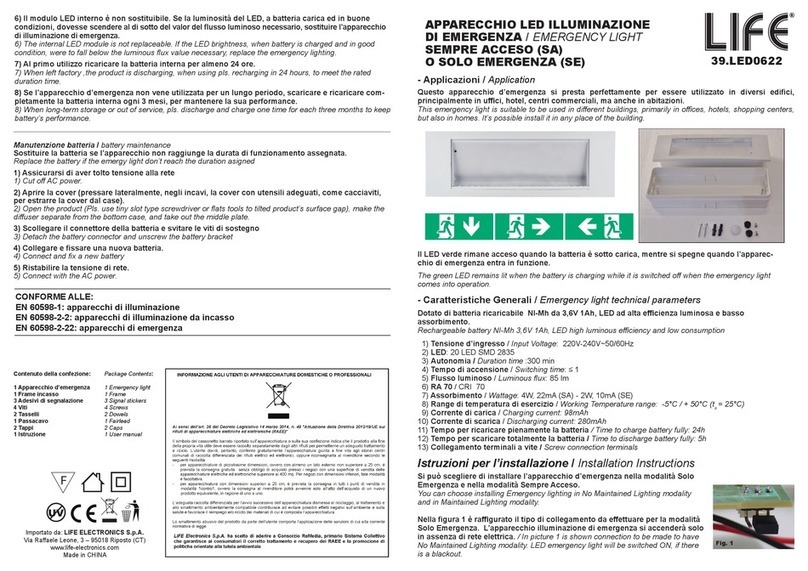
Life 39.LED0622 User manual

Life

Life 39.LED0622 User manual

Life 39.9PL0410C User manual

Life

Life 39.9PL0410C User manual

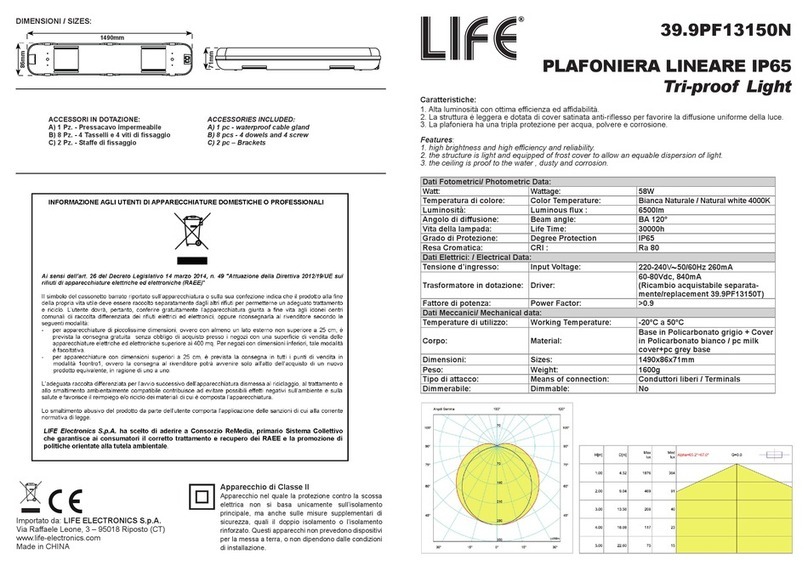
Life 39.9PF13150N User manual

Life

Life 39.9PF13150N User manual

Life 39.9F70020C User manual

Life

Life 39.9F70020C User manual

Life 39.9TP050359C User manual

Life

Life 39.9TP050359C User manual

Life 39.LED0739D User manual

Life

Life 39.LED0739D User manual

Life 39.9TSS0518N User manual

Life

Life 39.9TSS0518N User manual

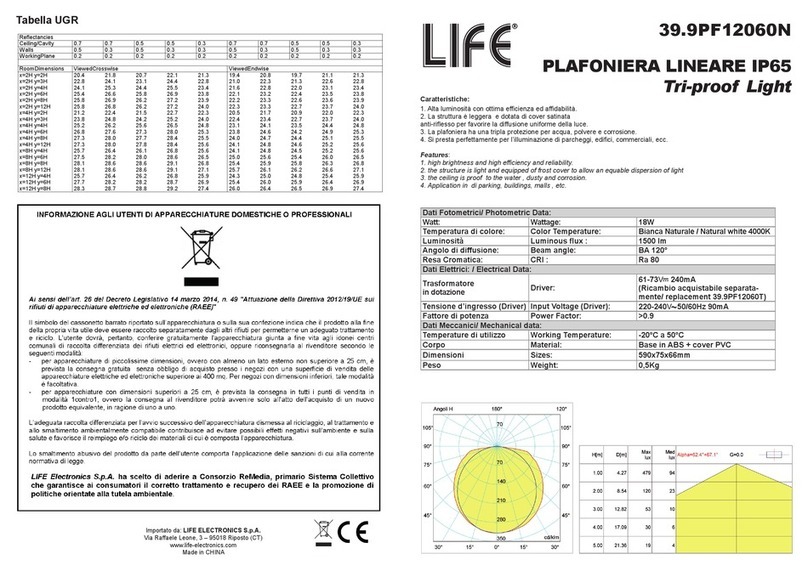
Life 39.9PF12060N User manual

Life

Life 39.9PF12060N User manual

Life PL-C 4-2G11 User manual

Life

Life PL-C 4-2G11 User manual

Life HB0 Series User manual

Life

Life HB0 Series User manual

Life 39.9PF13120N User manual

Life

Life 39.9PF13120N User manual

Life 39.9TS041015C User manual

Life

Life 39.9TS041015C User manual

Life 39.9TS030006C User manual

Life

Life 39.9TS030006C User manual

Life FLOOD ULTRA SLIM User manual

Life

Life FLOOD ULTRA SLIM User manual

Life FLOOD ULTRA SLIM User manual

Life

Life FLOOD ULTRA SLIM User manual

Life 39.9TS030012C User manual

Life

Life 39.9TS030012C User manual

Life 39.LED09390 User manual

Life

Life 39.LED09390 User manual

Life 39.9TS401020C User manual

Life

Life 39.9TS401020C User manual

Life 39.9FS1210N User manual

Life

Life 39.9FS1210N User manual

Popular Lighting Equipment manuals by other brands

Luxli BICOLOR SFT-10B user manual

Luxli

Luxli BICOLOR SFT-10B user manual

HEPER VEGA S W Duo Installation & maintenance instructions

HEPER

HEPER VEGA S W Duo Installation & maintenance instructions

Malmbergs Junction box for Kronos LED 9975094-96 instruction manual

Malmbergs

Malmbergs Junction box for Kronos LED 9975094-96 instruction manual

Lightolier Lightolier SORA-5 Product guide

Lightolier

Lightolier Lightolier SORA-5 Product guide

Genio I003975 quick start guide

Genio

Genio I003975 quick start guide

Paramount Fitness MDX-R3 Owner's manual and installation guide

Paramount Fitness

Paramount Fitness MDX-R3 Owner's manual and installation guide

Gama Sonic 81i90010 instruction manual

Gama Sonic

Gama Sonic 81i90010 instruction manual

LED World HH-S3527X-120-24 Important instructions

LED World

LED World HH-S3527X-120-24 Important instructions

Garden Lights 2519064 manual

Garden Lights

Garden Lights 2519064 manual

Diamond AL2380 instruction manual

Diamond

Diamond AL2380 instruction manual

Aquadistri SuperFish PATIO POND manual

Aquadistri

Aquadistri SuperFish PATIO POND manual

Electron CLICK IT SPOT 18W installation manual

Electron

Electron CLICK IT SPOT 18W installation manual

ARRI Case for Orbiter Instruction

ARRI

ARRI Case for Orbiter Instruction

American DJ Blade User instructions

American DJ

American DJ Blade User instructions

Armacost Lighting RibbonFlex PRO 451200 quick start guide

Armacost Lighting

Armacost Lighting RibbonFlex PRO 451200 quick start guide

Vision & Control LDLF60x420-R633/UDC Instructions for use

Vision & Control

Vision & Control LDLF60x420-R633/UDC Instructions for use

Raytec VARIO2 IP 16 Series Full Installation and Setup Guide

Raytec

Raytec VARIO2 IP 16 Series Full Installation and Setup Guide

DÖRR Ultra 80 instruction manual

DÖRR

DÖRR Ultra 80 instruction manual

manuals.online logo
manuals.online logoBrands
  • About & Mission
  • Contact us
  • Privacy Policy
  • Terms and Conditions

Copyright 2025 Manuals.Online. All Rights Reserved.