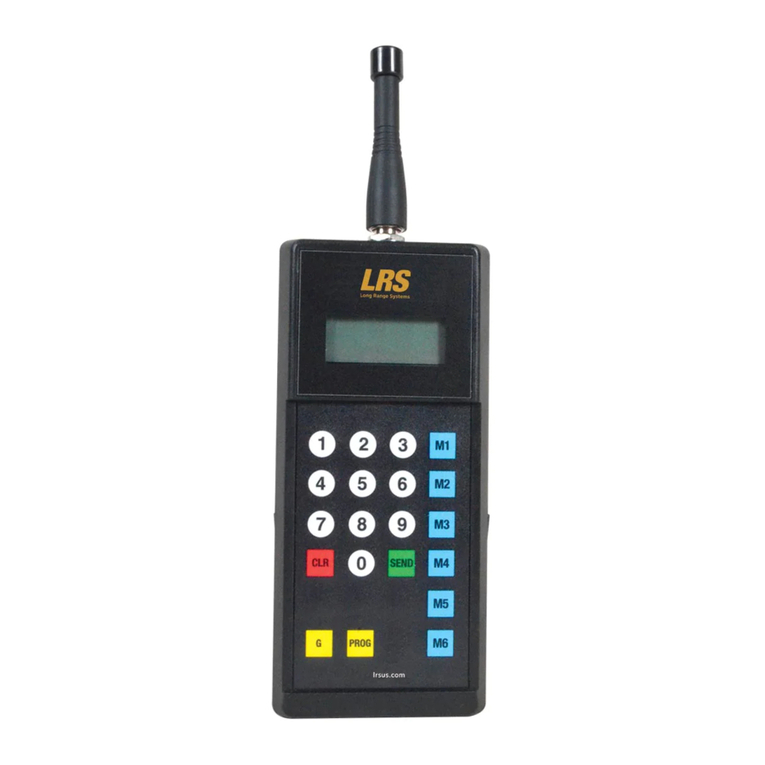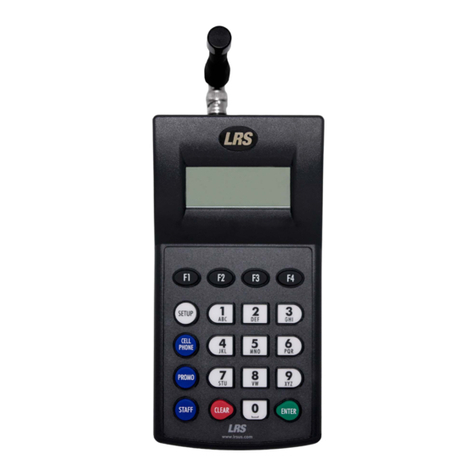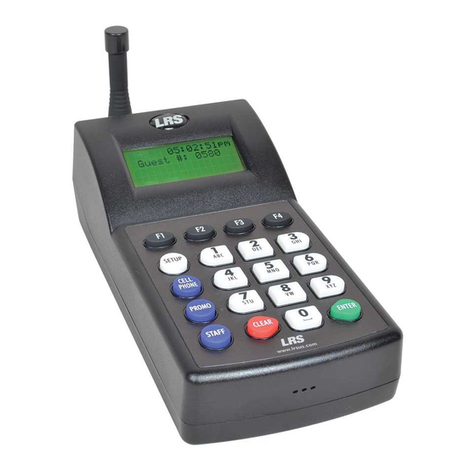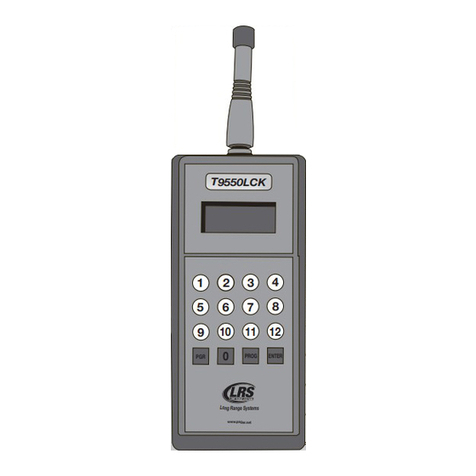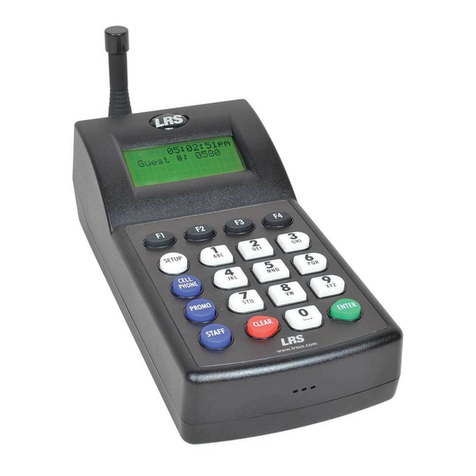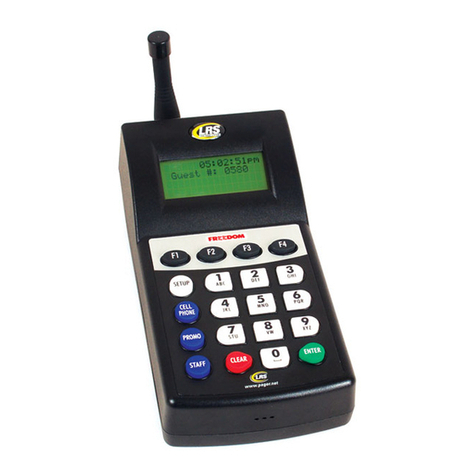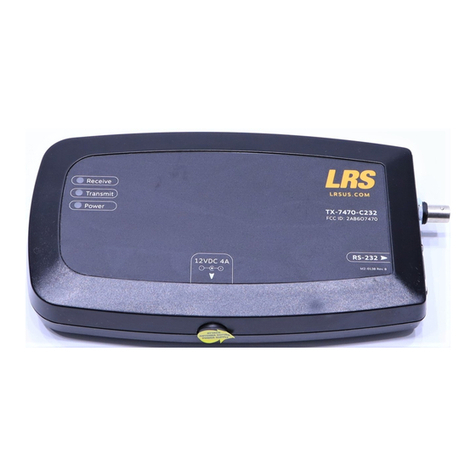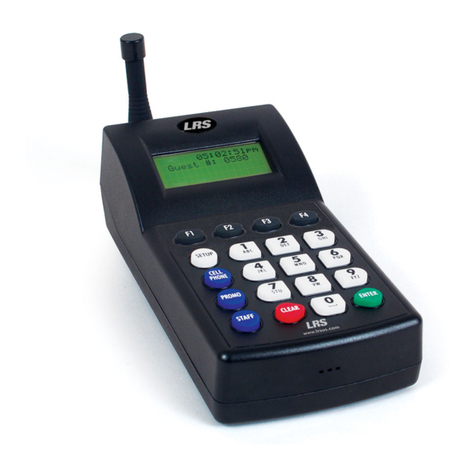
BASIC PAGING OPERATIONS
Note: The TX-9601 factory defaults are the most commonly
used settings (Restaurant ID = 0, Vibration Mode = 1)
When a pager is removed from the charger, it will vibrate three
times to indicate that the pager is ready for use.
Paging:
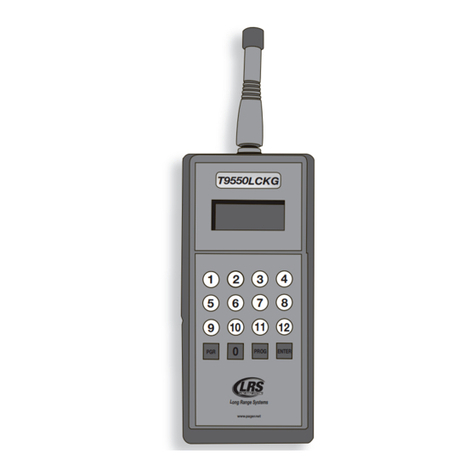
For pagers numbered 1 – 16:
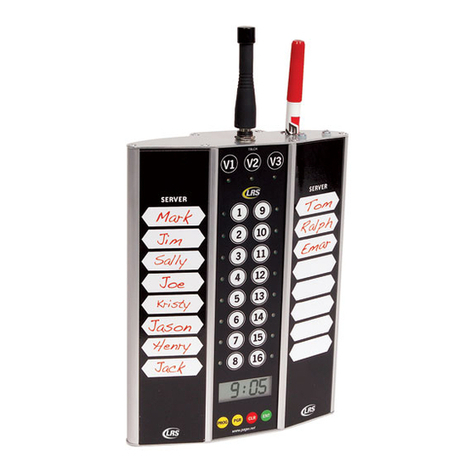
1. Press the pager number
2. The unit will automatically send a page
For pagers numbered 17 and higher:
Note: Pagers can be numbered up to 999
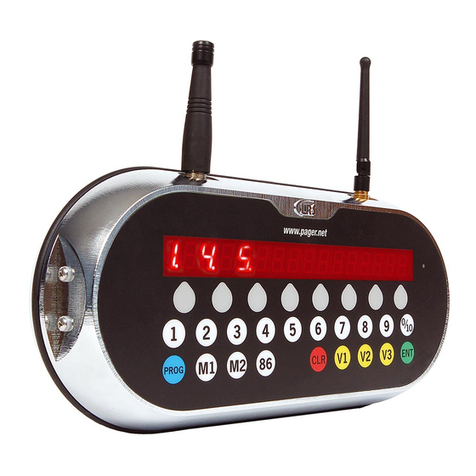
1. Press PGR
2. Enter the pager number (using 1 – 9 and 10 [as zero])
3. Press ENT
All Page:
If all sta pagers need to be called at once:
1. Press PGR
2. Press 0
3. Press ENT
SYSTEM SETTINGS
Setting the Vibration Mode
Vibration mode determines the number of times a pager will vibrate
when paged.
To set the vibration mode:
• 1 vibration: Press PROG
Enter 9 - 2 - 1 and press ENTER
• 2 vibrations: Press PROG
Enter 9 - 2 - 2 and press ENTER
• 3 vibrations: Press PROG
Enter 9 - 2 - 3 and press ENTER
Set Restaurant ID
The Restaurant ID factory default setting is 0. Your system may or
may not be shipped with the factory default setting ID = 0. Contact
LRS to verify your Restaurant ID before changing it.
To change the ID:
1. Press PROG
2. Enter 9 - # - # (EX: 9 – 0 – 3, Restaurant ID = 3) (# =
System ID: 01 – 19)
3. Press ENT
Set Station ID
A station ID can be set for each TX-9601 transmitter unit in use.
To set:
1. Press PROG
2. Enter 9 - 6 - # (X = the station ID 1 – 9)
3. Press ENT
Set Time and Date
Set Time:
1. Press PROG - 9 - 3 - 2 - ENT
2. At the tin (time) prompt, enter the hh (hour) and the mm
(minute)
3. Press ENT
4. Press PGR for A (AM) or ENT for P (PM)
Set Date:
1. Press PROG - 9 - 3 - 3 - ENT
2. At the (month) prompt, enter the mm (month), press ENT
3. At the (day) prompt, enter the dd (day), press ENT
4. At the (year) prompt, enter the yy (year), press ENT
MAINTENANCE FUNCTIONS
Range Test
A range test will determine the eective range of the TX-9601.
Note: Be sure to remove pagers from charging base before per-
forming the range test
1. Press PROG - 9 - 9 - 7 - ENT
2. The screen will display “tst” and then a “-” (dash)
3. When the “-” (dash) begins scrolling across the screen,
pagers will vibrate every 5 seconds (as long as they are
receiving the signal)
4. Take a pager and walk around the area to verify the pager
operates in all areas (the pager will stop vibrating when it
is out of range)
5. Press ENT To stop the range test
System Reset
Caution: When resetting the system, the following will be set to
factory default:
• Restaurant ID = 0 • Vibration Mode = 1
To reset:
Press PROG - 0 - ENT
PAGER PROGRAMMING
If you would like to assign or reassign numbers to pagers, contact
LRS to verify your restaurant ID before proceeding.
Note: Be sure the POCSAG start and restaurant ID are correct for
the pagers in use.
To Program Pagers:
1. Pagers:
• Remove rechargeable pagers from the charger (or touch to
the reset terminals). The pager will vibrate and then stop.
• Turn battery powered pagers on and then o (or remove
and reinstall the battery). The pager will vibrate and/or
beep and then stop.
2. Press PROG - # - PROG (# is the pager number (1 - 999)
• Star pagers will slowly vibrate and light up then dim to o.
• Alpha pagers will beep 4 times and then stop.
3. Once programming is complete, page the pager to ensure it is
programmed correctly.
Assign Manager Pager:
1. Press PROG
2. Enter 9 - 8 - 5
3. Press ENT
4. At Ngr (manager), enter the pager number
5. Press ENT
For advanced features, go to support.lrsus.com to download a complete user
manual. For technical support call Long Range Systems at 800-437-4996.
800-437-4996 | 214-553-5308
WWW.LRSUS.COM
XU-0027 RevC 012315
FCC STATEMENT
1. This device complies with Part 15 of the FCC Rules. Operation is subject to the
following two conditions:
(1) This device may not cause harmful interference.
(2) This device must accept any interference received, including interfer-
ence that may cause undesired operation.
2. Changes or modifications not expressly approved by the party responsible for
compliance could void the user’s authority to operate the equipment.
NOTE: This equipment has been tested and found to comply with the limits
for a Class B digital device, pursuant to Part 15 of the FCC Rules.
These limits are designed to provide reasonable protection against
harmful interference in a residential installation.
This equipment generates uses and can radiate radio frequency energy and, if not in-
stalled and used in accordance with the instructions, may cause harmful interference
to radio communications. However, there is no guarantee that interference will not
occur in a particular installation. If this equipment does cause harmful interference to
radio or television reception, which can be determined by turning the equipment o
and on, the user is encouraged to try to correct the interference by one or more of
the following measures:
• Reorient or relocate the receiving antenna.
• Increase the separation between the equipment and receiver.
• Connect the equipment into an outlet on a circuit dierent from that to
which the receiver is connected.
• Consult the dealer or an experienced radio/TV technician for help.
RF warning statement:
The device has been evaluated to meet general RF exposure requirement. The device
can be used in portable exposure condition without restriction.


