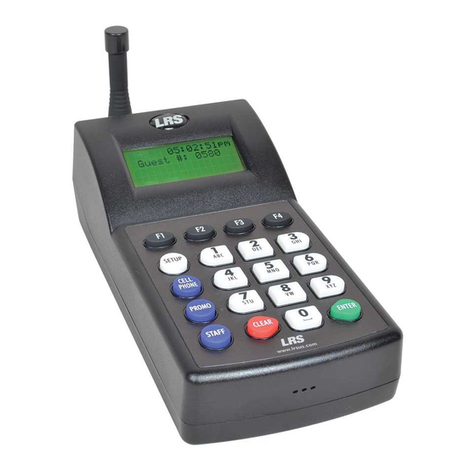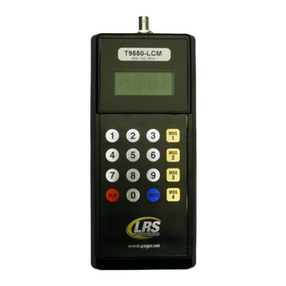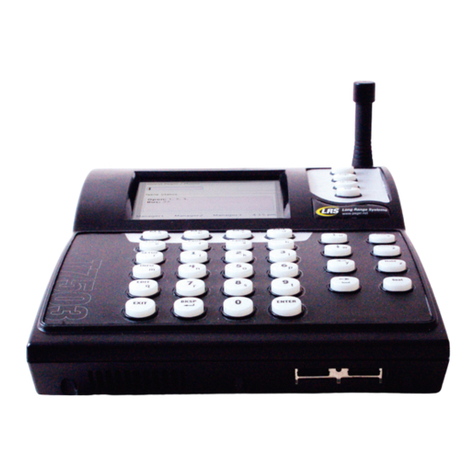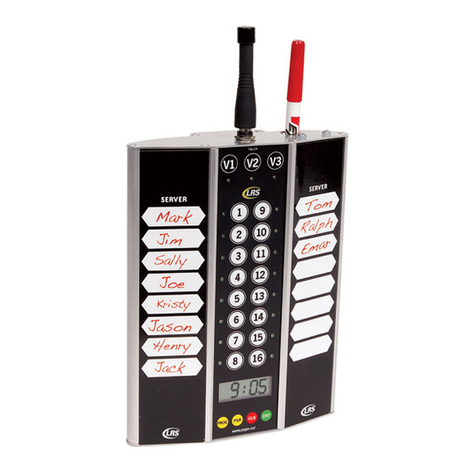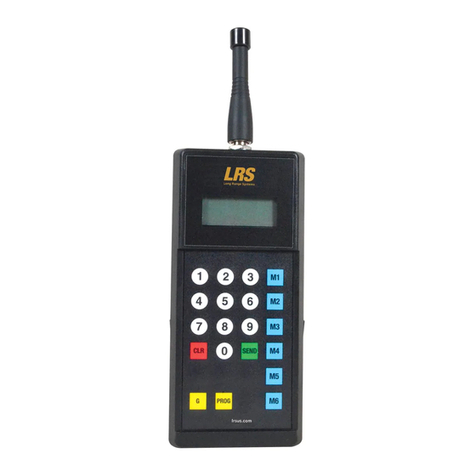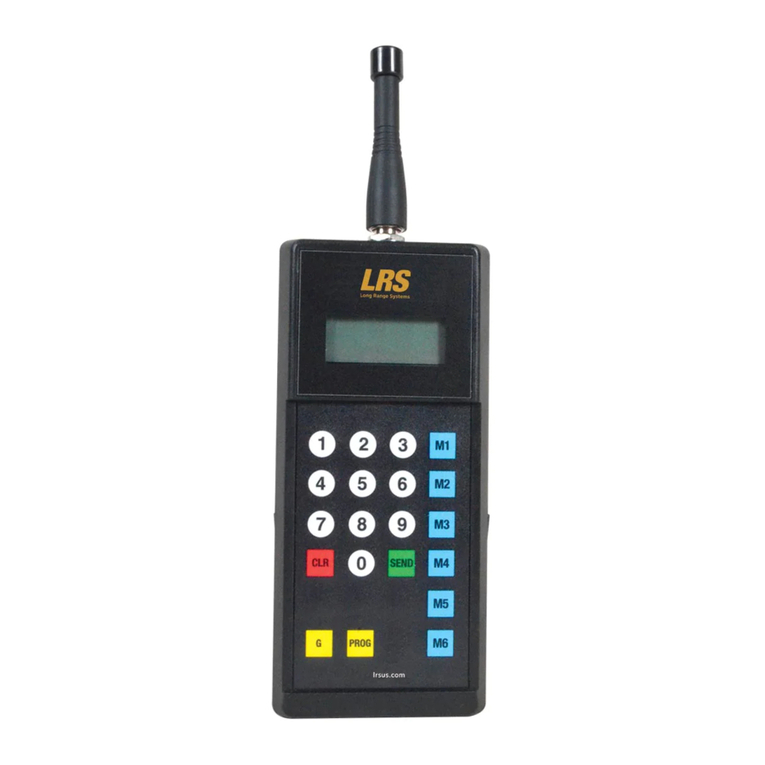
TX-9560MT
BASIC OPERATIONS GUIDE
Note: The TX-9560MT factory defaults are the most commonly
used settings (Restaurant ID = 0, Vibration Mode = 1).
BASIC PAGING
For pagers numbered 1 – 799:
To page a pager, press the pager number followed by the Send key.
The default alert is a 5 minute flash and vibe.
PAGING USING MESSAGE (M) KEYS
You may also press the pager number followed by one of the
Message (M) Keys. Each M key sends a specific alert. Reference the
list below send for the dierent types of alerts.
M1 – Flash/Vibe 30 Seconds
M2 – Flash/Vibe 5 Minutes
M3 – Flash/Vibe Until the pager is put back on the charger
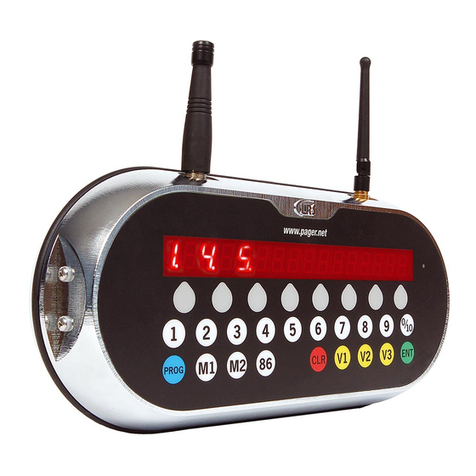
(Adverteaser & Star Pager will also beep)
M4 – Glow/Vibe 5 Minutes
M5 – Glow/Vibe 1.5 Minutes
M6 – Flash/Vibe 1 Second
PAGE ALL CALL
To use the All Page:
- Press
123
456
789
0
CLR
SEND
M1
M2
M3
M4
G
PROG
M5
M6
123
456
789
0
CLR
SEND
M1
M2
M3
M4
G
PROG
M5
M6
123
456
789
0
CLR
SEND
M1
M2
M3
M4
G
PROG
M5
M6
OPERATION MODE
To turn on LRS Guest:
- Press -
123
456
789
0
CLR
SEND
M1
M2
M3
M4
G
PROG
M5
M6
123
456
789
0
CLR
SEND
M1
M2
M3
M4
G
PROG
M5
M6
123
456
789
0
CLR
SEND
M1
M2
M3
M4
G
PROG
M5
M6
123
456
789
0
CLR
SEND
M1
M2
M3
M4
G
123
456
789
0
CLR
SEND
M1
M2
M3
M4
G
To turn on Alphanumeric (POCSAG) Sta:
- Press-
123
456
789
0
CLR
SEND
M1
M2
M3
M4
G
PROG
M5
M6
123
456
789
0
CLR
SEND
M1
M2
M3
M4
G
PROG
M5
M6
123
456
789
0
CLR
SEND
M1
M2
M3
M4
G
PROG
M5
M6
123
456
789
0
CLR
SEND
M1
M2
M3
M4
G
123
456
789
0
CLR
SEND
M1
M2
M3
M4
G
To turn on SP4 - Star Sta:
- Press-
123
456
789
0
CLR
SEND
M1
M2
M3
M4
G
PROG
M5
M6
123
456
789
0
CLR
SEND
M1
M2
M3
M4
G
PROG
M5
M6
123
456
789
0
CLR
SEND
M1
M2
M3
M4
G
PROG
M5
M6
123
456
789
0
CLR
SEND
M1
M2
M3
M4
G
123
456
789
0
CLR
SEND
M1
M2
M3
M4
G
SYSTEM SETTINGS
Set Restaurant ID
The Restaurant ID factory default setting is 0. Your system -may not
be shipped with the factory default setting ID = 0. Contact LRS at
800.437.4996, to verify your Restaurant ID.
To change the ID:
- Press
123
456
789
0
CLR
SEND
M1
M2
M3
M4
G
PROG
M5
M6
123
456
789
0
CLR
SEND
M1
M2
M3
M4
G
PROG
M5
M6
123
456
789
0
CLR
SEND
M1
M2
M3
M4
G
123
456
789
0
CLR
SEND
M1
M2
M3
M4
G
(x = sys ID from 1 to 49)
Factory Reset
To reset the transmitter factory defaults:
- Press-
123
456
789
0
CLR
SEND
M1
M2
M3
M4
G
PROG
M5
M6
123
456
789
0
CLR
SEND
M1
M2
M3
M4
G
PROG
M5
M6
123
456
789
0
CLR
SEND
M1
M2
M3
M4
G
PROG
M5
M6
123
456
789
0
CLR
SEND
M1
M2
M3
M4
G
123
456
789
0
CLR
SEND
M1
M2
M3
M4
G
+ h.w. button for system reset
- Press-
123
456
789
0
CLR
SEND
M1
M2
M3
M4
G
PROG
M5
M6
+ h.w. button for system reset
MAINTENANCE FUNCTIONS
Range Test
The Range Test feature is used to broadcast a continuous signal.
This will allow for testing within your location regarding range for
your pagers to receive a page from the TX-9560MT.
To turn ON the Range Test:
- Press-
0
CLR
SEND
M1
M2
M3
M4
G
PROG
M5
M6
0
CLR
SEND
M1
M2
M3
M4
G
PROG
M5
M6
3
456
789
0
CLR
SEND
M1
M2
M3
M4
G
PROG
M5
M6
123
456
789
0
CLR
SEND
M1
M2
M3
M4
G
123
456
789
0
CLR
SEND
M1
M2
M3
M4
G
When the range test is active, the LCD will display an 8 moving
across screen. Then the red LED will transmit once every
10 seconds.
Low Battery Alert
When the transmitter’s battery is low, the LCD will display “LoBat”.
PAGER PROGRAMMING
The TX-9560MT can program any LRS Pager type. The transmitter’s
current mode of operation must match the desired pager type to
program.
To program an SP4, coaster, or paddle pager:
1. Remove the pager from the charging base
2. Allow the pager to complete the vibration and flashing se-
quence
3. Press into the keypad then a number from 1-700 and press
123
456
789
0
CLR
SEND
M1
M2
M3
M4
G
123
456
789
0
CLR
SEND
M1
M2
M3
M4
G
4. The red LED in the top right corner of the transmitter will light
up once
5. The pager will glow once cycle to indicate it received the pro-
gramming
To program an Alpha Pager:
1. Remove the battery from the pager
2. Re-insert the battery into the pager
3. On the keypad, press the corresponding from 1-799 and press
123
456
789
0
CLR
SEND
M1
M2
M3
M4
G
123
456
789
0
CLR
SEND
M1
M2
M3
M4
G
4. The red LED on the top right corner of the transmitter will light
up three times
5. The pager will then beep three times to indicate it received the
programming
GROUP PAGING AND PROGRAMMING
The TX-9560MT has the ability to program groups into the LRS
Alphanumeric Sta only. Up to 5 groups can be programmed into the
transmitter and pager
To turn ON Group Paging, press-
123
456
789
0
CLR
SEND
M1
M2
M3
M4
G
PROG
M5
M6
123
456
789
0
CLR
SEND
M1
M2
M3
M4
G
PROG
M5
M6
123
456
789
0
CLR
SEND
M1
M2
M3
M4
G
PROG
M5
M6
123
456
789
0
CLR
SEND
M1
M2
M3
M4
G
123
456
789
0
CLR
SEND
M1
M2
M3
M4
G
To turn OFF Group Paging, press
123
456
789
0
CLR
SEND
M1
M2
M3
M4
G
PROG
M5
M6
123
456
789
0
CLR
SEND
M1
M2
M3
M4
G
PROG
M5
M6
123
456
789
0
CLR
SEND
M1
M2
M3
M4
G
PROG
M5
M6
123
456
789
0
CLR
SEND
M1
M2
M3
M4
G
123
456
789
0
CLR
SEND
M1
M2
M3
M4
G
When Group Paging is enabled, select up to 5 Group Numbers to
set and define in the transmitter. Please follow these steps to setup
Groups:
- To set Group Number, press -
123
456
789
0
CLR
SEND
M1
M2
M3
M4
123
456
789
0
CLR
SEND
M1
M2
M3
M4
G
PROG
M5
M6
123
456
789
0
CLR
SEND
M1
M2
M3
M4
G
PROG
M5
M6
123
456
789
0
CLR
SEND
M1
M2
M3
M4
G
123
456
789
0
CLR
SEND
M1
M2
M3
M4
G
, where # is
a number from 1-9
- Repeat for up to 5 group numbers.
To program Groups to a POCSAG:
- Refer to pager programming section.
While the pager is programmed, the red LED on the transmitter will
blink 1 additional time for each group to program.
To Page a Group:
- Press the
123
456
789
0
CLR
SEND
M1
M2
M3
M4
key, followed by the group number, then a mes-
sage key.
To download a full instruction manual, visit LRSUS.com/support
