manuals.online logo
Brands
  1. Home
  2. •
  3. Brands
  4. •
  5. M-system
  6. •
  7. Control Unit
  8. •
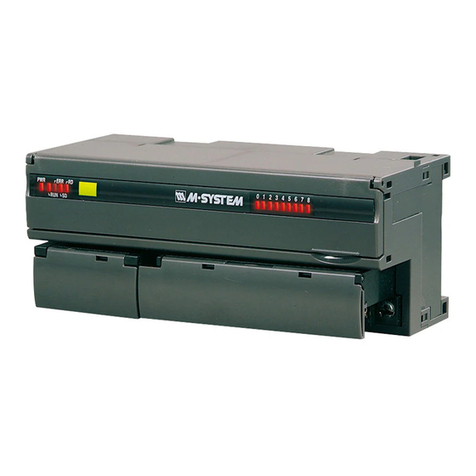
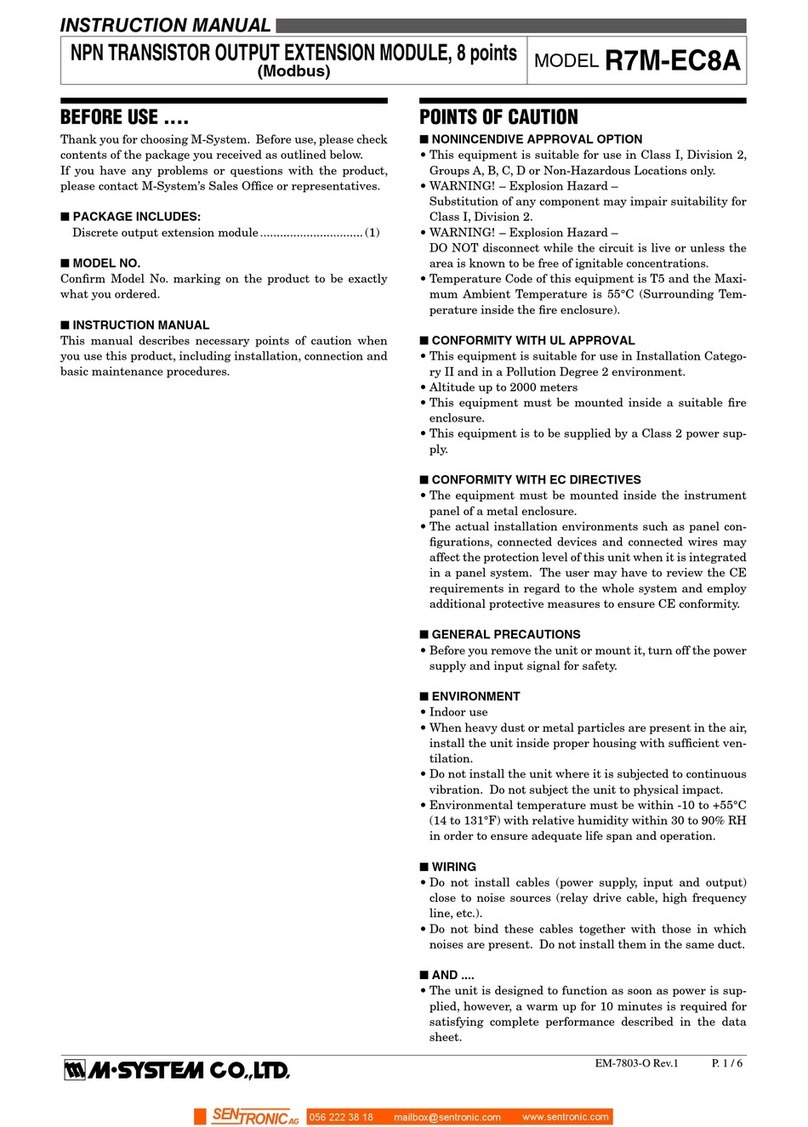
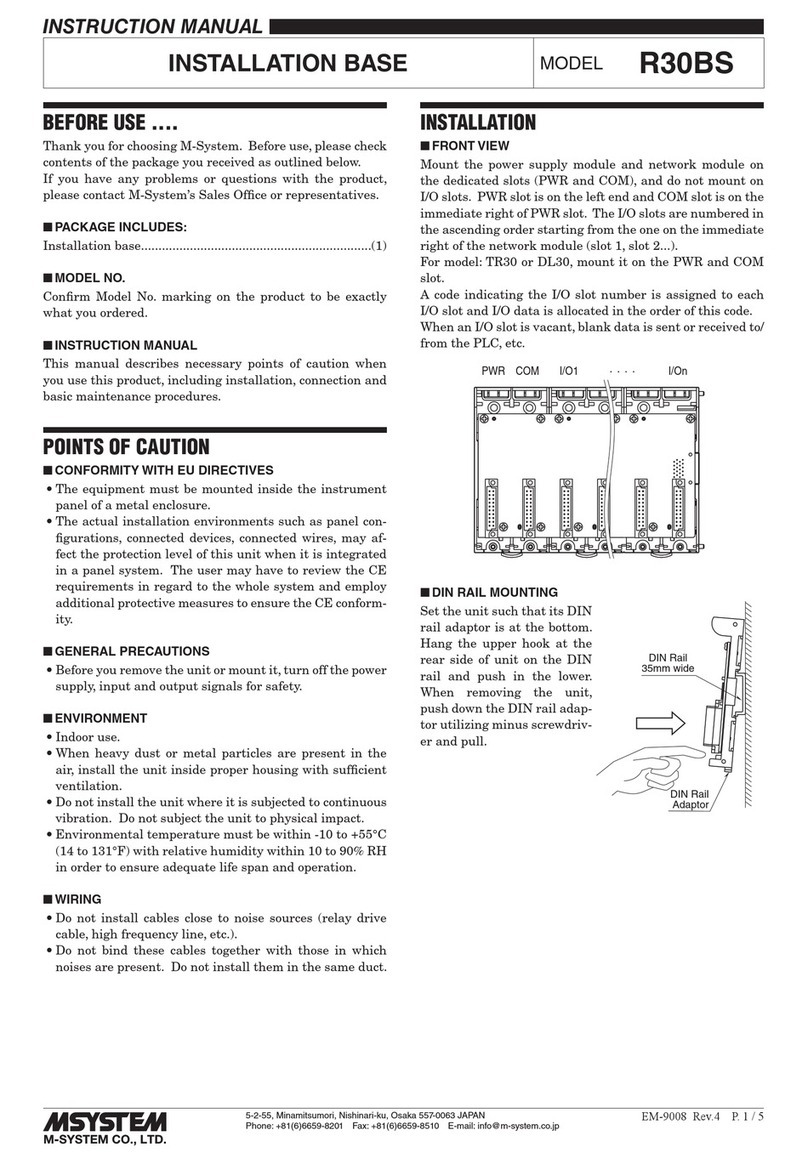
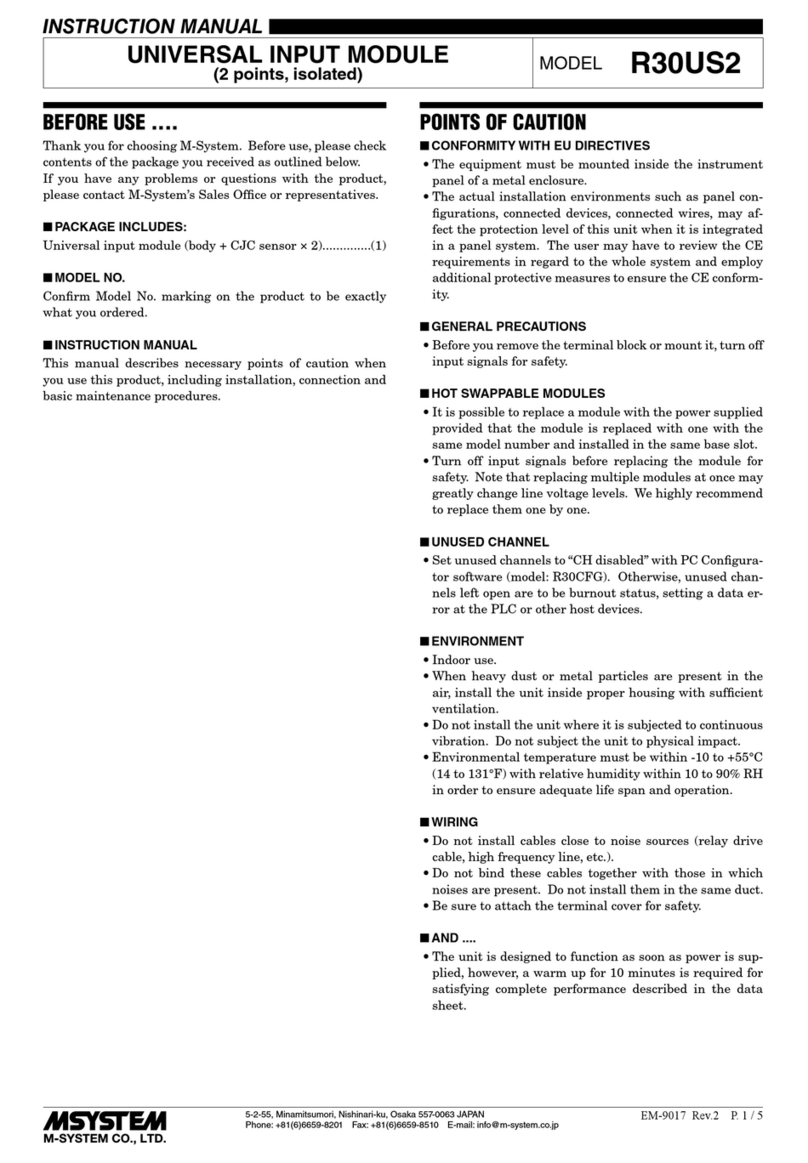
  9. M-system R3S-RS4A User manual

M-system R3S-RS4A User manual

R3S-RS4A
P. 1 / 3EM-8936
RTD INPUT MODULE
(high accuracy, 4 points, isolated) MODEL R3S-RS4A
INSTRUCTION MANUAL
BEFORE USE ....
Thank you for choosing M-System. Before use, please check
contents of the package you received as outlined below.
If you have any problems or questions with the product,
please contact M-System’s Sales Office or representatives.
■PACKAGE INCLUDES:
RTD input module........................................................ (1)
■MODEL NO.
Confirm that the model number described on the product is
exactly what you ordered.
■INSTRUCTION MANUAL
This manual describes necessary points of caution when
you use this product, including installation, connection and
basic maintenance procedures.
POINTS OF CAUTION
■HOT INSERTION/REMOVAL OF MODULES
Removing or replacing modules does not affect other mod-
ules on the same backplane. It is possible to replace them
without removing the power supply. However, replacing
multiple modules at once may greatly change line voltage
levels. We recommend that you replace them one by one.
■ENVIRONMENT
•Indooruse
•Whenheavydustormetalparticlesarepresentintheair,
install the unit inside proper housing with sufficient ven-
tilation.
•Donotinstalltheunitwhereitissubjectedtocontinuous
vibration.Donotsubjecttheunittophysicalimpact.
•Environmentaltemperaturemustbewithin-10to+55°C
(14to131°F)withrelativehumiditywithin30to90%RH
in order to ensure adequate life span and operation.
■WIRING
•Do not install cables (power supply, input and output)
close to noise sources (relay drive cable, high frequency
line, etc.).
•Do not bind these cables together with those in which
noises are present. Do not install them in the same duct.
■AND ....
The unit is designed to function as soon as power is sup-
plied,however,awarmupfor10minutesisrequiredforsat-
isfying complete performance described in the data sheet.
INSTALLATION
Use the Installation Base (model: R3-BSx).
COMPONENT IDENTIFICATION
1
20
■ FRONT VIEW
RUN LED
ERR LED
SW2SW1
ON ON
SW3
Input 2 (SW1)
or
Input 4 (SW2)
RTD
Conv.
Rate
Temp.
Unit
Burnout
■ SIDE VIEW
Input 1 (SW1)
or
Input 3 (SW2)
8
7
6
5
4
3
2
1
8
7
6
5
4
3
2
1
ON
4
3
2
1
R3S-RS4A
P. 2 / 3EM-8936
■INDICATORS
RUN indicator:Bi-color(red/green)LED;Redwhenthebus
Aoperatesnormally;GreenwhenthebusB
operatesnormally;Amberwhenbothbuses
operate normally.
ERR indicator:Bi-color(red/green)LED;Redwiththein-
putabnormality;Greeninnormaloperating
conditions.
■SIDE DIP SW
• RTD Type: SW1, SW2
INPUT 1 (SW1) INPUT 2 (SW1)
RTDINPUT 3 (SW2) INPUT 4 (SW2)
12345678
OFF OFF OFF OFF OFF OFF OFF OFF Pt100(*)(JIS’97,IEC)
ON OFF OFF OFF ON OFF OFF OFF Pt100(JIS’89)
OFF ON OFF OFF OFF ON OFF OFF JPt100
OFF ON ON OFF OFF ON ON OFF Pt1000
• Burnout: SW3
SW3-1 BURNOUT
OFF Upscale(*)
ON Downscale
• Temperature Unit: SW3
SW3-2 SW3-3 TEMP. UNIT
OFF OFF °C(*)
ON OFF °F
• Conversion Rate: SW3
SW3-4 CONV. RATE
OFF 250msec.(*)
ON 1 sec.
(*)Factorysetting
TERMINAL CONNECTIONS
Connect the unit as in the diagram below.
1
3
2
5
7
6
11
13
12
15
17
16
*1. For dual redundant communication.
*2. To make use of shield line, connect to SLD and ground the terminal 20’s shield.
Note: Do not use void terminals.
SLD
SLD
SLD
SLD
SLD
SLD
*2
4
14
18
8
19
20
BUS CONNECTOR
INPUT 1
A
B
B
RTD
INPUT 2
A
B
B
RTD
INPUT 3
A
B
B
RTD
INPUT 4
A
B
B
RTD
INTERNAL POWER
BUS A
BUS B*1
• Unused Input Channels
Close across the unused input terminals with a resistor as
shownbelowandsettheDIPswitchforPt100input.
Unused channels left open are equal to the burnout, which
turnstheredERRLEDonandsetsaburnoutagatthe
PLC or the host device.
Unused channels can be specified and set so on the PC Con-
figurator Software (model: R3CON) without needing to con-
nect resistors at the field terminals.
1
2
INPUT 1
5
6
INPUT 2
11
12
INPUT 3
16
INPUT 4
100
3 7 13 17
15
R3S-RS4A
P. 3 / 3EM-8936
EXTERNAL DIMENSIONS unit: mm (inch)
1
20
130 (5.12)
27.5 (1.08) 109 (4.29)
120 (4.72)
POSITIONING
GUIDE
WIRING INSTRUCTIONS
■ APPLICABLE WIRE SIZE mm
• Solid: 0.2to1.0mm2(0.55to1.12dia.)
• Stranded:0.2to1.5mm2
(Tinning wire ends may cause contact failure and therefore
is not recommended.)
• Ferruled:
Unsheathed:0.25to1.5mm2
Sheathed:0.25to0.75mm2
•Exposewireconductorsby10mm(0.39”).
■CONNECTION PROCEDURE
Insert the wire end until it comes to a full stop while push-
ing slot with the tip of a screw driver as shown below. Be
sure wire insulation is not inside the terminal.
Screw Driver
Power wire
Stripped length
10mm
M-SYSTEM WARRANTY
M-System warrants such new M-System product which it manufactures to be free from defects in materials and workmanship during the 36-month period following the date that such
product was originally purchased if such product has been used under normal operating conditions and properly maintained, M-System’s sole liability, and purchaser’s exclusive
remedies, under this warranty are, at M-System’s option, the repair, replacement or refund of the purchase price of any M-System product which is defective under the terms of this
warranty. To submit a claim under this warranty, the purchaser must return, at its expense, the defective M-System product to the below address together with a copy of its original
sales invoice.
THIS IS THE ONLY WARRANTY APPLICABLE TO M-SYSTEM PRODUCT AND IS IN LIEU OF ALL OTHER WARRANTIES, EXPRESS OR IMPLIED, INCLUDING ANY IMPLIED
WARRANTIES OF MERCHANTABILITY OR FITNESS FOR A PARTICULAR PURPOSE. M-SYSTEM SHALL HAVE NO LIABILITY FOR CONSEQUENTIAL, INCIDENTAL OR
SPECIAL DAMAGES OF ANY KIND WHATSOEVER.
M-System Co., Ltd., 5-2-55, Minamitsumori, Nishinari-ku, Osaka 557-0063 JAPAN, Phone: (06) 6659-8201, Fax: (06) 6659-8510, E-mail: info@m-system.co.jp
PIN No. FUNCTION
1 INA1
2 INB1
3 INb1
4 SLD
5 INA2
6 INB2
7 INb2
8 SLD
9N
C
10 NC
11 INA3
12 INB3
13 INb3
14 SLD
15 INA4
16 INB4
17 INb4
18 SLD
19 SLD
20 SLD
INPUT PIN ASSIGNMENT

Other M-system Control Unit manuals

M-system M8YC User manual

M-system

M-system M8YC User manual

M-system R30BS User manual

M-system

M-system R30BS User manual

M-system R3-SV8C User manual

M-system

M-system R3-SV8C User manual

M-system R3-NL1 User manual

M-system

M-system R3-NL1 User manual

M-system R7G4HEIP-6-DC16B User manual

M-system

M-system R7G4HEIP-6-DC16B User manual

M-system R30SV2 User manual

M-system

M-system R30SV2 User manual

M-system R3-NM3 User manual

M-system

M-system R3-NM3 User manual

M-system R8-DC4C User manual

M-system

M-system R8-DC4C User manual

M-system R30US2 User manual

M-system

M-system R30US2 User manual

M-system R7L-EC16B User manual

M-system

M-system R7L-EC16B User manual

M-system R8-DCM16ALK User manual

M-system

M-system R8-DCM16ALK User manual

M-system R7D-MS4 User manual

M-system

M-system R7D-MS4 User manual

M-system R7M-EC8B User manual

M-system

M-system R7M-EC8B User manual

M-system R7G4FML3-6-DC16A User manual

M-system

M-system R7G4FML3-6-DC16A User manual

M-system R7M-DC16A User manual

M-system

M-system R7M-DC16A User manual

M-system R7L-DA16 User manual

M-system

M-system R7L-DA16 User manual

M-system R7E-DA16 User manual

M-system

M-system R7E-DA16 User manual

M-system R7HL-DAC16C User manual

M-system

M-system R7HL-DAC16C User manual

M-system R7ML-YV2-R User manual

M-system

M-system R7ML-YV2-R User manual

M-system R3-NM4 User manual

M-system

M-system R3-NM4 User manual

M-system R3-PT4 User manual

M-system

M-system R3-PT4 User manual

M-system R7D-EC8B User manual

M-system

M-system R7D-EC8B User manual

M-system R7D-EC16B User manual

M-system

M-system R7D-EC16B User manual

M-system R3-NP1 User manual

M-system

M-system R3-NP1 User manual

Popular Control Unit manuals by other brands

Maple Systems iR-A Series instruction manual

Maple Systems

Maple Systems iR-A Series instruction manual

CALEFFI LEGIOMIX 6000 series quick start guide

CALEFFI

CALEFFI LEGIOMIX 6000 series quick start guide

DFI KU968 user manual

DFI

DFI KU968 user manual

Pepperl+Fuchs ICE1-8IOL-G60L-V1D manual

Pepperl+Fuchs

Pepperl+Fuchs ICE1-8IOL-G60L-V1D manual

Afag RE Series Montage Instructions

Afag

Afag RE Series Montage Instructions

Boreal WIFI2-B Installation, operating and servicing instruction

Boreal

Boreal WIFI2-B Installation, operating and servicing instruction

Bosch AMC2 4W-EXT manual

Bosch

Bosch AMC2 4W-EXT manual

Exhausto EBC12 Series Product Instruction

Exhausto

Exhausto EBC12 Series Product Instruction

RK Rose+Krieger RK MultiControl II duo Assembly instructions

RK Rose+Krieger

RK Rose+Krieger RK MultiControl II duo Assembly instructions

THOMSON Grass Valley Kameleon HD Series instruction manual

THOMSON

THOMSON Grass Valley Kameleon HD Series instruction manual

ABB OPT-MF-005 user manual

ABB

ABB OPT-MF-005 user manual

MADDALENA ArrowWAN Instructions for installation, use and maintenance

MADDALENA

MADDALENA ArrowWAN Instructions for installation, use and maintenance

AsahiAV 15 user manual

AsahiAV

AsahiAV 15 user manual

Weinzierl KNX RF/TP Coupler 673 secure Operation and installation manual

Weinzierl

Weinzierl KNX RF/TP Coupler 673 secure Operation and installation manual

Hach SIGMATAX 2 user manual

Hach

Hach SIGMATAX 2 user manual

Sagem MO300 M2M Application note

Sagem

Sagem MO300 M2M Application note

MaxLinear MxL7213 user manual

MaxLinear

MaxLinear MxL7213 user manual

Neptune WXM Setup guide

Neptune

Neptune WXM Setup guide

manuals.online logo
manuals.online logoBrands
  • About & Mission
  • Contact us
  • Privacy Policy
  • Terms and Conditions

Copyright 2025 Manuals.Online. All Rights Reserved.