MacDon D65 User manual

D65 and FD75
Draper and FlexDraper®® Headers
Slow Speed Transport (C1997 and C1998) Installation
Instructions (2016 and Earlier)
169784 Revision H
Original Instruction
The Harvesting Specialists.

MacDon Draper Header with Slow Speed Transport
1011520
Published: May 2020
© 2020 MacDon Industries, Ltd.
The information in this publication is based on the information available and in effect at the time of printing. MacDon
Industries, Ltd. makes no representation or warranty of any kind, whether expressed or implied, with respect to the
information in this publication. MacDon Industries, Ltd. reserves the right to make changes at any time without notice.

Introduction
The Slow Speed Transport option allows you to tow a 9.1–13.7 m (30–45 ft.) MacDon D65 Draper or FD75 FlexDraper®
Header behind an agricultural tractor, agricultural combine, or a properly configured MacDon windrower. Do NOT tow with
any highway-capable vehicle.
This document explains how to install the Slow Speed Transport option. A list of parts included in the kit is provided so that
you can make sure you have everything you need to install the kit. For operating or maintenance procedures, refer to the
header operator’s manual.
CAUTION
Do NOT exceed 32 km/h (20 mph) when towing a header using the Slow Speed Transport option. Reduce speed to less
than 8 km/h (5 mph) for corners and slippery or rough conditions.
Installation Time
Installation time is approximately 5.5 hours.
Conventions
The following conventions are followed in this document:
•Right and left are determined from the operator’s position. The front of the header is the side that faces the crop; the
back of the header is the side that connects to the combine or windrower.
•Unless otherwise noted, use the standard torque values provided in the header operator’s manual and technical
manual.
NOTE:
Keep your MacDon publications up-to-date. The most current version of this instruction can be downloaded from our
Dealer-only site (https://portal.macdon.com) (login required).
NOTE:
This document is currently available in English only.
169784 iRevision H

Summary of Changes
At MacDon, we’re continuously making improvements, and occasionally these improvements affect product
documentation. The following list provides an account of major changes from the previous version of this document.
Section Summary of Change Internal Use Only
–Increased revision level to H. Tech Pubs
Inside front cover Added copyright. Tech Pubs
2.2 Tow-Bar, page 8 Hitch cradle support MD #193120
superseded by MD #244760.
ECN 59085
3.17 Attaching Tow-Bar, page 59 Added illustration to clarify tow-bar
section and revised tow bar section
descriptions.
Engineering
3.18 Detaching and Storing Tow-Bar,
page 63
Revised tow bar section descriptions. Engineering
169784 ii Revision H

169784 iii Revision H
Introduction ................................................................................................................................................i
Summary of Changes....................................................................................................................................ii
Chapter 1: Safety ........................................................................................................................................ 1
1.1 Signal Words .........................................................................................................................................1
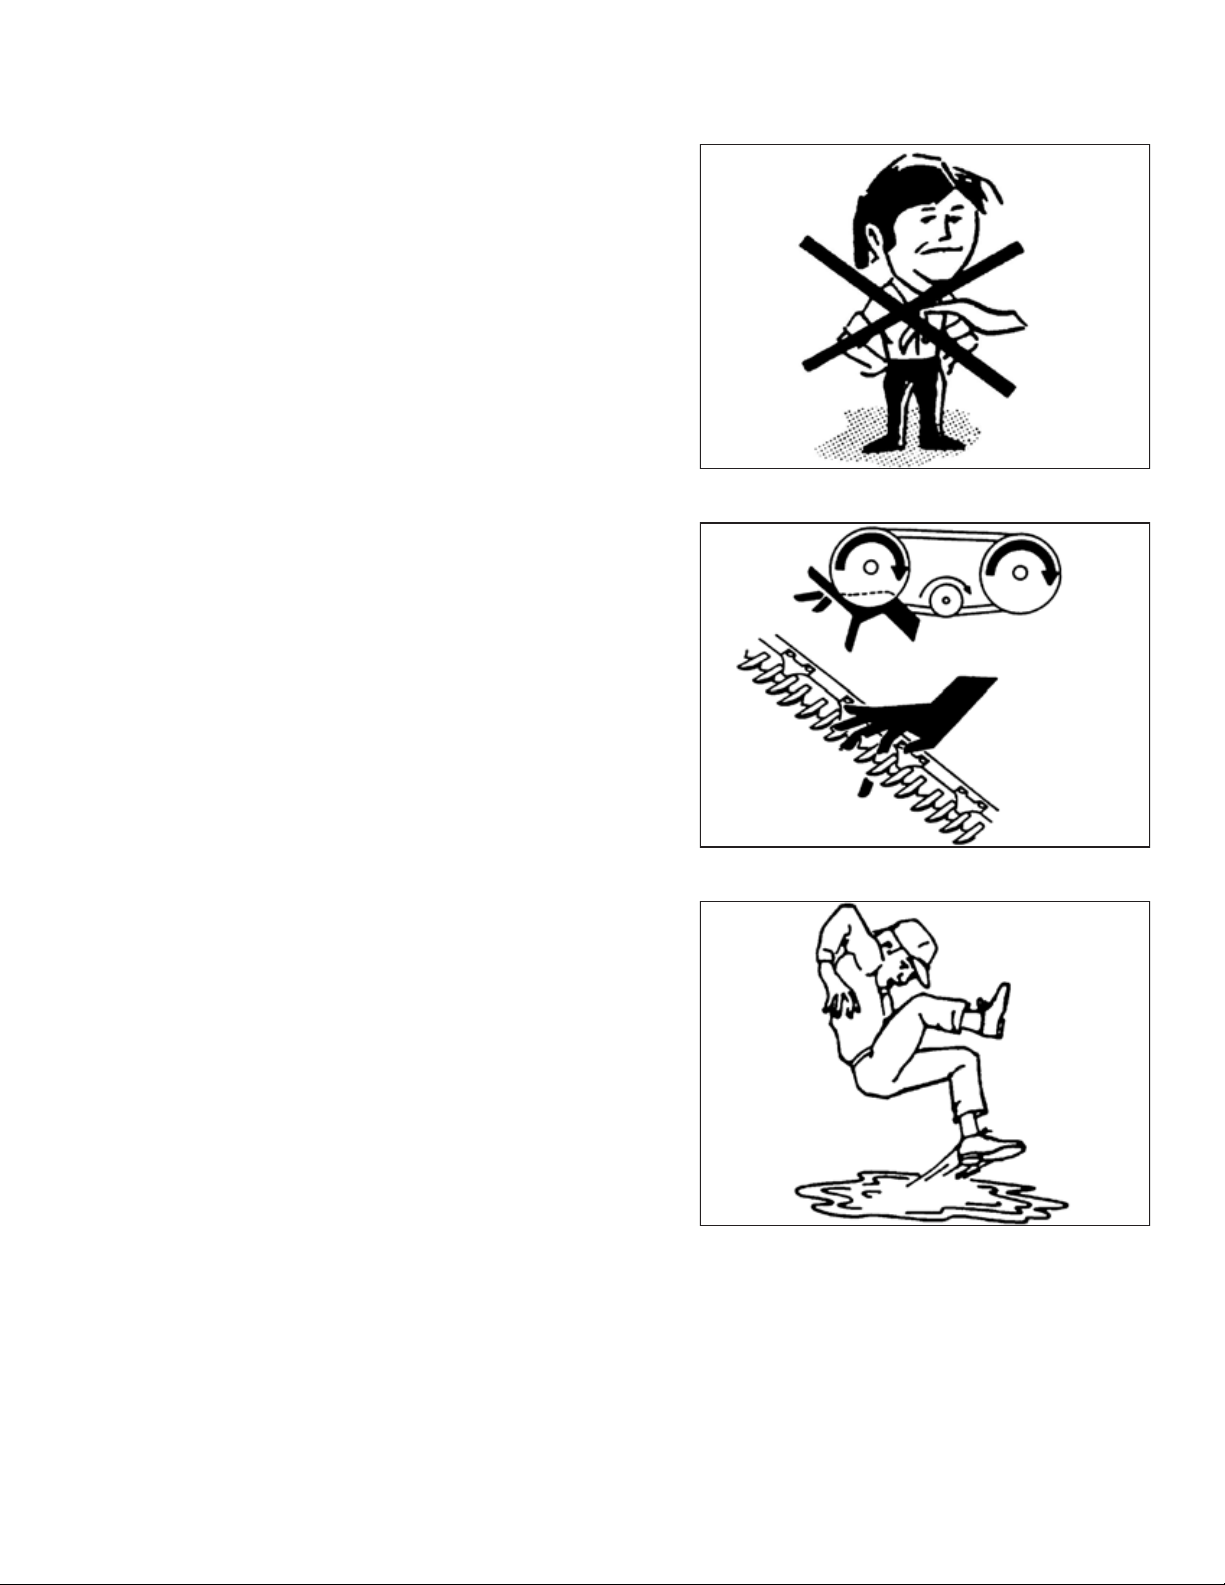
1.2 General Safety .......................................................................................................................................2
Chapter 2: Parts List.................................................................................................................................... 5
2.1 Electrical Parts .......................................................................................................................................6
2.2 Tow-Bar................................................................................................................................................8
2.3 Wheels and Supports ............................................................................................................................ 10
Chapter 3: Installation Instructions ......................................................................................................... 15
3.1 Installing Front Axle .............................................................................................................................. 15
3.2 Installing Header Electrical Harness ......................................................................................................... 19
3.3 Tow-Bar Cradles ................................................................................................................................... 21
3.3.1 Left Tow-Bar Cradles .................................................................................................................... 21
Assembling Left Tow-Bar Cradle for a 9.1 Meter (30 Foot) Windrower Header, a 9.1 Meter (30 Foot)
FlexDraper®Header, or a 10.7 Meter (35 Foot) Rigid Header.................................................... 21
Assembling Left Tow-Bar Cradle for a 9.1 Meter (30 Foot) Rigid Combine Header .................................. 22
Assembling Left Cradle for a 10.7 Meter (35 Foot) FlexDraper®or any 12.2–13.7 Meter
(40–45 Foot) Header......................................................................................................... 22
3.3.2 Right Tow-Bar Cradles................................................................................................................... 23
Assembling Right Tow-Bar Cradle for a 9.1 Meter (30 Foot) D65 Windrower Header .............................. 23
Assembling Right Tow-Bar Cradle for a 9.1 Meter (30 Foot) Rigid Combine Header ................................ 23
Assembling Right Tow-Bar Cradle for a 9.1 Meter (30 Foot) FlexDraper®Header.................................... 23
Assembling Right Tow-Bar Cradle for a 10.7–13.7 Meter (35–45 Foot) Header....................................... 24
3.4 Installing Front Suspension and Left Tow-Bar Cradle ................................................................................... 25
3.5 Rear Suspension and Right Side Tow-Bar Cradle......................................................................................... 27
3.5.1 Installing Rear Suspension and Right Tow-Bar Cradle on a 9.1 Meter (30 Foot) D65 Windrower
Header....................................................................................................................................... 27
3.5.2 Installing Rear Suspension and Right Side Tow-Bar Cradle on All Headers Except the 9.1 Meter (30 Foot)
D65 Windrower Header ................................................................................................................ 29
3.6 Installing Rear Fixed Axle ....................................................................................................................... 32
3.7 Installing Rear Swing Axle ...................................................................................................................... 36
3.8 Checking Axle Hub Pivot ........................................................................................................................ 38
3.9 Checking Latch Alignment ...................................................................................................................... 39
3.10 Installing Wheels ................................................................................................................................ 41
3.11 Adjusting Axle Brace............................................................................................................................ 42
3.12 Lights................................................................................................................................................ 43
3.12.1 Installing Endshield Light ............................................................................................................. 43
3.12.2 Installing Reel Arm Light .............................................................................................................. 44
3.12.3 Installing Light Wiring Harness...................................................................................................... 45
3.12.4 Installing Splice .......................................................................................................................... 46
3.12.5 Connecting Harness on Non-European Headers (with Module)........................................................... 49
TABLE OF CONTENTS

169784 iv Revision H
3.12.6 Connecting Harness on European Headers (without Module) ............................................................. 50
3.12.7 Electrical Schematics................................................................................................................... 51
Electrical Schematics –European (without Module, with Splice) ......................................................... 51
Electrical Schematics –Non-European (with Module)........................................................................ 52
3.13 Attaching Decals ................................................................................................................................. 53
3.14 Installing Slow Moving Vehicle (SMV) Sign............................................................................................... 54
3.15 Installing Divider Rod Storage Bracket .................................................................................................... 55
3.16 Tow-Bar Brackets................................................................................................................................ 56
3.16.1 Installing Bracket on Left Endsheet................................................................................................ 56
3.16.2 Installing Bracket on Right Endsheet –9.1 Meter (30 Foot) D65 Headers.............................................. 56
3.16.3 Installing Bracket on Right Endsheet –Headers Except the 9.1 Meter (30 Foot) D65 Headers................... 58
3.17 Attaching Tow-Bar .............................................................................................................................. 59
3.18 Detaching and Storing Tow-Bar ............................................................................................................. 63
3.19 Conversion to and from Transport ......................................................................................................... 65
TABLE OF CONTENTS

169784 1Revision H
Chapter 1: Safety
1.1 Signal Words
Three signal words, DANGER,WARNING, and CAUTION, are used to alert you to hazardous situations. Two signal words,
IMPORTANT and NOTE, identify non-safety related information. Signal words are selected using the following guidelines:
DANGER
Indicates an imminently hazardous situation that, if not avoided, will result in death or serious injury.
WARNING
Indicates a potentially hazardous situation that, if not avoided, could result in death or serious injury. It may also be
used to alert against unsafe practices.
CAUTION
Indicates a potentially hazardous situation that, if not avoided, may result in minor or moderate injury. It may be used
to alert against unsafe practices.
IMPORTANT:
Indicates a situation that, if not avoided, could result in a malfunction or damage to the machine.
NOTE:
Provides additional information or advice.

169784 2Revision H
1.2 General Safety
1000004
Figure 1.1: Safety Equipment
CAUTION
The following general farm safety precautions should be part of
your operating procedure for all types of machinery.
Protect yourself when assembling, operating, and servicing
machinery, wear all protective clothing and personal safety
devices that could be necessary for the job at hand. Do NOT
take chances. You may need the following:
•Hard hat
•Protective footwear with slip-resistant soles
•Protective glasses or goggles
•Heavy gloves
•Wet weather gear
•Respirator or filter mask
1000005
Figure 1.2: Safety Equipment
In addition, take the following precautions:
•Be aware that exposure to loud noises can cause hearing
impairment or loss. Wear suitable hearing protection devices
such as earmuffs or earplugs to help protect against loud
noises.
1010391
Figure 1.3: Safety Equipment
•Provide a first aid kit in case of emergencies.
•Keep a properly maintained fire extinguisher on the machine.
Be familiar with its proper use.
•Keep young children away from machinery at all times.
•Be aware that accidents often happen when the Operator is
tired or in a hurry. Take time to consider safest way. NEVER
ignore warning signs of fatigue.
SAFETY

169784 3Revision H
1000007
Figure 1.4: Safety around Equipment
•Wear close-fitting clothing and cover long hair. NEVER wear
dangling items such as scarves or bracelets.
•Keep all shields in place. NEVER alter or remove safety
equipment. Make sure driveline guards can rotate
independently of shaft and can telescope freely.
•Use only service and repair parts made or approved by
equipment manufacturer. Substituted parts may not meet
strength, design, or safety requirements.
1000008
Figure 1.5: Safety around Equipment
•Keep hands, feet, clothing, and hair away from moving parts.
NEVER attempt to clear obstructions or objects from a
machine while the engine is running.
•Do NOT modify the machine. Unauthorized modifications
may impair machine function and/or safety. It may also
shorten the machine’s life.
•To avoid injury or death from unexpected startup of the
machine, ALWAYS stop the engine and remove the key from
the ignition before leaving the operator’s seat for any reason.
1000009
Figure 1.6: Safety around Equipment
•Keep service area clean and dry. Wet and/or oily floors are
slippery. Wet spots can be dangerous when working with
electrical equipment. Be sure all electrical outlets and tools
are properly grounded.
•Keep work area well lit.
•Keep machinery clean. Straw and chaff on a hot engine are
fire hazards. Do NOT allow oil or grease to accumulate on
service platforms, ladders, or controls. Clean machines before
storage.
•NEVER use gasoline, naphtha, or any volatile material for
cleaning purposes. These materials may be toxic and/or
flammable.
•When storing machinery, cover sharp or extending
components to prevent injury from accidental contact.
SAFETY


169784 5Revision H
Chapter 2: Parts List
The following parts are included in this kit:

169784 Revision H
Figure 2.1: Slow Speed Transport –Electrical Parts
Ref
Part
Number Description
Quantity
North
America &
Australia Europe
1NSS1ASSY –LH REAR TRANSPORT LIGHT N.A. & AUS 10
NSS ASSY –LH REAR TRANSPORT LIGHT EUROPE 0 1
2 125379 COVER –TRANSPORT LIGHTING 11
3 NSS ASSY –RH REAR TRANSPORT LIGHT 11
421032 REFLECTOR –SMV SIGN 10
521763 FASTENER –CABLE TIE (BLACK) 33
6 135233 CLAMP –DOUBLE HOSE INSULATED 2 2
7174926 BRACKET –SMV MTG 10
8 193080 HARNESS 11
9 125808 SUPPORT –DIVIDER ROD LOWER 11
10 118239 PIN –HITCH 10
11 113561 PIN –LYNCH 10
12 113536 CLEVIS –WELDT 10
A50186 NUT –FLG LOCK SM FACE DT 0.500-13 UNC GR5 2 2
B18723 BOLT –HH 1/2 NC X 1.5 LG TFL GR5 ZP 22
C 30228 NUT –FLANGE DT SMOOTH FACE 0.375-16 UNC 76
D21568 BOLT –HH 3/8 NC X 3.0 LG GR5 ZP 10
E21472 BOLT –RHSN 3/8 NC X 0.75 GR5 ZP 44
F21863 BOLT –RHSSN 3/8 NC X 0.75 LG GR5 ZP 32
PARTS LIST
1. Not sold separately.

169784 9Revision H
Ref
Part
Number Description Quantity
1NSS2HITCH ASSEMBLY –2 PIECE HEADER END 1
2 NSS HITCH ASSEMBLY –2 PIECE TOW END 1
3144415 ASSEMBLY –L-PIN 1
4118137 RING 1
5NSS ASSEMBLY –HITCH CRADLE (includes 6, 8, 9, 11, A, F, and H) 2
6 193183 PLATE –LATCH HANDLE 2
7193122 PLATE –EXTENSION 2
8 135704 SEAL –EDGE TRIM 2
9 193187 STRAP –RUBBER 2
10 193115 SUPPORT –FRAME LEG 2
11 244760 SUPPORT –HITCH CRADLE 2
12 NSS ASSEMBLY –HITCH CRADLE (30FT D65 RIGID WINDROWER) 1
13 193188 SUPPORT –HITCH LH ENDSHEET 1
14 279065 SUPPORT –HITCH RH ENDSHEET 1
15 NSS TEMPLATE –HITCH STORAGE REWORK D65 30FT (NOT SHOWN) 1
A135623 BOLT –RHSN 1/4 NC X 1.25 LG GR 5 ZP 4
B21863 BOLT –RHSSN 3/8 NC X 0.75 LG GR 5 ZP 4
C 100456 BOLT –RHSSN 3/8 NC X 1.0 GR 5 ZP 9
D50186 NUT –FLANGE LOCK SM FACE DT 0.500–13UNC GR5 2
E30228 NUT –FLANGE DT SMOOTH FACE 0.375–16 UNC 16
F135248 NUT –FLG DIST THD SMTH FACE 1/4–20 NC GR5 ZP 4
G 105136 SCREW –MACHINE 2
H40628 WASHER –FLAT 4
J101898 SCREW –HEX WASH HD THD ROLLING 3/8 NC X 5/8 (30FT D65 ONLY) 3
K19966 BOLT –RHSN 3/8–16X1.25 GR5 ZP 4
PARTS LIST
2. Not sold separately.

169784 11 Revision H
Ref
Part
Number Description Quantity
1193026 ASSY –WHEEL & TIRE COMPLETE 2
2 NSS3ASSY –LH TRANSPORT 1
3 NSS SUB ASSY –LH STABILIZER WHEEL SUSPENSION 1
4 NSS SUB ASSY –RH STABILIZER WHEEL SUSPENSION 1
5NSS AXLE SUB-ASSY TRANSPORT LH 1
6144745 PIVOT –ASSY 1
7NSS SUB ASSEMBLY –RH SWING AXLE 1
818671 FTG –LUBE 1/4 - 28 UNF 2
9 35694 BUSHING –PLASTIC 2
10 144374 PIN 1
11 144577 BAR/NUT ASSY 1
12 144471 BAR 1
13 144873 SUPPORT 1
14 144724 SPRING –EXTENSION 1
15 144425 BOLT –EYE 1
16 193214 SUPPORT –LH 1
17 193215 SUPPORT –RH 1
18 144899 HANDLE 2
19 193217 SUPPORT –RH 1
20 193216 SUPPORT –LH 1
21 144415 ASSY –L-PIN 2
22 125236 BAR –DRAPER SUPPORT RETENTION 1
23 220099 SUPPORT –DRAPER TRANSPORT 1
24 144091 TUBE 2
25 125256 SUPPORT –RH PIVOT CASTING MACHINED 1
26 144376 PIN –STRAIGHT 1
27 16266 PIN –SPRING 1/4 DIA X 1.25 LG 2
28 220799 DECAL –TRANSPORT HITCH PIN - 2 PANEL (NOT SHOWN) 1
29 193034 DECAL –TRANSPORT GAUGE WHEEL SETTING (NOT SHOWN) 2
PARTS LIST
3. Not sold separately. Serviceable components are listed in the header parts catalog.

169784 13 Revision H
Ref
Part
Number Description Quantity
A 4761 WASHER –FLAT 1
B50197 BOLT –RHSN 3/8 NC X 1.75 LG GR 5 ZP 1
C18523 BOLT –RHSN 5/8 NC X 1.5 GR 5 ZP 1
D18591 NUT –HEX 1/2 - 13 UNC GR 5 ZP 2
E135341 NUT –FLANGE DT SMOOTH FACE .625-11UNC GR. G 3
F18600 WASHER –SAE FLAT 21/32 ID X 1 5/16 IN OD ZP 8
G193211 BOLT –HH 5/8 NC X 7.5 LG GR8 ZP 1
H117015 BOLT –RHSSN 5/8 NC X 1.0 GR 5 ZP 2
J100456 BOLT –RHSSN 3/8 NC X 1.0 GR 5 ZP 16
K21941 NUT –HEX LOCK JAM (DIST THD) 5/8-11 UNC GR 5 ZP 1
L30228 NUT –FLANGE DT SMOOTH FACE 0.375-16UNC 17
M30441 WASHER –HARDENED 1
N48050 BOLT –SHOULDER .625-11UNC 2
P50225 NUT –FLANGE DT SMOOTH FACE .625-11UNC 6
Q103562 BOLT –RHSN 5/8 NC X 1.25 GR 5 ZP 3
R134436 BOLT –HH 5/8 NC X 4.75 LG GR8 ZP 2
PARTS LIST

Other manuals for D65
7
This manual suits for next models
1
Table of contents
Other MacDon Farm Equipment manuals

MacDon
MacDon M1 Series Technical manual

MacDon
MacDon C Series User manual

MacDon
MacDon M155 User manual

MacDon
MacDon 5020 User manual

MacDon
MacDon M150 User manual

MacDon
MacDon D50 User manual

MacDon
MacDon NEW HOLLAND D2 Series User manual

MacDon
MacDon M205 User manual

MacDon
MacDon M155E4 User manual

MacDon
MacDon FlexDraper FD1 Series User manual