/EN
USER MANUAL
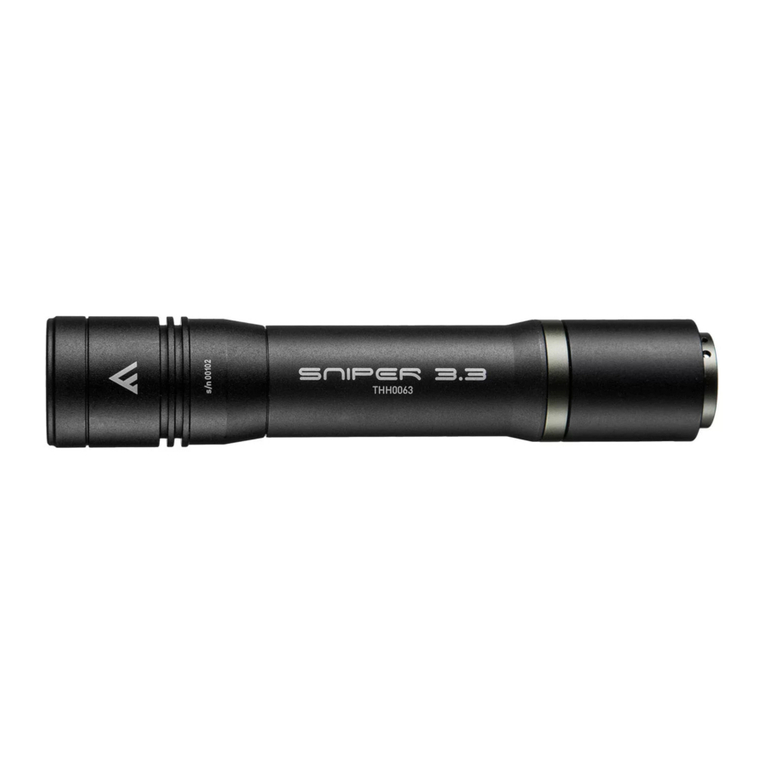
SPECIFICATION
Light source OSRAM P9 10W LED
Lumens 1000 lm
Runtime
and operation
modes
ANSI FL1
HIGH 3 h 30 min
MEDIUM 5 h 45 min
LOW 23 h 30 min
SOS 5 h 30 min
STROBE 10 h
Waterproofness IP65
Impact resistance 1,5 m
Light range 286 m
Power supply 18650 Li-Ion 3,7V 3200mAh
Charging 4 h 30 min
Dimensions 136 x 36,5 x 28,5 mm
Weight 162 g (with battery), 113 g (without battery)
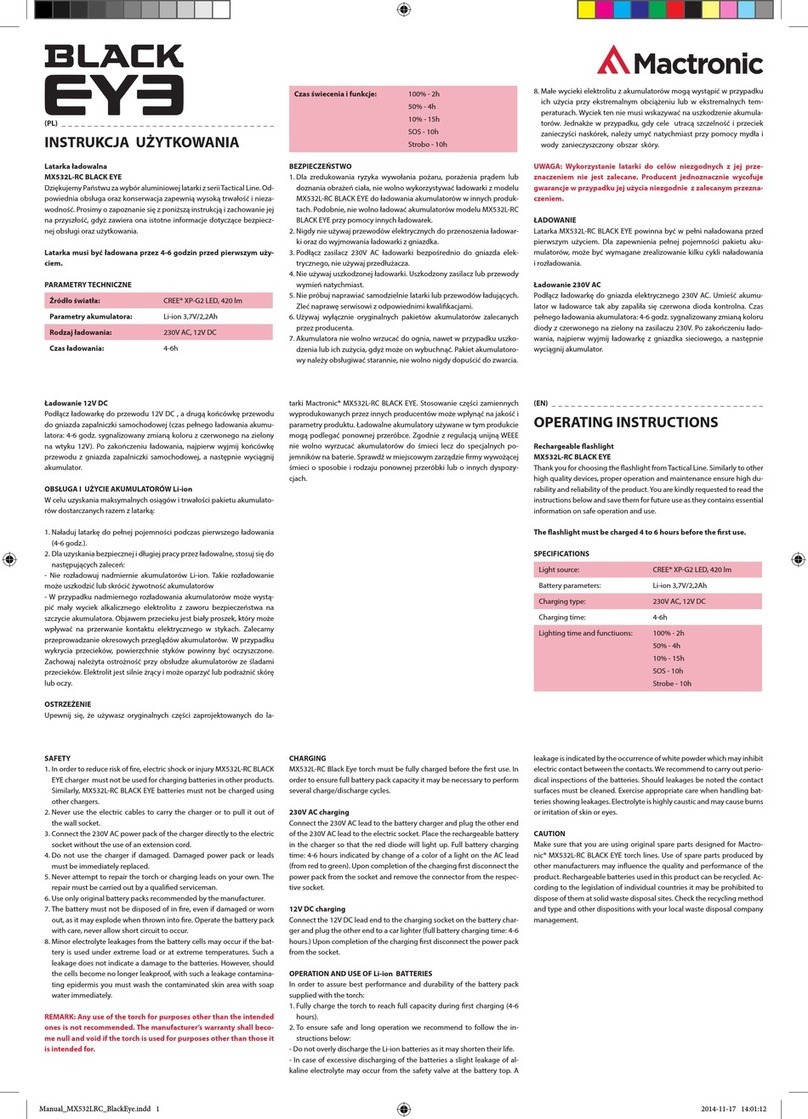
Thank you for choosing a Mactronic®product. Proper operation and main-
tenance guarantee the product’s high durability and reliability. Please read
the operating manual and keep it for reference, because it contains import-
ant information about safety and operation of the product.
NOTICE
It is not recommended to use the flashlight for purposes other than intend-
ed. The manufacturer explicitly voids the warranty if the flashlight has been
used for other than its intended purpose.
OPERATION
To activate the flashlight press the button in the back of the handle. The
button operates in in ON/OFF position. Every time the button is gently (par-
tially) pressed, the flashlight’s mode cycle: LOW (94 lm) -> MEDIUM (447 lm)
-> HIGH (1000 lm) -> SOS -> STROBE. To deactivate the flashlight, press the
button to put it into the OFF position, which is indicated by a click. Every time
the flashlight is activated again, the next mode is selected. If the interval
between activation and deactivation is longer than 6 seconds, the flashlight
will be activated in the mode used last time.
REPLACING THE BATTERY
To replace / recharge the battery, unscrew the switch module from the flash-
light’s housing, turning it anti-clockwise, and remove the battery. Insert
a new battery, minding the polarity, and screw in the switch module, turning
it clockwise.
RECHARGING THE BATTERY
To recharge the 18650 cell, unscrew the on/off button from the flashlight’s
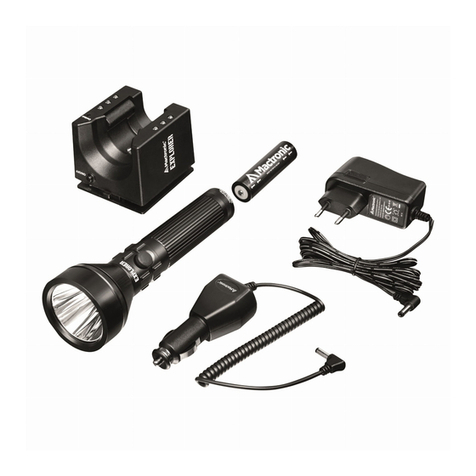
body and remove the cell. Connect one of the chargers available in the set,
respectively the mains charger: 220-240V AC or the car 12-24V DC charger.
Connect the supplied USB/USB-C cable to the charger’s USB socket. Con-
nect the USB-C plug into the charging base. Pull the slider tab on the pres-
sure spring so that a battery can be inserted. Install the battery observing
polarity (+/-) indicated on the base. A red LED on the base lights up to indi-
cate that recharging is under way. Once the recharging process is complete,
the LED turns from red to green. To reinstall the cell, unscrew the on/off
button. Place the cell so that its positive pole is in the direction of the light
source. Replace and retighten the on/off button.
*The charging stand works with the following cells: 14500, 16340, 18650,
21700, 26650, 32650. The flashlight can only be powered by 18650 cells sup-
plied with it.
CAUTION!
Make sure you use only genuine parts designed for Mactronic®flashlight.
Using spare parts from other manufacturers may affect the quality and pa-
rameters of the product. The rechargeable batteries used in this product
may be subject to re-processing. Pursuant to the EU’s WEEE regulation,
storage batteries must not be disposed of with normal household waste.
Instead, they must be disposed of at designated battery collection points.
Contact the management of your local waste collection company for advice
on the required ways and types of re-processing, or other instructions.
GENERAL INFORMATION
Modifications and repairs:
Unless authorized by Mactronic®in writing, any modifications and user at-
tempts at home repairs will automatically void the warranty.
Mactronic®warranty:
Mactronic®covers the product with a 3-year warranty for any manufac-
tured defects in material and/or workmanship. The warranty may be ex-
tended for up to 5 years (to extend the warranty, you must register your
purchase using this form: https://mactronic.pl/en/content/15-warranty. The
warranty does not cover the product, rust, unauthorized modifications, im-
proper storage, damage from falls, improper handling, corrosion from leak-
ing batteries, and use of the product to its intended purpose.
WARRANTY CARD
The warranty card can be downloaded at www.mactronic.pl
USING AND HANDLING THE BATTERY
To reduce the risk of fire, electrocution or other bodily harm, carefully read
the flashlight’s operating manual.
• Always make sure the battery’s polarity is correct.
• Remove the batteries if the flashlight is stored for extended time.
• Do not recharge alkaline batteries.
• Do not dispose of the batteries in fire.
• Keep the batteries out of reach of the children.
• Do not force the batteries open.
• Keep the flashlight away from UV radiation, humidity and chemical
products.
/DE
BEDIENUNGSANLEITUNG
SPEZIFIKATION
Lichtquelle OSRAM P9 10W LED
Lumene 1000 lm
Leuchtdauer und
Lichtmodi
ANSI FL1
HOCH 3 h 30 min
MITTEL 5 h 45 min
NIEDRIG 23 h 30 min
SOS 5 h 30 min
STROBE 10 h
IP-Schutzart IP65
Impact resistance 1,5 m
Stoßschutz 286 m
Haupteinspeisung 18650 Li-Ion 3,7V 3200mAh
Ladezeit 4 h 30 min
Größe 136 x 36,5 x 28,5 mm
Gewicht 162 g (mit Batterie), 113 g (ohne Batterie)
Vielen Dank, dass Sie sich für ein Mactronic®-Produkt entschieden ha-
ben. Eine ordnungsgemäße Bedienung und Wartung gewährleistet eine
hohe Lebensdauer und Zuverlässigkeit. Bitte lesen und befolgen Sie
dieses Handbuch zum späteren Gebrauch, da es wichtige Informationen
zum sicheren Betrieb und Nutzung enthält.
HINWEIS
Bestimmungswidrige Nutzung der Taschenlampe wird nicht empfohlen.
Der Hersteller nimmt die Garantie ausdrücklich zurück, wenn die Ta-
schenlampe bestimmungswidrig benutzt wird.
BEDIENUNG DER TASCHENLAMPE
Um die Taschenlampe einzuschalten, drücken Sie die Taste auf der
Rückseite des Griffs. Die Taste funktioniert in den Positionen AN/AUS.
Mit jedem leichten Druck (Halbdruck) auf die Taste wechselt die Ta-
schenlampe zwischen den folgenden Modi: NIEDRIG (94 lm) -> MITTEL
(447 lm) -> HOCH (1000 lm) -> SOS -> STROBE. Um die Taschenlampe
auszuschalten, drücken Sie die Taste in die Position AUS, bis Sie ein cha-
rakteristisches Klicken hören. Jedes Mal, wenn die Taschenlampe wie-
der eingeschaltet wird, wird der nächste Modus aktiviert. Wenn zwi-
schen dem Aus- und Einschalten der Taschenlampe mehr als 6
Sekunden liegen, startet die Taschenlampe im zuletzt verwendeten
Modus.
BATTERIEAUSTAUSCH
Um den Akku zu ersetzen/aufzuladen, schrauben Sie das Schaltmodul
vom Taschenlampengriff durch Drehen nach links ab und ziehen Sie den
Akku heraus. Legen Sie einen neuen Akku mit der richtigen Polarität ein
und schrauben Sie das Schaltmodul durch Drehen nach rechts ab.
AUFLADEN DES AKKUS
Um die Zelle 18650 aufzuladen, drehen Sie die Einschaltertaste vom
Griff der Taschenlampe ab und schieben Sie die darin befindliche Zelle
heraus. Anschließend schließen Sie an die Stromquelle eins der im Set
mitgelieferten Ladegeräte: Netzladegerät: 220-240V AC, oder Autolade-
gerät: 12-24V DC an. Schließen Sie das mitgelieferte USB/USB-C Kabel
an die USB-Buchse am Ladegerät an. Die andere Endung der Leitung
mit dem USB-C-Stecker schließen Sie an das Ladestativ an. Ziehen Sie
die Schieberzunge an der Druckfeder weg, um die Montage des Akkus
zu ermöglichen. Montieren Sie den Akku unter Beibehaltung der kor-
rekten +/- Ausrichtung gemäß den Kennzeichnungen auf dem Stativ.
Der aktive Ladevorgang wird mit dem Erleuchten der roten Diode am
Gehäuse des Stativs angezeigt. Wird der Ladevorgang abgeschlossen,
wechselt die Farbe der Signalisierungsdiode in grün. Um die Zelle in der
Taschenlampe zu montieren, drehen Sie die Schaltertaste ab. Setzen Sie
die Zelle mit dem Pluszeichen in Richtung des Leuchtelements ein.
Montieren Sie den Schalter an seinem Platz und drehen Sie ihn bis zum
Anschlag zu.
* Das Ladestativ ist mit folgenden Zelltypen kompatibel: 14500, 16340,
18650, 21700, 26650, 32650. Die Taschenlampe kann ausschließlich mit
dem Zelltyp 18650 geladen werden, der zusammen mit dem Produkt
mitgeliefert wird.
VORSICHT!
Vergewissern Sie sich, dass Sie Originalteile für die Taschenlampe Mac-
tronic® nutzen. Nutzung von Ersatzteilen anderer Hersteller kann die
Qualität und die Parameter des Produktes beeinträchtigen. Die bei die-
sem Produkt benutzten aufladbaren Akkus können verwertet werden.
Gemäß der EU-Verordnung über Elektro- und Elektronik-Altgeräte sind
die verbrauchten Batterien in den dafür vorgesehenen Batteriebehäl-
tern zu entsorgen. Prüfen Sie die Hinweise zum Recycling oder andere
Vorgaben bei der zuständigen Entsorgungsfirma.
ALLGEMEINE INFORMATIONEN
Modifikationen und Reparaturen:
Sämtliche Modifikationen und Versuche des Nutzers Reparaturen auf ei-
gene Faust vorzunehmen, denen Firma Mactronic®nicht zugestimmt
hat, haben eine automatische Ungültigkeit des Garantiescheins zur Folge.
Garantie der Firma Mactronic®:
Firma Mactronic®gewährt eine Dreijahresgarantie für das Produkt. Die
Garantie kann auf bis zu 5 Jahre verlängert werden (um die Garantie zu
verlängern, müssen Sie Ihren Kauf mit diesem Formular registrieren:
https://mactronic.pl/en/content/15-warranty. Die Garantie umfasst jeg-
liche Werksfehler des Materials und/oder der Herstellung. Die Garantie
gilt nicht im Fall von Fehlern, die aus der gewöhnlichen Nutzung resul-
tieren, Rost und Fehlern, die wegen unberechtigter Modifikationen, un-
erlaubter Aufbewahrung entstanden sind, Beschädigungen infolge Her-
unterfallens, unsachgemäßer Behandlung des Produkts, Korrosion als
Konsequenz des Batterie- bzw. Akkulecks, oder auch Fehlern wegen
eines bestimmungswidrigen Gebrauchs.
GARANTIESCHEIN
Der Garantischein ist auf der Internetseite www.mactronic.pl herunter-
zuladen.
BEDIENUNG UND BATTERIEGEBRAUCH
Um die Gefahr von Bränden, Stromschlägen oder Verletzungen zu ver-
ringern, beachten Sie die ausführliche Gebrauchsanweisung der
Taschenlampe.
• Achten Sie immer auf die Polarität der Batterie.
• Entfernen Sie die Batterien aus der Taschenlampe,
wenn Sie sie über einen längeren Zeitraum aufbewahren.
• Laden Sie keine Alkalibatterien auf.
• Entsorgen Sie die Batterien nicht im Feuer.
• Lassen Sie die Batterien außerhalb der Reichweite
von Kindern liegen.
• Öffnen Sie den Akku nicht.
• Halten Sie die Lampen von UV-Strahlung, Feuchtigkeit
und Feuchtigkeit und chemischen Produkten fern.
mactronic.pl
THH0049

