manuals.online logo
Brands
  1. Home
  2. •
  3. Brands
  4. •
  5. Mactronic
  6. •
  7. Flashlight
  8. •
  9. Mactronic RIFLE ABF0063 User manual

Mactronic RIFLE ABF0063 User manual

ABF0063 mactronic.pl
/ EN
USER MANUAL
SPECIFICATION
Light Source 2 × Cree™ XM-L2 1400lm
Runtime and
Operation
Modes
High Constant (2 × LED) 1400 LM 1 h 55 min
Medium Constant (2 × LED) 750 LM 3 h 35 min
Low Constant (2 × LED) 370 LM 5 h 55 min
Low Constant (1 × LED)
Flashing (1 × LED) 750 LM 5 h 20 min
Flashing (2 × LED) 750 LM 6 h 35 min
Power Supply 2 × 3.6V 2600 mAh Li-ion Accu
Dimensions 104 × 43 × 32 mm
Weight 104 g
Charging time 4 h 30 min - 5 h 30 min
Waterproof IPX4
Thank you for choosing the aluminum Mactronic bike lamp. To
ensure the highest durability and reliability of the device please
operate and maintain it properly. Please read the following manual
and keep it for future reference, as it contains important information
on safe handling and operation of the device.
SAFETY
1. To reduce the risk of fire, electric shock or bodily injury please
read the detailed operating instruction for the flashlight.
2. Never use the kit’s power leads to lift the flashlight.
3. Avoid shorting the power leads.
4. Do not use a damaged flashlight. Immediately replace the
damaged charger or leads.
5. Do not attempt to repair the flashlight or power leads by yourself.
Have them repaired by properly qualified service technicians.
Damaged leads should be replaced.
6. Only use original battery packs recommended by the
manufacturer.
7. Do not put the flashlight or the battery into fire, even if they are
damaged or used up, because they may explode.
8. There may be minor leaks from the battery cells if the battery
is put under extreme load or used in extreme temperatures. Such
leaks do not necessarily mean that the battery is damaged. However,
if the cells are not leak-tight and the fluid spills on your skin, wash
the contaminated skin area immediately with water and soap.
NOTICE
It is not recommended to use the flashlight against its intended use.
Using the flashlight against its purpose voids the manufacturer’s
warranty.
CHARGING
The flashlight must be charged for 4h 30 min - 5 h 30 min before the
first use. Connect the USB cable to the charging socket, located in
the bottom part of the flashlight, under the silicone cover. Connect
the second end to the source of power, i.e. a PC USB socket or a USB
adapter connected to the mains. A red LED located in the flashlight’s
switch lights up to confirm the charging process has begun.
When the LED’s color changes from red into green, the process is
complete.
OPERATING THE FLASHLIGHT
Press the button to switch the flashlight on. The flashlight will be
activated in the 100% mode. Press the button again to cycle the light
modes, in the following order: 100% / 50% / 30% / flashing mode /
off. To switch the flashlight at any time, keep the button depressed
for 1.5 s. The lamp has two independent power circuits. It may be
powered by two or one batteries; in the latter case, only one CREE ™
XM-L2.700 lm LED will light up
BATTERY CHARGE LEVEL INDICATOR
The lamp features a battery discharge signal system. If, after
activating the flashlight, the LED in the button lights up in green,
the battery charge level is between 100% and 20%. The LED in red
means that the charge level is, respectively: 19% - 6%. If the battery
charge level is below 5%, the LED will flash in red. The flashlight
should be connected to the charger.
THE KIT INCLUDES
Installation mount
Mounting clamps in 3 sizes
Hex key
USB cable
Lamp
18650 5200 mAh battery, 2 pcs
SERVICING AND USING LI-ION BATTERIES
In order to achieve maximal performance and longevity of battery.
1. Charge the flashlight to the full capacity during the first charging
(4 h 30 min - 5 h 30 min).
2. Follow these recommendations to ensure safe operation and long
life of the batteries:
Avoid fully discharging Li-ion batteries. This may reduce the
batteries’ life. Keep the battery fully charged for storage.
There may be a minor electrolyte leak from the safety valve on top
of the battery if it is discharged excessively. The leak is indicated by
the presence of white powder which may break the electric contact.
Observe caution when servicing batteries with signs of leaks. The
electrolyte is highly corrosive liquid and may burn or irritate the skin
and eyes.
CAUTION
Make sure that only original parts designed for MacTronic® torches
are used. The use of spare parts produced by other manufacturers
may affect the product’s quality and parameters. Rechargeable
batteries used in this product may be recycled. Pursuant to the
WEEE directive, used batteries may not be removed with standard
household waste, but disposed of in special battery containers.
Consult the local waste collection company.
/ DE
BEDIENUNGSANLEITUNG
SPEZIFIKATION
Lichtquelle 2 × Cree™ XM-L2 1400lm
Leuchtdauer und
Lichtmodi
Power (2 × LED) 1400 LM 1 h 55 min
Mid-power (2 × LED) 750 LM 3 h 35 min
Low-power (2 × LED) 370 LM 5 h 55 min
Low-power (1 × LED)
Blinkend (1 × LED) 750 LM 5 h 20 min
Blinkend (2 × LED) 750 LM 6 h 35 min
Energieversorgung 2 × 3.6V 2600 mAh Li-ion Akku
Größe 104 × 43 × 32 mm
Gewicht 104 g
Ladezeit 4 h 30 min - 5 h 30 min
Wasserfestigkeit IPX4
Wir freuen uns, dass Sie sich für die Alu-Fahrradlampe Mactronic®
entschieden haben. Eine entsprechende Bedienung und Pflege ga-
rantieren lange Lebensdauer und Zuverlässigkeit. Lesen Sie folgen-
de Gebrauchsanweisung und bewahren Sie diese auf, da sie wichtige
Informationen über die sichere Bedienung und Nutzung enthält.
SICHERHEIT
1. Um das Brandrisiko, den elektrischen Schlag oder die
Körperverletzung zu minimieren, nehmen Sie die detaillierte
Gebrauchsanweisung der Taschenlampe in Kenntnis.
2. Nutzen Sie nie die elektrische Leitung des Sets zum Tragen der
Taschenlampe.
3. Vermeiden Sie den Kurzschluss der Speiseleitung.
4. Nutzen Sie kein beschädigtes Ladegerät. Beschädigte
Speiseleitung oder Kabel sollen sofort ausgetauscht werden.
5. Versuchen Sie nicht, die Lampe oder die Ladekabel selbst zu
reparieren. Wenden Sie sich damit an einen Fachservice. Bei
Beschädigung der Leitungen tauschen Sie diese aus.
6. Nutzen Sie ausschließlich durch den Hersteller empfohlene
Originalakkus. Wegen der Explosionsgefahr werfen Sie die
Taschenlampe und den Akku nicht ins Feuer, auch wenn sie
beschädigt oder leer sind.
8. Bei der Nutzung der Akkus unter Extrembelastung oder in
Extremtemperaturen kann es zu kleinen Elektrolytausflüssen
aus den Akkuzellen kommen. Solche Ausflüsse müssen nicht
Beschädigung der Akkus bedeuten. Wenn die Zellen nicht mehr
dicht werden und der Ausfluss die Oberhaut berührt, waschen Sie
die verunreinigte Haut sofort mit Seife und Wasser.
HINWEIS!
Bestimmungswidrige Nutzung der Taschenlampe ist nicht
empfohlen. Der Hersteller nimmt die Garantie ausdrücklich zurück,
wenn die Taschenlampe bestimmungswidrig benutzt wird.
CLADUNG DER TASCHENLAMPE
Die Taschenlampe muss vor dem ersten Gebrauch 4 h 30 min - 5 h
30 min Stunden geladen werden.
Schließen Sie die USB-Leitung an den Ladeport auf der unteren
Seite der Taschenlampe, unter der Silikonblende an. Das zweite
Endstück schließen Sie an eine Stromquelle, d.h. an den USB-Port
eines Computers oder an einen an Elektronetz angeschlossenen
USB-Adapter an. Der Beginn der Ladung wird mit der leuchtenden
roten Diode am Schalter der Taschenlampe signalisiert. Wenn die
Diode von Rot auf Grün wechselt, ist der Ladeprozess beendet.
BEDIENUNG DER TASCHENLAMPE
Um die Taschenlampe einzuschalten, drücken Sie den Knopf. Die
Lampe schaltet sich im 100%-Modus ein. Mit dem nächsten Drücken
werden die Leuchtmodi in folgender Reihenfolge umgeschaltet:
100% / 50% / 25 % / Pulsationsmodus / Ausschaltung des Lichts.
Um die Taschenlampe zur beliebigen Zeit auszuschalten, halten Sie
den Knopf ca. 1,5 Sek. gedrückt. Die Lampe hat zwei unabhängige
Einspeisestromkreise. Sie kann mit zwei oder mit einem Akku
funktionieren, was zu Folge hat, dass nur eine Diode CREE ™
XM-L2.700 lm max eingeschaltet wird.
BATTERIESTANDANZEIGE
Die Lampe hat ein System zur Signalisierung des Stands der
Akkuentladung. Leuchtet die am Knopf befindliche Diode nach der
Einschaltung des Lichts grün, beträgt das Akkuvolumen 100%-20%.
Rotes Licht bedeutet entsprechend: 19%-6%. Sinkt der Stand der
Akkuaufladung unter 5%, pulsiert die rote Diode. Dann ist die
Lampe an das Ladegeräte anzuschließen.
IM SET SIND ENTHALTEN
Montagegriff
Montageklemmen in 3 Größen
Inbusschlüssel
USB-Leitung
Lampe
Akkus 18650 520 mAh 2 St.
BEDIENUNG UND BENUTZUNG DER Li-Ion AKKUS
Um die maximalen Leistungen und die Lebensdauer des Akkus zu
erreichen,
1. laden Sie die Lampe während der ersten Ladung voll auf (4h 30
min - 5 h 30 min).
2. Um eine sichere und lange Betriebszeit zu erreichen, sind
folgende Empfehlungen zu beachten:
die Li-Ion Akkus nicht übermäßig entladen lassen. Solche Entladung
kann den Akku beschädigen oder seine Lebensdauer verkürzen. Der
Akku soll voll aufgeladen aufbewahrt werden.
Bei einer übermäßigen Entladung der Akkus kann der alkalische
Elektrolyt aus dem Sicherheitsventil am Kopf des Akkus ein wenig
ausfließen. Ein Zeichen des Ausflusses ist ein weißes Pulver, das
den elektrischen Kontakt in den Kontaktstücken unterbrechen
kann. Bei der Bedienung der Akkus mit den Zeichen des Ausflusses
besonders vorsichtig vorgehen. Elektrolyt ist stark ätzend und kann
die Haut oder die Augen verbrennen oder reizen.
VORSICHT
Vergewissern Sie sich, dass Sie Originalteile für die Taschenlampe
Mactronic® nutzen. Nutzung von Ersatzteilen anderer Hersteller
kann die Qualität und die Parameter des Produktes beeinträchtigen.
Die bei diesem Produkt benutzten aufladbaren Akkus können
verwertet werden. Gemäß der EU-Verordnung über Elektro- und
Elektronik-Altgeräte sind die verbrauchten Batterien in den dafür
vorgesehenen Batteriebehältern zu entsorgen. Prüfen Sie es bei
ihrer Entsorgungsfirma
1. Gwarantujemy prawidłowe działanie
naszego sprzętu w okresie
24 miesięcy od daty sprzedaży.
Ujawnione w tym okresie wady usuniemy
bezpłatnie w Serwisie Mactronic®,
ul. Stargardzka 4, 54-156 Wrocław.
2. Termin naprawy wad ujawnionych w okresie
gwarancji to 14 dni roboczych od daty dostar-
czenia sprzętu do punktu serwisowego.
3. Zakres i sposób naprawy wad określi autory-
zowany serwis i jest to decyzja wiążąca.
4. W ramach gwarancji nie będziemy mogli Ci
pomóc w sytuacji gdy stwierdzimy:
- mechaniczne, termiczne czy chemiczne
uszkodzenia sprzętu, będące przyczyną wadli-
wego funkcjonowania urządzenia.
- uszkodzenia i wady wynikłe wskutek niewła-
ściwaego użytkowania, przechowywania i kon-
serwacji.
- samodzielne naprawy lub przeróbki, których
dokonasz.
- usterki żarówek ponieważ są to elementy eks-
ploatacyjne.
5. Chętnie wymienimy Twój sprzęt na nowy i
wolny od wad w sytuacji gdy:
- w okresie gwarancji autoryzowany serwis
dokona 5 napraw, a urządzenie nadal będzie
posiadało wady uniemożliwiające jego użytko-
wanie zgodne z przeznaczeniem,
- autoryzowany serwis stwierdzi na piśmie, że
usunięcie wady uniemożliwiającej użytkowanie
jest niemożliwe.
6. Jeżeli zgodnie z pkt.5 wymiana sprzętu na
nowy nie jest możliwa zwrócimy Ci kwotę za-
kupu.
7. Wszystkie wadliwe produkty lub ich wymie-
nione części pozostają naszą własnością.
8. Gwarancja obejmuje terytorium Rzeczpospo-
litej Polskiej.
9. Gwarancja na sprzedany towar konsumpcyj-
ny nie wyłącza, nie ogranicza, ani nie zawiesza
Twoich uprawnień wynikających z ewentualnej
niezgodności towaru z umową.
Prosimy o czytelne wypełnienie formularza ponieważ wyłącznie prawidłowo i czytelnie
wypełniona karta gwarancyjna wraz z dowodem zakupu umożliwi nam wykonanie na-
prawy gwarancyjnej
Karta Gwarancyjna
ank You for buying Mactronic
®
We are proud of this product and we hope you are too
Mactronic Sp z o.o. Sp. k.
ul.Stargardzka 4, 54-156 Wrocław, Polska
T: +48 71 351 86 53
Fax: +48 71 358 44 42
mactronic.pl
e-mail: [email protected]
Nazwa produktu
Numer seryjny (w przypadku gdy produkt jest oznaczony numerem seryjnym)
Typ, model
Data sprzedaży
Pieczęć punktu sprzedaży
Data przyjęcia
Data zwrotu
Pieczęć punktu sprzedaży
Data przyjęcia
Data zwrotu
Pieczęć punktu sprzedaży
Data przyjęcia
Data zwrotu
Pieczęć punktu sprzedaży
Data przyjęcia
Data zwrotu
Pieczęć punktu sprzedaży
Data przyjęcia
Data zwrotu
Pieczęć punktu sprzedaży
Data przyjęcia
Data zwrotu
Pieczęć punktu sprzedaży
Data przyjęcia
Data zwrotu
Pieczęć punktu sprzedaży
Data przyjęcia
Data zwrotu
Pieczęć punktu sprzedaży
/ PL
INSTRUKCJA OBSŁUGI
SPECYFIKACJA
Żródło światła 2 × Cree™ XM-L2 1400lm
Czasy i Tryby
Wysoki ciągły (2 × LED) 1400 LM 1 h 55 min
Średni ciągły (2 × LED) 750 LM 3 h 35 min
Niski ciągły (2 × LED) 370 LM 5 h 55 min
Niski ciągły (1 × LED)
Pulsacyjny (1 × LED) 750 LM 5 h 20 min
Pulsacyjny (2 × LED) 750 LM 6 h 35 min
Zasilanie 2 × 3.6V 2600 mAh Akumulator Li-ion
Wymiary 104 × 43 × 32 mm
Waga 104 g
Czas ładowania 4 h 30 min - 5 h 30 min
Wodoodporność IPX4
Dziękujemy Państwu za wybór aluminiowej lampy rowerowej firmy
Mactronic®. Odpowiednia obsługa oraz konserwacja zapewnia
wysoką trwałość i niezawodność. Prosimy o zapoznanie się z
poniższą instrukcją i zachowanie jej na przyszłość, gdyż zawiera ona
istotne informacje dotyczące bezpiecznej obsługi oraz użytkowania.
BEZPIECZEŃSTWO
1. Dla zredukowania ryzyka wywołania pożaru, porażenia prądem
lub doznania obrażeń ciała, należy zapoznać się ze szczegółową
instrukcją użytkowania latarki.
2. Nigdy nie używaj przewodów elektrycznych zestawu do
przenoszenia latarki.
3 Unikaj zwarcia przewodów zasilania
4. Nie używaj uszkodzonej ładowarki. Uszkodzony zasilacz lub
przewody wymień natychmiast.
5. Nie próbuj naprawiać samodzielnie latarki lub przewodów
ładujących. Zleć naprawę serwisowi z odpowiednimi kwalifikacjami.
W przypadku uszkodzeń przewodów wymień je.
6. Używaj wyłącznie oryginalnych akumulatorów zalecanych przez
producenta
7. Latarki, akumulatora nie wolno wrzucać do ognia, nawet
wprzypadku uszkodzenia lub ich zużycia, gdyż mogą one wybuchnąć.
8. Małe wycieki elektrolitu z cel akumulatorów mogą wystąpić
w przypadku ich użycia przy ekstremalnym obciążeniu lub
wekstremalnych temperaturach. Wyciek ten nie musi wskazywać na
uszkodzenie akumulatorów. Jednakże w przypadku, gdy cele utracą
szczelność i przeciek zanieczyści naskórek, należy umyć natychmiast
przy pomocy mydła i wody zanieczyszczony obszar skóry.
UWAGA!
Wykorzystanie latarki do celów niezgodnych z jej przeznaczeniem
nie jest zalecane. Producent jednoznacznie wycofuje gwarancję
wprzypadku jej użycia niezgodnie z zalecanym przeznaczeniem.
ŁADOWANIE LATARKI
Latarka musi być ładowana przez 4h 30 min - 5 h 30 min godziny
przed pierwszym użyciem. Podłącz przewód USB do gniazda
ładowania, znajdującego się na spodzie latarki, pod osłoną z silikonu.
Drugi koniec podłącz do źródła zasilania tj. port USB komputera
lub adaptera USB podłączonego do sieci elektrycznej. Rozpoczęcie
ładowania zostanie zasygnalizowane zapaleniem się czerwonej diody
we włączniku latarki. Kiedy dioda ta zmieni kolor z czerwonego na
zielony,oznacza to zakończenie procesu ładowania.
OBSŁUGA LATARKI
Aby włączyć latarkę naciśnij klawisz. Latarka uruchomi się wtrybie
100%. Kolejne naciśnięcie spowoduje przełączenie trybu świecenia,
wkolejności: 100% / 50% / 25 % / Tryb pulsacyjny / Wyłączenie
światła. Aby wyłączyć latarkę w każdym momencie należy
przytrzymać przycisk ok 1,5 s. Lampka posiada dwa niezależne
obwody zasilania. Może ona działać z dwoma akumulatorami lub
zjednym, co spowoduje zapalenie tylko jednej diody CREE ™ XM-
L2.700 lm max
WSKAŹNIK POZIOMU BATERII
Lampka posiada system sygnalizacji stanu rozładowania
akumulatora. Gdy po włączeniu światła dioda sygnalizacji
znajdująca się w przycisku pali się na zielono oznacza to pojemność
akumulatorów równą 100%-20%. Światło czerwone oznacza
odpowiednio: 19%-6%. Gdy stopień naładowania akumulatorów
spadnie poniżej 5% dioda czerwona zacznie pulsować. Należy wtedy
podłączyć lampkę do ładowania
ZESTAW ZAWIERA
Uchwyt montażowy
Zaciski montażowe w 3 rozmiarach
Klucz imbusowy
Przewód USB
Lampkę
Akumulatory 18650 5200 mAh 2 szt.
OBSŁUGA I UŻYCIE AKUMULATORÓW Li-ion
W celu uzyskania maksymalnych osiągów i trwałości akumulatora.
1. Naładuj latarkę do pełnej pojemności podczas pierwszego
ładowania (4h 30 min - 5 h 30 min)
2. Dla uzyskania bezpiecznej i długiej pracy przez ładowalne, stosuj
się do następujących zaleceń:
Nie rozładowuj nadmiernie akumulatorów Li-ion. Takie rozładowanie
może uszkodzić lub skrócić żywotność akumulatorów . Akumulator
przechowuj w stanie pełnego naładowania.
W przypadku nadmiernego rozładowania akumulatorów
może wystąpić mały wyciek alkalicznego elektrolitu z zaworu
bezpieczeństwa na szczycie akumulatora. Objawem przecieku
jest biały proszek, który może wpływać na przerwanie kontaktu
elektrycznego w stykach. Zachowaj należyta ostrożność przy
obsłudze akumulatorów ze śladami przecieków. Elektrolit jest silnie
żrący imoże oparzyć lub podrażnić skórę lub oczy.
OSTRZEŻENIE
Upewnij się, że używasz oryginalnych części zaprojektowanych
do latarki Mactronic®. Stosowanie części zamiennych
wyprodukowanych przez innych producentów może wpłynąć na
jakość i parametry produktu. Ładowalne akumulatory używane
w tym produkcie mogą podlegać ponownej przeróbce. Zgodnie z
regulacją unijną WEEE nie wolno wyrzucać akumulatorów do śmieci
lecz do specjalnych pojemników na baterie. Sprawdź w miejscowym
zarządzie firmy wywożącej
Made in PRC for Mactronic® Sp. z o.o. Sp. k.
ul.Stargardzka 4, 54-156 Wrocław
®2018 Mactronic® mactronic.pl

Other Mactronic Flashlight manuals

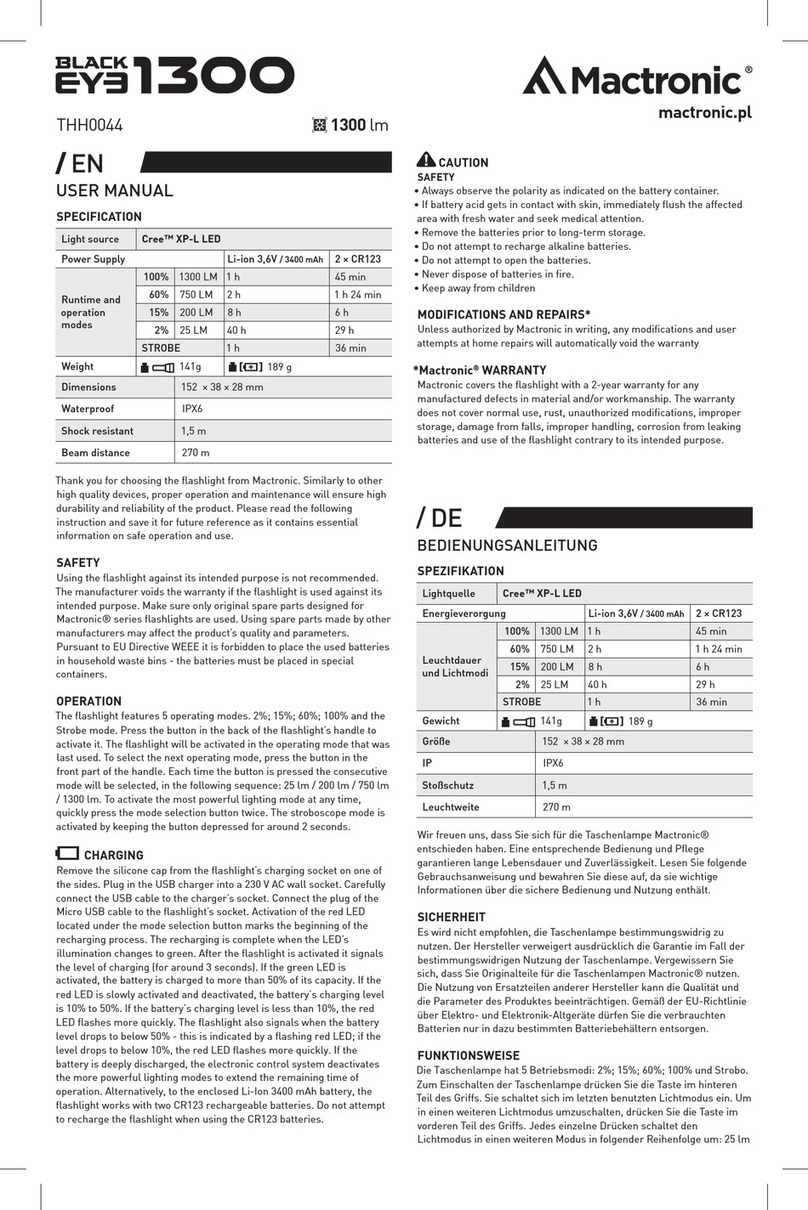
Mactronic Black Eye 1300 User manual

Mactronic

Mactronic Black Eye 1300 User manual

Mactronic BLACK EYE 780 User manual

Mactronic

Mactronic BLACK EYE 780 User manual

Mactronic Dura Tool PWL0011 User manual

Mactronic

Mactronic Dura Tool PWL0011 User manual

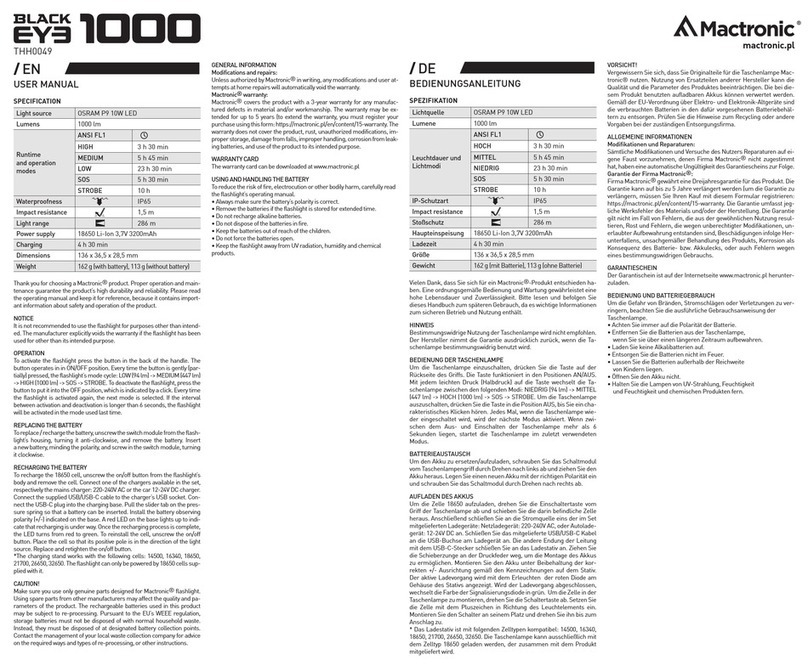
Mactronic BLACK EYE 1000 User manual

Mactronic

Mactronic BLACK EYE 1000 User manual

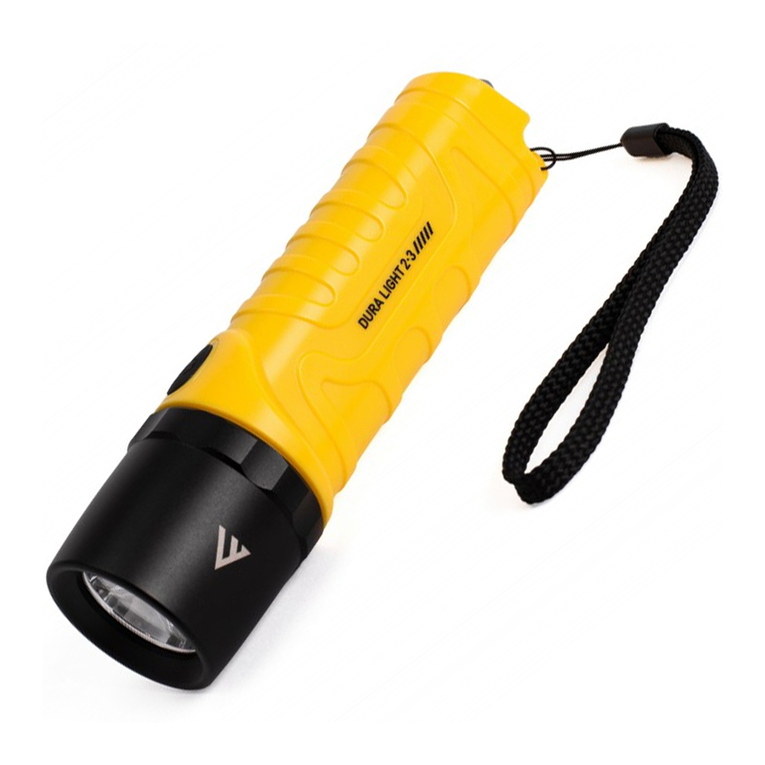
Mactronic DURA LIGHT 2.3 User manual

Mactronic

Mactronic DURA LIGHT 2.3 User manual

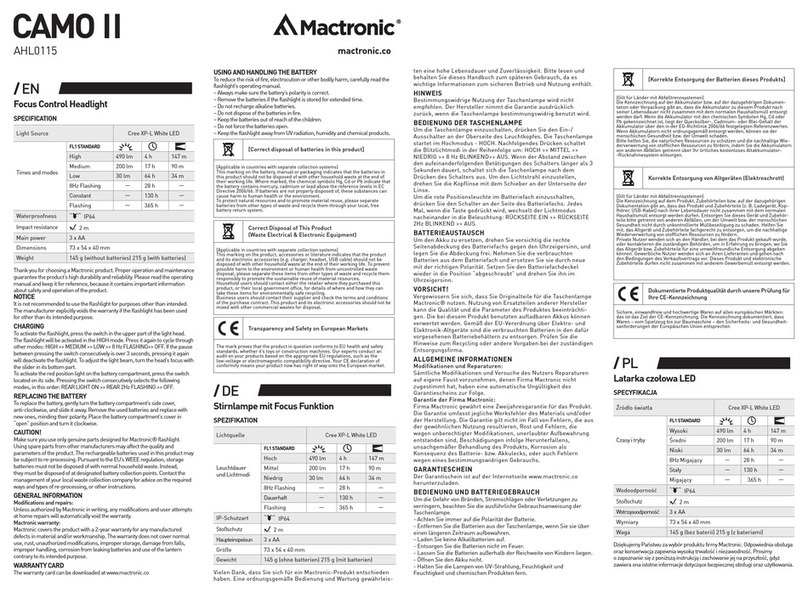
Mactronic CAMO II User manual

Mactronic

Mactronic CAMO II User manual

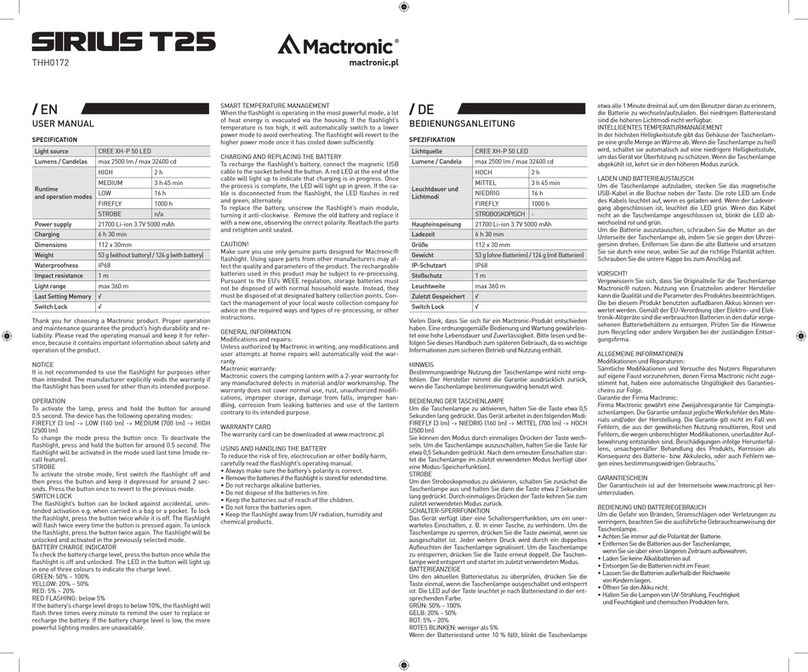
Mactronic SIRIUS T25 THH0172 User manual

Mactronic

Mactronic SIRIUS T25 THH0172 User manual

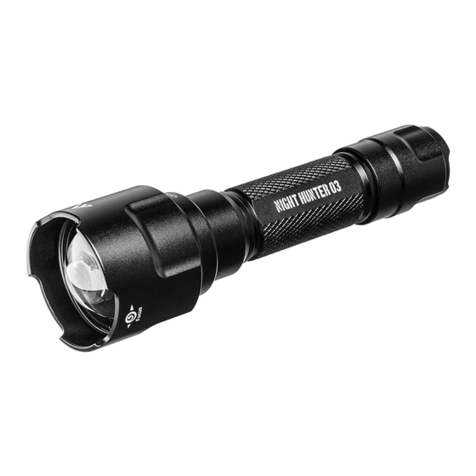
Mactronic NIGHT HUNTER 03 User manual

Mactronic

Mactronic NIGHT HUNTER 03 User manual

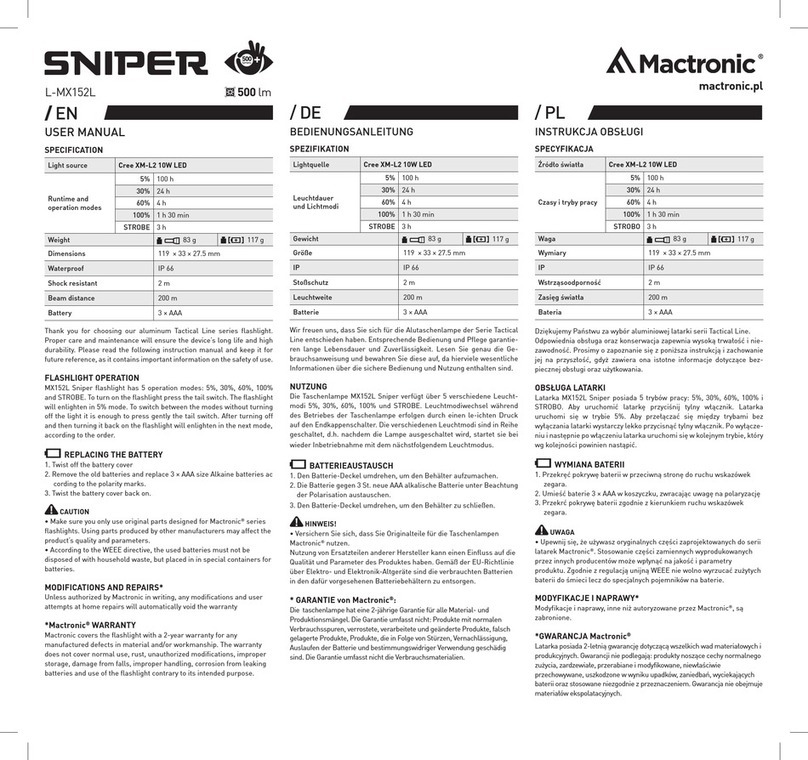
Mactronic MX152L SNIPER User manual

Mactronic

Mactronic MX152L SNIPER User manual

Mactronic sunscan 5.1 User manual

Mactronic

Mactronic sunscan 5.1 User manual

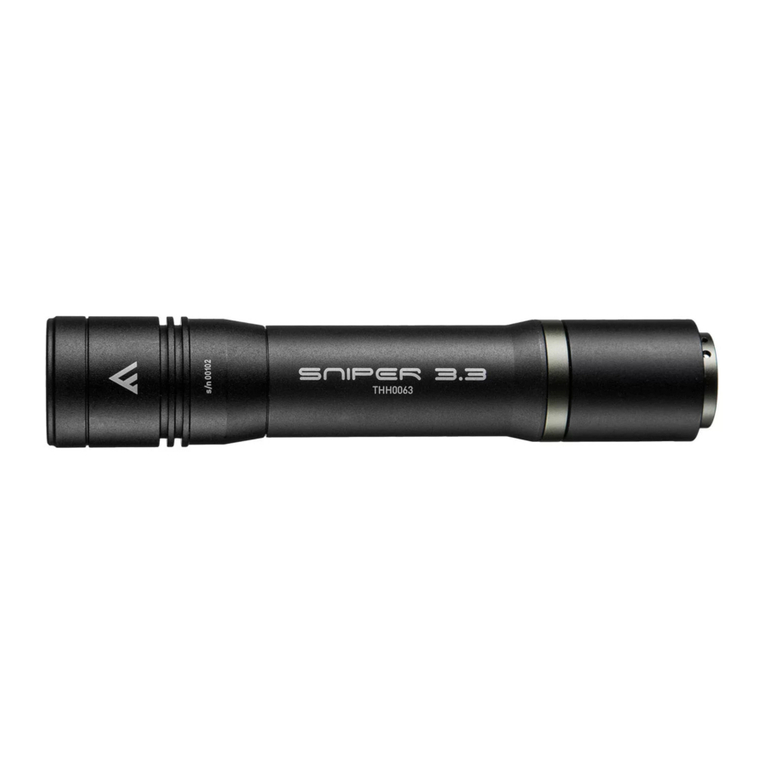
Mactronic SNIPER 3.3 User manual

Mactronic

Mactronic SNIPER 3.3 User manual

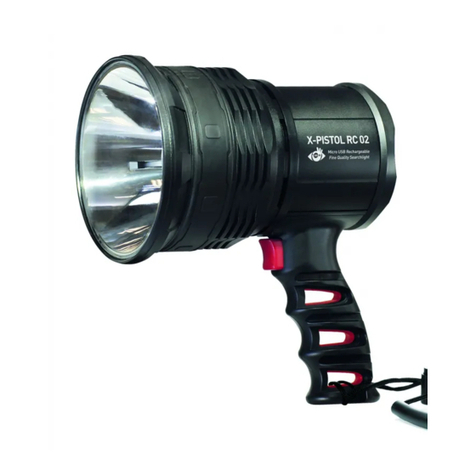
Mactronic X-PISTOL RC 02 User manual

Mactronic

Mactronic X-PISTOL RC 02 User manual

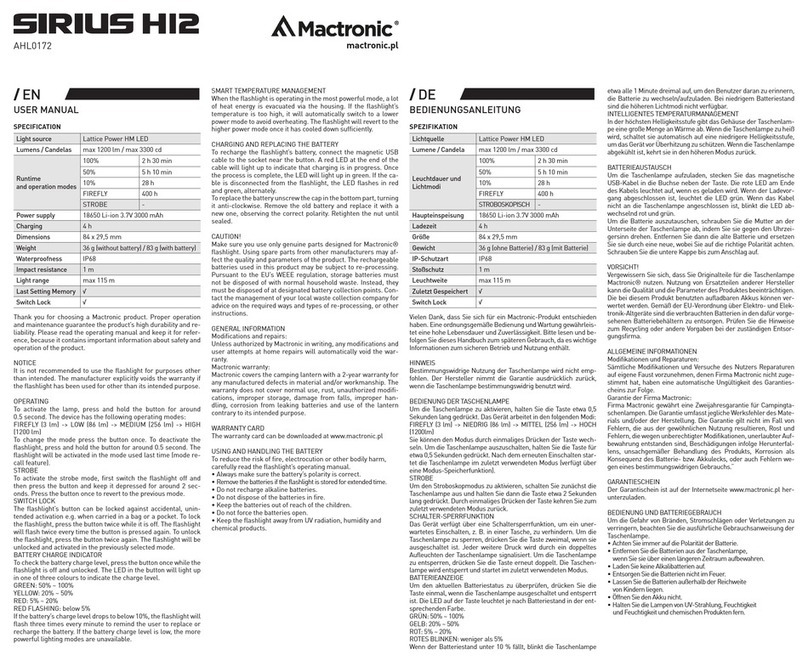
Mactronic SIRIUS H12 User manual

Mactronic

Mactronic SIRIUS H12 User manual

Mactronic Tactical Line Series User manual

Mactronic

Mactronic Tactical Line Series User manual

Mactronic EXPLORER User manual

Mactronic

Mactronic EXPLORER User manual

Mactronic BLACK EYE 1100 User manual

Mactronic

Mactronic BLACK EYE 1100 User manual

Mactronic BLACK EYE User manual

Mactronic

Mactronic BLACK EYE User manual

Popular Flashlight manuals by other brands

GTV LT-LB6WT2-60 manual

GTV

GTV LT-LB6WT2-60 manual

Silverline 760200 quick guide

Silverline

Silverline 760200 quick guide

Silverline 258999 instructions

Silverline

Silverline 258999 instructions

Hazet 1979 N-71 instruction manual

Hazet

Hazet 1979 N-71 instruction manual

Armytek Optoelectronics Prime A1 Pro user manual

Armytek Optoelectronics

Armytek Optoelectronics Prime A1 Pro user manual

PROMAT 4000877148 Original instruction manual

PROMAT

PROMAT 4000877148 Original instruction manual

suprabeam Q Series troubleshooting guide

suprabeam

suprabeam Q Series troubleshooting guide

Armytek Predator user manual

Armytek

Armytek Predator user manual

IKEA HUSINGE manual

IKEA

IKEA HUSINGE manual

Aveo Engineering PosiStrobe CP installation manual

Aveo Engineering

Aveo Engineering PosiStrobe CP installation manual

Silverline 935719 manual

Silverline

Silverline 935719 manual

StreamLight PROTAC HL 1L-1AA quick start guide

StreamLight

StreamLight PROTAC HL 1L-1AA quick start guide

brennenstuhl LuxPremium LED operating instructions

brennenstuhl

brennenstuhl LuxPremium LED operating instructions

PELI 2380 instruction manual

PELI

PELI 2380 instruction manual

NightSearcher commander XM-L user manual

NightSearcher

NightSearcher commander XM-L user manual

Berner POCKET DELUX SUN instruction manual

Berner

Berner POCKET DELUX SUN instruction manual

Fenix RC10 user manual

Fenix

Fenix RC10 user manual

Sparky Group FL 12L Original instructions

Sparky Group

Sparky Group FL 12L Original instructions

manuals.online logo
manuals.online logoBrands
  • About & Mission
  • Contact us
  • Privacy Policy
  • Terms and Conditions

Copyright 2025 Manuals.Online. All Rights Reserved.