3
FCC CAUTION:
Changes or modications not expressly approved by the
party responsible for compliance could void the user’s
authority to operate the equipment.
NOTE: This equipment has been tested and found to
comply with the limits for a Class B digital device, pursuant
to part 15 of the FCC Rules. These limits are designed
to provide reasonable protection against harmful
interference in a residential installation. This equipment
generates, uses and can radiate radio frequency energy
and, if not installed and used in accordance with the
instructions, may cause harmful interference to radio
communications. However, there is no guarantee that
interference will not occur in a particular installation.
If this equipment does cause harmful interference to
radio or television reception, which can be determined by
turning the equipment off and on, the user is encouraged
to try to correct the interference by one or more of the
following measures:
–Reorient or relocate the receiving antenna.
–Increase the separation between the equipment and
receiver.
–Connect the equipment into an outlet on a circuit
different from that to which the receiver is connected.
–Consult the dealer or an experienced radio/ TV
technician for help
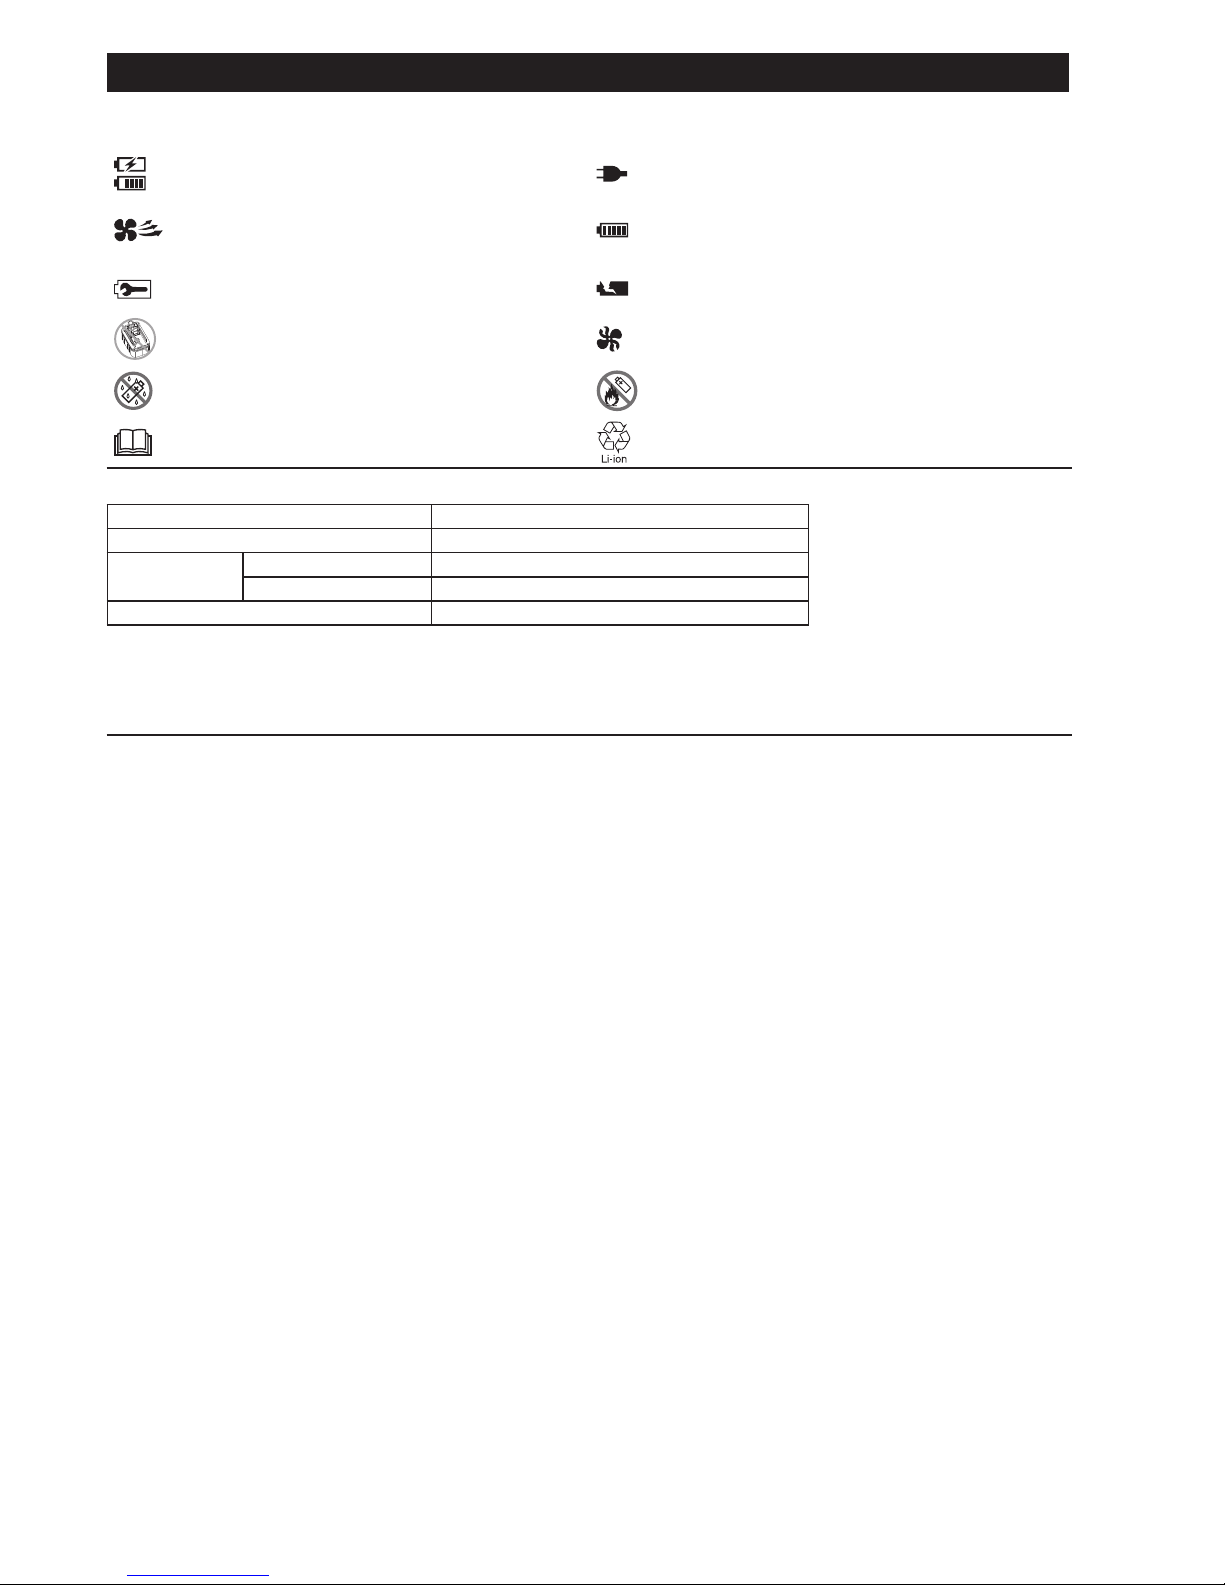
Charging
This charger can charge LXT and CXT battery
alternatively.
1. Plug the battery charger into the proper AC voltage
source. Charging lights will ash in green color
repeatedly.
2. Insert the battery cartridge into charger until it stops
adjusting to the guide of charger. (Fig.1)
For LXT battery, the terminal cover of the charger
can be opened with inserting and closed with pulling
out the battery cartridge.
3. When the battery cartridge is inserted, the
charging light color will change from green to red
and charging will begin. The charging light will
keep lighting up steadily during charging. One
red charging light indicates charged condition in
0–80% and red and green ones indicate 80–100%.
The 80% indication mentioned above is approximate
value. The indication may differ according to battery
temperature or battery condition.
12. Do not operate or disassemble charger
if it has received a sharp blow, been
dropped, or otherwise damaged in any
way; take it to a qualied serviceman.
Incorrect use or reassembly may
result in a risk of electric shock or re.
13. The battery charger is not intended
for use by young children or inrm
persons without supervision.
14. Young children should be supervised
to ensure that they do not play with
the battery charger.
15. Do not charge battery cartridge when
room temperature is BELOW 10°C
(50°F) or ABOVE 40°C (104°F). At the
cold temperature, charging may not
start.
16. Do not attempt to use a step-up
transformer, an engine generator or
DC power receptacle.
17. Do not allow anything to cover or clog
the charger vents.
18. Do not plug or unplug the cord and
insert or remove the battery with wet
hands.
19. Never use gasoline, benzine, thinner,
alcohol or the like to clean the charger.
Discoloration, deformation or cracks
may result.
(See the last part of this instruction
manual for all the illustrations.)
4. With nish of charge, the charging lights will change
from red and green ones to green one.
5. Charging time varies by temperature (10°C (50°F)–
40°C (104°F)) that battery cartridge is charged at
and conditions of the battery cartridge, such as a
battery cartridge which is new or has not been used
for a long period of time.
6. After charging, remove the battery cartridge from
charger and unplug the charger.
NOTE:
• The charger does not charge two batteries at the same
time but charges one by one.


 User manual")


 User manual")