7ENGLISH
Installing dust bag
►Fig.8: 1. Dust bag
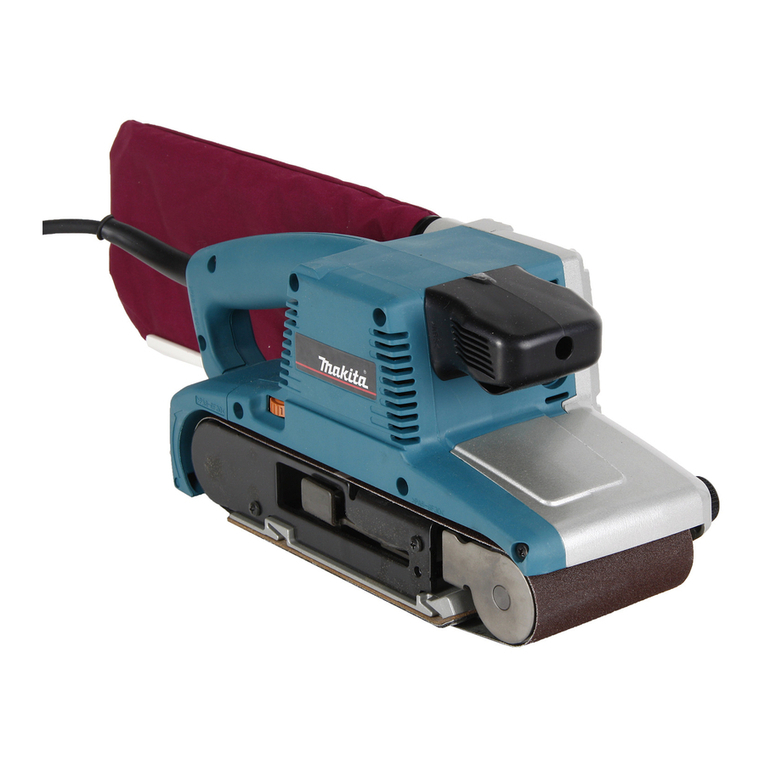
Install the dust bag on the tool so that the Makita logo
on the dust bag will be upright (not upside down).
Emptying dust bag
►Fig.9: 1. Dust nozzle
When the dust bag is about half full, switch off and
unplugthetool.Removethedustbagfromthetool.
Thenremovethedustnozzlefromthedustbagafter
unlocking the dust nozzle by turning it slightly counter-
clockwise.Emptythedustbagbytappingitlightly.
►Fig.10: 1. Dust nozzle
Afteremptyingthedustbag,installthedustnozzleon
thedustbag.Turnthedustnozzleslightlyclockwiseto
lockitinplace.Theninstallthedustbagonthetoolas
describedin"Installingdustbag".
Installing paper dust bag
►Fig.11: 1.Groove2.Frontxingcardboard3. Front
side of paper dust bag
Place the paper dust bag on the paper dust bag holder
withitsfrontsideupward.Insertthefrontxingcard-
boardofthepaperdustbagintothegrooveofthepaper
dust bag holder.
►Fig.12: 1.Claws2. Upper part
Thenpresstheupperpartofthefrontxingcardboard
in arrow direction to hook it onto the claws.
►Fig.13: 1. Notch 2. Guide
►Fig.14
Insert the notch of the paper dust bag into the guide of
thepaperdustbagholder.Theninstallthepaperdust
bag holder set on the tool.
Installing paper lter bag
►Fig.15: 1. Holding tab
Make sure that the logo on the cardboard lip and the
logo on the dust box are on the same side, then install
thepaperlterbagbyttingthecardbordlipinthe
grooveofeachholdingtab.
►Fig.16: 1. Dust box 2. Dust nozzle
Make sure that the logo on the cardboard lip and the
logo on the dust nozzle are on the same side, then
install the dust nozzle on the dust box.
Removing dust box and paper
lter bag
►Fig.17: 1. Latch 2. Dust nozzle
Removethedustnozzlebypushingthetwolatches.
►Fig.18
Removethepaperlterbagrstbypinchingthelogo
side of its cardboard lip, then by pulling the cardboard
lipdownwardstomoveitoutoftheholdingtabofthe
dust box.
OPERATION
CAUTION:
• Alwaysusethefrontgripandrmlyholdthe
tool by front grip and switch handle during
operations.
Sanding operation
►Fig.19
CAUTION:
• Neverrunthetoolwithouttheabrasivedisc.You
may seriously damage the pad.
• Neverforcethetool.Excessivepressuremay
decreasethesandingefciency,damagethe
abrasivediscorshortentoollife.
• Usingthetoolwiththepadedgecontactingthe
workpiece may damage the pad.
Holdthetoolrmly.Turnthetoolonandwaituntilit
attainsfullspeed.Thengentlyplacethetoolonthe
workpiecesurface.Keepthepadushwiththework-
piece and apply slight pressure on the tool.
CAUTION:
• Thesandingpadrotatesclockwiseduringthe
loaded operation, but it may rotate counterclock-
wise during the no-load operation.
Polishing operation
For Model BO5041
CAUTION:
• UseonlyaMakitagenuinespongepad,feltpad
or wool pad (optional accessories).
• Alwaysoperatethetoolatlowspeedtoprevent
work surfaces from heating abnormally.
• Neverforcethetool.Excessivepressuremay
decreasethepolishingefciencyandcause
motoroverload,resultingintoolmalfunction.
1. Applying wax
►Fig.20: 1. Sponge pad
Useanoptionalspongepad.Applywaxtothe
spongepadorworksurface.Runthetoolatlow
speed to smooth out wax.
NOTE:
• First,waxanotconspicuousportionofthe
work surface to make sure that the tool will not
scratchthesurfaceorresultinunevenwaxing.
• Alwaysrunthetoolatlowspeed.Runningitat
high speed may cause the wax to spatter.
2. Removing wax
►Fig.21: 1. Felt pad
Useanoptionalfeltpad.Runthetoolatlowspeed
toremovewax.

