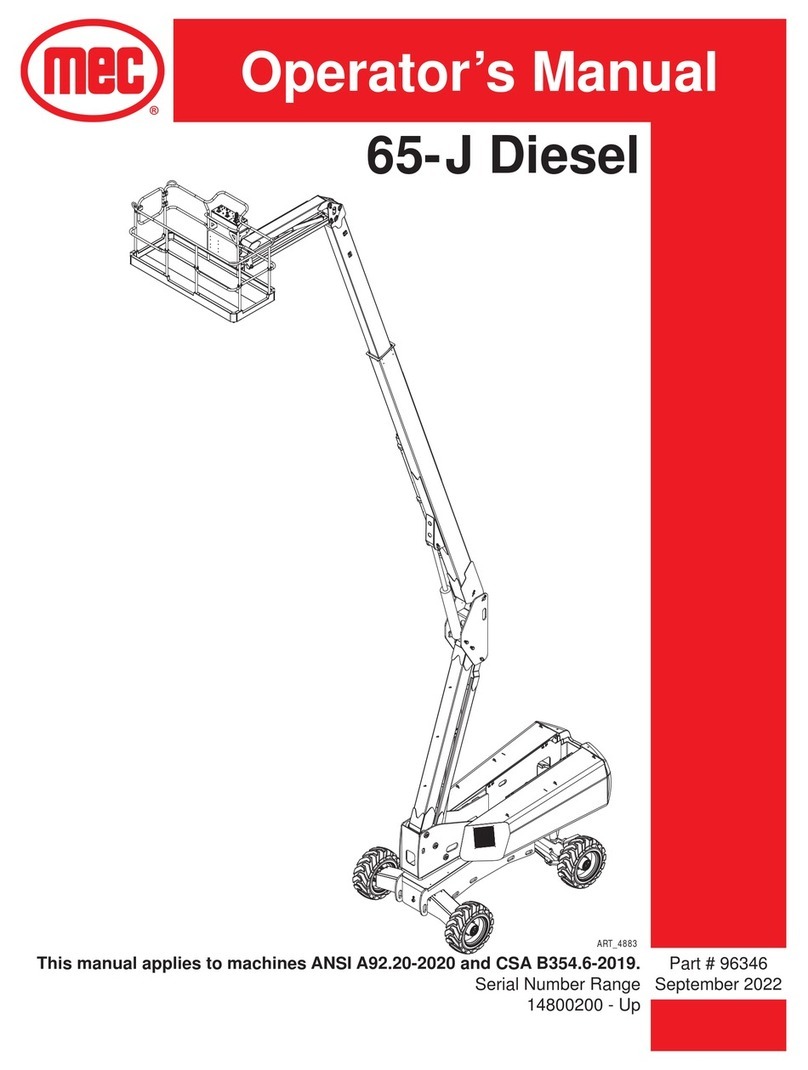
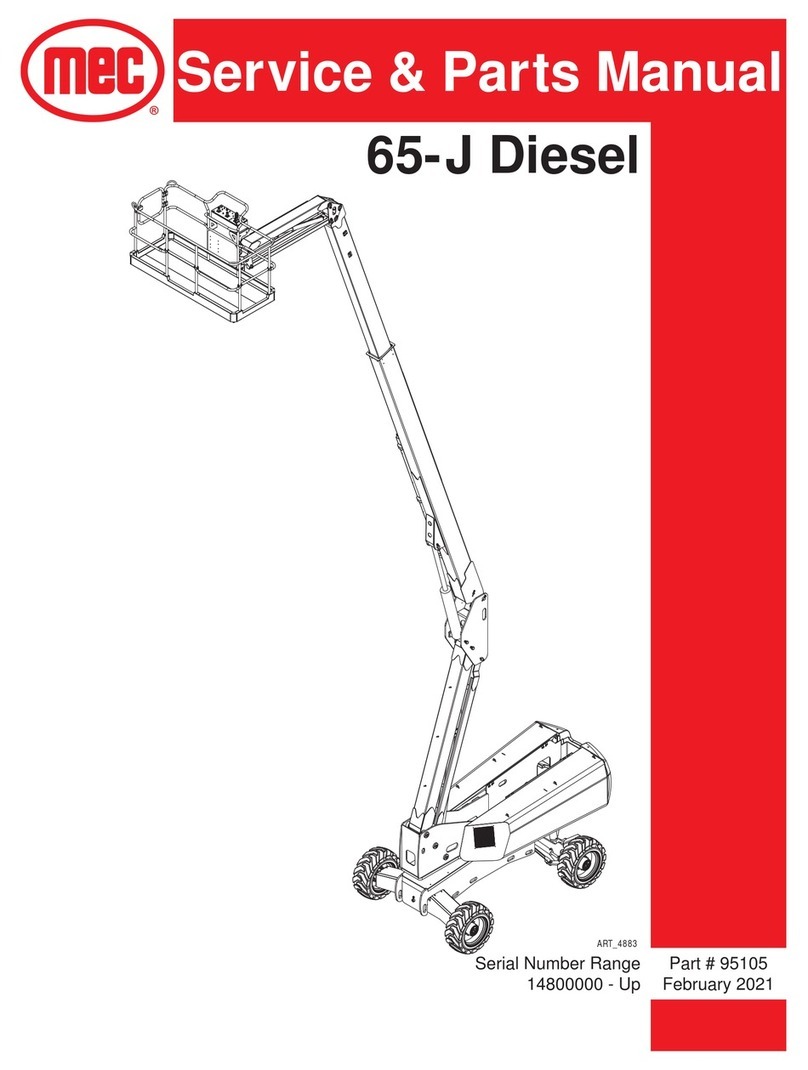
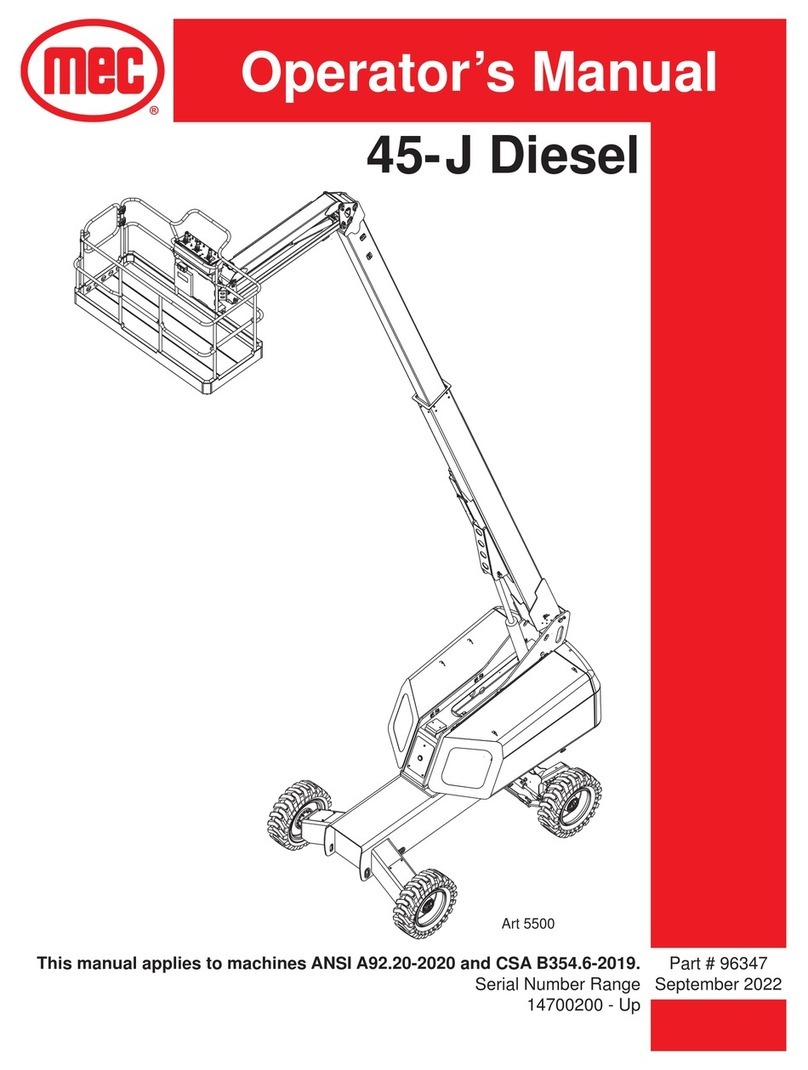
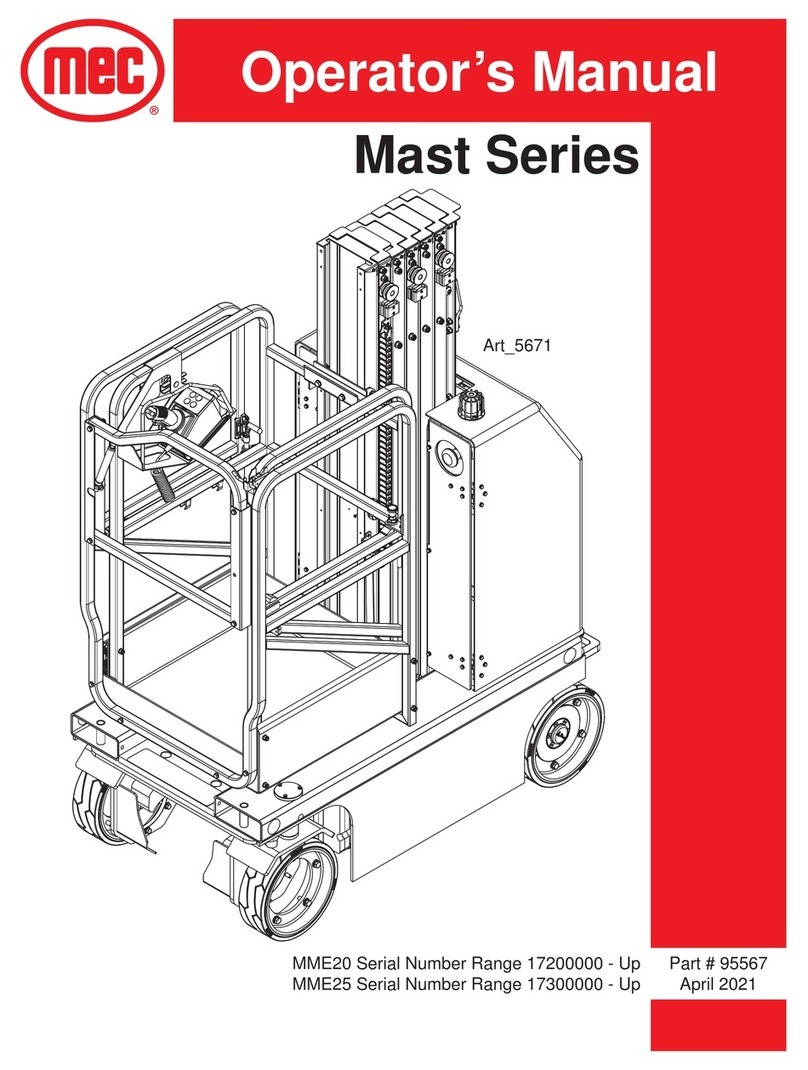
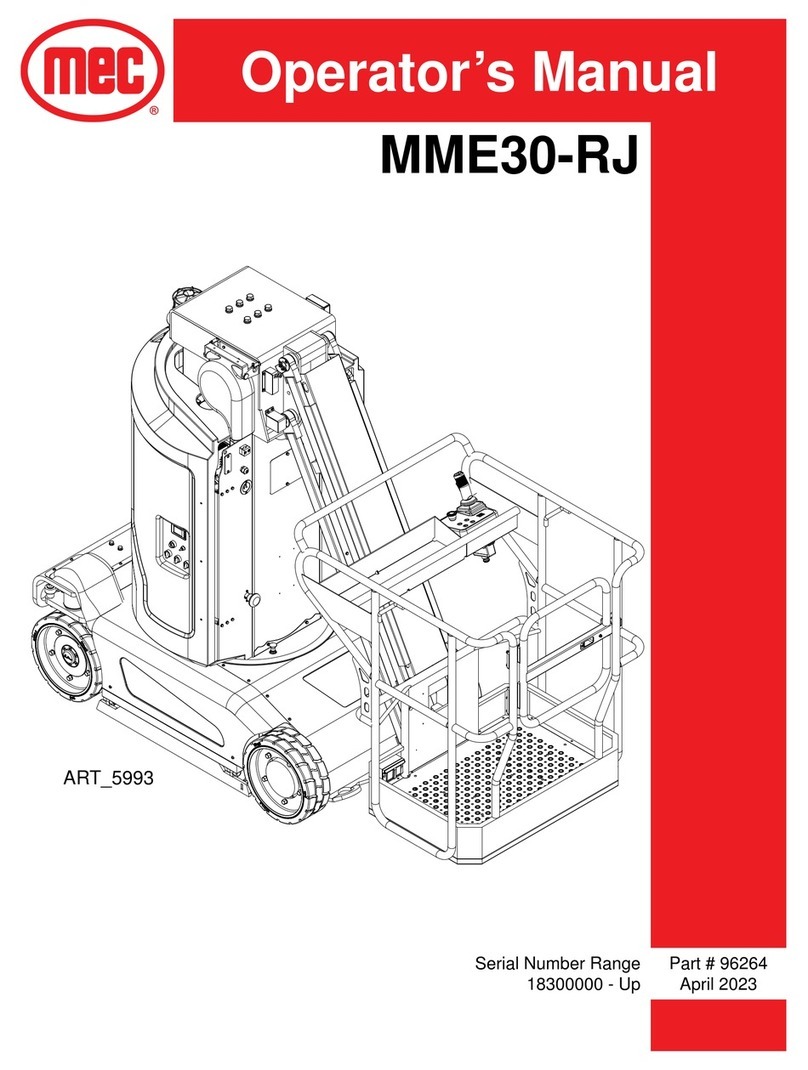
Mec MME30-RJ Guide

Part # 96265
June 2023
Serial Number Range
18300000 - Up
Service & Parts Manual
MME30-RJ
ART_5993

Page i MME30-RJ - Service & Parts Manual
June 2023
Revision History
Date Reason for Update
March 2023 New Release
1401 S. Madera Avenue, Kerman, CA 93630 USA
Toll Free: 1-877-632-5438
Phone: 1-559-842-1500
Fax: 1-559-842-1520
www.MECawp.com
MEC Aerial Work Platforms

Page ii MME30-RJ - Service & Parts Manual
June 2023
Table of Contents
Chapter 1 - Service 1
Service Introduction 1
Section 1 - MEC Operator Policy 2
MEC Operator Policy 2
Section 2 - Safety Symbols & General Safety Tips 3
Safety Symbols & General Safety Tips 3
Section 3 - Specications 4
Specications 4
Section 4 - Torque Specications 5
BoltTorqueSpecication-AmericanStandard 5
BoltTorqueSpecication-MetricStandard 6
Section 5 - Hydraulic, Electrical, and Total Systems 7
Hydraulic,Electrical,andTotalSystems 7
Section 6 - Component Locations 8
Component Locations 8
Emergency System 9
Transportandliftinginstructions 10
Section 9 - Maintenance 12
MaintenanceInspectionReport 12
DailyMaintenance 13
QuarterlyMaintenance 15
Semi-annualMaintenance 25
YearlyMaintenance 27
Section 10 - Fault Codes 29
FaultCodeList 29
Section 11 - Schematics 33
HydraulicSchematic 33
ElectricalSchematic 34
Chapter 2 - Parts 35
Parts Introduction 35
Section 12 - Chassis 36
ChassisCoversInstallation 36
ChassisAssembly 38
SteerLinkageandWheelAssembly 40
PotholeProtectionAssembly 42

Page iii MME30-RJ - Service & Parts Manual
June 2023
Section 13 - Turntable 44
TurntableandChassisInstallation 44
TurntableCoversInstallation 46
TurntableAssembly 48
RightAccessoryAssembly 50
HydraulicPowerUnitAssembly 52
HydraulicPowerUnit 54
EmergencyLoweringManifold,Danfoss 56
EmergencyLoweringManifold,Doyle 58
EmergencyLoweringManifold,Yuethai 60
LeftAccessoryAssembly 62
GroundControlBoxAssembly 64
BatteryTraysInstallation 66
Section 14 - Mast 68
MastAssembly 68
Mast1Assembly 70
Mast2Assembly 72
WireRopeAssembly 74
Mast3Assembly 76
Mast4Assembly 78
Mast5Assembly 80
Mast6Assembly 82
LiftingChainAssembly 84
(2-4)MastPulleyAssembly 86
(4-6)MastPulleyAssembly 88
(1-3)MastPulleyAssembly 90
(3-5)MastPulleyAssembly 92
Section 15 - Platform 94
PlatformandMastInstallation 94
PlatformandJibAssembly 96
JibAssembly 98
PlatformAssembly 100
PlatformControlBoxAssembly 102
Section 16 - Hydraulic System 104
LiftCylinderAssembly 104
JibCylinderAssembly,Doyle 106
JibCylinderAssembly,Danfoss 108
JibCylinderAssembly,Yuethai 110
HydraulicHosesandFittings 112
Section 17 - Electrical System 114
ElectricalHarness,Part1 114
ElectricalHarness,Part2 116
PowertoPlatform 118
Section 18 - Decals 120
Decals 120

Page1 MME30-RJ - Service & Parts Manual
June 2023
Service Introduction
This Service section is designed to provide you, the customer, with the instructions needed to
properly maintain the MEC self-propelled aerial work platform. When used in conjunction with the
illustrated Parts section in this manual and the Operator’s Manual (provided separately), this manual
will assist you in making necessary adjustments and repairs, and identifying and ordering the correct
replacement parts.
All parts represented here are manufactured and supplied in accordance with MEC quality
standards. We recommend that you use genuine MEC parts to ensure proper operation and reliable
performance.
To obtain maximum benets from your MEC Aerial Work Platforms, always follow the proper
operating and maintenance procedures. Only trained authorized personnel should be allowed to
operate or service this machine. Service personnel should read and study the Operator’s, and the
Service and Parts Manuals in order to gain a thorough understanding of the unit prior to making any
repairs.
Chapter1-Service

Page 2 MME30-RJ - Service & Parts Manual
June 2023
MEC Operator Policy
Note: Thebestmethodtoprotectyourselfandothersfrominjuryordeathistousecommonsense.
Ifyouareunsureofanyoperation,don’t startuntilyouaresatisedthatitissafetoproceed
andhavediscussedthesituationwithyoursupervisor.
Service personnel and machine operators must understand and comply with all warnings and
instructional decals on the body of the machine, at the ground controls, and platform control console.
MODIFICATIONS OF THIS MACHINE FROM THE ORIGINAL DESIGN AND
SPECIFICATIONS WITHOUT WRITTEN PERMISSION FROM MEC ARE
STRICTLY FORBIDDEN. A MODIFICATION MAY COMPROMISE THE
SAFETY OF THE MACHINE, SUBJECTING OPERATOR(S) TO SERIOUS
INJURY OR DEATH.
MEC’s policies and procedures demonstrate our commitment to Quality and our relentless ongoing
eorts towards Continuous Improvement, due to which product specications are subject to change
without notice.
Any procedures not found within this manual must be evaluated by the individual to assure oneself
that they are “proper and safe.”
Your MEC Aerial Work Platform has been designed, built, and tested to provide many years of safe,
dependable service. Only trained, authorized personnel should be allowed to operate or service the
machine.
MEC, as manufacturer, has no direct control over machine application and operation. Proper safety
practices are the responsibility of the user and all operating personnel.
If there is a question on application and/or operation, contact MEC Aerial Work Platforms:
1401 S. Madera Avenue, Kerman, CA 93630 USA
Toll Free: 1-877-632-5438
Phone: 1-559-842-1500
Fax: 1-559-842-1520
www.MECawp.com
MEC Aerial Work Platforms
MEC Operator Policy
Section1-MECOperatorPolicy

Page 3 MME30-RJ - Service & Parts Manual
June 2023
Safety Symbols & General Safety Tips
MEC manuals and decals use symbols, colors and signal words to help you recognize important
safety, operation and maintenance information.
RED and the word DANGER – Indicates an imminently hazardous
situation which, if not avoided, will result in death or serious injury.
ORANGE and the word WARNING – Indicates a potentially hazardous
situation which, if not avoided, could result in death or serious injury.
YELLOW with alert symbol and the word CAUTION – Indicates a
potentially hazardous situation which, if not avoided, may result in minor
or moderate injury.
YELLOW without alert symbol and the word CAUTION – Indicates a
potentially hazardous situation which, if not avoided, may result in
property damage.
GREEN and the word NOTICE – Indicates operation or maintenance
information.
Regular inspection and constant maintenance is the key to ecient economical operation of your
aerial work platform. It will help to assure that your equipment will perform satisfactorily with a
minimum of service and repair.
The actual operating environment of the machine governs the inspection schedule. Correct lubrication
is an essential part of the preventative maintenance to minimize wear on working parts and ensure
against premature failure. By maintaining correct lubrication, the possibility of mechanical failure and
resulting downtime is reduced to a minimum.
• Never leave hydraulic components or hoses open. They must be protected from contamination
(including rain) at all times.
• Never open a hydraulic system when there are contaminants in the air.
• Always clean the surrounding area before opening hydraulic systems.
• Use only recommended lubricants. Improper lubricants or incompatible lubricants may be as
harmful as no lubrication.
• Watch for makeshift “xes” which can jeopardize safety as well as lead to more costly repair.
Safety Symbols & General Safety Tips
Section2-SafetySymbols&GeneralSafetyTips

Page4 MME30-RJ - Service & Parts Manual
June 2023Section3-Specications
Specications
Height, Working Maximum1Indoor 36 ft 11 m
Outdoor 34 ft 10.3 m
Height, Platform Maximum Indoor 30 ft 9.1 m
Outdoor 27 ft 8.2 m
Maximum Personnel Indoor 1
Outdoor 1
Manual Force Indoor 45 lbs 200 N
Outdoor 45 lbs 200 N
Maximum Wind Speed Indoor 0 mph 0 m/s
Outdoor 28 mph 12.5 m/s
Height, Stowed Maximum 6.52 ft 1.99 m
Height, Guard Rails 3.6 ft 1.1 m
Width 3.28 ft 1.0 m
Length, Stowed 8.59 ft 2.62 m
Platform Dimensions (Length × Width) 39 in × 31 in 1.0 m × 0.79 m
Maximum Load Capacity 500 lbs 227 kg
Wheelbase 4 ft 1.22 m
Turntable Rotation 345°
Jib Working Range 130°
Turning Radius 5.90 ft 1.8 m
Ground Clearance 2.36 in 6 cm
Weight 6,500 lbs 2,950 kg
Power Source 24V 200A/H AGM
System Voltage 24V
Controls Proportional
Maximum Hydraulic Pressure 2,900 psi 200 bar
Tire Size 15 × 5 in 381 × 127 mm
Airborne Noise Emissions2<70 dB
Maximum Slope Rating, Stowed Position325%
Maximum Side Slope Rating, Stowed
Position310%
Tilt Sensor Setting 2.0 Side 2.5 Inline
Drive Speeds
Stowed, Maximum 2.8 mph 4.5 km/h
Platform Raised, Maximum 0.31 mph 0.5 km/h
Floor Loading Information
Tire Load, Maximum42,100 lbs 950 kg
Tire Contact Pressure4230 psi 16.2kg/cm2
Occupied Floor Pressure4248 psf 1,211kg/m2
Meets requirements of ANSI A92.20-2020 and CSA B354.6-2019.
1Working Height adds 6 feet (2 m) to platform height.
2Maximum sound level at normal operating workstations (A-weighted)
3Slope rating is subject to ground conditions and adequate traction.
4 Floor loading information is approximate and does not incorporate dierent option congurations.
Specications

Page5 MME30-RJ - Service & Parts Manual
June 2023Section4-TorqueSpecications
Bolt Torque Specication - American Standard
Fasteners
Use the following values to apply torque unless a specic torque value is called out for the part being
used.
American Standard Cap Screws
SAE Grade 58
Cap Screw
Size (inches)
ART_5816A
ART_5816B
Torque Torque
Ft. Lbs Nm Ft. Lbs Nm
Min Max Min Max Min Max Min Max
1/4 - 20 6.25 7.25 8.5 10 8.25 9.5 11 13
1/4 - 28 8 9 11 12 10.5 12 14 16
5/16 - 18 14 15 19 20 18.5 20 25 27
5/16 - 24 17.5 19 12 26 23 25 31 34
3/8 - 16 26 28 35 38 35 37 47.5 50
3/8 - 24 31 34 42 46 41 45 55.5 61
7/16- 14 41 45 55.5 61 55 60 74.5 81
7/16 - 20 51 55 69 74.5 68 75 92 102
1/2 - 13 65 72 88 97.5 86 96 116 130
1/2 - 20 76 84 103 114 102 112 138 152
9/16 - 12 95 105 129 142 127 140 172 190
9/16 - 18 111 123 150 167 148 164 200 222
5/8 - 11 126 139 171 188 168 185 228 251
5/8 - 18 152 168 206 228 203 224 275 304
3/4 - 10 238 262 322 255 318 350 431 474
3/4 - 16 274 302 371 409 365 402 495 544
7/8 - 9 350 386 474 523 466 515 631 698
7/8 - 14 407 448 551 607 543 597 736 809
1- 8 537 592 728 802 716 790 970 1070
1 - 14 670 740 908 1003 894 987 1211 1137
Torque values apply to fasteners as received from the supplier, dry or when lubricated with
normal engine oil.
If special graphite grease, moly-disulphide grease, or other extreme pressure lubricants are
used, these torque values do not apply.
Bolt Torque Specication - American Standard

Page6 MME30-RJ - Service & Parts Manual
June 2023Section 4 - Torque Specications
Bolt Torque Specication - Metric Standard
Fasteners
Use the following values to apply torque unless a specic torque value is called out for the part being
used
Metric Cap Screws
Metric Grade 8.8 10.9
Cap Screw Size
(Millimeters)
8.8
ART_5816C
10.9
ART_5816D
Torque Torque
Ft. Lbs Nm Ft. Lbs Nm
Min Max Min Max Min Max Min Max
M6 × 1.00 68811 911 12 15
M8 × 1.25 16 20 21.5 27 23 27 31 36.5
M10 × 1.50 29 35 39 47 42 52 57 70
M12 × 1.75 52 62 70 84 75 91 102 123
M14 × 2.00 85 103 115 139 120 146 163 198
M16 × 2.50 130 158 176 214 176 216 238 293
M18 × 2.50 172 210 233 284 240 294 325 398
M20 × 2.50 247 301 335 408 343 426 465 577
M22 × 2.50 332 404 450 547 472 576 639 780
M24 × 3.00 423 517 573 700 599 732 812 992
M27 × 3.00 637 779 863 1055 898 1098 1217 1488
M30 × 3.00 872 1066 1181 1444 1224 1496 1658 2027
Torque values apply to fasteners as received from the supplier, dry or when lubricated with
normal engine oil.
If special graphite grease, moly-disulphide grease, or other extreme pressure lubricants are
used, these torque values do not apply.

Page7 MME30-RJ - Service & Parts Manual
June 2023Section5-Hydraulic,Electrical,andTotalSystems
Hydraulic, Electrical, and Total Systems
Hydraulic System
HYDRAULIC FLUID UNDER PRESSURE CAN PENETRATE AND BURN
SKIN, DAMAGE EYES, AND MAY CAUSE SERIOUS INJURY, BLINDNESS,
AND EVEN DEATH. CORRECT LEAKS IMMEDIATELY.
HYDRAULIC FLUID LEAKS UNDER PRESSURE MAY NOT ALWAYS BE
VISIBLE. CHECK FOR PIN HOLE LEAKS WITH A PIECE OF CARDBOARD,
NOT YOUR HAND.
Electrical System
Prevent damage to battery and/or electrical system;
• Always disconnect the negative battery cable rst.
• Always connect the positive battery cable rst.
When the negative cable is installed, a spark will occur if contact is made between the positive side
of the battery and a metal surface on the machine. This can cause damage to the electrical system,
battery explosion, and personal injury.
Total System
FAILURE TO PERFORM PREVENTIVE MAINTENANCE AT
RECOMMENDED INTERVALS MAY RESULT IN THE UNIT BEING
OPERATED WITH A DEFECT THAT COULD RESULT IN INJURY OR
DEATH OF THE OPERATOR.
IMMEDIATELY REPORT TO YOUR SUPERVISOR ANY DEFECT OR
MALFUNCTION. ANY DEFECT SHALL BE REPAIRED PRIOR TO
CONTINUED USE OF THE AERIAL WORK PLATFORM.
INSPECTION AND MAINTENANCE SHOULD BE PERFORMED BY
QUALIFIED PERSONNEL FAMILIAR WITH THE EQUIPMENT.
Hydraulic, Electrical, and Total Systems

Page 8 MME30-RJ - Service & Parts Manual
June 2023Section6-ComponentLocations
Component Locations
ART_5999
ILLUSTRATION No.
1
18
19
19
22
2
3
21
5
4
6
7
17
17
8
23
10
9
17
12
20
20
16
17
14
13
11
15
1) Jib Boom
2) Platform Controls
3) Platform Guard Rails
4) Lanyard Anchorage Point
5) Platform Entry Gate
6) Platform
7) Drive Tire
8) Mast Emergency Lowering Knob
9) Pothole Device
10) Chassis
11) Steer Tire
12) Red Emergency Stop Button
13) Ground Controls
14) Mast
15) Flashing Beacon
16) Cable Reel
17) Tie-Down/Lift Points
18) Hydraulic Power Unit
19) Motor Controllers
20) Batteries
21) Platform Electrical Outlet
22) Hydraulic Oil Tank
23) Manual Box
Component Locations

Page 9 MME30-RJ - Service & Parts Manual
June 2023Section 7 - Emergency System
Emergency System
IF THE CONTROL SYSTEM FAILS WHILE THE PLATFORM IS ELEVATED,
HAVE AN EXPERIENCED OPERATOR USE THE EMERGENCY LOWERING
PROCEDURE TO SAFELY LOWER THE PLATFORM.
DO NOT ATTEMPT TO CLIMB DOWN ELEVATING ASSEMBLY.
Emergency Stop
The machine is equipped with an EMERGENCY STOP switch at the base
controls and the platform control box.
• Press the EMERGENCY STOP switch at any time to stop all machine
functions.
• Pull switch to reset.
• Either switch will stop all machine functions.
• Both switches must be reset or machine will not operate.
ART_3353
Main Power/Lower Emergency Stop Switch
Check Main Power/Lower Emergency Stop Switch. Must be in ON position.
ART_6077
Main Power &
Lower Emergency Stop Switch
Emergency Lowering
Located near the base of the front of the turntable is the mast emergency
lowering knob. Pull the knob to lower the mast.
ART_6076
Mast Emergency Lowering Knob
(Pull up to lower mast!)

Page10 MME30-RJ - Service & Parts Manual
June 2023Section 8 - Transport and Lifting Instructions
Transport and lifting instructions
Observe and Obey:
• The transport environment temperature should be within -13°F(-25°C) - 131°F(55°C)
• Common sense and planning must be applied to control the movement of the machine when
lifting it with a crane or forklift.
• Only qualied aerial lift operators should move the machine on or o the truck.
• The transport vehicle must be parked on a level surface.
• The transport vehicle must be secured to prevent rolling while the machine is being loaded.
• Be sure the vehicle capacity, loading surfaces and chains or straps are sucient to withstand the
machine weight. See the serial label for the machine weight.
• The machine must be on a level surface or secured before releasing the brakes.
• Only qualied forklift operators should lift the machine with a forklift.
• Be sure the crane capacity, loading surfaces and straps or lines are sucient to withstand the
machine weight. See the serial plate for the machine weight.
Brake Release Operation
1. Chock the wheels to prevent the machine from rolling.
2. Pull out the platform and emergency red Emergency Stop button to the “ON” position.
3. Turn the key switch to the “ground” position then press the 3rd button to enter the Menu screen.
4. Press either the “Up” button or the “Down” button to select option #4 which is “ManuReleBrake.”
5. Press the “Enter” button. The horn will sound signaling that all brakes have been released.
6. To reset the brakes, push the emergency stop switch.
If the machine must be towed, do not exceed 2.8mph (4.5km/h).
Securing to Truck or Trailer for Transit
Turn the key switch to the o position and remove the key before
transporting. Inspect the entire machine for loose or unsecured
items.
Securing the Chassis
Use chains of ample load capacity.
Use a minimum of 4 chains.
Adjust the rigging to prevent damage to the chains.
ART_6025

Page11 MME30-RJ - Service & Parts Manual
June 2023Section 8 - Transport and Lifting Instructions
Lifting the Machine with a Forklift
Be sure the controls and component trays are secure. Remove all
loose items on the machine. Fully lower the platform. The platform
must remain lowered during all loading and transport procedures.
Position the forklift forks in position as the gure above. Drive
forward to the full extent of the forks. Raise the machine 6 in
(15 cm) and then tilt the forks back slightly to keep the machine
secure.
Be sure the machine is level when lowering the forks.
ART_6025
Lifting Instructions
Fully lower the mast and jib boom. Remove all loose items on the
machine.
Attach the rigging only to the designated lifting points on the machine.
There are two lifting points on the front and back of the chassis.
Adjust the rigging to prevent damage to the machine and to keep the
machine level.
ART_6025

Page12 MME30-RJ - Service & Parts Manual
June 2023Section9-Maintenance
Maintenance Inspection Report
MME30-RJ
Fleet Equipment Number Date
Inspector Name Inspector Co.
Model Number Address
Serial Number
Hour Meter Signature
Machine Owner & address
Maintain all service records in accordance with ANSI A92.24-2019
*If an inspection receives an “N”, remove from service. Once repaired, place an R in the box.
*Refer to the proper service manual for specic information, settings and torque specications.
Key Y = Yes, Acceptable N= No, Remove from Service R= Repaired 0= Not Applicable
QUARTERLY - Inspect only those marked “Q” ANNUAL - Inspect all items
Q/A Y/N/O RQ/A Y/N/O R
DECALS: WHEELS:
Legible - undamaged/readable Q Tire, damage, excessive wear Q
Capacity decal correct for model Q Lug nuts (Wheel mounting) torqued correctly Q
PLATFORM & RAILS: King Pins lubed A
Not damaged, all in place Q COMPONENT AREA (Under Cover):
Entry gate secure, closes properly Q Motor Controller - cables tight, no corrosion Q
Manual box in good condition Q Wires not damaged - Plugs tight Q
Operators Manual in manual box Q Limit Switches - adjustment, operation, lubed Q
JIB ASSY: Cleanliness - All debris, excessive dirt removed Q
Welds, no signs of metal fatigue, damage Q Battery cables clean Q
Pivot Pins secure Q Battery switch cuts battery feed Q
Cylinder, no leaks, valve wires ok Q Cover Doors secure, locks operate correctly Q
ELEVATING ASSEMBLY: Fasteners present and tight Q
Mast Slide Blocks, lubed Q BASE:
Mast structures: Straight, no cracks Q Fasteners present and tight Q
Welds: secure, no cracks Q Cover panels secure Q
Cables tensioned correctly Q Welds,secure, no signs of cracks A
Chains secure, not stretched A OPERATIONAL INSPECTION:
Lift cylinder no visible damage A All functions, operate smooth and quiet Q
ELECTRICAL: All functions, speeds correct. Q
GFCI operates correctly Q Upper control box, operates correctly Q
Wire harnesses good condition, secure A Emergency Down, operates correctly Q
Communication cable no damage, secure A Limit switches slows drive when elevated Q
Retractile Cord Reel operational Q Indoor/outdoor limit switch set, test operation Q
Emergency stop, stops power/operation Q Pothole switch test Q
Key Switch, proper operation Q Battery Charger operation Q
Battery Switch, stops all power Q Amber Beacon, Operation Q
Maintenance Inspection Report

Page13 MME30-RJ - Service & Parts Manual
June 2023Section 9 - Maintenance
Daily Maintenance
The following maintenance should be done daily or every 8 hours of operation, whichever comes rst.
1) Inspect the Manuals and Decals
Maintaining the operator’s manual in good condition is essential to safe machine operation. The
operator’s manual is included with each machine and should be stored in the manual box in the
platform. An illegible or missing manual will not provide safety and operational information necessary
for a safe operating condition.
In addition, maintaining all of the safety and instructional decals in good condition is mandatory
for safe machine operation. Decals alert operators and personnel to the many possible hazards
associated with using this machine. They also provide users with operation and maintenance
information. An illegible decal will fail to alert personnel of a procedure or hazard and could result in
unsafe operating conditions.
1. Check to make sure that the operator’s manual is present and complete in the manual box in the
platform.
2. Examine the pages of the manual to be sure that they are legible and in good condition.
• Result: The operator’s manual is appropriate for the machine and the manual is legible and
in good condition.
• Result: The operator’s manual is not appropriate for the machine or the manual is not in
good condition or is illegible. Remove the machine from service until the manual is replaced.
3. Open the operator’s manual to the decals section. Carefully and thoroughly inspect all decals on
the machine for legibility and damage.
• Result: The machine is equipped with all required decals, and all decals are legible and in
good condition.
• Result: The machine is not equipped with all required decals, or one or more decals are
illegible or in poor condition. Remove the machine from service until the decals are replaced.
4. Always return the manual to the manual box after use.
2) Perform a Pre-operation Inspection
Completing a Pre-operation Inspection is essential to safe machine operation. The Pre-operation
Inspection is a visual inspection performed by the operator prior to each work shift. The inspection
is designed to discover if anything is apparently wrong with a machine before the operator performs
the function tests. The Pre-operation Inspection also serves to determine if routine maintenance
procedures are required.
Complete information to perform this procedure is available in the appropriate operator’s manual.
Refer to the operator’s manual on your machine.
3) Check the Hydraulic Oil Level
• New parts will be required to perform this procedure.
Maintaining the hydraulic oil at the proper level is essential to machine operation. Improper hydraulic
oil levels can damage hydraulic components. Daily checks allow the inspector to identify changes in
the oil level that might indicate the presence of hydraulic system problems.

Page14 MME30-RJ - Service & Parts Manual
June 2023Section 9 - Maintenance
Perform this procedure with the platform in the stowed position and the
engine o.
1. Open the turntable covers of the machine.
2. Remove the hydraulic oil dip-stick (ll cap) and wipe it clean then reinsert it.
3. Take the hydraulic oil dip-stick out again and check the oil level.
4. If the hydraulic oil level is too low then add new hydraulic oil to the prescribed level.
Original Hydraulic oil specications: L-HV46
Make sure to use the appropriate hydraulic oil according to the ambient temperature.
4) Perform Function Tests
Completing the function tests is essential to safe machine operation. Function tests are designed
to discover any malfunctions before the machine is put into service. A malfunctioning machine must
never be used. If malfunctions are discovered, the machine must be tagged and removed from
service immediately.
Complete information to perform this procedure is available in the appropriate operator’s manual.
Refer to the Operator’s Manual on your machine.
5) Perform 30 Day Service
• Tools will be required to perform this procedure.
• New parts will be required to perform this procedure.
The 30 day maintenance procedure is a one time procedure to be performed after the rst 30 days
or 40 hours of usage. After this interval, refer to the maintenance inspection report for continued
scheduled maintenance.
To perform the following maintenance procedures, refer to page 16.
• 3) Inspect the Tires and Wheels (Including Castle Nut Torque)

Page15 MME30-RJ - Service & Parts Manual
June 2023Section 9 - Maintenance
Quarterly Maintenance
The following maintenance should be done every three months or every 250 hours, whichever comes
rst.
1) Inspect the Batteries (Lead-acid batteries)
• Tools will be required to perform this procedure.
• New parts will be required to perform this procedure.
Proper battery condition is essential to good machine performance and operational safety. Improper
uid levels or damaged cables and connections can result in component damage and hazardous
conditions.
Electrocution / burn hazard. Contact with electrically charged circuits
could result in death or serious injury. Remove all rings, watches, and
other jewelry.
Bodily injury hazard. Batteries contain acid. Avoid spilling or contacting
battery acid. Neutralize battery acid spills with baking soda and water.
1. Put on protective clothing and eye wear.
2. Open the turntable covers of the machine.
3. Conrm that the battery cable connections are tight and free of corrosion.
Note: Adding terminal protectors and a corrosion preventative sealant will help eliminate corrosion
on the battery terminals and cables.
4. Locate the bolts between the battery pack and the counterweight. Conrm that the head of each
bolt is rmly in contact with the battery pack so that the battery pack does not move.
5. Remove the battery vent caps and check the battery acid level. If needed, replenish with distilled
water to 0.12in (3 mm) below the bottom of the battery ll tube. Do not overll!
6. Install the vent caps and neutralize any electrolyte that may have spilled.
2) Inspect the Electrical Wiring
• Tools will be required to perform this procedure.
Maintaining electrical wiring in good condition is essential to safe operation and good machine
performance. Failure to nd and replace burnt, chafed, corroded or pinched wires could result in
unsafe operating conditions and may cause component damage.
Electrocution / burn hazard. Contact with electrically charged circuits
could result in death or serious injury. Remove all rings, watches, and
other jewelry.

Page16 MME30-RJ - Service & Parts Manual
June 2023Section 9 - Maintenance
1. Open and remove the turntable covers from the machine.
2. Turn the key switch to the ground controls. Pull out the ground red Emergency Stop button to the
“ON” position. Turn the platform red Emergency Stop button clockwise to the “ON” position.
3. Raise the jib boom until the platform is approximately 8.2ft (2.5 m) from the ground.
4. Turn the key switch to the “OFF” position and push in the red Emergency Stop button to the
“OFF” position at the ground control.
5. Tag and disconnect the cables from the ground terminal of the battery.
6. Remove the fasteners securing the rear chassis cover to the chassis at the non-steer end of the
machine. Remove the chassis cover. Lay the cover and fasteners to the side.
7. Inspect the drive motors connections for burnt, chafed, pinched cables, and loose connections.
8. Install the rear chassis cover at the non-steer end of the machine and securely install the
fasteners.
9. Install the cables onto the ground terminal of the battery, and securely tighten them.
10.Inspect the battery pack for burnt, chafed, and pinched cables.
11. Inspect the following areas for burnt, chafed, corroded, and loose wires:
• Ground Control Panel
• Battery Charger
• Hydraulic Power Unit
12.Turn the key switch to the ground controls. Pull out the ground red Emergency Stop button to the
“ON” position. Turn the platform red Emergency Stop button clockwise to the “ON” position.
13.Lower the jib boom until the platform is approximately 1.6ft (0.5 m) from the ground.
14.Turn the key switch to the “OFF” position and push in the red Emergency Stop button to the
“OFF” position at both the ground and platform controls.
15.Inspect the following areas for burnt, chafed, corroded, and loose wires:
• Mast Cable
• Platform Controls
• Power To Platform Wiring
16.Inspect for a liberal coating of dielectric grease in all wiring connections between the ground
control panel and the platform controls, and level sensor wiring.
17.Install both the turntable covers on the machine.
3) Inspect the Tires and Wheels (Including Castle Nut Torque)
• Tools will be required to perform this procedure.
• New parts will be required to perform this procedure.
Maintaining the tires and wheels in good condition is essential to safe operation and good
performance. Tire and/or wheel failure could result in a machine tip-over. Component damage may
also result if problems are not discovered and repaired in a timely fashion.
1. Check the tire surface and sidewalls for cuts, cracks, punctures, and unusual wear.
2. Check each wheel for damage, bends, and cracks.
3. Check each bolt for proper torque.
Bolt Torque, Dry 65 ft-lbs (88 Nm)
Bolt Torque, Lubricated 49 ft-lbs (66 Nm)
Other manuals for MME30-RJ
1
Table of contents
Other Mec Lifting System manuals