Port1Port2Port3Port4 Port5Port 6
TEST
OK
ERROR
(-)
(-) (-) (-)
(-)(+)(-)(+)(+)
(+)(+)(+)
3. Plug Sensor In and
Check Sensor
Plug the sensor into the logger and
use the software SCAN function
to do a quick check of sensor
operation before backfilling.
1. Insert Sensor
Gently insert the probe into the
borehole until the shaft end is
flush with the soil surface.
If the borehole is too tight, remove
the sensor and insert the auger.
Rotate the auger one or two
revolutions to expand the borehole
a bit.
DO NOT use a hammer to drive in
the sensor!
Installation
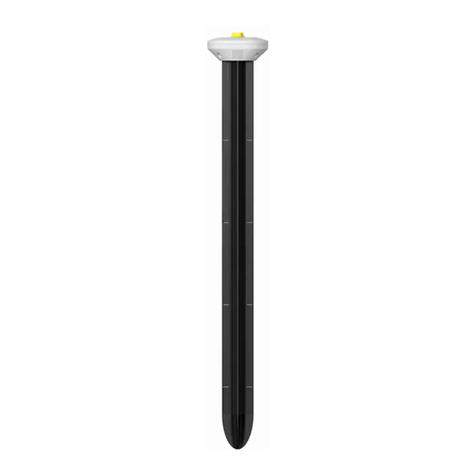
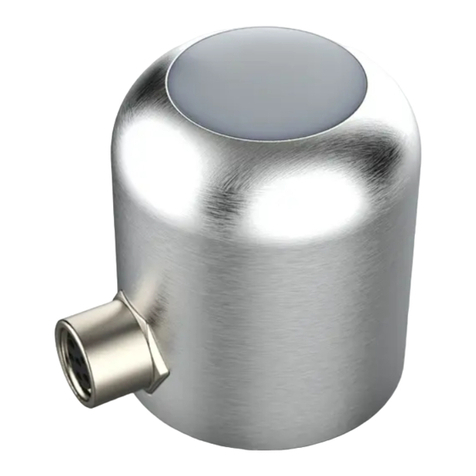
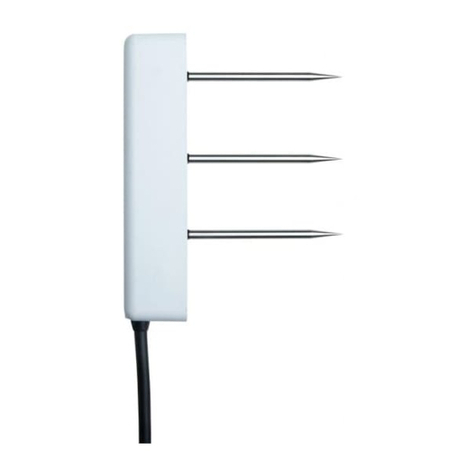
TEROS 06 QUICK START
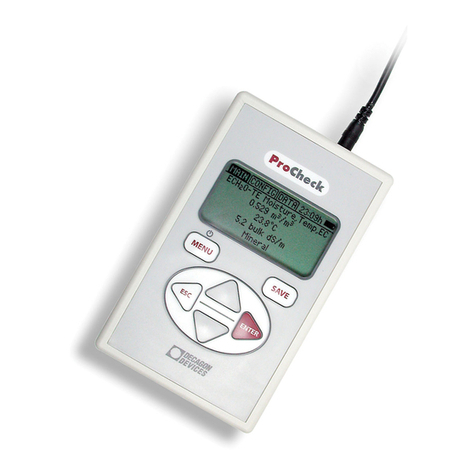
METER recommends conducting a system check with a logger prior
to installation.
Read the full TEROS06 User Manual at metergroup.com/teros06-
support. All products have a 30-day satisfaction guarantee.
Preparation
Confirm that TEROS 06 components are intact. For installation,
gather the TEROS06 Auger, a dead blow hammer, pvc casing or
flexible conduit, a cable inserting tool, a spade, and a level.
Determine the desired installation location, avoid roots and rocks,
and mark the drilling depth (104 cm on the TEROS 06 auger. Drill
a hole stepwise until the marker reaches the soil surface. Avoid
interfering objects, such as roots or rocks. Dig a narrow trench 15
cm deep with a spade from the installation location to the data
logger site to bury the sensor cable.
TEROS 06 Auger
Port1Port 2Port3Port4 Port5Port 6
TEST
OK
ERROR
(-)
(-) (-) (-)
(-)(+)(-)(+)(+)
(+)(+)(+)
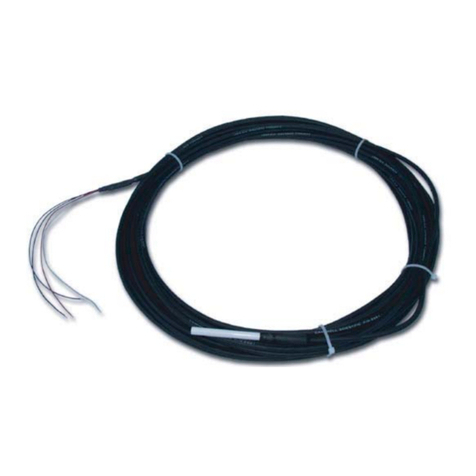
2. Protect Cables
Lay the cables in the trench.
Gather and secure cables between
the TEROS 06 and the data logger
to the mounting mast in one or
more places.
Backfill the soil.
4. Configure Logger
Use data logger software to
apply appropriate settings to the
sensors plugged into each data
logger port.
18410-00
8.31.2020
ATTENTION
For best results, use the latest versions of METER software and
firmware for the computer or mobile device, ZENTRA products,
and sensors. Please use the software Help menu to find updates.
Consult the sensor user manual for more troubleshooting tips.
