manuals.online logo
Brands
  1. Home
  2. •
  3. Brands
  4. •
  5. METER
  6. •
  7. Measuring Instrument
  8. •
  9. METER TEROS 32 User manual

METER TEROS 32 User manual

TEROS 32
TENSIOMETER
TEMPLATE USE INSTRUCTIONS
1. MODIFY COVER PAGE (bottom half of page 1)
a. Delete current image
b. Select Rectangle Frame (frame with X through it)
c. Place product image file
1. Select FILE > PLACE
2. Locate product image file
3. Select product image file to place it in Rectangle Frame.
NOTE: Product Image is created by Marketing
(Manu in Germany or Kristi in Pullman)
d. Update Product Name and Product Category
2. MODIFY EMAIL and PHONE # on BACK PAGE, if necessary (top half, page 2)
3. Edit Page 2, including updating the firmware and software numbers in the
ATTENTION box. Work with Product Owner to get correct information for all
sections.
4. EXPORT to PDF
a. Select FILE > EXPORT
b. Select METER QS PRINT
c. In PDF file, Rotate page 1 (cover & back pg) so the Cover page is on the
top half of the page, upside down and the back page is on the bottom
half of the page, right side up
Turn Template guides on/off in Layers window.
TEMPLATE SIZE and TRIM Information
Document size is 8.00” wide x 5.25” tall when folded.
Document size unfolded is 8.00” wide x 10.5” tall.
Most current template file located at https://drive.google.com/drive/u/1/
folders/1E_GxRGeCpiOxpYvXSqP4a4VwvgxES5v8 (date code is
10.8.2019 in file name).
When cutting, the Print shop should do the following:
1 Cut the left side (when looking at the document, side Logo is on) 8.25
inches from the RIGHT side.
2 Cut the right side (when looking at the document) 8 inches from the
LEFT side.
3 Score the sheet in the middle so Gray side and Front Page are equal in
size and no gray or blue shows where it shouldn’t.
4 With the document folded at score line, cut the bottom with gray side
face up, 5.25 inches from the folded edge.
SUPPORT
Have a question or problem? Our support team can help.
We manufacture, test, calibrate, and repair every instrument in house. Our scientists and
technicians use the instruments every day in our product testing lab. No matter what your
question is, we have someone who can help you answer it.
NORTH AMERICA
Email: support.environment@metergroup.com
Phone: +1.509.332.5600
EUROPE
Email: support.europe@metergroup.com
Phone: +49 89 12 66 52 0
®
3. Check Sensor and
ProtectCables
Plug the sensor into the data
logger and use the SCAN function
in the software to do a quick
check of sensor operation
beforebackfilling.
Secure and protect cables with
PVC casing or flexible conduit and
backfill the trench or hole.
1. Insert Sensor
Auger a hole at the proper angle
with the auger. Auger to the
desired depth in steps to avoid
soil compaction.
Insert the TEROS 32 into the
borehole firmly, but carefully. Do
not touch the ceramic cup.
Installation
TEROS 32 QUICK START
Preparation
Confirm TEROS 32 components are intact. For installation, gather
the tensiometer auger, a dead blow hammer, a refilling syringe
(purchased separately), and deionized water.
Determine the desired installation angle and calculate the
corresponding installation depth.
METER recommends conducting a system check with a logger prior
to installation.
NOTE: A barometric reference sensor is needed as part of the system
configuration to accurately measure soil water potential.
Read the full TEROS 32 User Manual at metergroup.com/teros32-
support. All products have a 30-day satisfaction guarantee.
2. Fill the Tensiometer
Fill the syringe with deionised
water and degas.
Connect the refill syringe to the
marked refilling tube and press
at least 20 mL of water into the
ceramic cup.
Disconnect the syringe and push
the refilling hose back onto the
refillingtube.
4. Plug Sensor In and
Configure Logger
Use data logger software to
apply appropriate settings to the
sensors plugged into each data
logger port.
ATTENTION
TEROS 32 requires the most current software and firmware
versions. Please make updates as necessary.
ZL6 firmware version 2.04 or higher
ZSC firmware version 1.00 or higher
ZENTRA Utility version 1.18 or higher
Go to metergroup.com/environment/downloads/ to find the current
software or firmware version for the data logger being used.
18314-01
3.27.2020
What is water potential?
Water potential is a key variable and one of the main controlling
factors in the exchange of water between soil, plant, and
atmosphere.
Learn more at metergroup.com
Port1Port2Port 3Port4 Port5Port6
TEST
OK
ERROR
(-)
(-)(-) (-)
(-)(+)(-)(+)(+)
(+)(+)(+)
Other METER Measuring Instrument manuals

METER ATMOS 22 User manual

METER

METER ATMOS 22 User manual

METER PROCHECK User manual

METER

METER PROCHECK User manual

METER VARIOS User manual

METER

METER VARIOS User manual

METER TEMPOS User manual

METER

METER TEMPOS User manual

METER AQUALAB User manual

METER

METER AQUALAB User manual

METER SATURO User manual

METER

METER SATURO User manual

METER SC-1 User manual

METER

METER SC-1 User manual

METER SATURO User manual

METER

METER SATURO User manual

METER THERMOLINK User manual

METER

METER THERMOLINK User manual

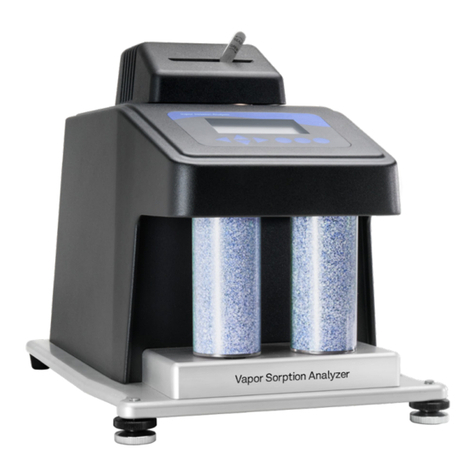
METER AQUALAB VSA User manual

METER

METER AQUALAB VSA User manual

METER APOGEE SU-221 User manual

METER

METER APOGEE SU-221 User manual

METER ROS 1 User manual

METER

METER ROS 1 User manual

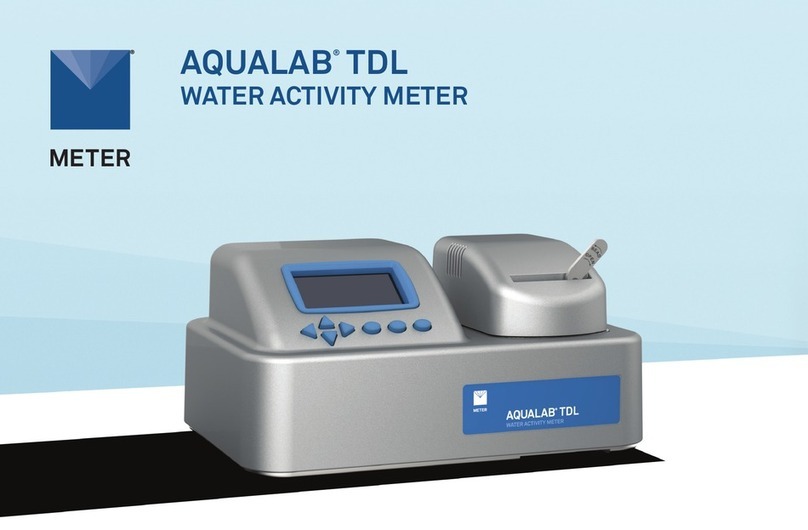
METER AQUALAB TDL User manual

METER

METER AQUALAB TDL User manual

METER TEROS 11 User manual

METER

METER TEROS 11 User manual

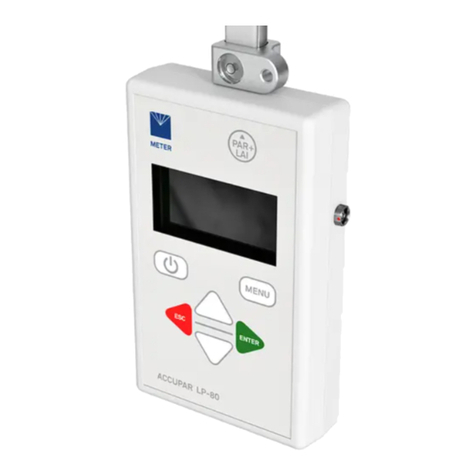
METER ACCUPAR LP-80 User manual

METER

METER ACCUPAR LP-80 User manual

METER AQUALAB TDL User manual

METER

METER AQUALAB TDL User manual

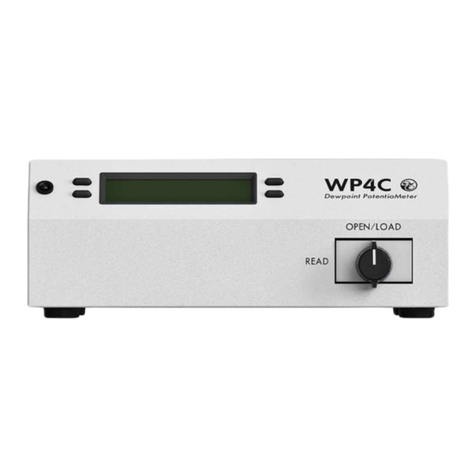
METER WP4C User manual

METER

METER WP4C User manual

METER ATMOS 22 User manual

METER

METER ATMOS 22 User manual

METER G3 User manual

METER

METER G3 User manual

METER AQUALAB PAWKIT User manual

METER

METER AQUALAB PAWKIT User manual

METER AQUALAB PAWKIT User manual

METER

METER AQUALAB PAWKIT User manual

METER APOGEE SQ-521 User manual

METER

METER APOGEE SQ-521 User manual

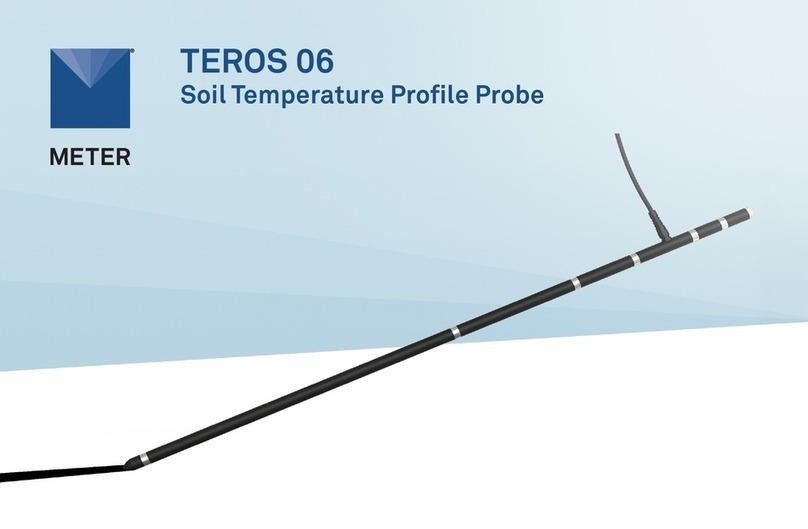
METER TEROS 06 User manual

METER

METER TEROS 06 User manual

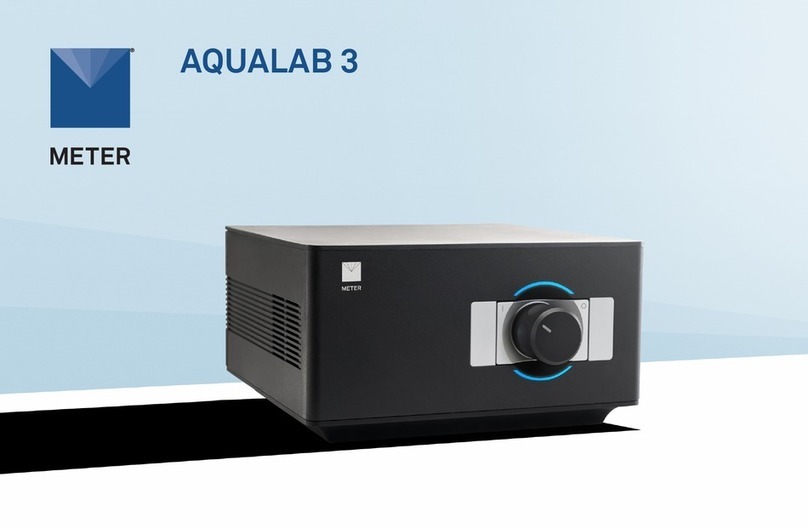
METER AQUALAB 3 User manual

METER

METER AQUALAB 3 User manual

Popular Measuring Instrument manuals by other brands

Data Video TL-1 user manual

Data Video

Data Video TL-1 user manual

red lion CUB4RT manual

red lion

red lion CUB4RT manual

Delta ZS1000-A-V2 user manual

Delta

Delta ZS1000-A-V2 user manual

Aqua Medic T Controller HC Operation manual

Aqua Medic

Aqua Medic T Controller HC Operation manual

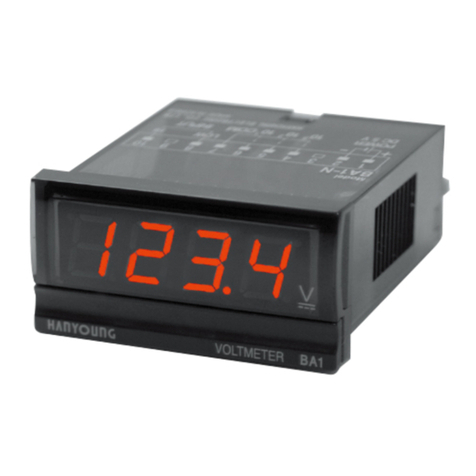
HANYOUNG NUX BA1 instruction manual

HANYOUNG NUX

HANYOUNG NUX BA1 instruction manual

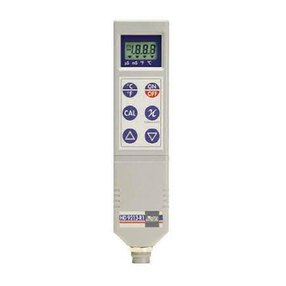
Delta OHM HD 9213-R1 instruction manual

Delta OHM

Delta OHM HD 9213-R1 instruction manual

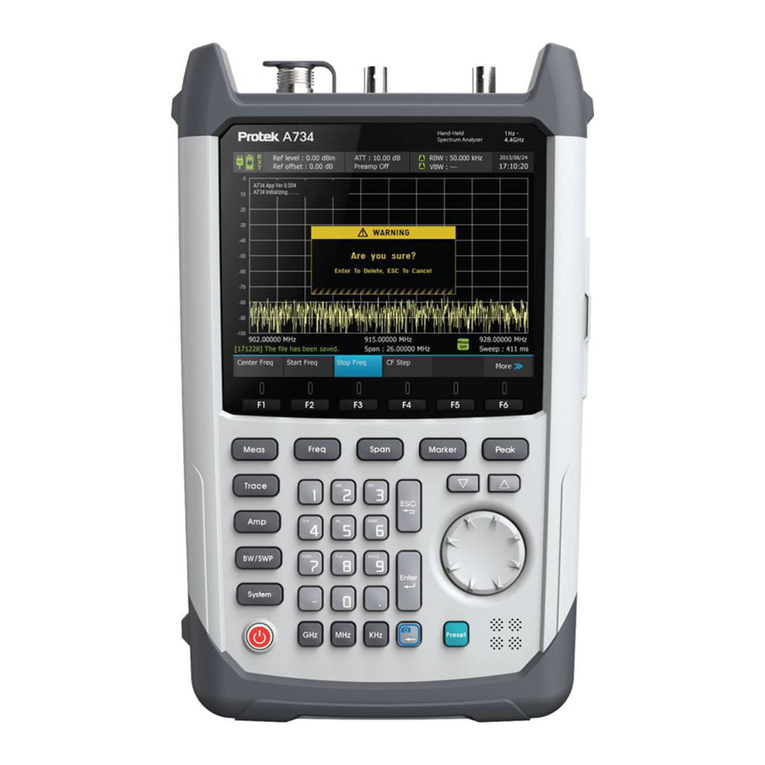
PRO-TEK A734 operating manual

PRO-TEK

PRO-TEK A734 operating manual

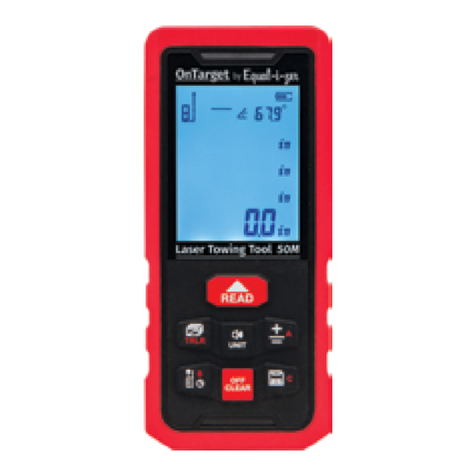
Equalizer OnTarget 50m user manual

Equalizer

Equalizer OnTarget 50m user manual

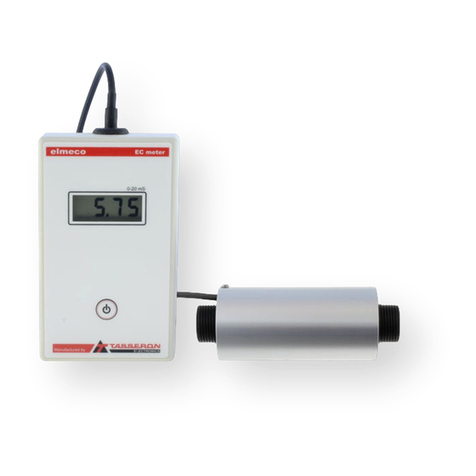
ELME EC METER manual

ELME

ELME EC METER manual

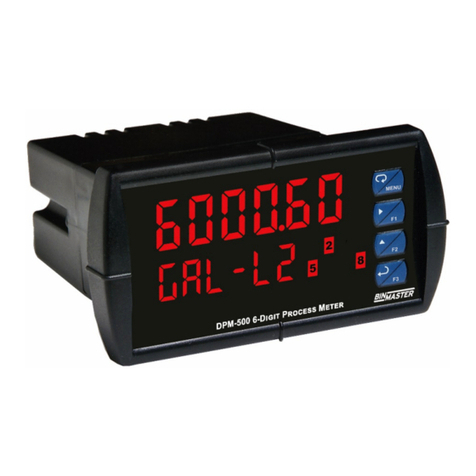
Bin Master DPM-500 instruction manual

Bin Master

Bin Master DPM-500 instruction manual

Tek-Trol TEK-LCD 7800A-0L1 instruction manual

Tek-Trol

Tek-Trol TEK-LCD 7800A-0L1 instruction manual

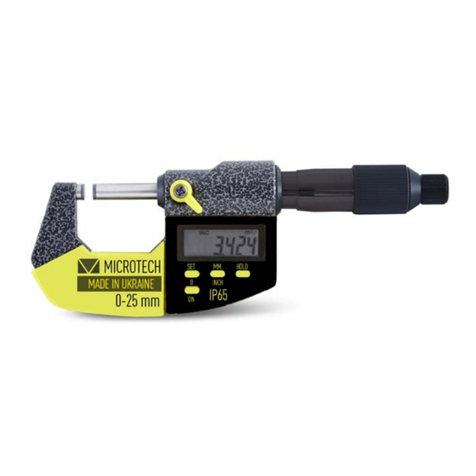
Microtech 110180254 user manual

Microtech

Microtech 110180254 user manual

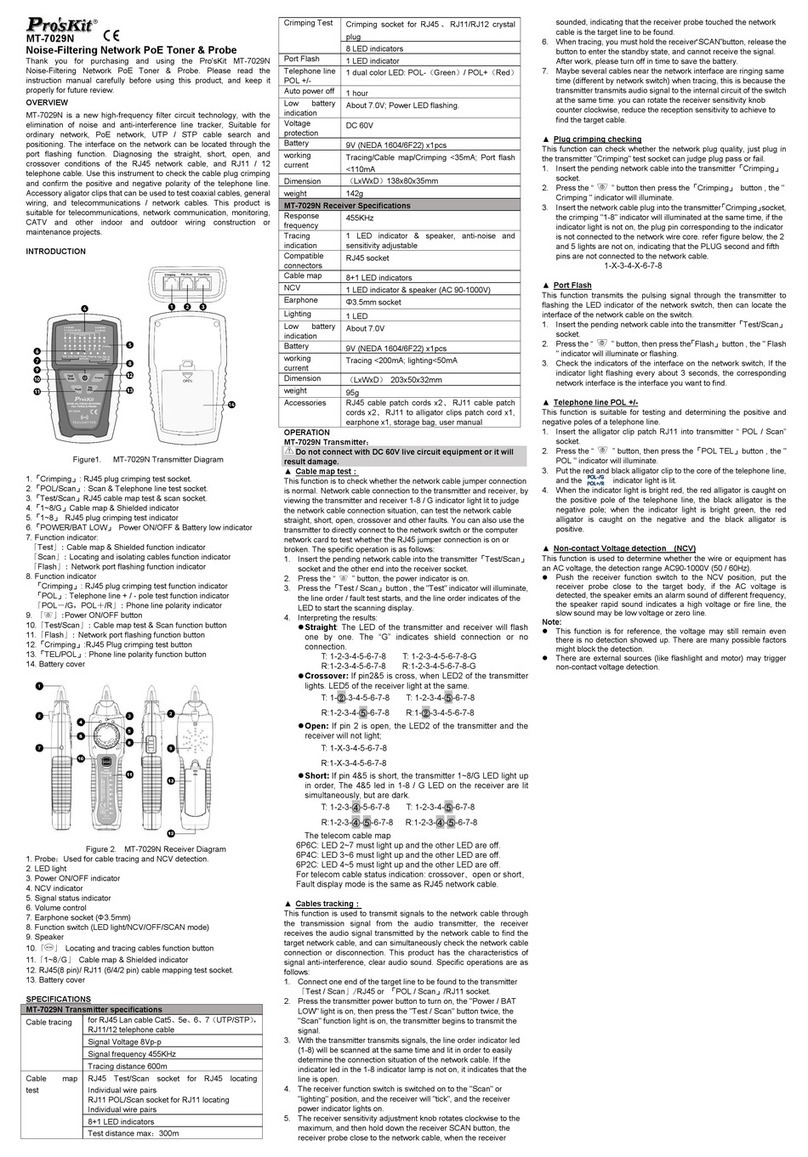
Pro's Kit MT-7029N quick start guide

Pro's Kit

Pro's Kit MT-7029N quick start guide

SignalFire Modbus-Stick Interface manual

SignalFire

SignalFire Modbus-Stick Interface manual

Spot-on 39240 product manual

Spot-on

Spot-on 39240 product manual

Unimax LM 63A user manual

Unimax

Unimax LM 63A user manual

Delta R4E installation manual

Delta

Delta R4E installation manual

POOL LAB 1.0 user manual

POOL LAB

POOL LAB 1.0 user manual

manuals.online logo
manuals.online logoBrands
  • About & Mission
  • Contact us
  • Privacy Policy
  • Terms and Conditions

Copyright 2025 Manuals.Online. All Rights Reserved.