manuals.online logo
Brands
  1. Home
  2. •
  3. Brands
  4. •
  5. Mocka
  6. •
  7. Indoor Furnishing
  8. •
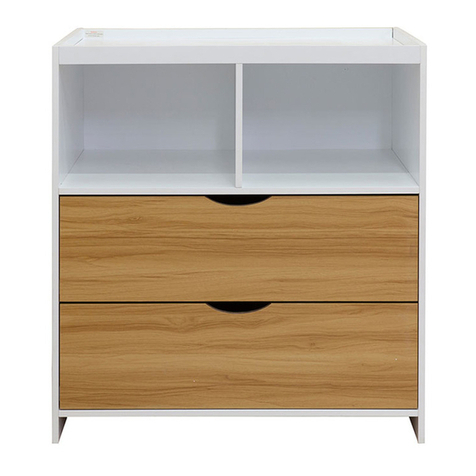
  9. Mocka Chelsea Cabinet User manual

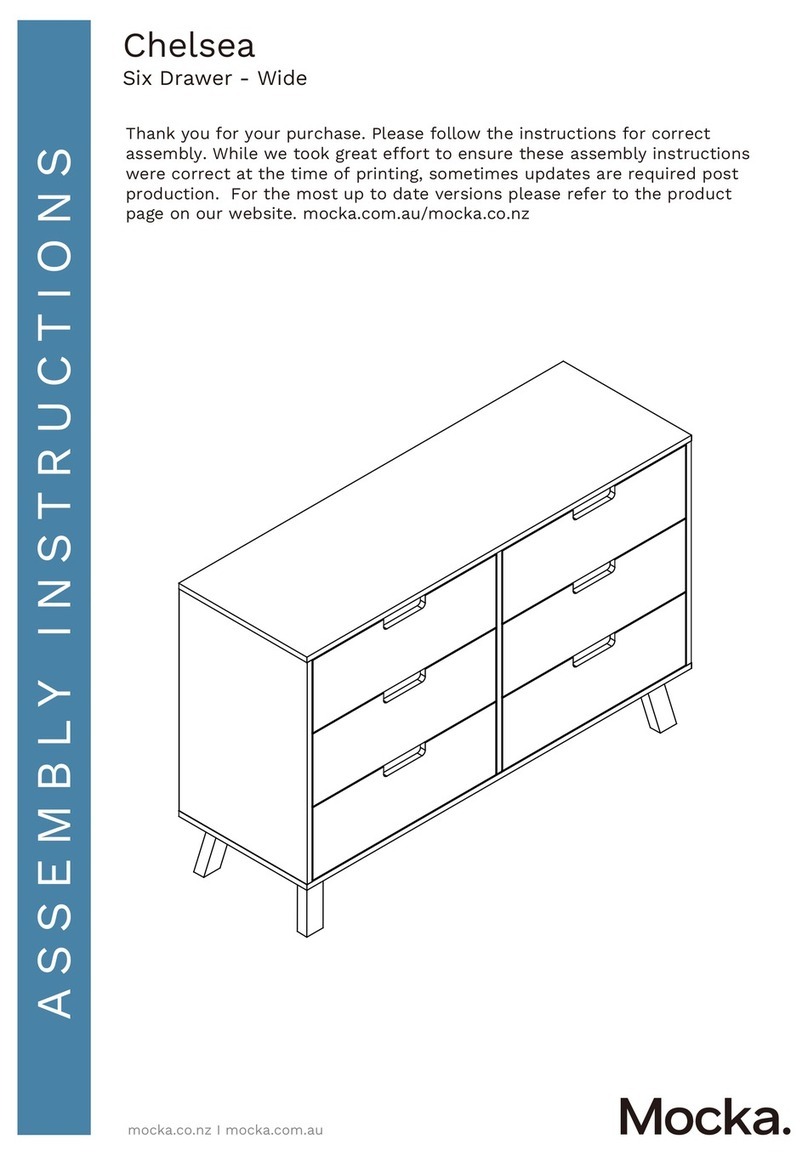
Mocka Chelsea Cabinet User manual

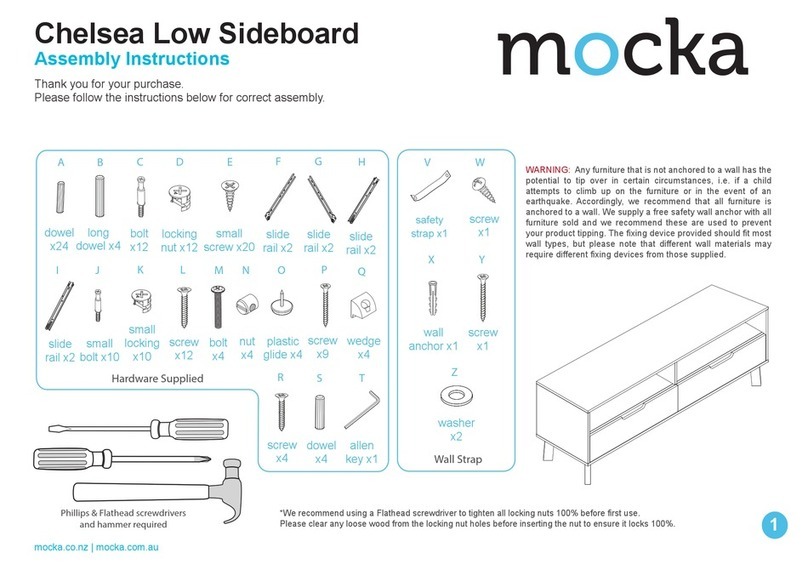
A B C D E F
GHJI
Phillips & Flathead screwdrivers
and hammer required
Hardware Supplied
small
dowel x22
bolt
x14
locking
nut x14
small
screw x32
long
screw x9
plastic
glide x4
*We recommend using a Flathead screwdriver to tighten all locking nuts 100% before first use.
Please clear any loose wood from the locking nut holes before inserting the nut to ensure it locks 100%.
nut
x4
hinge
x8
WARNING: Any furniture that is not anchored to a wall has the potential to tip
over in certain circumstances, i.e. if a child attempts to climb up on the furniture
or in the event of an earthquake. Accordingly, we recommend that all furniture
is anchored to a wall. We supply a free safety wall anchor with all furniture sold
and we recommend these are used to prevent your product tipping. The fixing
device provided should fit most wall types, but please note that different wall
materials may require different fixing devices from those supplied.
long
dowel x2
bolt
x4
washer
x2
VW
X Y
screw
x1
screw
x1
wall
anchor x1
safety
strap x1
Z
Wall Strap
KL
wedge
x4
screw
x4
MN
dowel
x4
allen
key x1
Chelsea Cabinet
1
mocka.co.nz | mocka.com.au
Assembly Instructions
Thank you for your purchase.
Please follow the instructions below for correct assembly.
12
Attach panel [4] to panel [5] using 2x bolts (C) and secure with 2x
locking nuts (D). Tighten with a screwdriver.
Attach panel [6] to panel [4] using 2x long dowels (B) and 2x long screws
(I). Attach 2x bolts (C) to panel [4]. Tighten with a screwdriver.
6
5
4
C
D
C
D
4
D
C
C
B
B
I
I
Chelsea Cabinet
2
mocka.co.nz | mocka.com.au
Assembly Instructions
12
Attach panel [4] to panel [5] using 2x bolts (C) and secure with 2x
locking nuts (D). Tighten with a screwdriver.
Attach panel [6] to panel [4] using 2x long dowels (B) and 2x long screws
(I). Attach 2x bolts (C) to panel [4]. Tighten with a screwdriver.
6
5
4
C
D
C
D
4
D
C
C
B
B
I
I
34
Attach panel [7] to panel [4] and secure with 2x locking nuts (D).
Tighten with a screwdriver.
Insert 4x dowels (A) and 2x bolts (C) into panel [2]. Insert 4x dowels (A)
and 2x bolts (C) into panel [3].
7
4
3
2
D
A
C
C
A
A
A
C
C
AA
D
D
Chelsea Cabinet
3
mocka.co.nz | mocka.com.au
Assembly Instructions
56
Attach panels [2] and [3] to panel [4] using 4x locking nuts (D). Tighten
with a screwdriver.
Insert 6x bolts (C) into panel [1].
4
1
3
2
D
D
D
D
C
C
C
C
C
C
Chelsea Cabinet
Assembly Instructions
4
mocka.co.nz | mocka.com.au
Jolt Wardrobe
ASSEMBLY INSTRUCTIONS
5
mocka.co.nz | mocka.com.au
56
Attach panels [2] and [3] to panel [4] using 4x locking nuts (D). Tighten
with a screwdriver.
Insert 6x bolts (C) into panel [1].
4
1
3
2
D
D
D
D
C
C
C
C
C
C
78
Connect panels [9] together using the connector [10] as shown.
10
9
1
Attach panel [1] to panels [2] and [3] using 6x small dowels (A) and
secure with 6x locking nuts (D). Tighten with a screwdriver.
A
A
A
D
D
3
2
9
Chelsea Cabinet
Assembly Instructions
5
mocka.co.nz | mocka.com.au
910
Slide panels [9] down between the grooves of panels [2] and [3] to form
the back of the unit.
8
3
2
11
9
9
M
M
G
11
H
M
11
Attach two leg panels [11] to the underside of panel [8] as shown, using
2x dowels (M) and 2x bolts (G). Tighten with the allen key (N). Secure
with 2x nuts (H) and tighten them with a flathead screwdriver.
×
N
Chelsea Cabinet
Assembly Instructions
6
mocka.co.nz | mocka.com.au
910
Slide panels [9] down between the grooves of panels [2] and [3] to form
the back of the unit.
8
3
2
11
9
9
M
M
G
11
H
M
11
Attach two leg panels [11] to the underside of panel [8] as shown, using
2x dowels (M) and 2x bolts (G). Tighten with the allen key (N). Secure
with 2x nuts (H) and tighten them with a flathead screwdriver.
×
N
11
12
8
12
11
A
A
IJ
J
J
J
M
M
G
11
Attach the remaining two leg panels [11] to panel [8] using 2x dowels (M) and 2x
bolts (G), tightening with the allen key (N). Secure with 2x nuts (H). Attach 4x
plastic glides (J) to the end of each leg using a hammer. Now attach panel [12]
using 2x dowels (A) and secure with 1x long screw (I). Tighten with a screwdriver.
H
M
11
I
I
I
I
A
A
A
A
I
I
8
3
2
Attach panel [8] to panels [2] and [3] using 6x small dowels (A) and
secure with 6x screws (I). Tighten with a screwdriver.
N
Chelsea Cabinet
Assembly Instructions
7
mocka.co.nz | mocka.com.au
13 14
Attach door panels [13] and [14] to the main unit as shown, using 2x
small screws (F) to secure each hinge (E). Tighten with a screwdriver.
13
14
13
14
F
F
Attach 2x hinges (E) to panel [13] as shown and secure with 4x small
screws (F). Attach 2x hinges (E) to panel [14] and secure with 4x small
screws (F). Tighten with a screwdriver. Repeat this step to assemble the
remaining two doors.
13
F
F
F
F
E
E
14
FF
FF
E
E
Doors x4
NOTE: If the doors
are uneven or
there is a gap in
the middle, loosen
or tighten the
screw on the door
hinge until they are
sitting flush.
F
F
Chelsea Cabinet
Assembly Instructions
8
mocka.co.nz | mocka.com.au
13 14
Attach door panels [13] and [14] to the main unit as shown, using 2x
small screws (F) to secure each hinge (E). Tighten with a screwdriver.
13
14
13
14
F
F
Attach 2x hinges (E) to panel [13] as shown and secure with 4x small
screws (F). Attach 2x hinges (E) to panel [14] and secure with 4x small
screws (F). Tighten with a screwdriver. Repeat this step to assemble the
remaining two doors.
13
F
F
F
F
E
E
14
FF
FF
E
E
Doors x4
NOTE: If the doors
are uneven or
there is a gap in
the middle, loosen
or tighten the
screw on the door
hinge until they are
sitting flush.
F
F
15 16
Once assembled lift furniture into place, do not drag. Use a drill to
create a small hole lining up with the top of the safety strap (V). Fasten
to wall using 1x wall plug (X), 1x washer (Z) and 1x screw (Y). Ensure
unit is balanced and steady before use. You’re done, enjoy!
9
1
X
Y
Z
wall
plug
screw
strap
washer
Wall Strap
Attach 4x wedges (K) to the corners of the panel [9] and secure with 4x
screws (L). Attach 1x safety strap (V) to the back edge of panel [1] using
1x washer (Z) and 1x screw (W). Tighten with a screwdriver.
1
V
W
Z
screw
strap
washer
K
L
K
L
K
L
9
Chelsea Cabinet
Assembly Instructions
9
mocka.co.nz | mocka.com.au

Other Mocka Indoor Furnishing manuals

Mocka Maya Bookcase User manual

Mocka

Mocka Maya Bookcase User manual

Mocka Phoebe Entertainment Unit User manual

Mocka

Mocka Phoebe Entertainment Unit User manual

Mocka Kennedy User manual

Mocka

Mocka Kennedy User manual

Mocka Belinda User manual

Mocka

Mocka Belinda User manual

Mocka Hobart Four Drawer User manual

Mocka

Mocka Hobart Four Drawer User manual

Mocka Hamptons User manual

Mocka

Mocka Hamptons User manual

Mocka Hamptons Entertainment Unit User manual

Mocka

Mocka Hamptons Entertainment Unit User manual

Mocka Soren King Single Bed User manual

Mocka

Mocka Soren King Single Bed User manual

Mocka Claremont User manual

Mocka

Mocka Claremont User manual

Mocka Zack User manual

Mocka

Mocka Zack User manual
Mocka Edmond Entertainment Unit User manual

Mocka

Mocka Edmond Entertainment Unit User manual

Mocka Edmond User manual

Mocka

Mocka Edmond User manual
Mocka Addi Entertainment Unit User manual

Mocka

Mocka Addi Entertainment Unit User manual

Mocka Alps Bedside Table User manual

Mocka

Mocka Alps Bedside Table User manual

Mocka Vibe Coffee Table User manual

Mocka

Mocka Vibe Coffee Table User manual

Mocka Scarborough Six Drawer User manual

Mocka

Mocka Scarborough Six Drawer User manual

Mocka Boston Three Drawer User manual

Mocka

Mocka Boston Three Drawer User manual

Mocka Georgia Entertainment Unit User manual

Mocka

Mocka Georgia Entertainment Unit User manual

Mocka Blair User manual

Mocka

Mocka Blair User manual

Mocka Chelsea User manual

Mocka

Mocka Chelsea User manual
Mocka Avoca User manual

Mocka

Mocka Avoca User manual

Mocka Hamptons User manual

Mocka

Mocka Hamptons User manual

Mocka Brixton Bookcase User manual

Mocka

Mocka Brixton Bookcase User manual

Mocka Bronte User manual

Mocka

Mocka Bronte User manual

Popular Indoor Furnishing manuals by other brands

Simpli Home WyndenHall brooklin+max AXCRART21-RUS Assembly instructions

Simpli Home

Simpli Home WyndenHall brooklin+max AXCRART21-RUS Assembly instructions

Polywood Chinoiserie CT4P191 Assembly instructions

Polywood

Polywood Chinoiserie CT4P191 Assembly instructions

Workrite ES2E5472EOC Assembly & installation manual

Workrite

Workrite ES2E5472EOC Assembly & installation manual

RealFlame Calie 7720 Assembly instructions

RealFlame

RealFlame Calie 7720 Assembly instructions

Home Styles 20 05618 0080 quick start guide

Home Styles

Home Styles 20 05618 0080 quick start guide

4 Moms 1036 manual

4 Moms

4 Moms 1036 manual

ALTRACO 1617096 user manual

ALTRACO

ALTRACO 1617096 user manual

Members Mark 8 Cube Room Organizer instruction manual

Members Mark

Members Mark 8 Cube Room Organizer instruction manual

EUROSTYLE 719039 instructions

EUROSTYLE

EUROSTYLE 719039 instructions

Little Seeds Monarch Hill 4444444COM Assembly manual

Little Seeds

Little Seeds Monarch Hill 4444444COM Assembly manual

Simpli Home AXCHUN-12-UBG manual

Simpli Home

Simpli Home AXCHUN-12-UBG manual

Nowy Styl JUPITER TS02 Assembly and Adjustment Instructions

Nowy Styl

Nowy Styl JUPITER TS02 Assembly and Adjustment Instructions

Little Seeds DA8452 Assembly manual

Little Seeds

Little Seeds DA8452 Assembly manual

Home Styles 2000-302-FB02 quick start guide

Home Styles

Home Styles 2000-302-FB02 quick start guide

Twin Star Home 36MM30608 quick start guide

Twin Star Home

Twin Star Home 36MM30608 quick start guide

Little Seeds 6818196COM Assembly manual

Little Seeds

Little Seeds 6818196COM Assembly manual

NASAB Easyup 5000 Series Assembly instructions

NASAB

NASAB Easyup 5000 Series Assembly instructions

LOWE'S F250134 Assembly instructions

LOWE'S

LOWE'S F250134 Assembly instructions

manuals.online logo
manuals.online logoBrands
  • About & Mission
  • Contact us
  • Privacy Policy
  • Terms and Conditions

Copyright 2025 Manuals.Online. All Rights Reserved.