manuals.online logo
Brands
  1. Home
  2. •
  3. Brands
  4. •
  5. Mocka
  6. •
  7. Indoor Furnishing
  8. •
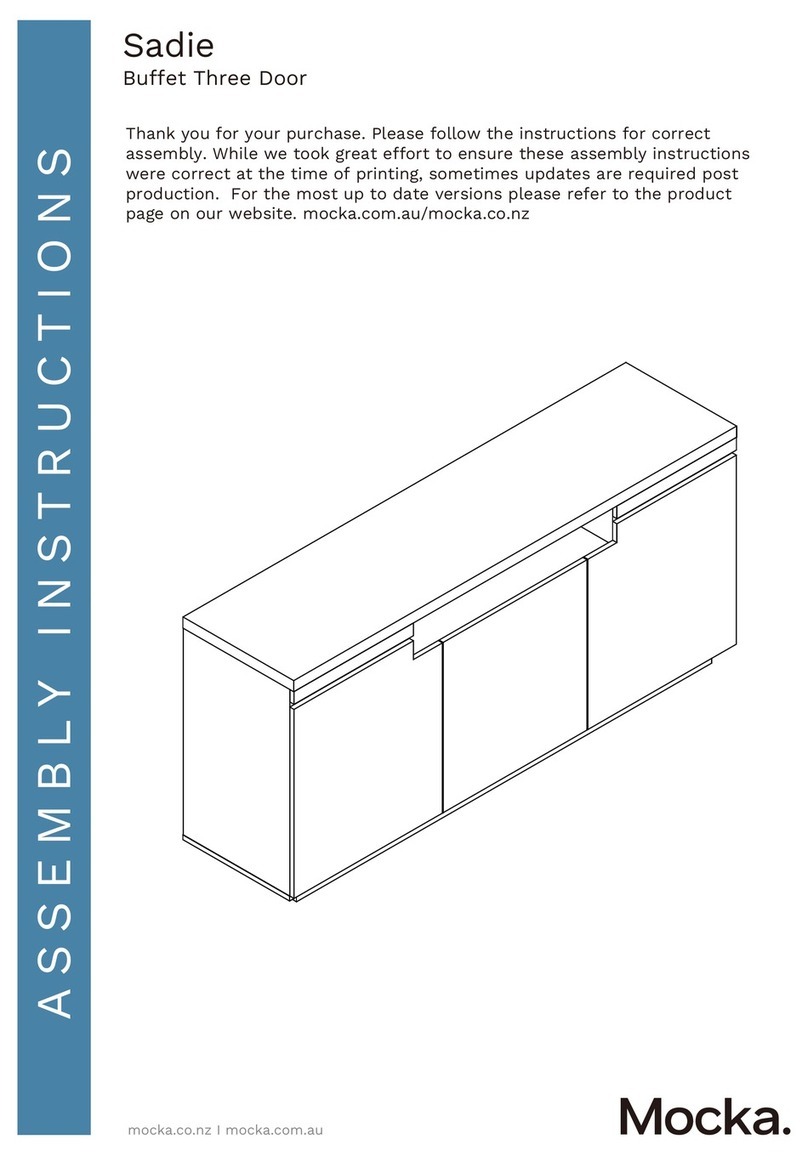
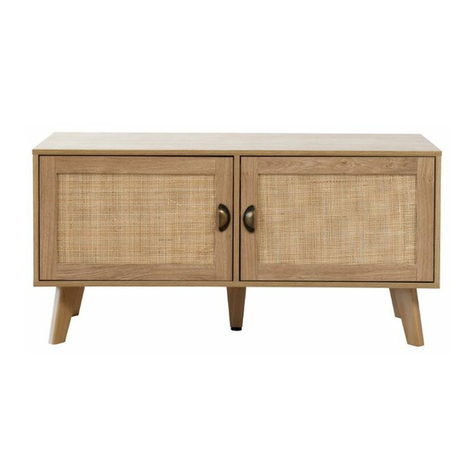
  9. Mocka Urban Buffet User manual

Mocka Urban Buffet User manual

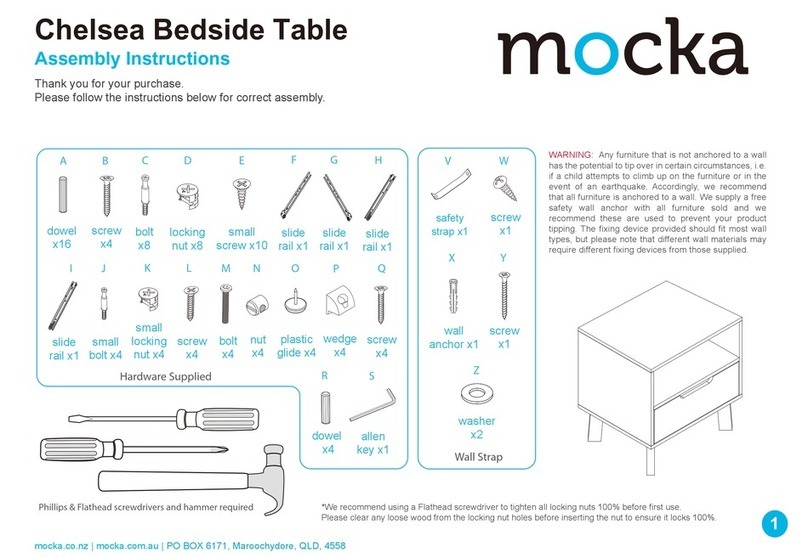
WARNING: Any furniture that is not anchored to a wall has the potential to tip over in
certain circumstances, i.e. if a child attempts to climb up on the furniture or in the event
of an earthquake. Accordingly, we recommend that all furniture is anchored to a wall.
We supply a free safety wall anchor with all furniture sold and we recommend these
are used to prevent your product tipping. The fixing device provided should fit most
wall types, but please note that different wall materials may require different fixing
devices from those supplied.
Phillips & Flathead screwdrivers and hammer required
*We recommend using a Flathead screwdriver to tighten all locking nuts 100% before first use.
Please clear any loose wood from the locking nut holes before inserting the nut to ensure it locks 100%.
For quicker assembly, we recommend the
use of a power drill on a low-speed setting.
A B1 B2 C1 C2 D
EFH I J
KL
G
M
Hardware Supplied
50mm
screw x12
30mm
screw x16
bolt &
nut x30
12mm
screw x24
18mm
screw x10
wedge
x10
feet
x4
25mm
screw x2
wall
anchor x2
cover
x2
wall
strap x2
14mm
screw x2
dowel
x20
50mm
screw x14
slide
rail x4
N O P
bracket
x2
12mm
screw x2
stopper
x2
E1
E2
E4
E3
Urban Buffet
1
mocka.co.nz | mocka.com.au | PO BOX 6171, Maroochydore BC, QLD, 4558
Assembly Instructions
Thank you for your purchase.
Please follow the instructions below for correct assembly.
12
Attach 4x feet (H) to the legs as shown. Attach the centre panels to the legs using 16x 30mm screws (B2).
Tighten with a screwdriver.
HHH
H
H
B2
B2
B2
B2
B2
B2
B2
B2
Urban Buffet
2
mocka.co.nz | mocka.com.au | PO BOX 6171, Maroochydore BC, QLD, 4558
Assembly Instructions
12
Attach 4x feet (H) to the legs as shown. Attach the centre panels to the legs using 16x 30mm screws (B2).
Tighten with a screwdriver.
HHH
H
H
B2
B2
B2
B2
B2
B2
B2
B2
34
Attach panel [2] as shown using 12x 50mm screws (B1). Tighten with
a screwdriver.
Insert 2x bolts (A) and attach 1x slide rail (E1) to panel [4] using 2x
12mm screws (C1). Insert 2x bolts (A) and attach 1x slide rail (E3) to
panel [5] using 2x 12mm screws (C1). Tighten with a screwdriver.
2
B1
B1
B1
B1
B1
B1
B1 B1
B1
B1
B1
B1
E3
C1
E1
C1
E3
45
A
A
A
A
Urban Buffet
3
mocka.co.nz | mocka.com.au | PO BOX 6171, Maroochydore BC, QLD, 4558
Assembly Instructions
56
Attach 1x slide rail (E3) to one side of panel [6] using 2x 12mm screws
(C1). Attach 1x slide rail (E1) to the other side of panel [6] using 2x
12mm screws (C1). Tighten with a screwdriver.
Attach 2x brackets (N) to panel [3] using 8x 12mm screws (C1). Tighten
with a screwdriver. Slide 2x covers (N) over the brackets (M) as shown.
Insert 2x bolts (A) into panel [3].
N
N
M
6
3
6
flip
E3
C1
E1
C1
C1
C1 C1
C1
N
N
A
A
Urban Buffet
Assembly Instructions
4
mocka.co.nz | mocka.com.au | PO BOX 6171, Maroochydore BC, QLD, 4558
Jolt Wardrobe
ASSEMBLY INSTRUCTIONS
5
mocka.co.nz | mocka.com.au
56
Attach 1x slide rail (E3) to one side of panel [6] using 2x 12mm screws
(C1). Attach 1x slide rail (E1) to the other side of panel [6] using 2x
12mm screws (C1). Tighten with a screwdriver.
Attach 2x brackets (N) to panel [3] using 8x 12mm screws (C1). Tighten
with a screwdriver. Slide 2x covers (N) over the brackets (M) as shown.
Insert 2x bolts (A) into panel [3].
N
N
M
6
3
6
flip
E3
C1
E1
C1
C1
C1 C1
C1
N
N
A
A
78
Attach panels [4], [5] and [6] to panel [3] using 6x dowels (F) and 6x
locking nuts (A). Tighten with a screwdriver. Insert 2x bolts (A) into
panel [3].
Attach panels [4], [5] and [6] to panel [2] using 6x dowels (F) and 6x
50mm screws (D). Tighten with a screwdriver.
A
6
5
4
3
2
6
5
4
F
FF
F
F
F
F
F
F
F
F
D
D
D
D
D
D
A
A
A
A
A
A
Urban Buffet
Assembly Instructions
5
mocka.co.nz | mocka.com.au | PO BOX 6171, Maroochydore BC, QLD, 4558
910
Attach panel [7] to panel [3] using 2x dowels (F) and 2x locking nuts
(A). Tighten with a screwdriver.
Insert 6x bolts (A) into panel [1].
7
3
1
F
A
A
F
A
A
A
A
A
A
Urban Buffet
Assembly Instructions
6
mocka.co.nz | mocka.com.au | PO BOX 6171, Maroochydore BC, QLD, 4558
910
Attach panel [7] to panel [3] using 2x dowels (F) and 2x locking nuts
(A). Tighten with a screwdriver.
Insert 6x bolts (A) into panel [1].
7
3
1
F
A
A
F
A
A
A
A
A
A
11
12
Attach panel [11], [12] and [13] together with 4x 50mm screws (D). Attach
panel [14] to panel [13] using 2x bolt and nut sets (A). Slide panel [15]
between panels [11] and [12]. Attach 1x stopper (P) to each panel [9]/[10]
using 1x 12mm screw (O). Tighten with a screwdriver.
A
13
12
11
14
15
10
9
D
O
P
D
D
D
A
Slide panel [8] down the grooves of panels [4] and [5] to form the back of
the unit. Attach panel [1] to panels [4], [5] and [7] using 6x dowels (F) and
6x locking nuts (A). Tighten with a screwdriver.
85
4
1
7
F
F
F
F
F
FA
A
A
A
A
AAA
Urban Buffet
Assembly Instructions
7
mocka.co.nz | mocka.com.au | PO BOX 6171, Maroochydore BC, QLD, 4558
13 14
Attach 10x wedges (G) to panel [8] and secure with 10x 18mm screws
(C2). Tighten with a screwdriver.
C2
G
G
G
G
G
G
G
G
G
G
G
8
Attach panels [9]/[10] to panels [11], [12] and [14] using 6x bolt and nut
sets (A). Attach 1x slide rail (E2) to panel [11] using 2x 12mm screws
(C1). Attach 1x slide rail (E4) to panel [12] using 2x 12mm screws (C1).
Tighten with a screwdriver.
10
9
12
11
A
A
A
A
12
11
E4
E2
C1
C1
C1
C1
A
A
A
AA
Urban Buffet
Assembly Instructions
8
mocka.co.nz | mocka.com.au | PO BOX 6171, Maroochydore BC, QLD, 4558
13 14
Attach 10x wedges (G) to panel [8] and secure with 10x 18mm screws
(C2). Tighten with a screwdriver.
C2
G
G
G
G
G
G
G
G
G
G
G
8
Attach panels [9]/[10] to panels [11], [12] and [14] using 6x bolt and nut
sets (A). Attach 1x slide rail (E2) to panel [11] using 2x 12mm screws
(C1). Attach 1x slide rail (E4) to panel [12] using 2x 12mm screws (C1).
Tighten with a screwdriver.
10
9
12
11
A
A
A
A
12
11
E4
E2
C1
C1
C1
C1
A
A
A
AA
K
L
15 16
Move the unit into the desired location up against a wall. Attach 2x wall
straps (L) to the back sides of panel [1] and secure with 2x 14mm screws
(J). Fasten to wall using 2x wall anchors (K) and 2x wall screws (I).
Ensure unit is balanced and steady before use. You’re done, enjoy!
J
J
Safety Straps
1
Insert the drawers as shown, ensuring they slide smoothly and easily
along the rails. Once assembled lift the furniture into place, do not drag.
If the drawer is not catching or sitting flush, twist the end of the cover (M)
until it catches on the stopper (P).
9
10
M
Urban Buffet
Assembly Instructions
9
mocka.co.nz | mocka.com.au | PO BOX 6171, Maroochydore BC, QLD, 4558

Other Mocka Indoor Furnishing manuals

Mocka Toby Desk User manual

Mocka

Mocka Toby Desk User manual

Mocka Hamptons User manual

Mocka

Mocka Hamptons User manual

Mocka Scarborough Coffee Table User manual

Mocka

Mocka Scarborough Coffee Table User manual

Mocka Aspen User manual

Mocka

Mocka Aspen User manual

Mocka Eros Entertainment Unit User manual

Mocka

Mocka Eros Entertainment Unit User manual

Mocka Sonata Bed User manual

Mocka

Mocka Sonata Bed User manual

Mocka Bronte Entertainment Unit User manual

Mocka

Mocka Bronte Entertainment Unit User manual

Mocka Parker Entertainment Unit User manual

Mocka

Mocka Parker Entertainment Unit User manual

Mocka Tahoe User manual

Mocka

Mocka Tahoe User manual

Mocka Maya Coffee Table User manual

Mocka

Mocka Maya Coffee Table User manual

Mocka Kata User manual

Mocka

Mocka Kata User manual

Mocka Kirra User manual

Mocka

Mocka Kirra User manual

Mocka Chelsea Bedside Table User manual

Mocka

Mocka Chelsea Bedside Table User manual

Mocka Soren King Single Bed User manual

Mocka

Mocka Soren King Single Bed User manual

Mocka Sonata User manual

Mocka

Mocka Sonata User manual

Mocka Phoebe Entertainment Unit User manual

Mocka

Mocka Phoebe Entertainment Unit User manual

Mocka Kirra Bedside Table User manual

Mocka

Mocka Kirra Bedside Table User manual

Mocka Edmond Bedside Table User manual

Mocka

Mocka Edmond Bedside Table User manual

Mocka Kirra Bookcase User manual

Mocka

Mocka Kirra Bookcase User manual

Mocka Eros Six Drawer User manual

Mocka

Mocka Eros Six Drawer User manual

Mocka Blake Series User manual

Mocka

Mocka Blake Series User manual

Mocka Hamptons User manual

Mocka

Mocka Hamptons User manual

Mocka Parker Desk User manual

Mocka

Mocka Parker Desk User manual

Mocka Arlo Entertainment Unit User manual

Mocka

Mocka Arlo Entertainment Unit User manual

Popular Indoor Furnishing manuals by other brands

GFW Lancaster Corner TV Unit Assembly instructions

GFW

GFW Lancaster Corner TV Unit Assembly instructions

Dorel Home Products Dakota Upholstered Bed 4027119 manual

Dorel Home Products

Dorel Home Products Dakota Upholstered Bed 4027119 manual

Hooker Furniture 5165-85001 Assembly instruction

Hooker Furniture

Hooker Furniture 5165-85001 Assembly instruction

Oeseder Möbelindustrie 991665 Assembly instructions

Oeseder Möbelindustrie

Oeseder Möbelindustrie 991665 Assembly instructions

BROSA Field Extendable Dining Table Assembly guide

BROSA

BROSA Field Extendable Dining Table Assembly guide

Furniture Values International aspenhome I07-9100-WBR Assembly instructions

Furniture Values International

Furniture Values International aspenhome I07-9100-WBR Assembly instructions

Matter.Made Affordances installation guide

Matter.Made

Matter.Made Affordances installation guide

Monarch Specialties I 7259 Assembly instructions

Monarch Specialties

Monarch Specialties I 7259 Assembly instructions

AMIX EX007 Assembly instruction

AMIX

AMIX EX007 Assembly instruction

Costway HONEY JOY JV10035 user manual

Costway

Costway HONEY JOY JV10035 user manual

Home Decorators Collection JACKSON 21011-VS49GQ-ST Assembly instructions

Home Decorators Collection

Home Decorators Collection JACKSON 21011-VS49GQ-ST Assembly instructions

Cooper Lighting Fenestra 112 Specification sheet

Cooper Lighting

Cooper Lighting Fenestra 112 Specification sheet

Livarno Living 331668 Assembly instruction

Livarno Living

Livarno Living 331668 Assembly instruction

Allen + Roth BROOKVIEW 1789VA-30-201-900-UM manual

Allen + Roth

Allen + Roth BROOKVIEW 1789VA-30-201-900-UM manual

Kohler K-2527 Installation and care guide

Kohler

Kohler K-2527 Installation and care guide

OSP 74123LT operating instructions

OSP

OSP 74123LT operating instructions

Dimplex Dean GDS25G5-1909 Assembly instructions

Dimplex

Dimplex Dean GDS25G5-1909 Assembly instructions

STRUCTUBE HANEDA Assembly instructions

STRUCTUBE

STRUCTUBE HANEDA Assembly instructions

manuals.online logo
manuals.online logoBrands
  • About & Mission
  • Contact us
  • Privacy Policy
  • Terms and Conditions

Copyright 2025 Manuals.Online. All Rights Reserved.