manuals.online logo
Brands
  1. Home
  2. •
  3. Brands
  4. •
  5. Mocka
  6. •
  7. Indoor Furnishing
  8. •
  9. Mocka Hobart Storage Cot User manual

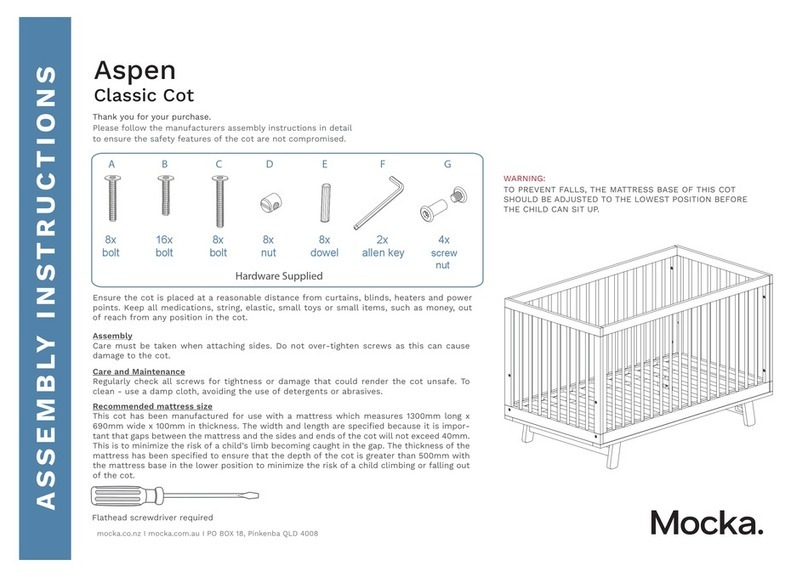
Mocka Hobart Storage Cot User manual

Hobart Storage Cot
1
Assembly Instructions
mocka.co.nz | mocka.com.au | PO BOX 6171, Maroochydore BC, QLD, 4558
Thank you for your purchase.
Please follow the instructions below for correct assembly.
A
Hardware Supplied
30” bolt
x28
B
dowel
x12
C
50” bolt
x16
D
nut
x16
E
60” bolt
x6
F
allen key
Phillips & Flathead screwdrivers required.
For quicker assembly, we recommend the
use of a power drill on a low-speed setting.
G
left guide
x2
L
screw
x24
M
knob
x2
N
30mm screw
x2
H
left rail
x3
J
right guide
x3
K
right rail
x2
WARNING: TO PREVENT FALLS, THE MATTRESS BASE
OF THIS COT SHOULD BE ADJUSTED TO THE LOWEST
POSITION BEFORE THE CHILD CAN SIT UP
1
Hobart Storage Cot
2
Assembly Instructions
mocka.co.nz | mocka.com.au | PO BOX 6171, Maroochydore BC, QLD, 4558
Attach 1 x right rail (J) and 1 x left guide (G) to panel [6] and secure with
6 x screws (L). Tighten with a screwdriver.
Ensure the cot is placed at a reasonable distance from curtains, blinds, heaters
and power points. Keep all medications, string, elastic, small toys or small items,
such as money, out of reach from any position in the cot.
Assembly
Care must be taken when attaching sides. Do not over-tighten screws as this can
cause damage to the cot.
Care and Maintenance
Regularly check all screws for tightness or damage that could render the cot
unsafe. To clean - use a damp cloth, avoiding the use of detergents or abrasives.
Recommended mattress size
This cot has been manufactured for use with a mattress which measures 1300mm
long x 690mm wide x 100mm in thickness. The width and length are specified
because it is important that gaps between the mattress and the sides and ends
of the cot will not exceed 40mm. This is to minimize the risk of a child’s limb
becoming caught in the gap. The thickness of the mattress has been specified to
ensure that the depth of the cot is greater than 500mm with the mattress base in
the lower position to minimize the risk of a child climbing or falling out of the cot.
6
L
L
L
L
L
L
G
J
A
2
3
Assembly Instructions
mocka.co.nz | mocka.com.au | PO BOX 6171, Maroochydore BC, QLD, 4558
Atach 4 x legs [7] and panel [6] to panel [9] secure with 10 x 30” bolt (A)
Tighten with an Allen Key (F).
Attach 2 x panels [4] to assembled frame and secure with 2 x 30” bolt
(A). Tighten with an Allen Key (F).
Hobart Storage Cot
3
6
9
7
7
A x2
A x2
A x2
A x2
A
A
7
7
A
A
4
4
F
A
F
A
A E
E
E
BB
B
B x2
B
4
4
Assembly Instructions
mocka.co.nz | mocka.com.au | PO BOX 6171, Maroochydore BC, QLD, 4558
Attach 1 x left guide (G) and 1 x right rail (J) to panels [1] and [2] as
shown and secure with 6 x screws (L). Tighten with a screwdriver.
Insert 6 x dowels (B) into panel as shown. Attach assembled frame to
panel and secure with 2 x 30” bolts (A) and 3 x 60” bolts (E). Tighten
with an Allen Key (F).
Hobart Storage Cot
5
G
J
1
2
L
L
L
L
L
L
A
A E
E
E
BB
B
B x2
B
F
6
5
Assembly Instructions
mocka.co.nz | mocka.com.au | PO BOX 6171, Maroochydore BC, QLD, 4558
Insert 6 x dowels (B) into panel [2]. Attach assembled frame to panel
[2] as shown and secure with 2 x 30” bolts (A) and 3 x 60” bolts (E).
Tighten with an Allen Key (F).
Attach panel [8] to assembled frame and secure with 4 x 30” bolts (A).
Tighten with an Allen Key (F).
Hobart Storage Cot
7
B x4
B x2
A
A
E
E
F
E
2
A
A
A
A
8
B x4
B x2
A
A
E
E
E
2
A
F
8
6
Assembly Instructions
mocka.co.nz | mocka.com.au | PO BOX 6171, Maroochydore BC, QLD, 4558
Attach 2 x panels [3] to assembled frame and secure with 8 x 30” bolts
(A). Tighten with an Allen Key (F).
Attach 1 x left rail (H) and 1 x right rail (K) to panels [11] and [12] as
shown and secure with 6 x screws (L). Tighten with a screwdriver.
Hobart Storage Cot
9x2
A
A
A
A
A
A
A
A
3
3
L
11
12
L
L
L
L
L
H K
A
F
10 x2
7
Assembly Instructions
mocka.co.nz | mocka.com.au | PO BOX 6171, Maroochydore BC, QLD, 4558
Insert 4 x nuts (D) into panel [14]. Attach panels [11] and [12] to panel
[14] and secure with 4 x 50” bolt (C). Tighten with an Allen Key (F).
Slide panel [13] into position as shown.
Hobart Storage Cot
11 x2
Dx2
Dx2
Cx2
Cx2
11
14
12
13
C
F
12 x2
8
Assembly Instructions
mocka.co.nz | mocka.com.au | PO BOX 6171, Maroochydore BC, QLD, 4558
Insert 4 x nuts (D) into panel [10]. Attach 1 x knob (M) to panel [10] and
secure with 1 x screw (N). Attach panel [10] to assembled frame and
secure with 4 x 50” bolt (C). Tighten with an Allen Key (F) and a
screwdriver.
Slide draws into position as shown. Once assembled lift furniture into
place, do not drag. You’re done, enjoy!
Hobart Storage Cot
13
10
Cx2
Cx2
Dx2
N
M
Dx2
C
F
14
9
Assembly Instructions
mocka.co.nz | mocka.com.au | PO BOX 6171, Maroochydore BC, QLD, 4558
Hobart Storage Cot
A
A
A
A
OPTIONAL/ MATTRESS HEIGHT ADJUSTMENT (please keep these
instructions handy for future reference)
To adjust mattress base settings, remove small plastic plugs. This will
require a small amount of force, please note these are not screws and
cannot be screwed out. You will need a screwdriver/ that fits into the
centre hole and possibly a hammer, or similar, to gently tap the end
until the plug pops out.
Repeat steps 7 and 8 by removing the side panel and moving the
base to corresponding holes. Securely attach again in the adjusted
position.

Other Mocka Indoor Furnishing manuals

Mocka Jolt Six Drawer - Slim User manual

Mocka

Mocka Jolt Six Drawer - Slim User manual

Mocka Jimmy Change Table User manual

Mocka

Mocka Jimmy Change Table User manual

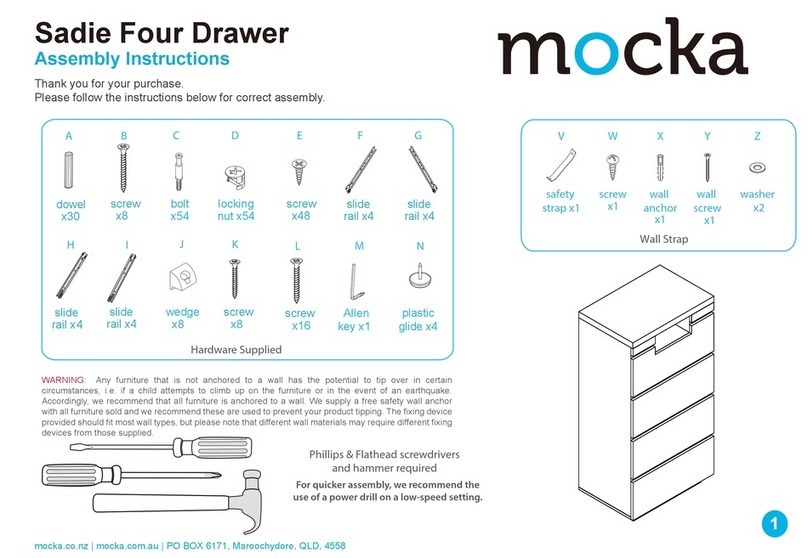
Mocka Sadie User manual

Mocka

Mocka Sadie User manual

Mocka Sintra Buffet User manual

Mocka

Mocka Sintra Buffet User manual

Mocka Hamptons Change Table User manual

Mocka

Mocka Hamptons Change Table User manual

Mocka Lewis User manual

Mocka

Mocka Lewis User manual

Mocka Hector User manual

Mocka

Mocka Hector User manual

Mocka Sadie User manual

Mocka

Mocka Sadie User manual

Mocka Sadie User manual

Mocka

Mocka Sadie User manual

Mocka Oslo Bedside Table User manual

Mocka

Mocka Oslo Bedside Table User manual

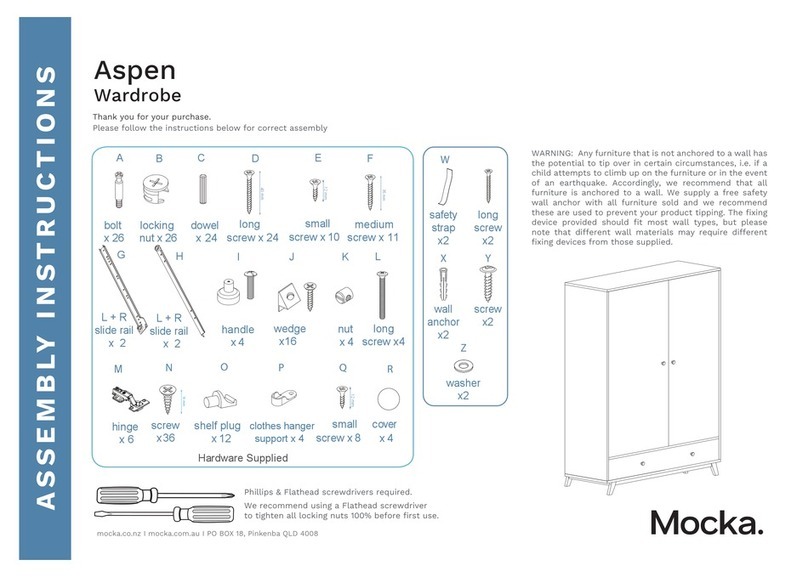
Mocka Aspen Wardrobe User manual

Mocka

Mocka Aspen Wardrobe User manual

Mocka Kennedy Side Table User manual

Mocka

Mocka Kennedy Side Table User manual

Mocka Sintra User manual

Mocka

Mocka Sintra User manual

Mocka Dakota User manual

Mocka

Mocka Dakota User manual

Mocka Sadie User manual

Mocka

Mocka Sadie User manual

Mocka Kent Ladder Bookcase User manual

Mocka

Mocka Kent Ladder Bookcase User manual

Mocka Jesse Six Drawer User manual

Mocka

Mocka Jesse Six Drawer User manual

Mocka Four Cubes Installation guide

Mocka

Mocka Four Cubes Installation guide

Mocka Jesse Tallboy User manual

Mocka

Mocka Jesse Tallboy User manual

Mocka Zara User manual

Mocka

Mocka Zara User manual

Mocka Sadie User manual

Mocka

Mocka Sadie User manual

Mocka Hamptons Side Table User manual

Mocka

Mocka Hamptons Side Table User manual

Mocka Nine Cube User manual

Mocka

Mocka Nine Cube User manual

Mocka Vigo Tallboy User manual

Mocka

Mocka Vigo Tallboy User manual

Popular Indoor Furnishing manuals by other brands

emob Jonas manual

emob

emob Jonas manual

Alape Betty Blue installation instructions

Alape

Alape Betty Blue installation instructions

Ameriwood HOME 5322222COM manual

Ameriwood HOME

Ameriwood HOME 5322222COM manual

Rauch 46127.9020 Assembly instructions

Rauch

Rauch 46127.9020 Assembly instructions

juwel SB 80 Assembly instructions

juwel

juwel SB 80 Assembly instructions

Furniture of America Wadenswil CM3285T Assembly instructions

Furniture of America

Furniture of America Wadenswil CM3285T Assembly instructions

DutchCrafters GCT0060D Assembly Directions

DutchCrafters

DutchCrafters GCT0060D Assembly Directions

Lovencare HK800 quick start guide

Lovencare

Lovencare HK800 quick start guide

Bestar Murphy 26183-5 manual

Bestar

Bestar Murphy 26183-5 manual

Bush Business Furniture CH1206BLF-03 Assembly instructions

Bush Business Furniture

Bush Business Furniture CH1206BLF-03 Assembly instructions

ROBERTO FIORE Cabinets To Go BC24 Assembly instructions

ROBERTO FIORE

ROBERTO FIORE Cabinets To Go BC24 Assembly instructions

Gami BROOKLYN H53 Assembly instructions

Gami

Gami BROOKLYN H53 Assembly instructions

Seville Classics WEB714 Assembly instructions

Seville Classics

Seville Classics WEB714 Assembly instructions

Tufferman STORALEX 4 TIER HRX SHELVING BAY instructions

Tufferman

Tufferman STORALEX 4 TIER HRX SHELVING BAY instructions

Hay Arcs Wall instruction manual

Hay

Hay Arcs Wall instruction manual

ergolutions PRIMUS XL instruction manual

ergolutions

ergolutions PRIMUS XL instruction manual

Next MALVERN 604104 Assembly instructions

Next

Next MALVERN 604104 Assembly instructions

KITCHEN KIT DOCU0090 Assembly & installation

KITCHEN KIT

KITCHEN KIT DOCU0090 Assembly & installation

manuals.online logo
manuals.online logoBrands
  • About & Mission
  • Contact us
  • Privacy Policy
  • Terms and Conditions

Copyright 2025 Manuals.Online. All Rights Reserved.